Week 9-Challenge
OBJECTIVE:
- To mesh the given model with an element size of 5mm.
- To attach the various parts using connectors.
CAD MODEL IMAGE OF THE MODEL:
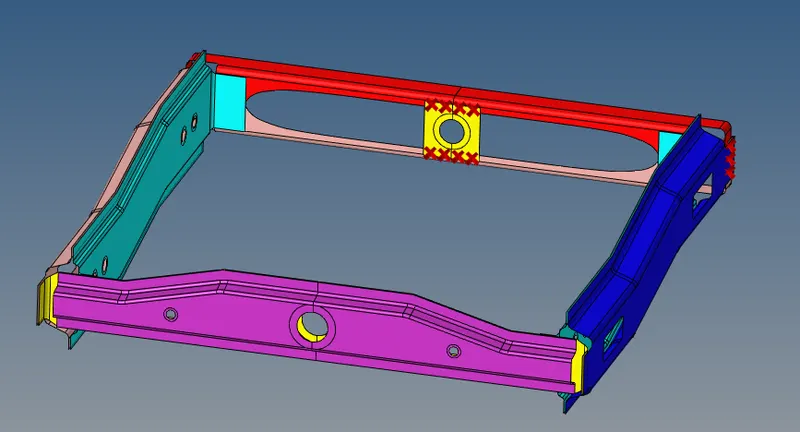
PROEDURE:
- The model has to be imported from the import option provided in the userinterface, there will be many components in the model. We have to mesh each component separately and then connnet all the components using the various connector options available. so, to start with set the model in topo mode and meshing has to be performed from 2d panel by selecting automesh panel and assigning a target length of 5mm as provided. The below figure illustrates this,

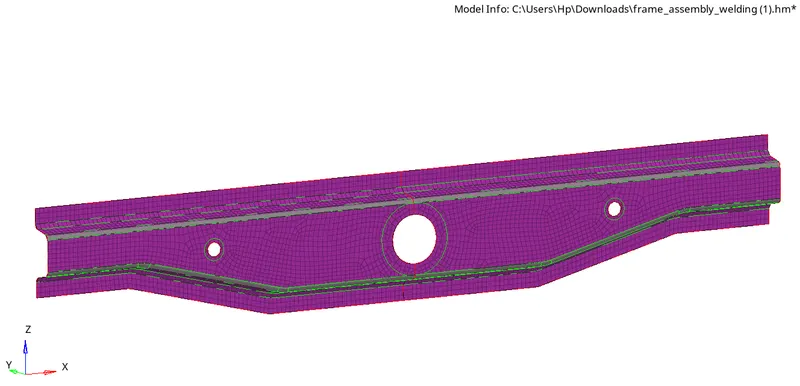
The meshing parameters are as shown in the fig, after meshing all the components one by one connectors have to be added between various components as provided.
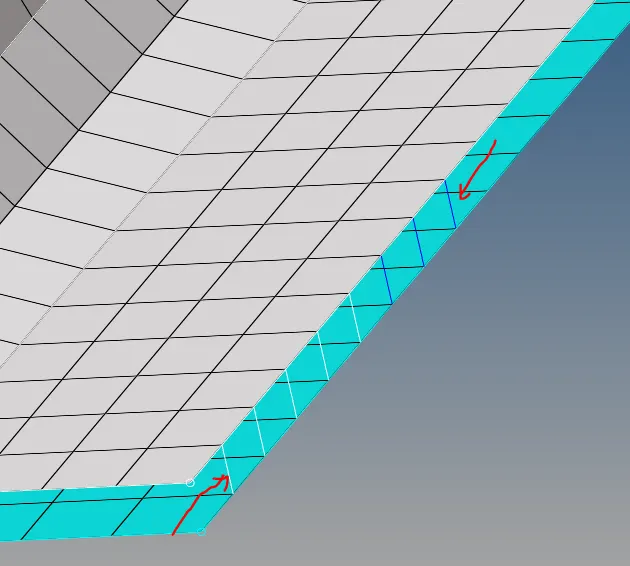
- Right rail(2) and front truss (1) - connector specified -(Seam+Angled+ L) :
- To attach both the components, the seam connetor have to be selected from the 1d-connectors-seam panel, then various parameters such as,
- location : node path
- spacing : 5mm ( it should be equal to the element size)
- Tolerance : 10
- Type : Seam+ quad (cappped+angled +L)
- Weld angle : 45
- capangle : 75
- Run off angle : 10
After entering all the values, select create the connetor will be created as shown in the firgure.

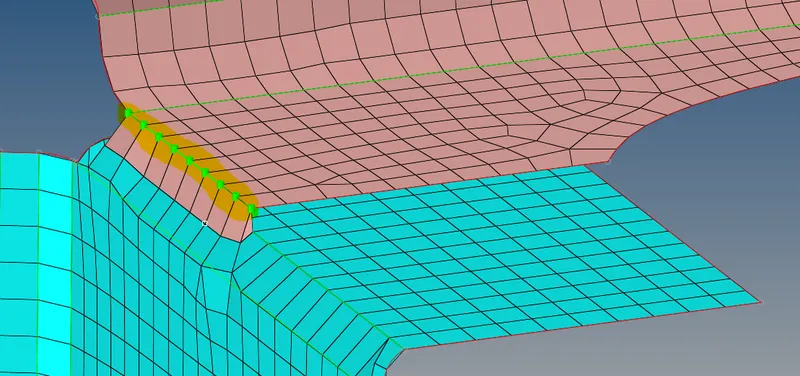
b. Left rail (2) and front truss (1) - connector specified - Quad elements:
- The path for the above mentioned parameters is 1d - connectors - Quad, the various parametrs include,
- Location : node path
- spacing : 5 mm
- Tolerance : 10 mm
- Type : Quad
After entering all the parameters, selet on create the connector will be formed as show below,
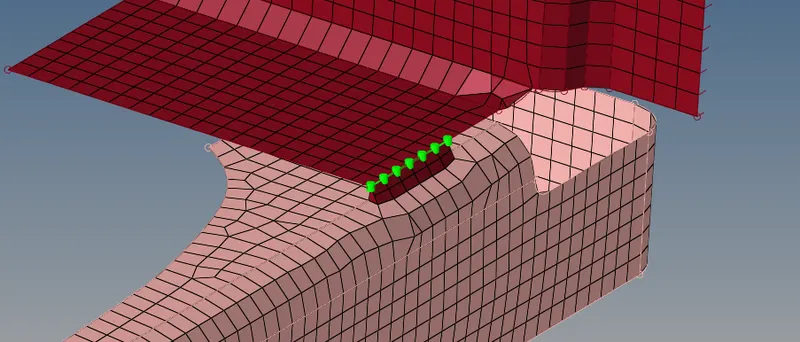
c. Front truss (2),Front truss (1) , Right rail (1) - connector specified - Spot weld with 3 layers and 5 mm diameter :
The rootpath for above connector is 1d - connectors - spot, the following parameters have to be enetered and the elements have to be selected, the below figure illustate the parameters that have to be entered.

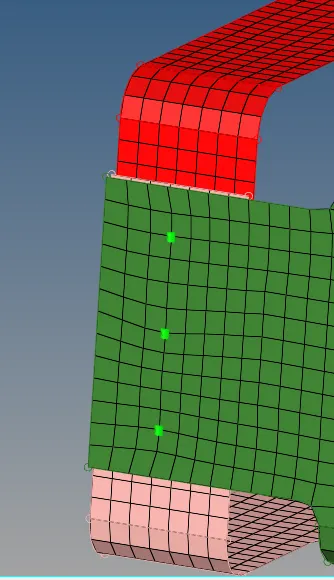
d. Front truss (2) , Front truss (1), Left rail (1) - connector specified - Hexa ( adhesive):
- The rootpath to find the connector is 1d-connectors-seam, the below listed parametrs have to be entered while specifing the parameters. The elements/ nodes have to be selected and click on the create option , connector will be created as shown below:
- Location : nodepath
- Tolerance : 50 mm
- Type : Hexa adhesive
- Spacing : 5 mm

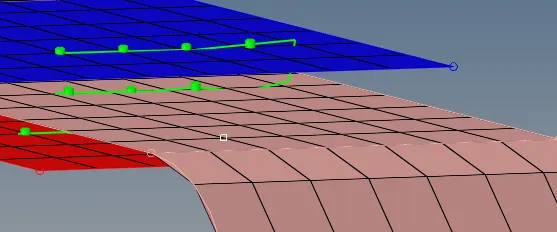
e. Rear truss (2) and right rail (2)- connector specified - Bolt
- The rootpath for the connector is 1d-connetor- Bolt, select the nodes and specify the parameters, click on create option, the connector will be created as shown in the figure.
- Location : node
- Tolerane : 10mm
- Type : rigid
- spcaing : 5mm
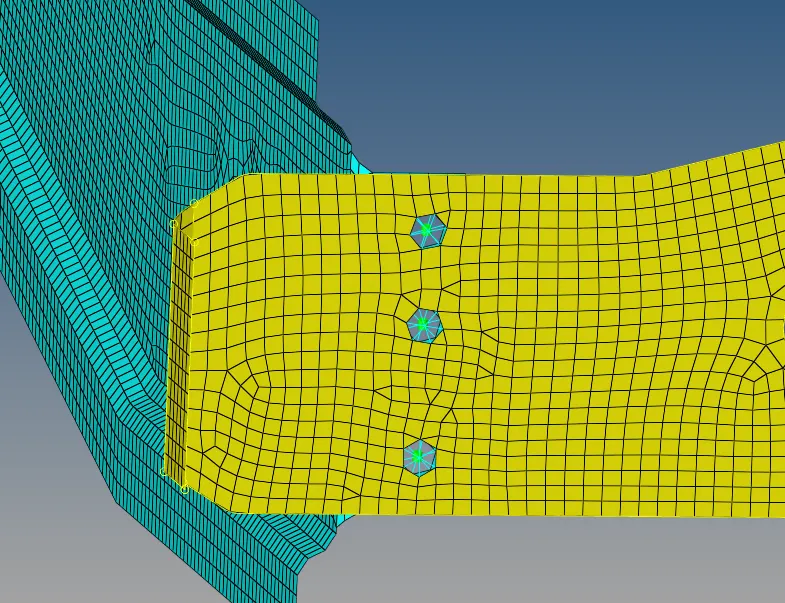
f. Rear truss (2) and left rail (2) : connector specified - Bolt connector: The above mentioned method have to be used, the connector will be as shown in the figure,
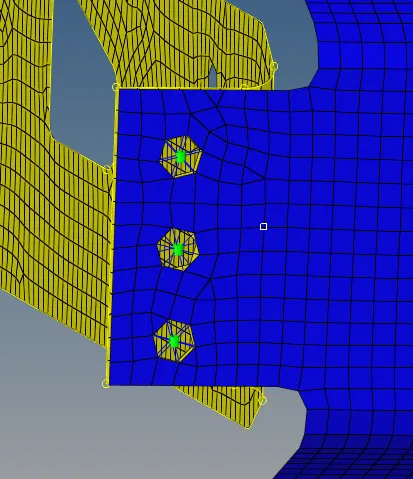
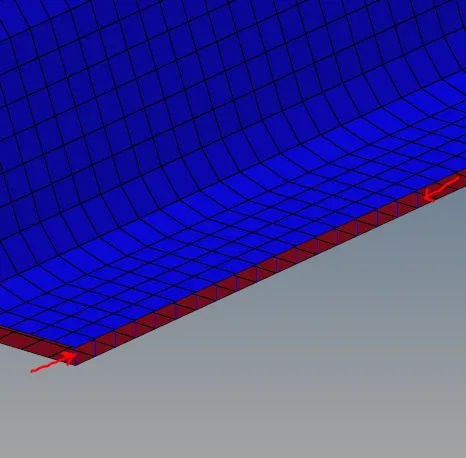
g. Right rail (1) and right rail (2) : connector specified - Spot weld with rigid elements :
- The rootpath to be followed is 1d-spotweld-using node- rigid , the nodes have to be selected and click on create option have to be selected, the connector will be as shown in below figure

h. Left rail(1) and left rail (2) - connector specified - Spotweld with spring elements:
- The rootpath for the connector is 1d- spot weld- using node-spring - select node, after selecting the nodes, connector will be as shown in the figure.

RESULT:
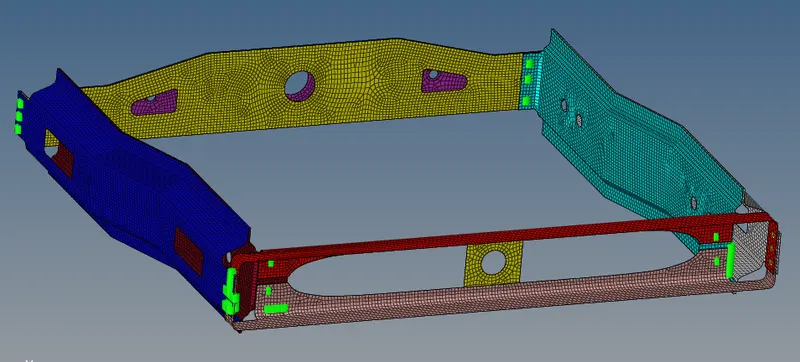
The final model after using connectors is as shown below,
Connectors play a major role while joining components, good knowledge about connectors helps a lot while handling major components. Varied options in connectors make simulation alluring and intresting. Depth knowledge about different parameters in connector panel is necessary for better usage of them.