DEPLOYING CONNECTION IN HYPERMESH
AIM:-To perform connection for the given component
PROCEDURE:-
- First, we need to import the geometry
- Then after we need to geometry cleanup
- Then after we need to mesh the part
- Then after we need to give connections
GEOMETRY CLEANUP
- Import the geometry into hypermesh optistruct
- To import the geometry we need to go import and select to import the cad
- Then select format the file and select the file and select the file to import
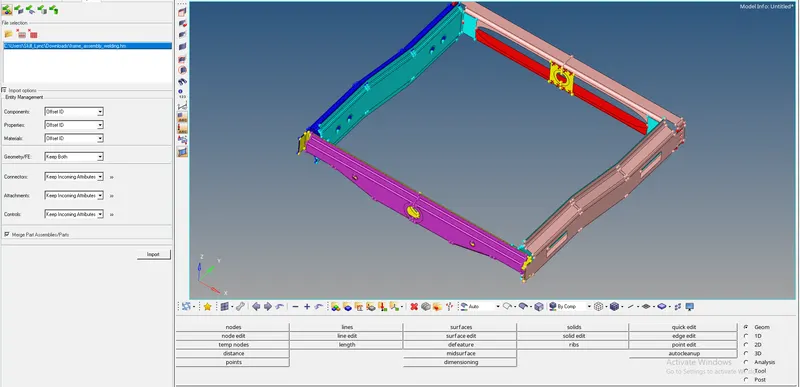
- We need to clean the geometry for every component
- But in this model, all component does not have geometrical issues
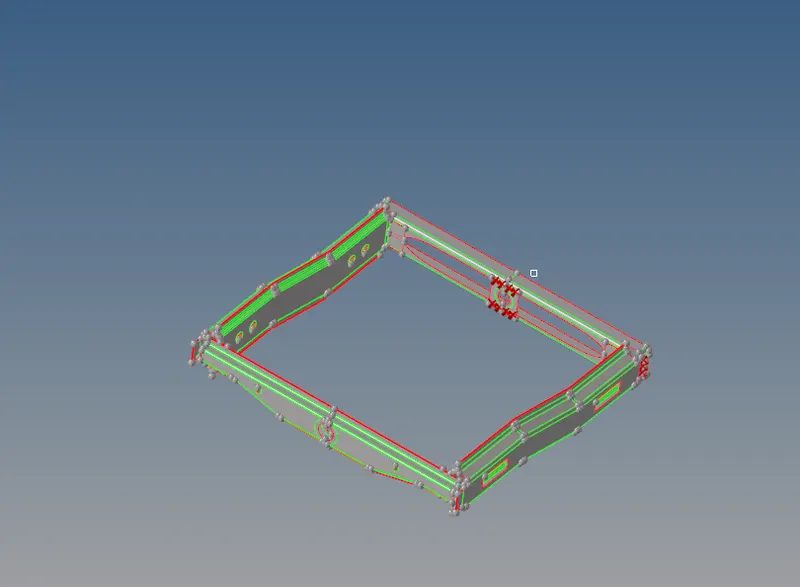
- The components are extracted mid components
- So no need to take the mid surface
- Directly we can go to meshing
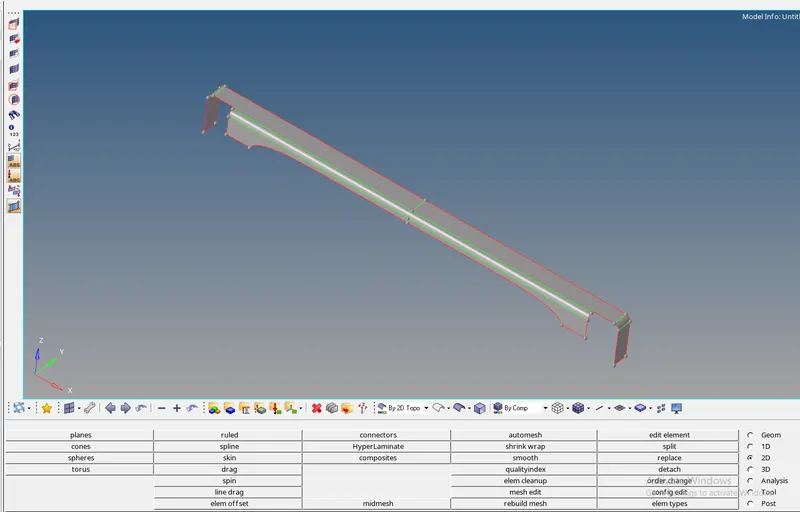
- To mesh the part we need to go to 2D and select the auto mesh
- If any quality issues are there we must clear them
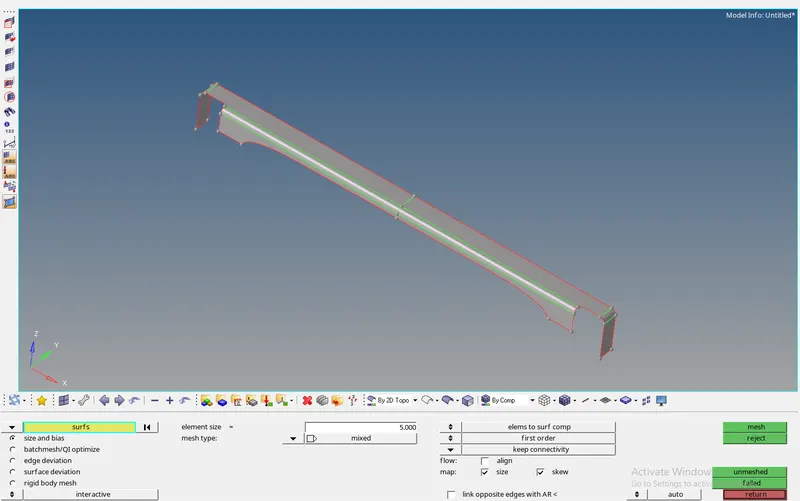
- Here they did not specify so we can any element size, my choice is 5mM
- Select the surface and mesh them
- By altering the nodes we can get the perfect mesh
- The major option for doing meshing is to perform the mesh if any flow issue is there we need to mesh

- For quality issues, we use the quality index

- PLACE NODE to move the nodes freely to reduce the quality
- Element optimizer will optimize the element quality
- Smooth will smooth the mesh flow and adjust concerning the min and max size
- Split edges are used to split the edge of the quads
- Drag tria which used to drag the trias from one point to another point
- combine trias it will combine two tria in a quad
- Parts that are been meshed
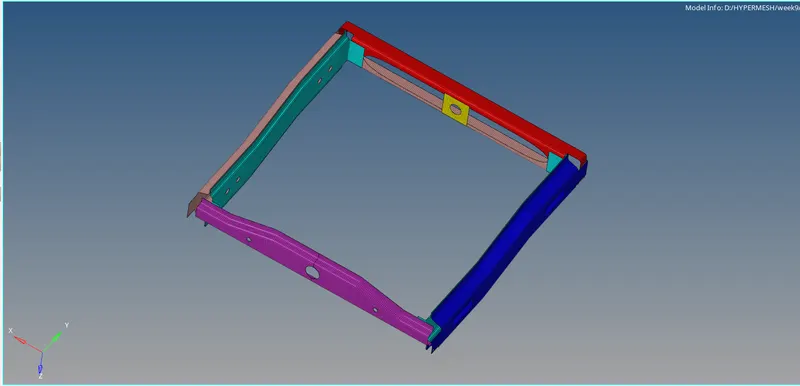
- Mesh is completed for all parts
- We need to perform connections
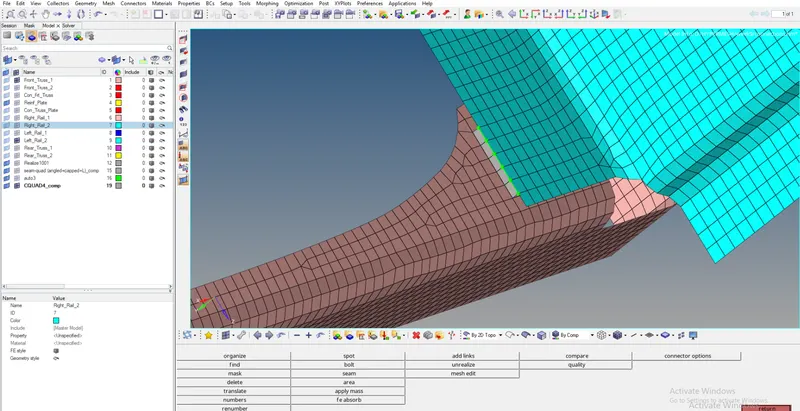
1. Right_Rail_2 & Front_truss_1:- Seam-Quad(angled+capped+L)
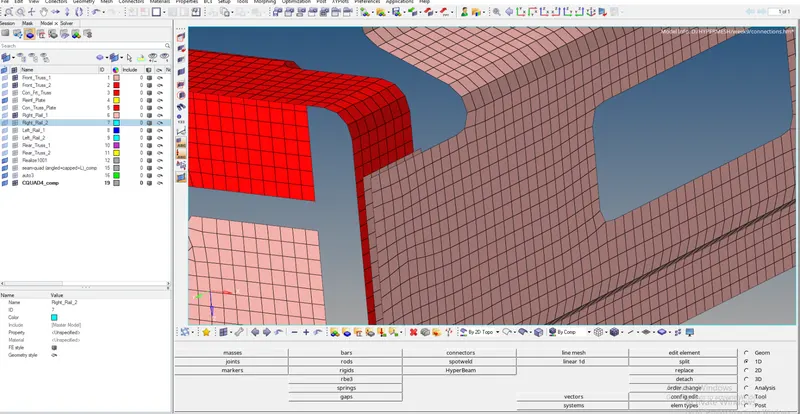
- For making connections we need to go to weld and select the connectors

- As per the given requirement, we need to make a seam weld with the respective type
- We need to go to connectors and select the seam option and select the type as seam-quad(angled+capped+L)



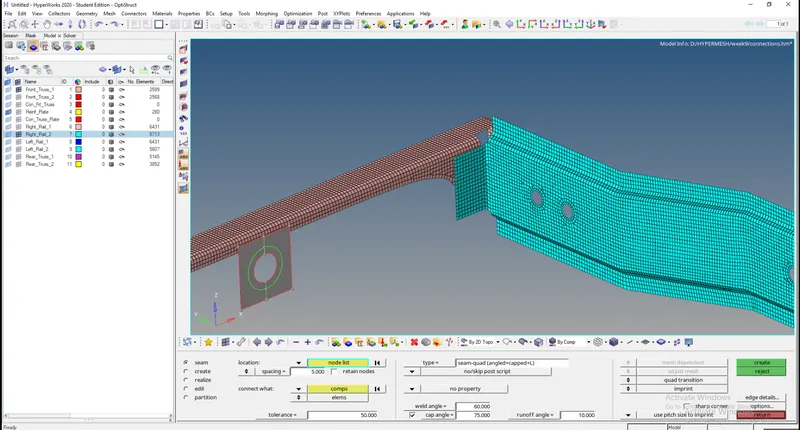
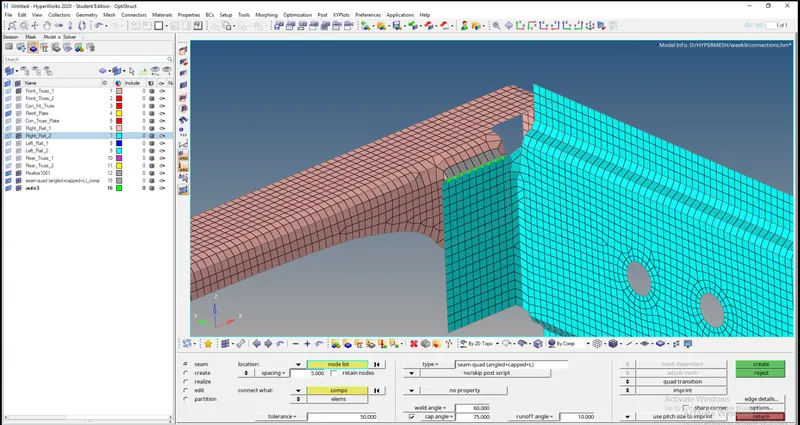
- If the nodes are in green then the connection is be realized
2. Left_Rail_2 & Front_truss_1:- Quad elements
- To perform this connection we need to goto seam and select the type as quad
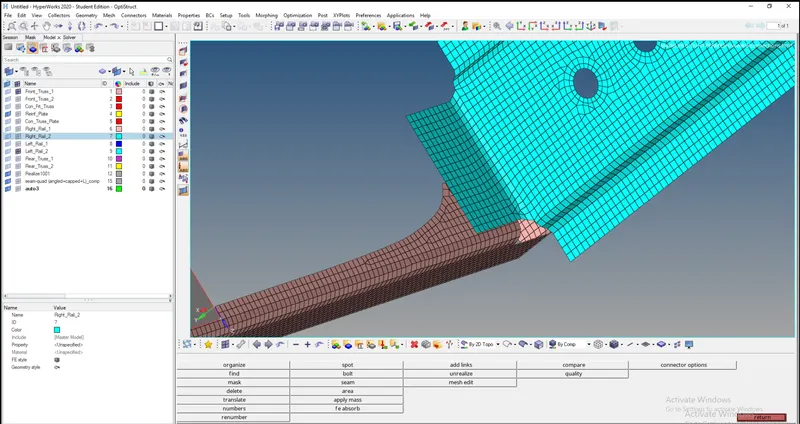
- If the nodes are in green then the connection is be realized
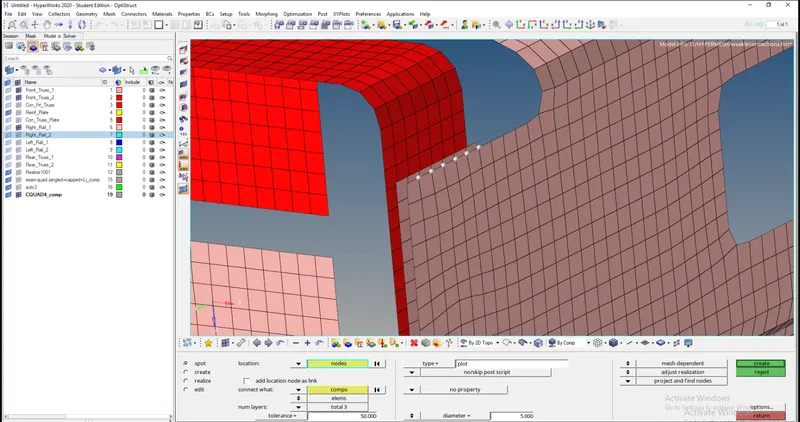
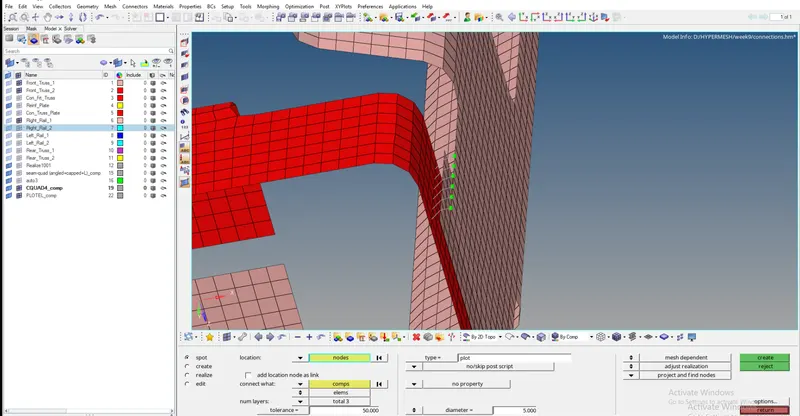
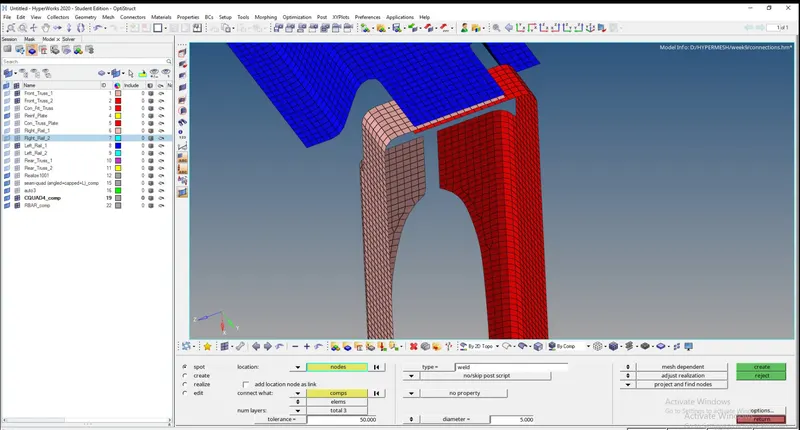
3. Front_truss_2, Front_truss_1 & Right_Rail_1:- Spot weld with 3 Layers and 5 mm Diameter
- To perform this connection we need to go to 1D Select the connectors and select the spot
- In place of a number, layers specify them as 3
- Tolerance as 50 is search distance to deploy connections
- Types as weld
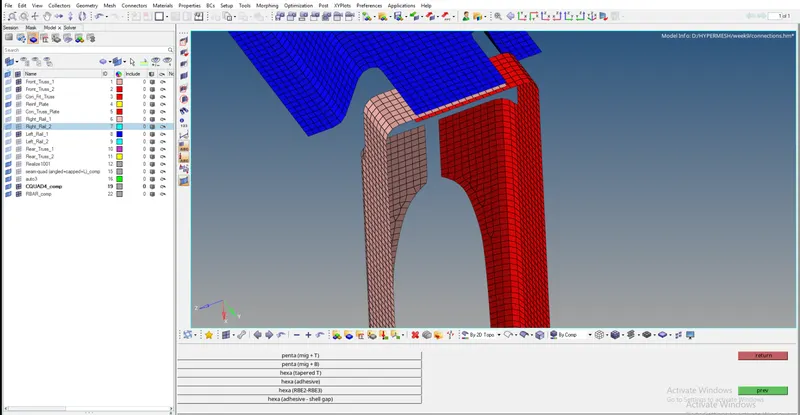
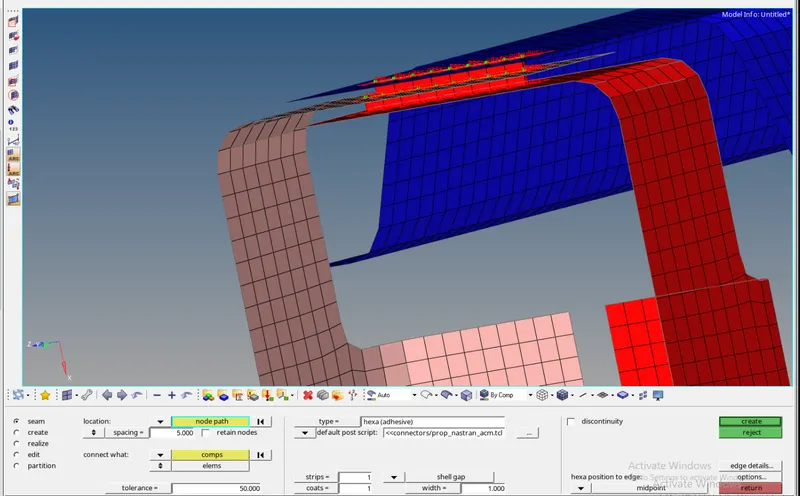
4. Front_truss_2, Front_truss_1 & Left_Rail_1:- Hexa (Adhesive)
- To deploy this connection we need to go seam and select the type as Hexa adhesive
5. Rear_truss_2 & Right_Rail_2 & Rear_truss_2 & Left_Rail_2:- Bolt Connector
- To perform this connection we need to go to connectors and select connections as a bolt
- Then we need to give diameter as five and select the nodes and select the component
- Give the spacing as 5 as per element size
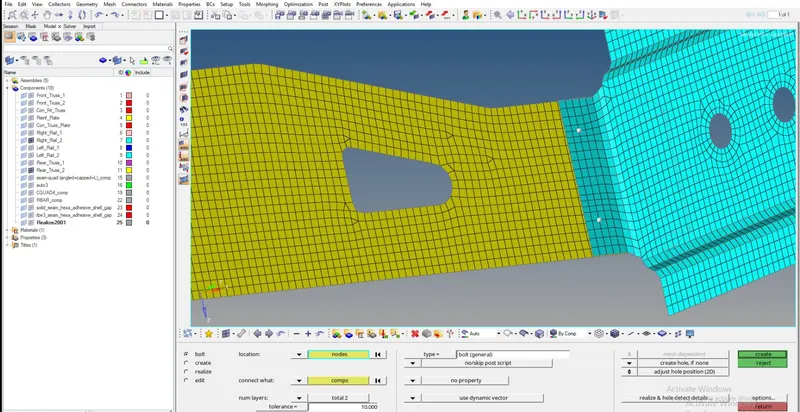
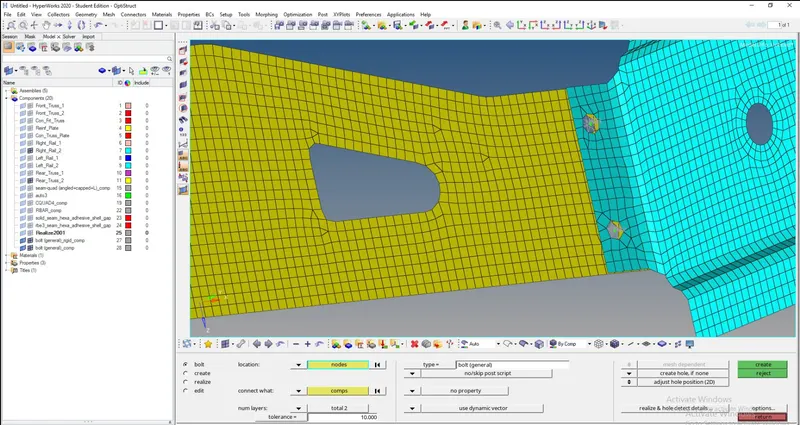
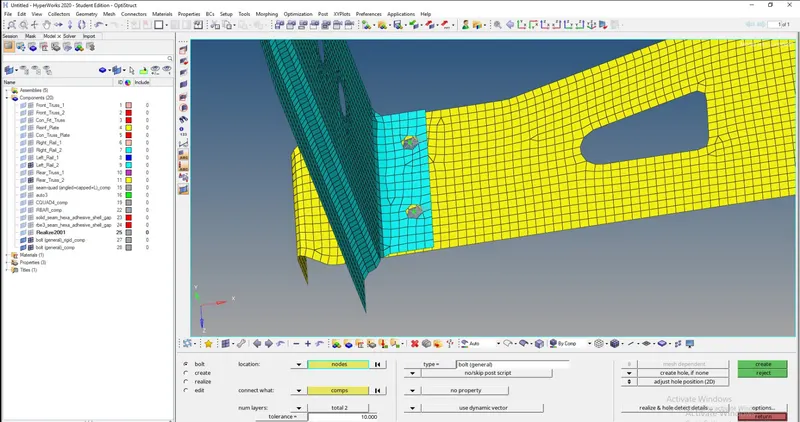
- Make sure that we must select it to create a hole if the hole is not present
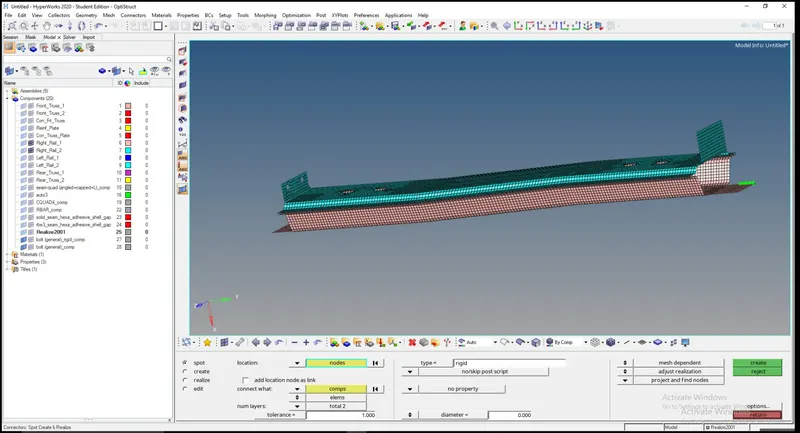
7. Right_Rail_1 & Right_Rail_2:- Spot-weld with Rigid Elements
- To perform this connection we need to select spot in connectors
- And select the type as rigid and select the nodes and select the components and click on create
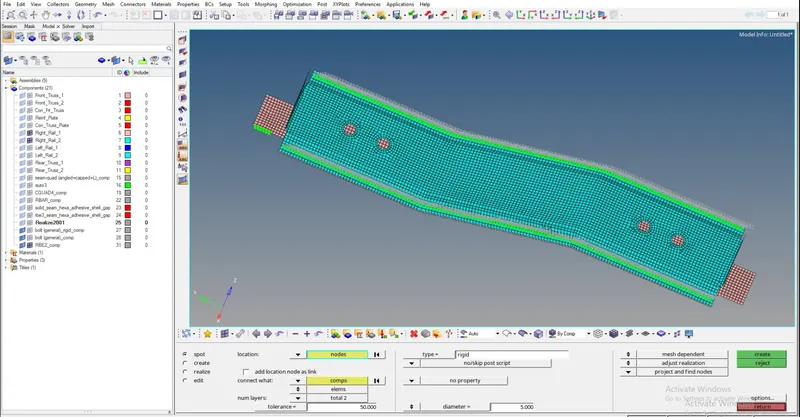
8. Left_Rail_1 & Left_Rail_2:- Spot-weld with Spring Elements
- To perform this connection we need to select spot in connectors
- And select the type as rigid and select the nodes and select the components and click on create
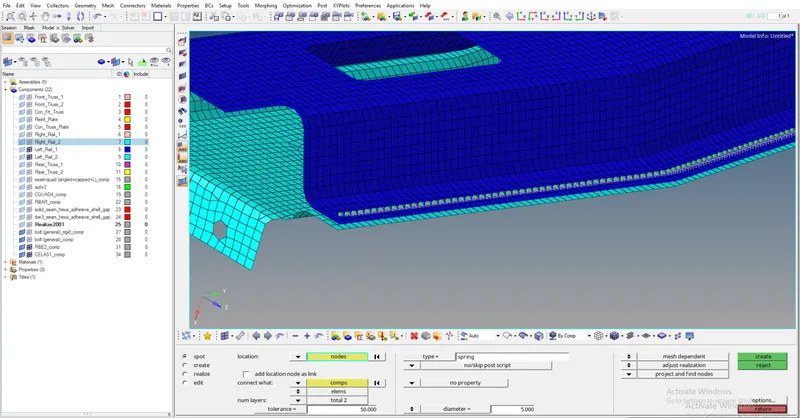
9. Rest all the component left Join them with suitable connectors
- For all remaining connection, I had to give a spot with rigds
- Go to connections select the spot and select the rigids as type
- Then select the nodes and select the components and create connections
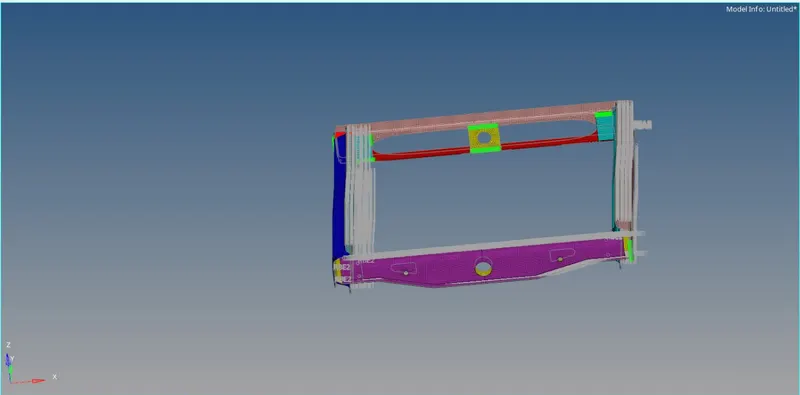
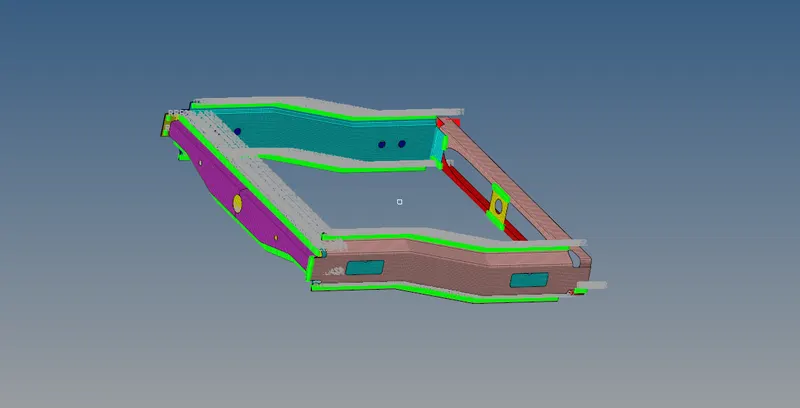
CONCLUSION:-
- Understood how to perform seam weld connections
- Understood how to deploy spot weld and bolt connections
- Understood how to perform bolt connections
- Understood how mesh must redefine while connection deployed