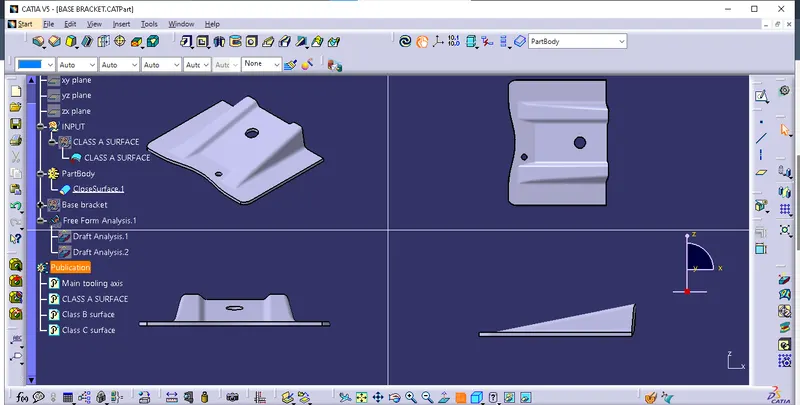
Week 9 - Challenge 1 - Base Bracket Design
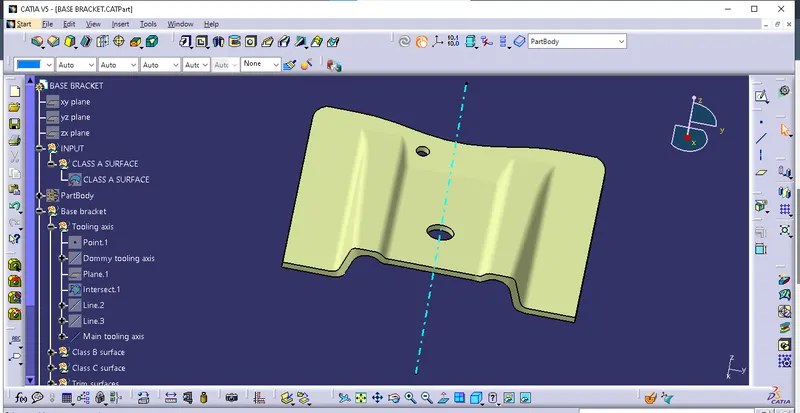
Creating tooling axis :
- First step to check which direction is suitable for creating tooling axis.
- The top view of Z direction is suitable so I create a bisecting line through the intersecting line.
- To create a line of the parallel line of the tooling axis to create a bisecting line.
- The tooling axis is created by above steps.
Class B surface creating :
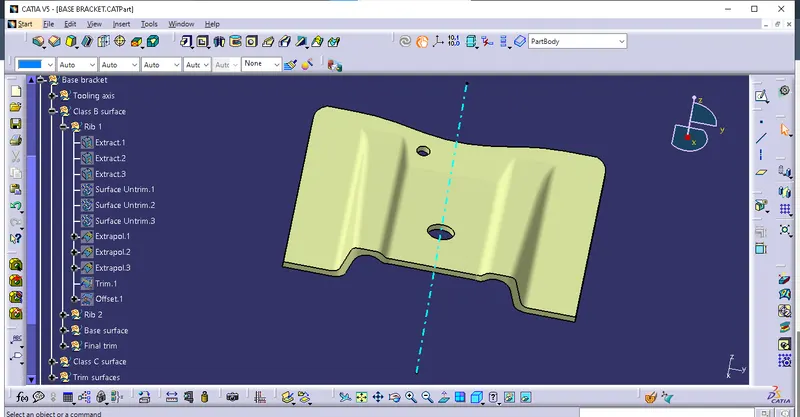
- First to start with the Ribs.
- To extract the Rib surface from the Class A surface.
- Then untrim them and extapolate that at 20mm.
- And trim them then offset that at 2.5mm.
- As same as to create the Rib 2.
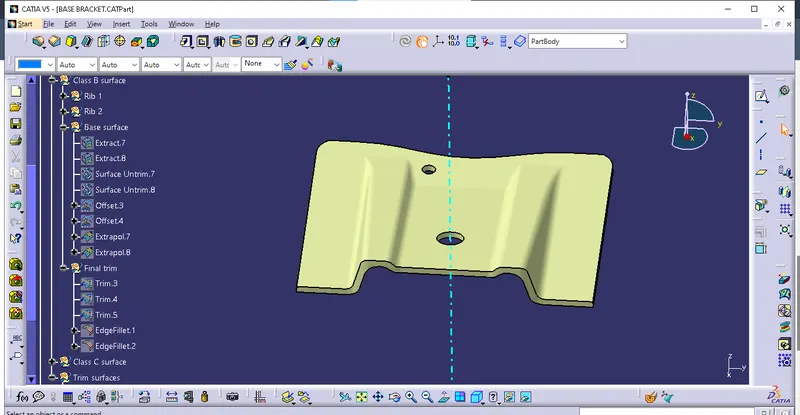
- Then create the base surface to extract the Class A surface and offset that.
- And untrim them and extapolate.
- Then Final trim the extapolate surface and fillet the edges.
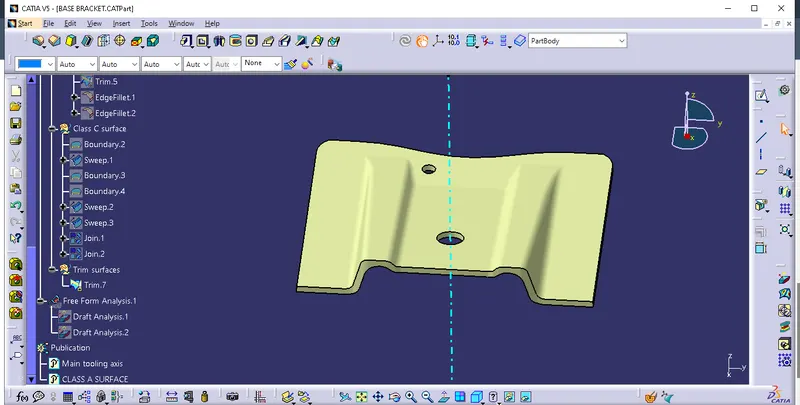
Class C surface creating :
- First create the boundary of Class A surface the use the sweep command to create a sweep surface through the draft direction.
- And create the two circular sweep for the holes.
- Then use the join command to join the Class C surface to the Class A surface.
- Finally trim that surfaces.
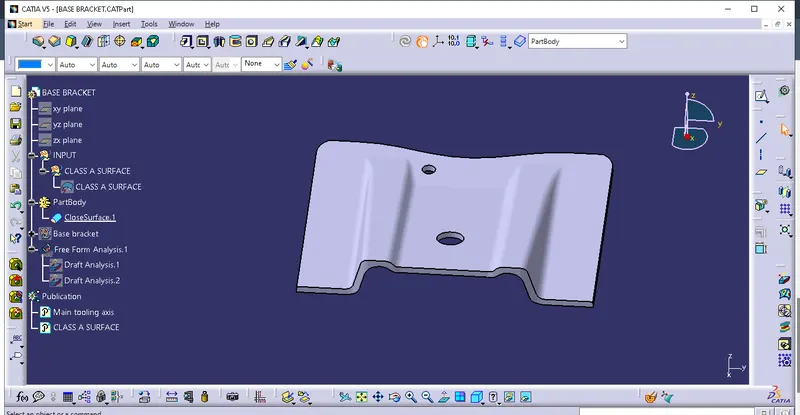
Creating closed surface of partbody :
- Then jump into the part design to create the closed surface.
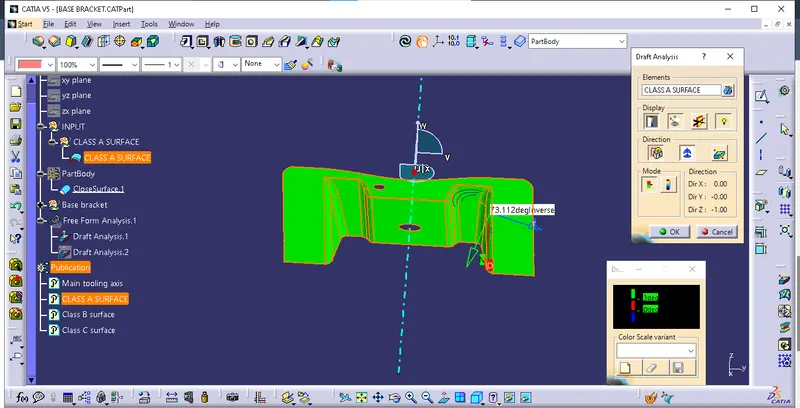
Class A surface draft analysis :
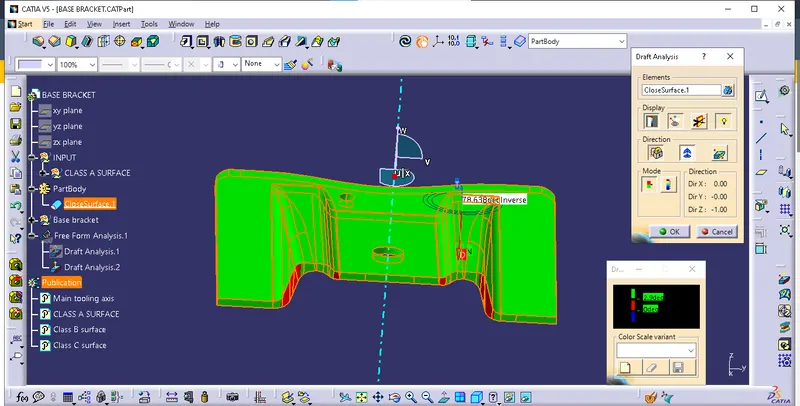
End part draft analysis :
Top, side, isometric and front view :