Week 10 - Challenge 2- Attachment Feature Creation (Dog House)
Introduction :
In this challenge the door trim part is given. We create the Tooling axis, Class B surface, Class C surface and create dog house for required areas.
Tooling axis creation :
- In this part we simply create the Tooling axis on a surface.
- Create the point on the surface which clearing the tooling.
- Then create the line with point with direction. I use the Y direction.
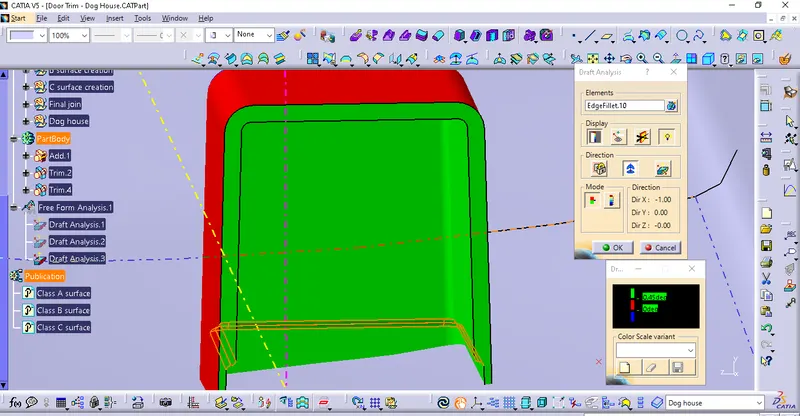
- Do the draft analysis of the given Class A surface with our tooling axis.
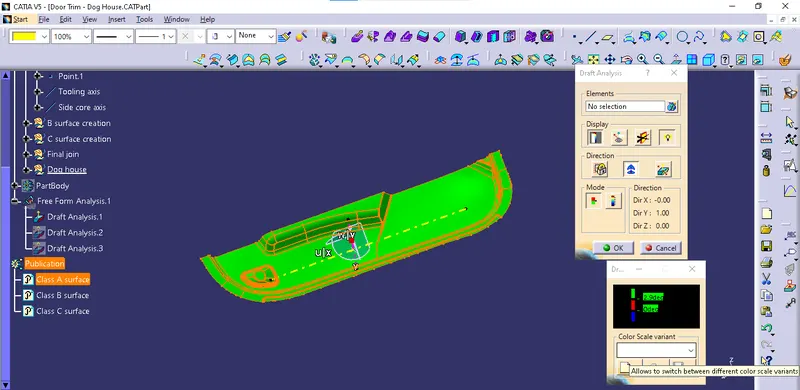
- Our tooling axis clear the tooling direction.
Class B surface creation :
- First offset the class A surface to 2.5mm.
- We get the offset surface without some patches.
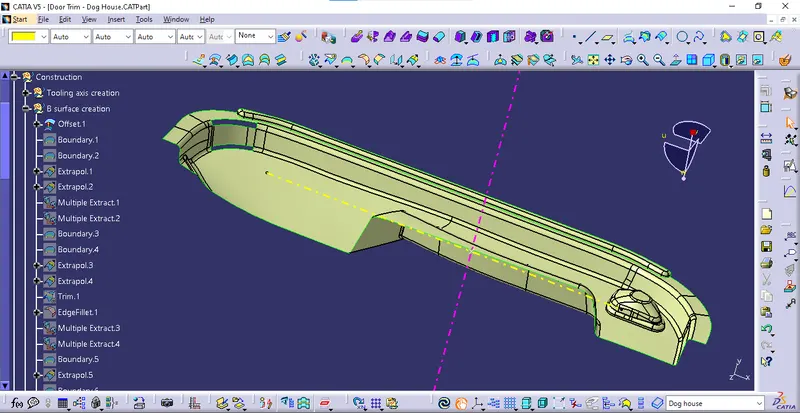
- We try to make the missing filleted areas.
- Use multi extract to extract the fillet around surfaces.
- Then extrapolate the surfaces to intersect them.
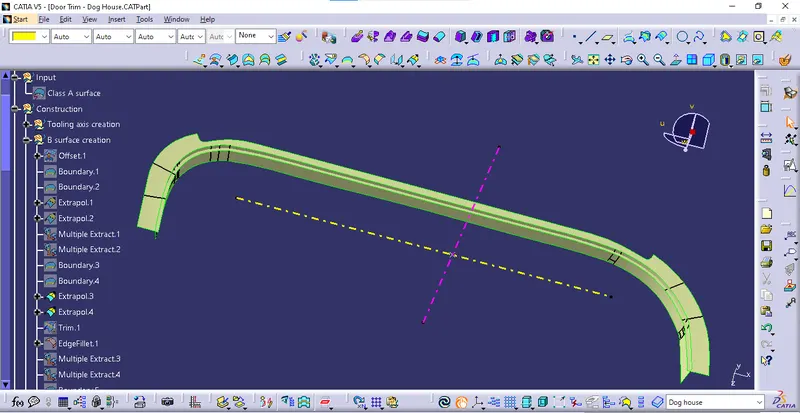
- Then trim them to make a sharp edge and fillet the edges.
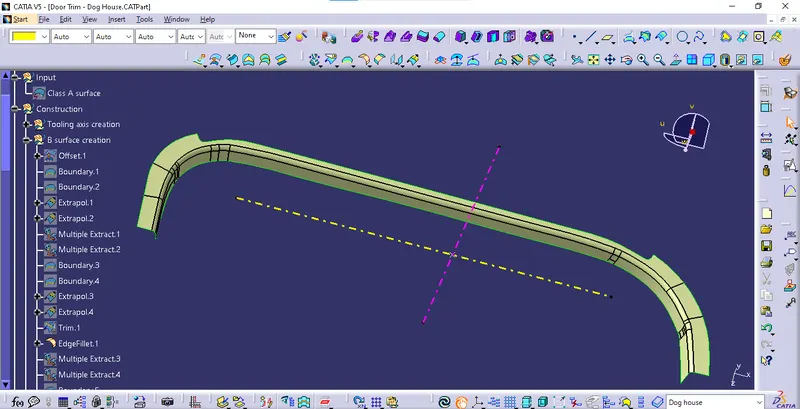
- This process is similar to the bottom fillet patch creation.
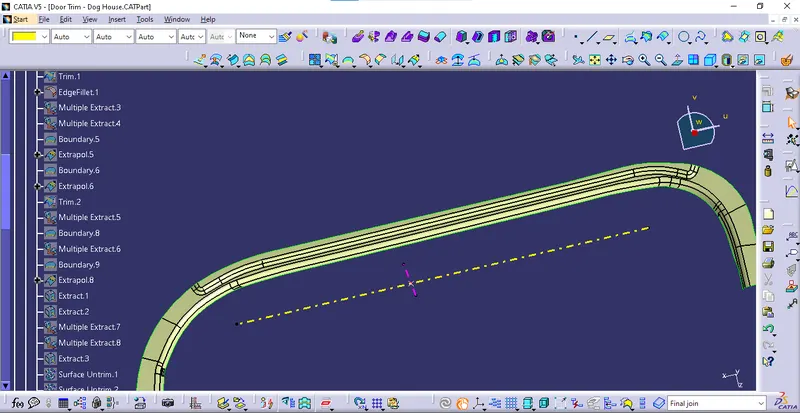
- In that edge I forget to fillet it then I fillet that it make problems to create the final join.
- Then I move to make a top fillet.
- So I extract the top surface into 4 parts.
- Then I untrim the 3 surfaces.
- Use extrapolate the surfaces to intersect each other.
- And to make a trim to trim the surfaces.
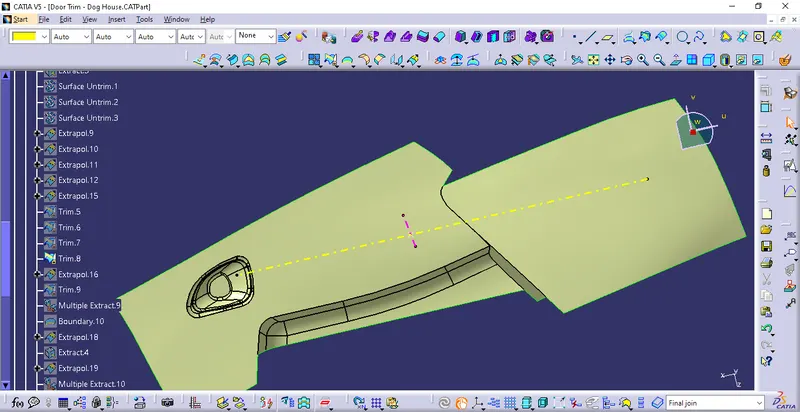
- Then trim the top trimed surface to the bottom trimed surface.
- If they does not intersect extraplate them.
- And use multi extract to extract the top pocket area and top fillet area.
- Extrapolate the edges of that multiple extract.
- Then trim them and give fillets to get a Class B surface.
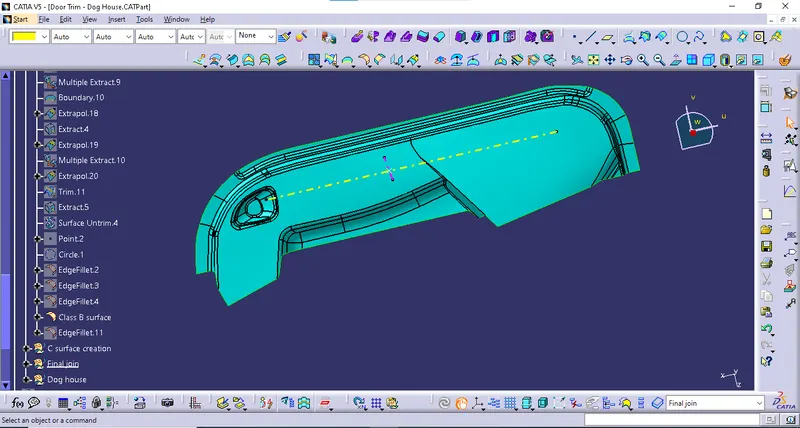
Class C surface creation :
- First I split the boundary of the Class A surface into 5 to 6 separate boundaries.
- Use sweep command to make a C surface.
- Use sweep with draft direction for which surface is perpandicular to the tooling axis with 3degree draft.
- And use sweep with reference surface for which suface is parallel to the tooling axis with 93degree draft.
- In some areas it make error so we make a boundary for one end and multiple extract for one end.
- Then use multi section surface to fill the areas.
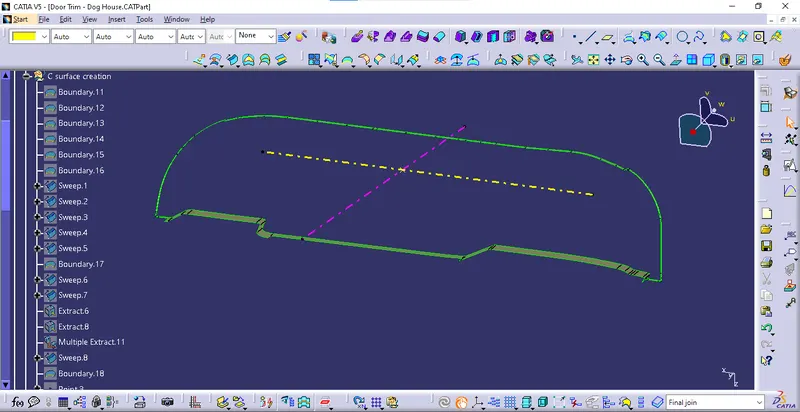
- Then use Join command to join them.
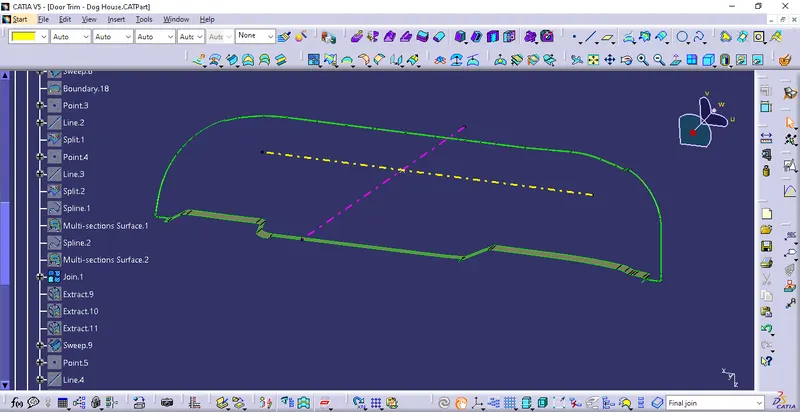
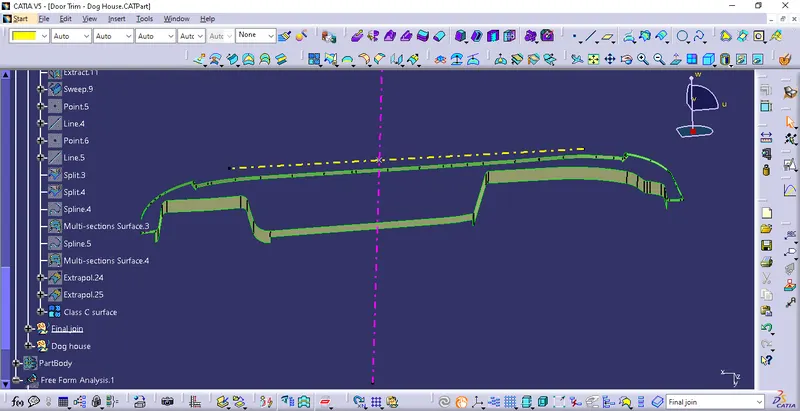
- In Class B creation I make a mistake so some more gaps are formed.
- Then I use the multi section surface to complete the Class C surface creation.
Class A and Class c join, Final trim :
- Extrapolate the Class A and Class C surfaces to intersect them.
- Then make a trim to join the surfaces.
- Unhide the Class B surface then extrapolate the Class A and C join and Class B surfaces.
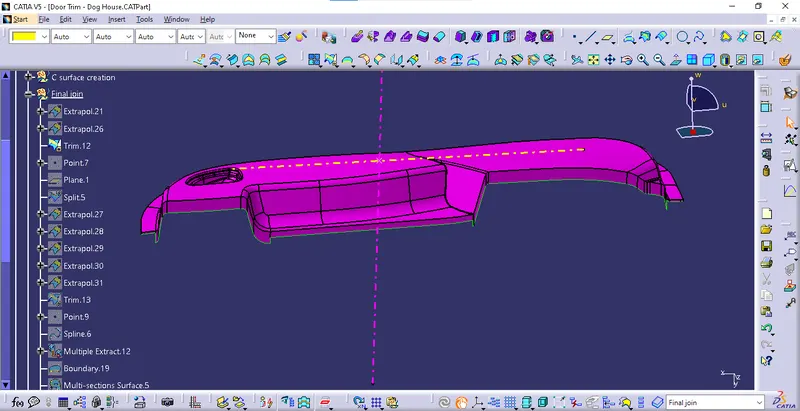
- Then make a final trim to trim the Class B and joined surfaces.
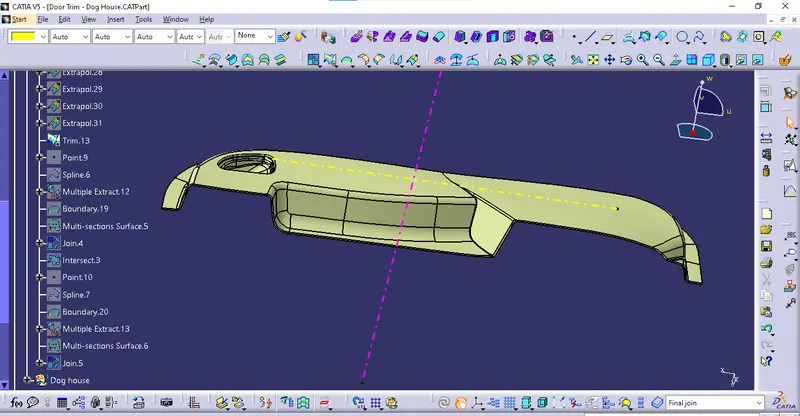
- In my mistake few more operations need.
- Then I replace the surfaces to make a closed body.
Closed part creation :
- Jump in to the part design.
- Insert a new body and define a body.
- Click the closed surface and select the final trimed surface to get a solid component.
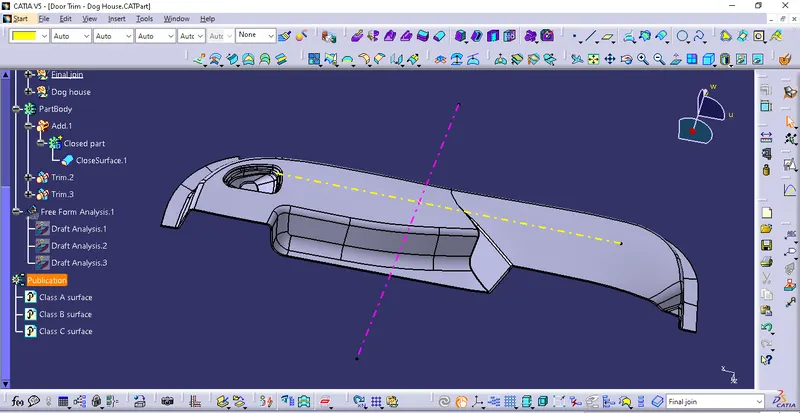
- And that is add to the main body.
Dog house creation :
- Insert a new geometrical set and name it as Dog house creation.
- Extract the Inner B surface and create a point on the surface.
- And create the offset of ZX plane on that point.
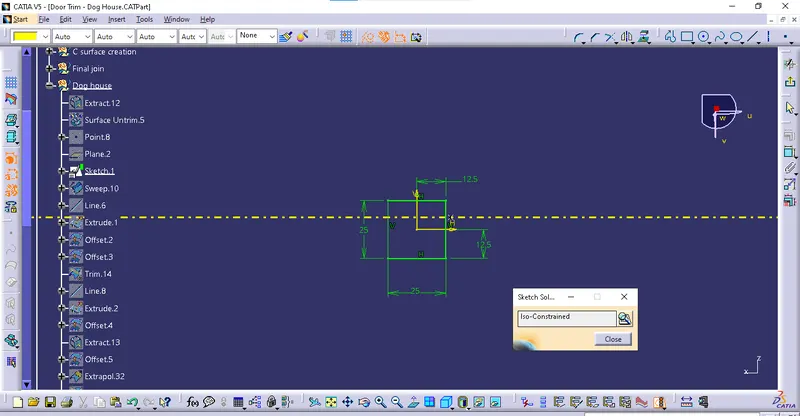
- Then create the sketch with position sketch.
- I create the dog house 25mm on each side and make one side as a construction element.
- Use sweep to make the dog house wall of hight 30mm and 1.5degree draft.
- The minimum dog house hight is 6mm.
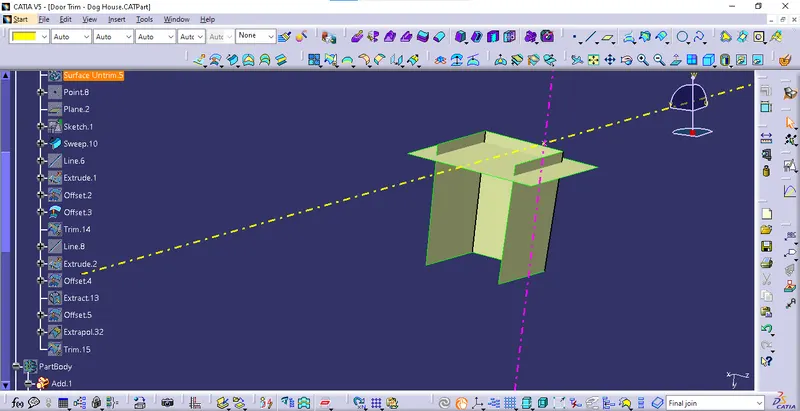
- Create the point on the top side of the dog house and create a line throght it.
- Then extrude the line to close the top of dog house.
- And trim them to get the dog house surface.
- Then use thicken surface to thicken the dog house 2mm outside.
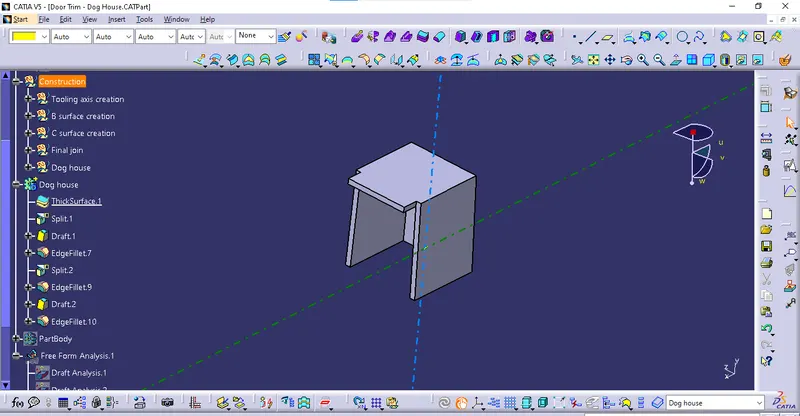
- And I create one extrude surface to split the front portion of the dog house.
- Then draft the inner surface of the dog house at 0.5degree.
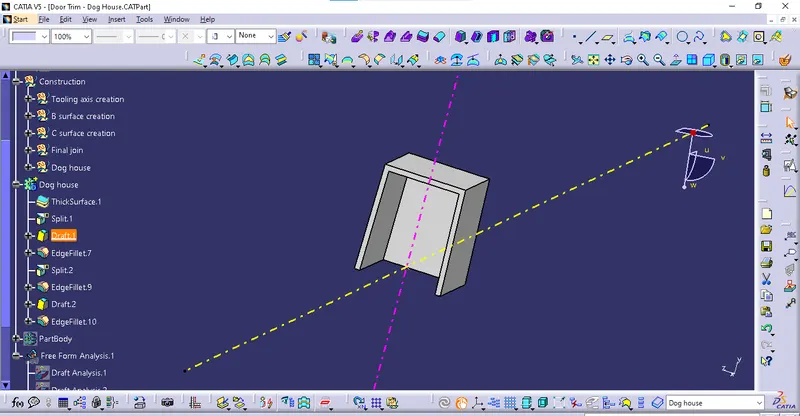
- Fillet the inner edges 1mm.
- Then I try to create the bottom contract area of dog house.
- Offset the top surface to 4mm from the bottom.
- And to extract the inner surface of dog house.
- Then offset that inner surface at 2.5*0.4= 1mm.
- And extrapolate the surface to intersect.
- Then trim them to get the bottom trimable surface.
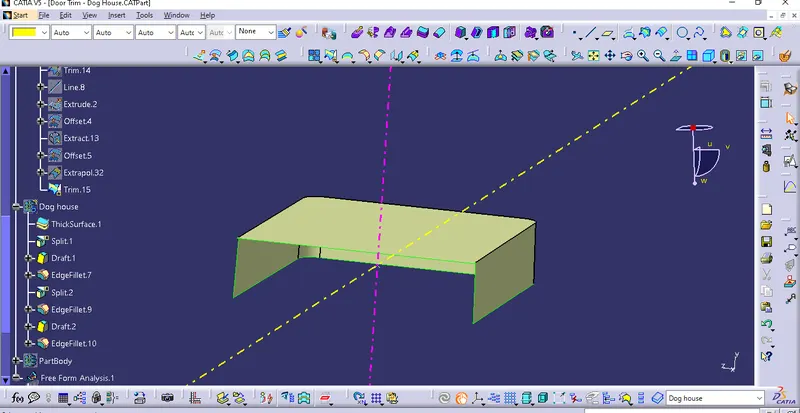
- Use split command to split the dog house.
- Then draft the contract surface for 0.5degree.
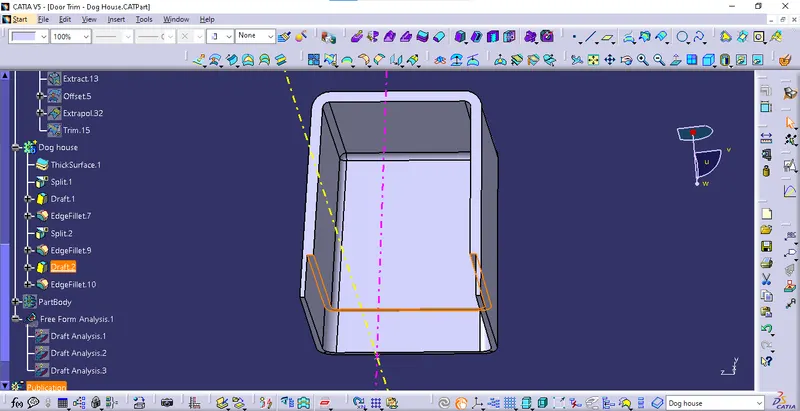
- Finally fillet the inside edges for 0.5 mm and outer edge for 3mm.
- Also create the side core axis for dog house.
- Create line on the same point which we create the tooling axis at Z direction.
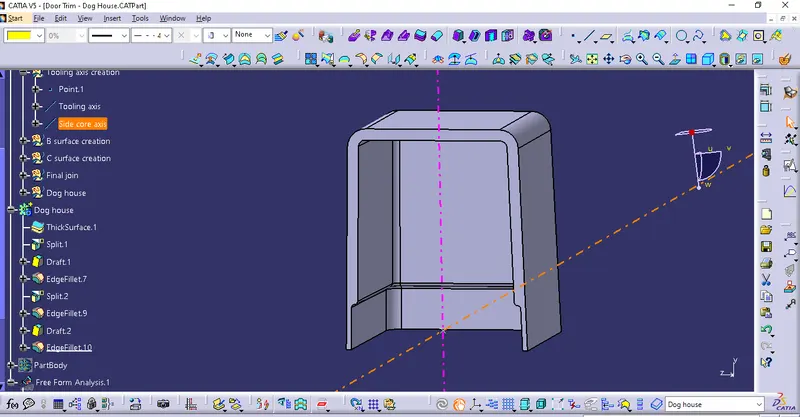
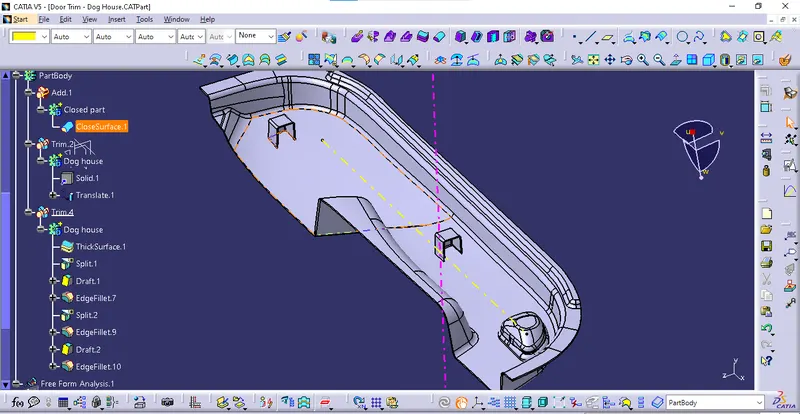
- Then copy the dog house and make paste special and click result with result.
- And translate to wherever we want by coordinate.
- Finally make union trim to part body with faces to keep.
Draft analysis of the final component :
- First click customize view to select maretial mode.
- Then select the draft analysis then select the compass and place it on the main tooling axis.
- Then click on the surface of the final component.
- Give draft value of 1.45deg.
Draft analysis of dog house with side core axis :
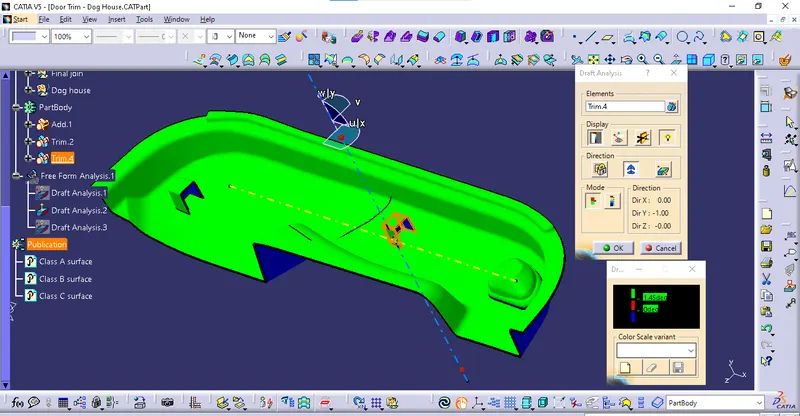
- Click the customize view and select material mode.
- And click draft analysis then select the compass.
- Then put the compass on the side core axis.
- And click on the dog house surface.
- Give draft angle 0.45degree.