Week 9 - Attachment Feature Creation (Ribs & Screw Boss) - Challenge 1
AIM:
- To create the door handle component from the given class-A Surface.
- To create the tooling axis for the given class-A surface meeting the requirements of the draft angle.
- To attach B side features in the component.
- To perform the draft analysis on the model.
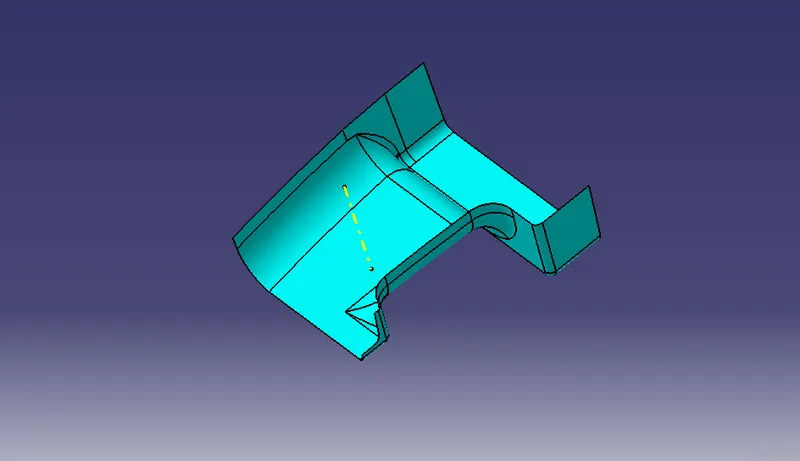
Tooling Axis:
The Dummy tooling axis is created to the main tooling axis.Take the intersection of the surface body and make the lines in the deficult area in the surface.Then Bisect the lines to create the tooling axis.
CREATING CLASS-B SURFACE
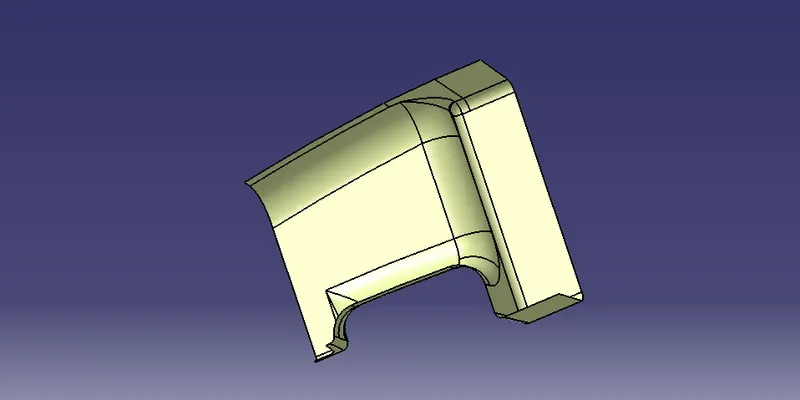
- Extract the surfaces from the class A using multiple extract and untrim them.
- Use Extrapolate to make sure that all the untrims are properly intersected to trim and offset the surfaces to 2.5 mm to create the thickness.
- Trim the extra surfaces using trim command.
- Insert them into new geometrical set and name it with respective part names.
- Apply fillets to the model after creating the entire surface.
- If the edges are outside the fillet value will be added to the thickness of the component and if the edges are inside, the fillet value will be subtracted from the thickness of the component, for instance the thickness of the component Is 2.5mm the fillet value is 15mm so the outside portion value should be 17.5mm and inner edges should be filleted 12.5mm to get uniform thickness.
- Perform trims one at a time so that it will be clear to understand.
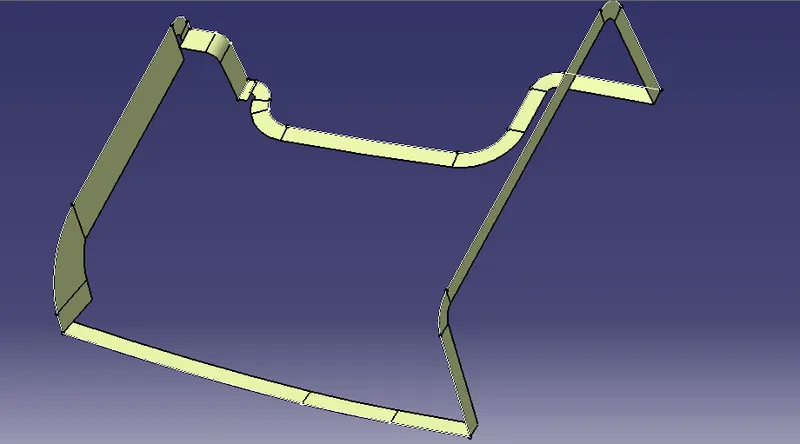
CLASS-C SURFACE:
The Class C finish allows more imperfections than Class A or B. Class C is often specified for interior surfaces not readily visible, surfaces that will be covered by another part when assembled, or surfaces. Join class-A and class-C surfaces. Make sure that there is no unnecessary boundary present, if there is then increase the merging distance to not more than 0.003mm. and even after there is some unwanted boundary, extrapolate class-A by a small distance and trim it with class-c instead of joining them.
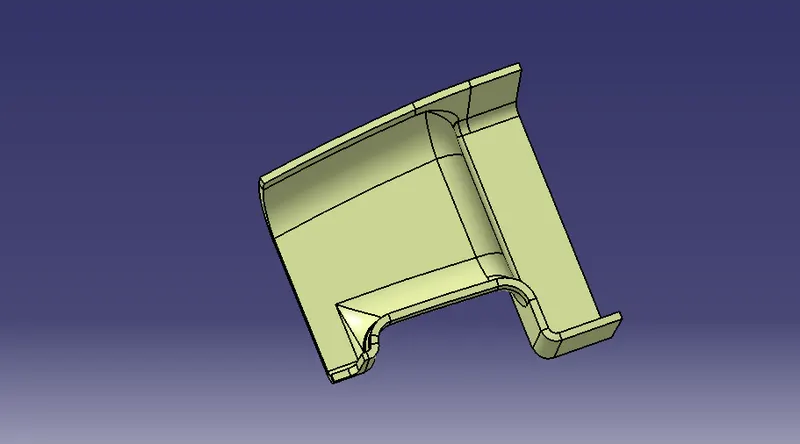
Join both Class-A-C and Class B:
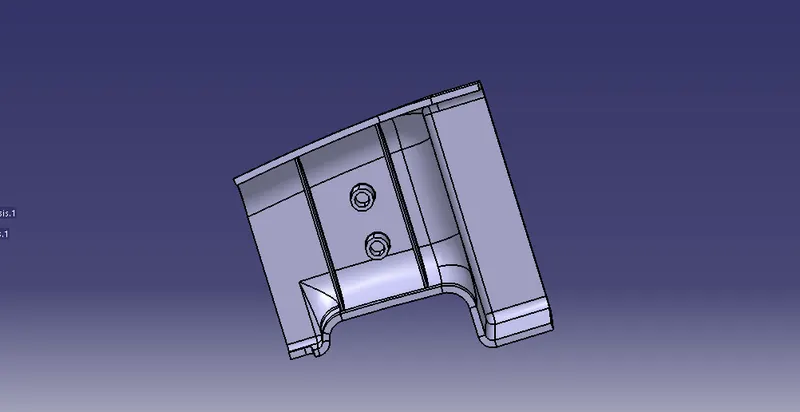
RIBS:
They increase the stiffness and strength without increasing overall wall thickness of the model which is not desired. They also facilitate as Locator and arrest components of an assembly. Providing alignment in mating parts and acting as stopper or guides for mechanisms.
Screw Boss:
These are the features given to a plastic body that is used for fastening the plastic component with another plastic/metal component. Sink Marks can be avoided by either increasing the screw depth into the material or by providing a impression of 0.3T.
Draft Analysis:
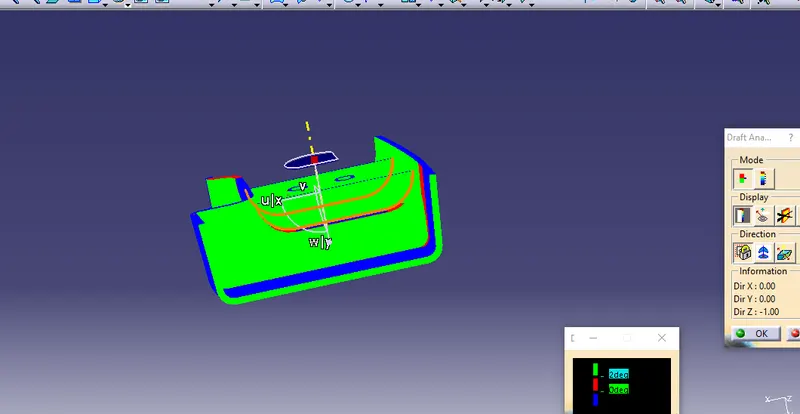
The Draft analysis is performed based on colour ranges identifying zones on the analyzed element where the deviation from the draft direction at any point, corresponds to specified values. Here I am taking the draft angle 0 to 3 degree. Value obtained less than 3 will be highlighted in red, These regions Drafting is not possible .Hence Tooling axis should be changed or additional process is to done to produce the part.The drafting are been performed in both the core and cavity side of Class A Surface. The Green colour Implies the draft angle are in the positive region. if The draft angle are been inverted the colour of the surface are imled as Blue colour.
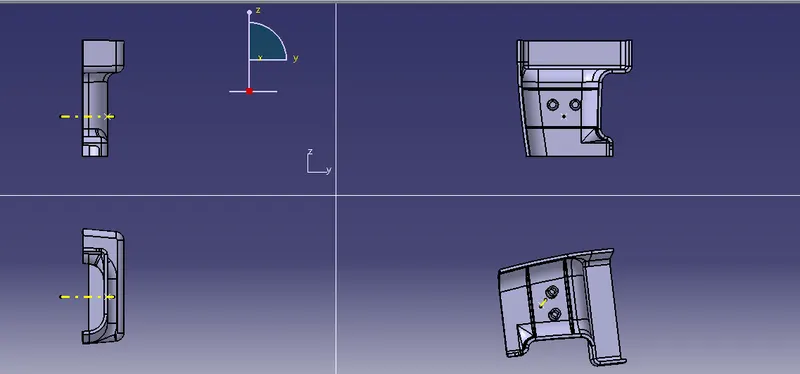
3 DIMENSION PART AND ORIENTATIONS:
- Front View
- Side View
- Top View
- Isometric View
CONCLUSION:
- The Door Handle Plastic Part Component using the Class 'A' surface are Created.
- The Tooling axis for a class 'A' Surface, which meeting the requirement of the draft angle are analysed and perfrmed.
- The solid model from the surface are created by using the Closed Surface Feature.
- To create a Attachement features Ribs and Screw Bosses on the created Class B Surface.
- The detailed report which explains the Draft analysis and Tooling Axis cration and colour scale varient are explained.
- The Class A, B and C surfaces are Published using the publication option.
- The expanded Tree Structure for the Geometrical Sets are explored .
- The expanded tree structure for part design are explored.
- The 3D part Model with various orientations are attached.