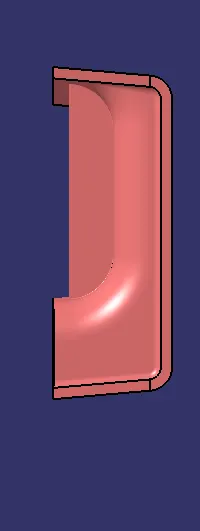
Week 9 - Attachment Feature Creation (Ribs & Screw Boss) - Challenge 1
Attachment Feature Creation (Ribs & Screw Boss)
AIM:
- To Create the Door Handle Component from the given Class-A surface.
- To Create the tooling axis for the given Class-A Surface meeting the requirements of the draft angle.
- To Attach B side Features in the component.
- To perform the Draft analysis on the model.
Class A surface
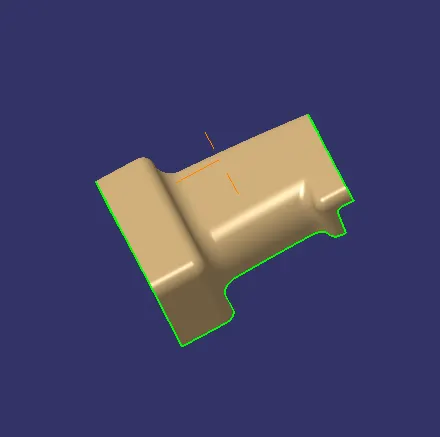
After taking Class A surface now we have check the condition iof class A if there is any boundaries or any sharp corner.
If we observe any discontiniuty or sharp corner develop the A class A surface.
here the class A surface is looking good.
So now i crreating a tooling axis by bisecting method.
Tooling Axis creation:
By analysing the component the most easily ejectable direction is somewhere close to the Z direction,(might be inclined to it) so we have made a sketch on the YZ plane of Axis System) to create a bisecting line considering the 2 faces which might be difficult to be tooled.
So that first i created point on the surfaces that by bisecting class A
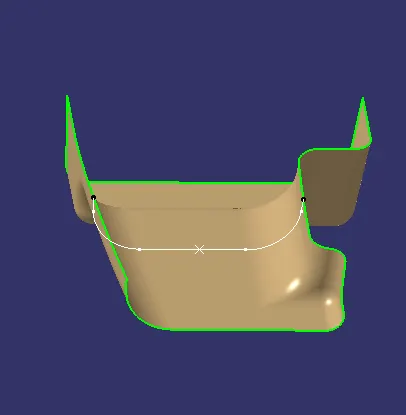
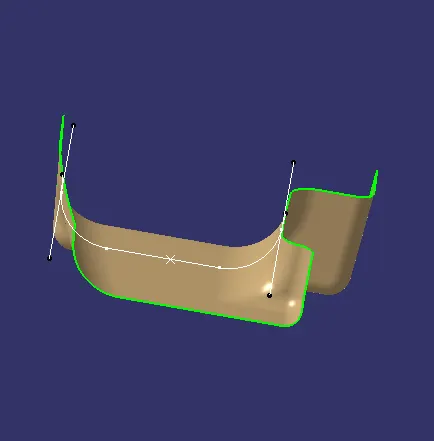
Then resultant tooling axis is created using the bisecting method.
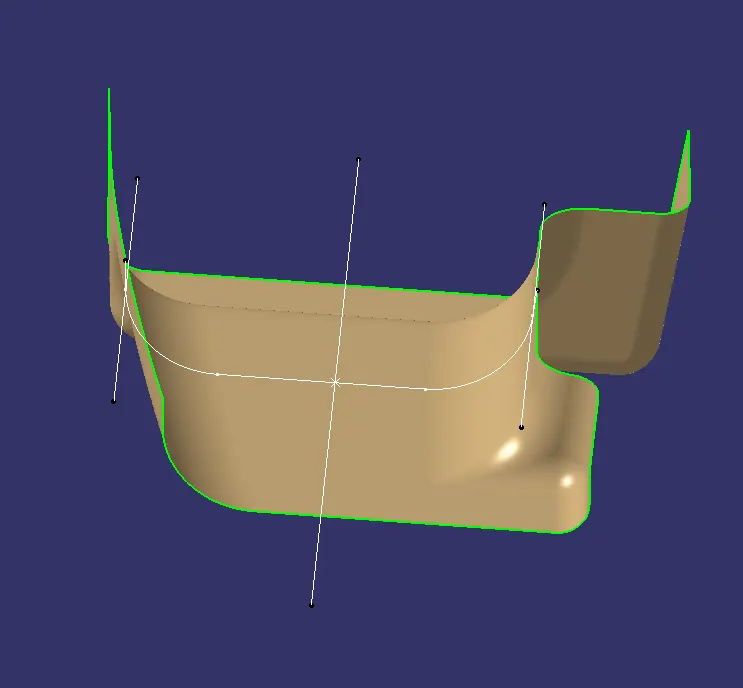
From the Tooling AXis we will perform the draft analysis to class A surface.
Drafting Class A Surface:
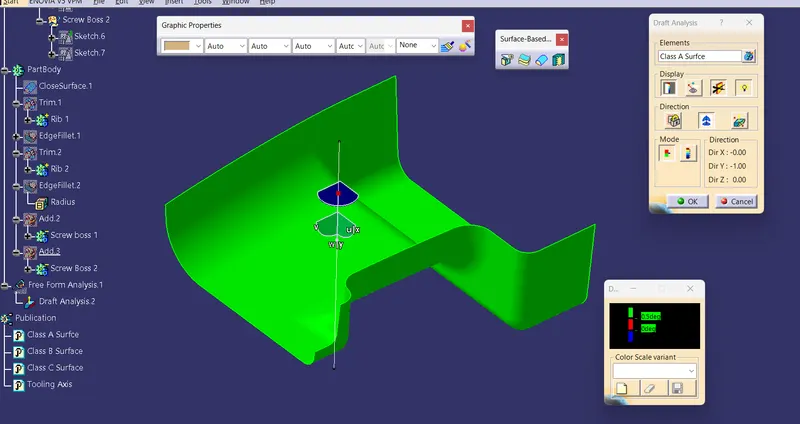
- Go to insert > analysis > feature draft analysis.
- Align the compass with the tooling axis.
- Then, click on the Class-A surface to see if the it is within the permissible limit of the draft values.
- The part must have a minimum draft angle of 0.5 degrees on all the tapered faces
Class B Surface Creation
NOw the class A surface to 2.5 to required direction
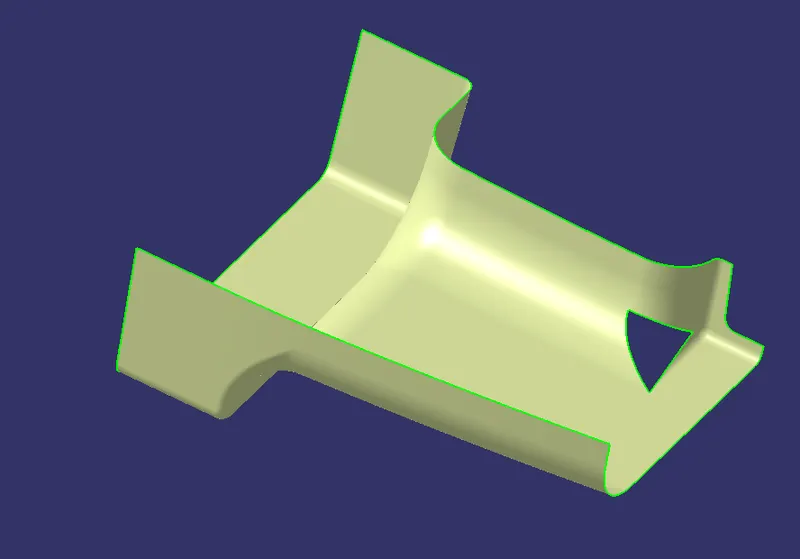
So we one patch in offset surface we clear the patch by multi section tool.
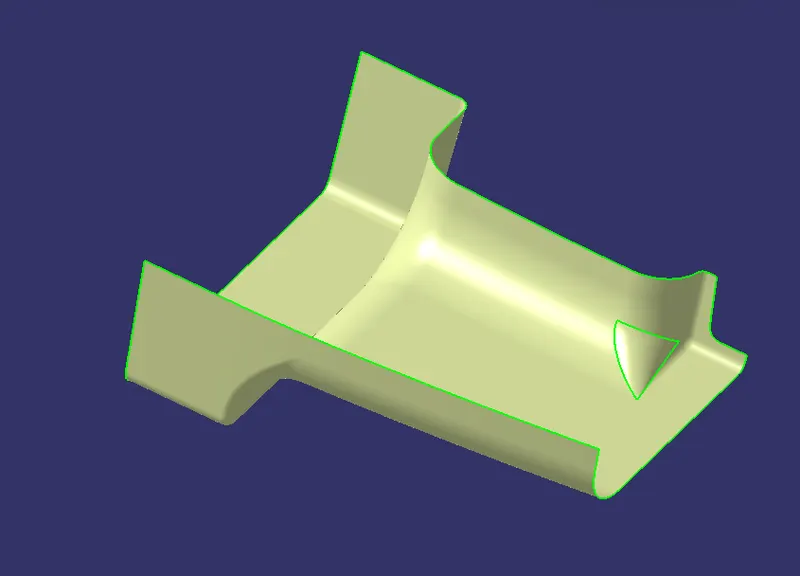
After creating the multi section.join the both the surfaces
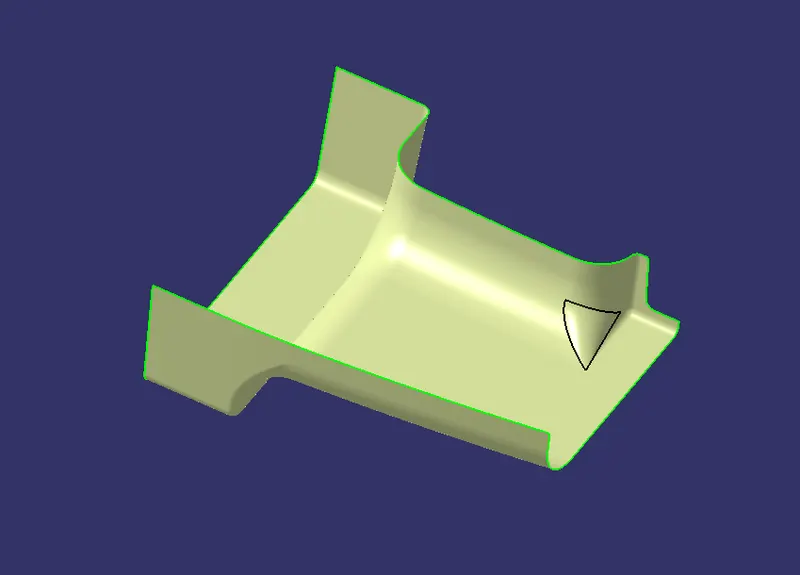
So that our B surface is created
Creating C surface
- he class C surface which connects the class A and class B surface is created by sweeping the boundary of the class A and using the class A as a reference.
- The sweep is divided into several parts in order to avoid complexity
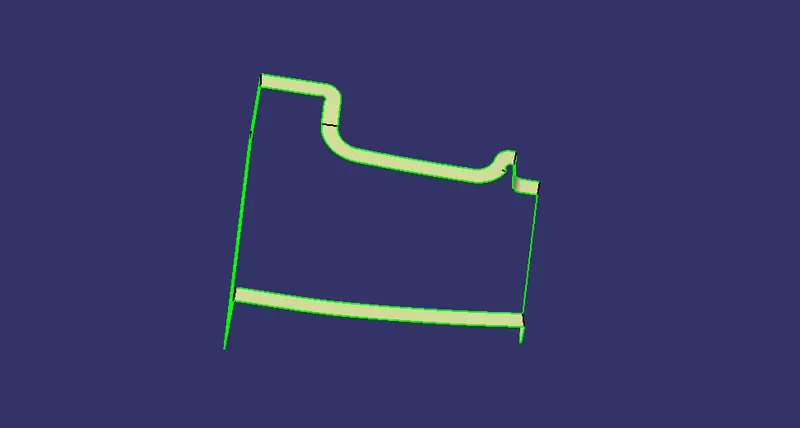
And join all the sweeps and join with class A surface
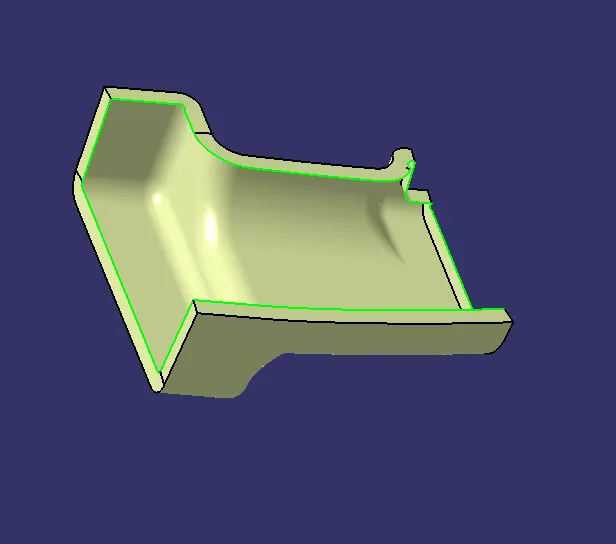
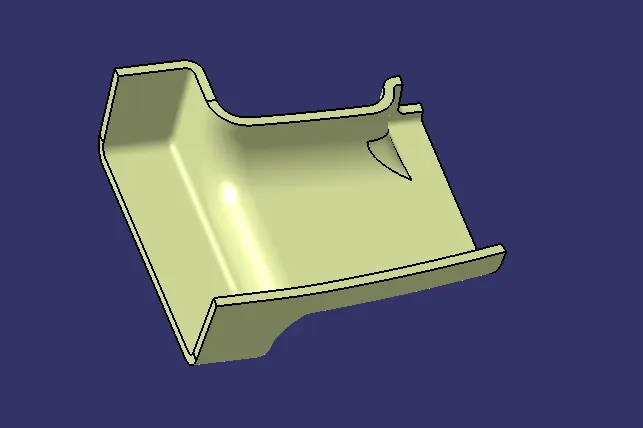
So that class C surface is created .
B SIDE FEATURES CREATION
RIB CREATION
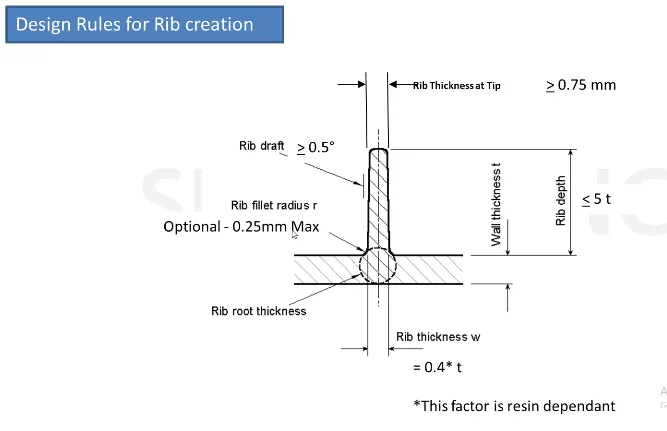
- Design Principle for Rib Creation
-
Ribs are thin wall protrusions that extend perpendicularly from a wall or plane. They are usually found in clusters offering support to a plane that would have otherwise been too thick, but can also be stand-alone support for a single wall. They are commonly used to provide additional support and strength to a part. Thickness and location are essential to rib design.
First, the base surface where the rib has to be created is extracted using the Extract command. A positioned sketch is created and the profile for the rib is drawn.
-
Next, the profile is extruded, to find the height,h=Wall thickness * 5
=2.5*5
= 12.5 mm
Therefore, the height is 12.5 mm
-
The extruded surface is thickened,
Thickness,w=0.4*t
=0.4 2.5
=1mm
Therefore, the thickness of the rib is 1 mm
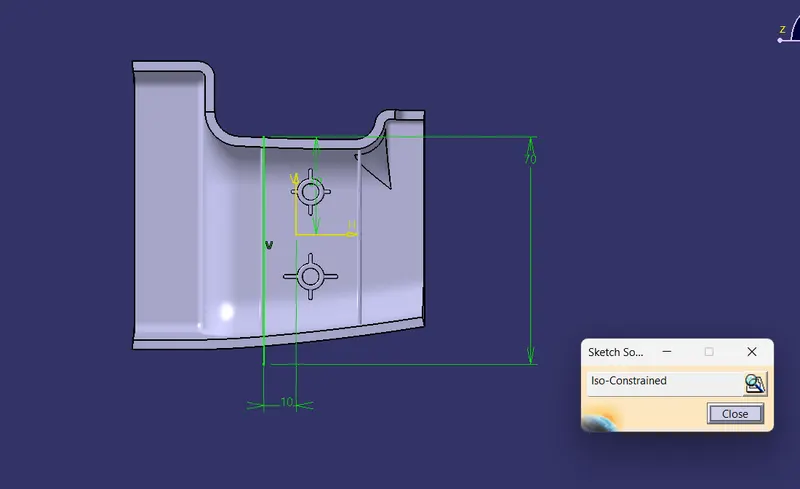
After the surface create the point make plane on the surface and draw the positioned sketches to create the ribs
sketch 1
sketch 2
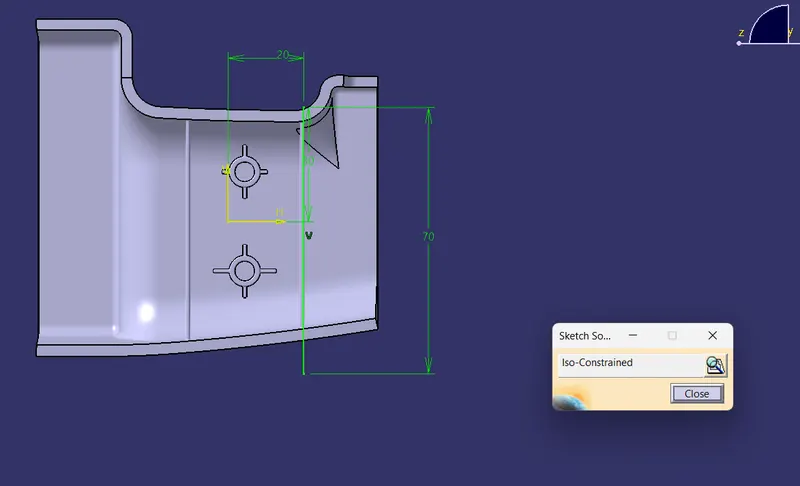
i created the sketches and insert the bodys thick it so my ribs are obatined.
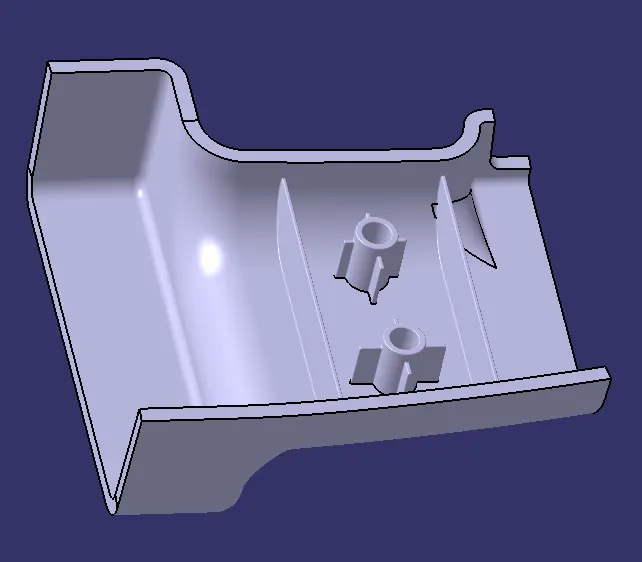
- SCREW BOSS DESIGN
- Design Principle for Screw Boss Creation
General Guidelines for Bosses:
- Draft - 0.5 degrees on the walls of boss
- Thickness - Typically 40%* of the nominal wall at the base.
- Height to Diameter Ratio - 3:1
- Radii - 0.25mm maximum radii.
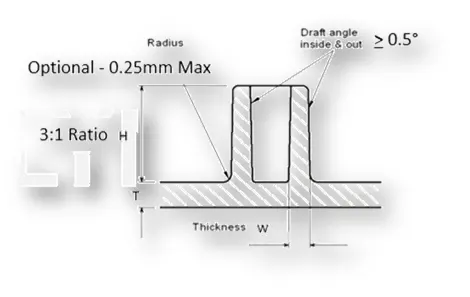
In similar way of ribs i created a sketches for the screwboss
For Screwboss 1
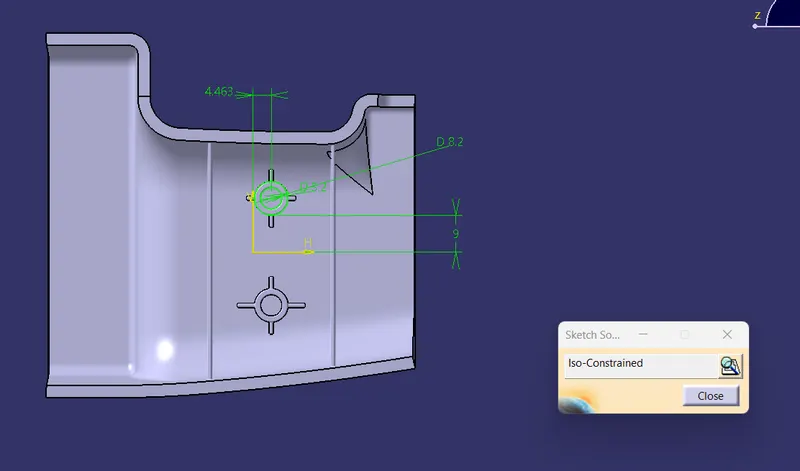
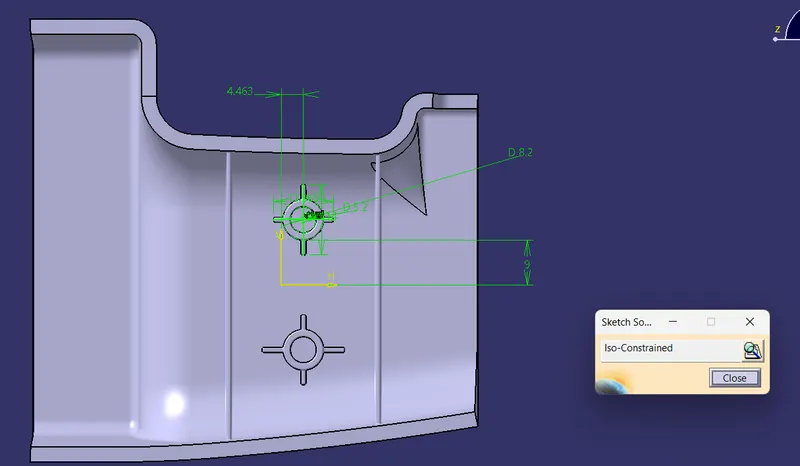
For Screw boss 2
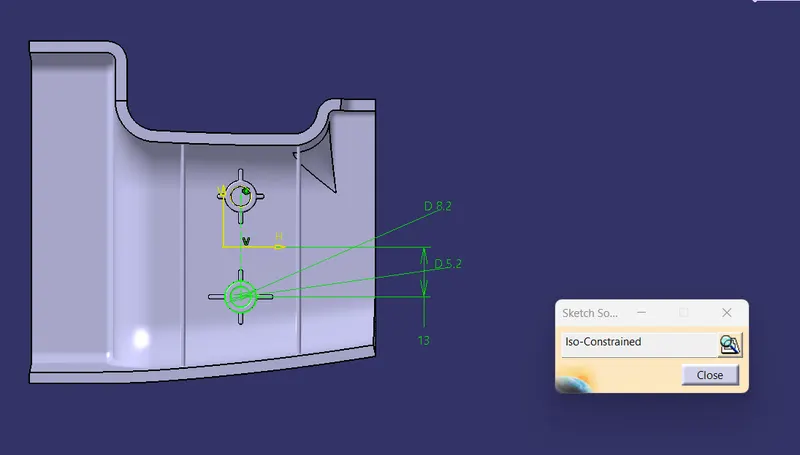
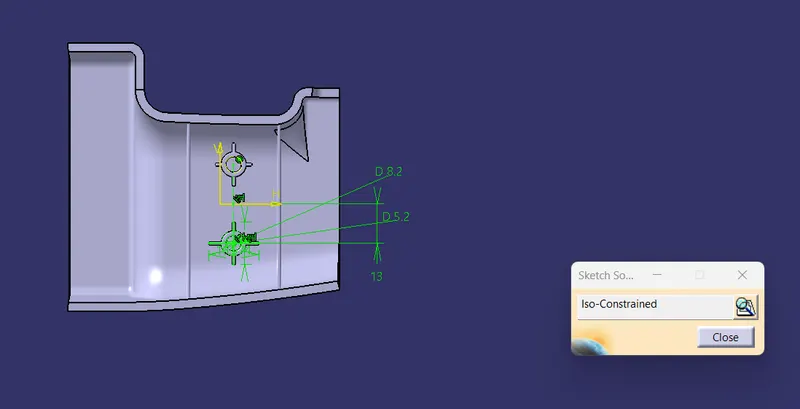
i created the sketches and insert the bodys thick it so my Screw boss are obatined.
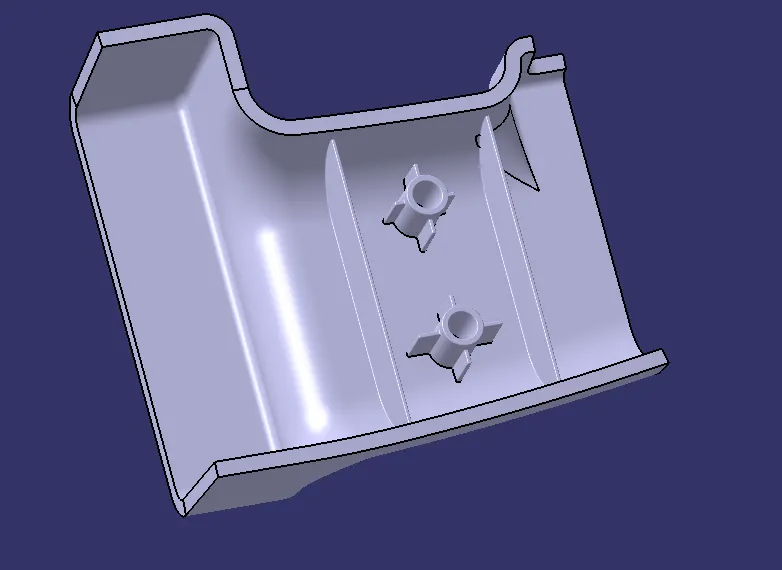
so that my screw boss are created i gave minimum draft angle for th both 0.5 deg
After that i added all the bodys to the main body to perform the draft analysis
Draft analysis on plastic component
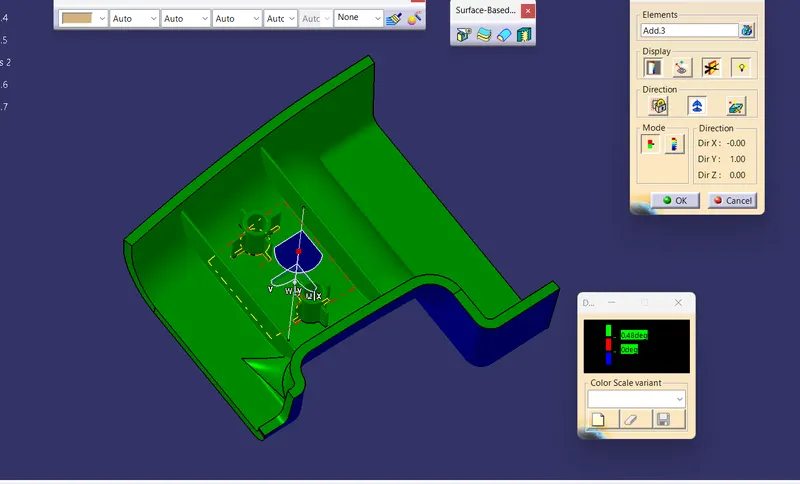
Here 0.48 deg my draft angle is get clered for srew boss and ribs
- Screenshots of the completed design in various orientations (Isometric, Front, Side, and Top View)
Isometric view
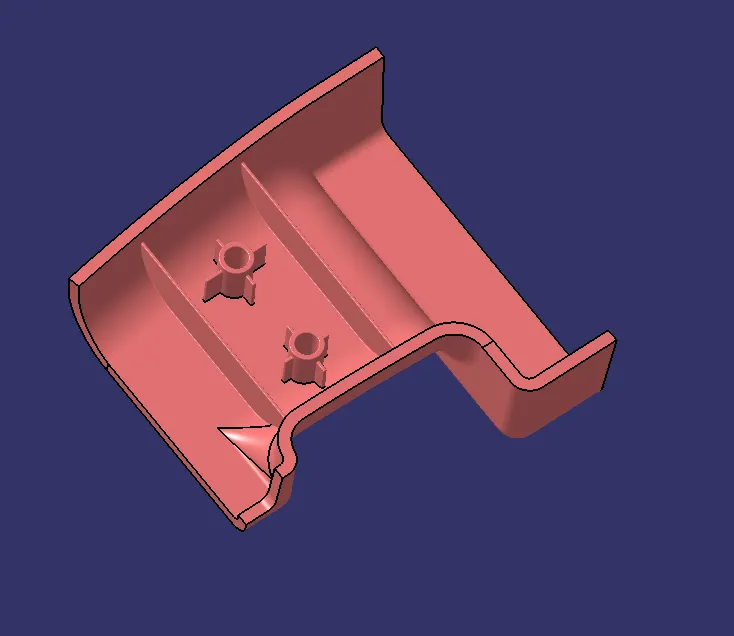
Front view
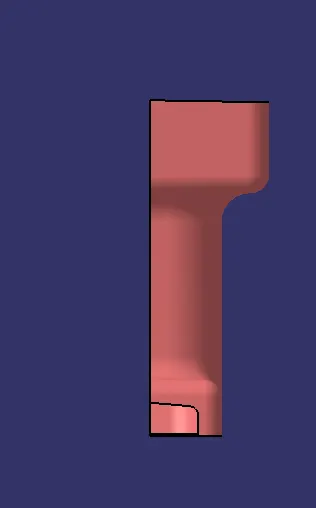
Side View
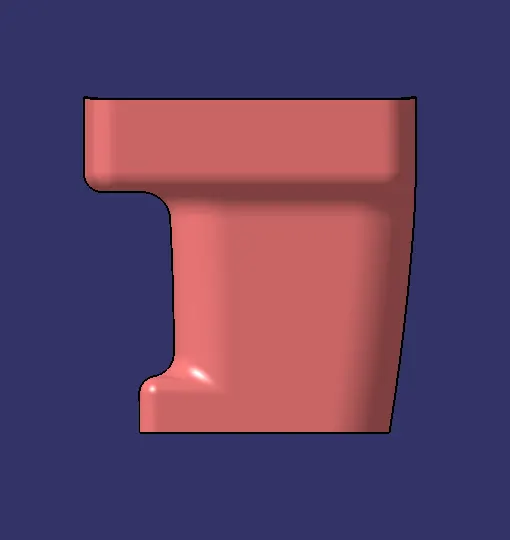
Top View