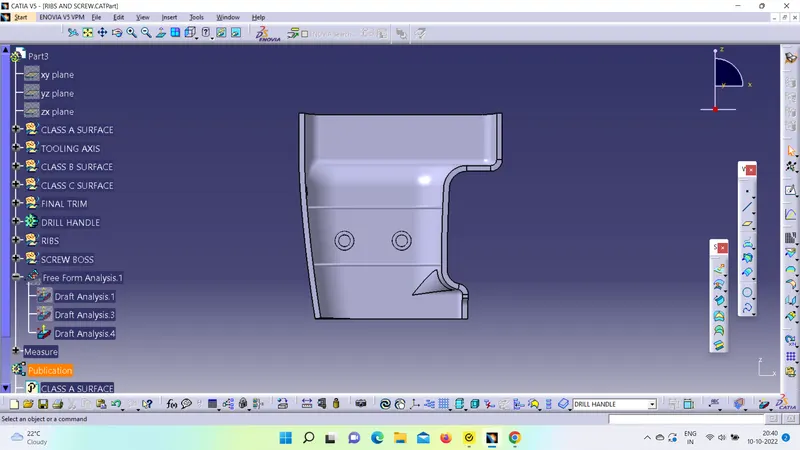
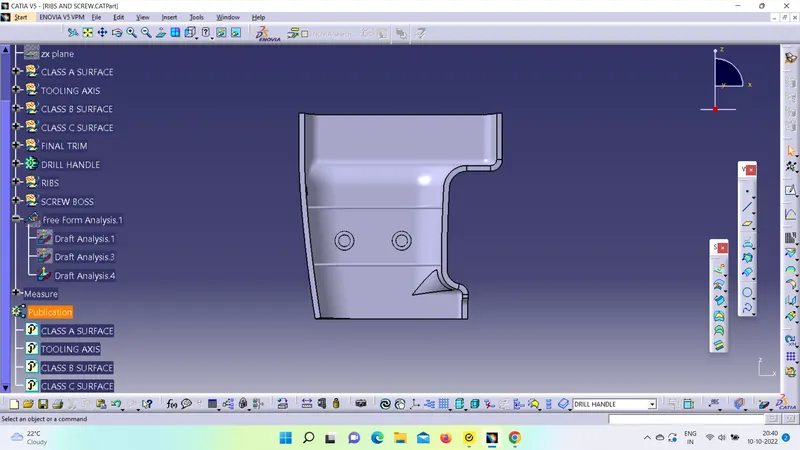
Week 9 - Attachment Feature Creation (Ribs & Screw Boss) - Challenge 1
AIM - To create the ribs and screw boss for the drill handle considering the design rules.
INTRODUCTION - Rib & Screw Boss are the Engineering Features which is on "B surface". There are some Design Rules to avoid Plastic defects.
Ribs - Ribs are usually design to Improve Strengtth of Plastic Part without increasing the thickness of the component.
Screw Boss - It helps to screw component together.Screws are secondary features which is on B surface.Bosses are used to attached & assembly features of many component.
PROCEDURE - To create ribs and screw on the component, we have to follow the procedure which is explained below:
(1) TO CHECK CLASS A SURFACE - We need to ensure that our Class A Surface is accurate. There should be no error.
For checking it :
(i) Create a boundary.
(ii) Then disassebmle the boundary
To ensure our there is no patches or discontinuity in the CLASS A SURFACE.
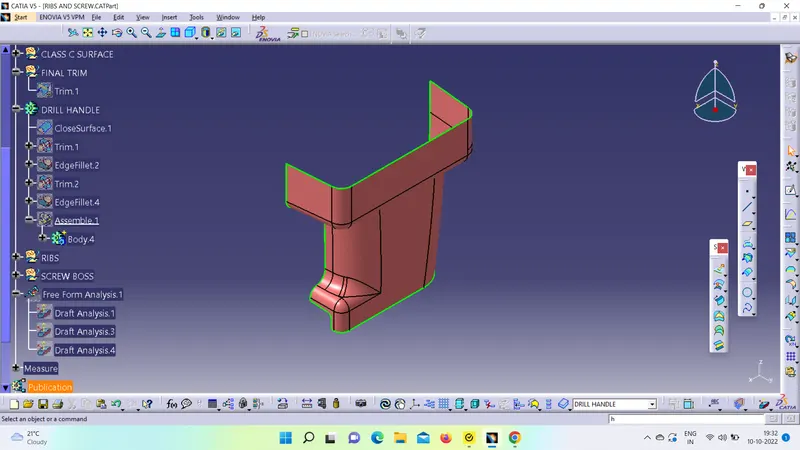
(2) CREATE TOOLING AXIS - We will create the tooling axis by checking all the directions to see the direction in which our component is component visible. The direction is Y axis . Now, we will create a line using point direction in the y dircation. Tooling axis is basically that direction in which the mold pulls apart.
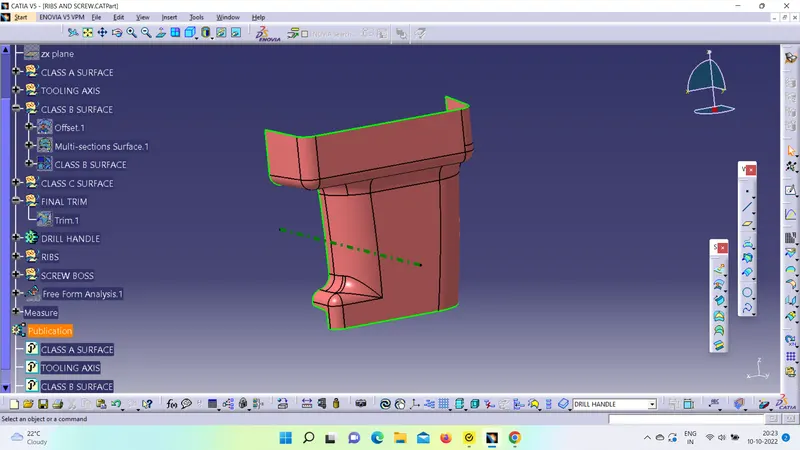
(3) CREATE CLASS B SURFACE - We can create it, by taking an offset from Class A Surfaec of 2.5 mm in the downward direction. During offset, it will show a popup which states that offset will be created without the subelements. Click on Yes and it will appears as shown below:
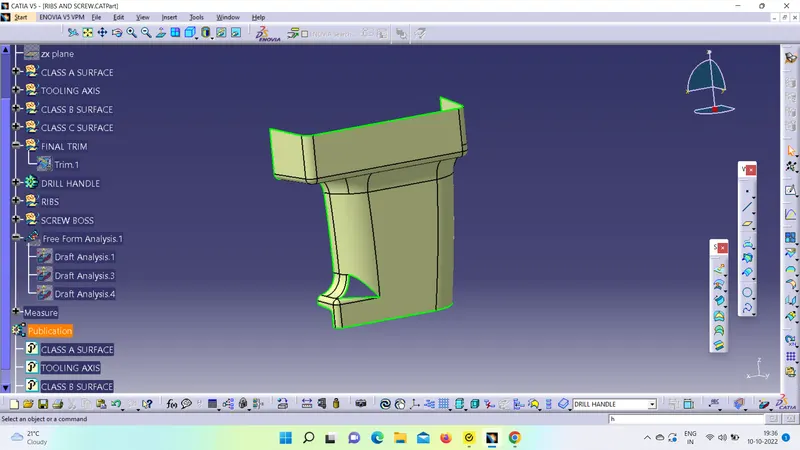
Now, we need to remove the patch by using multi section surface and then join it with the offset to get the class B surface which is shown below:
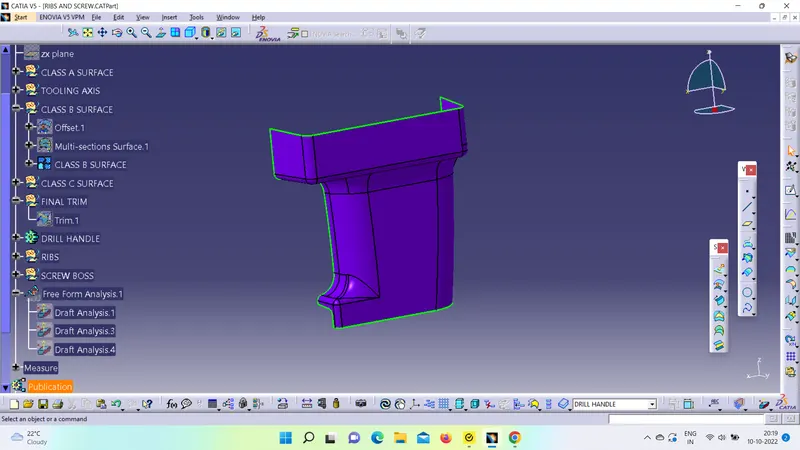
(4) CREATE CLASS C SURFACE - With the help of Class A Surface we will create a sweep to get the C surface.
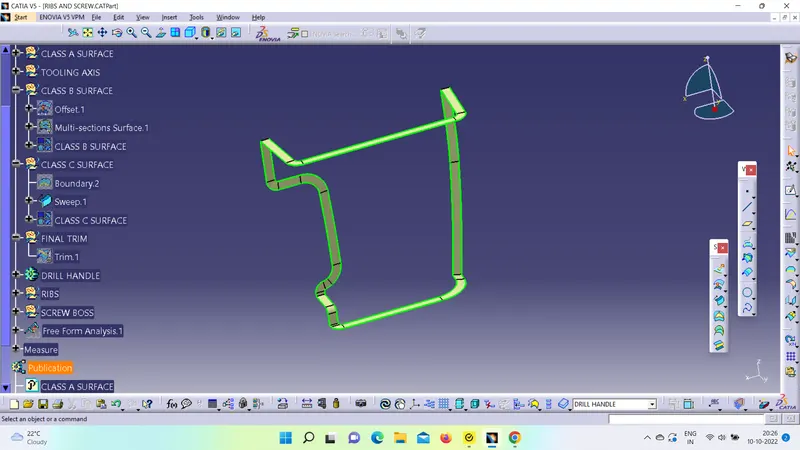
Now, we will join the above surface with the Class A Surface to get the below output .
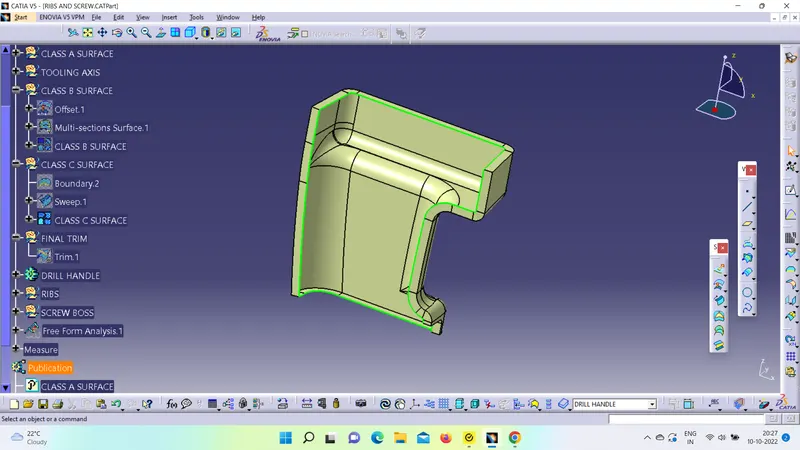
(5) TRIM - Now, we will trim the Class (A+C) surface from the class B surface to get the final component.
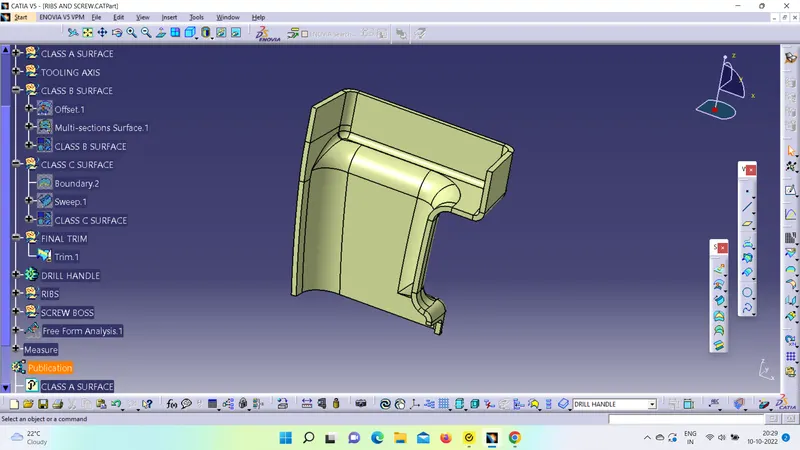
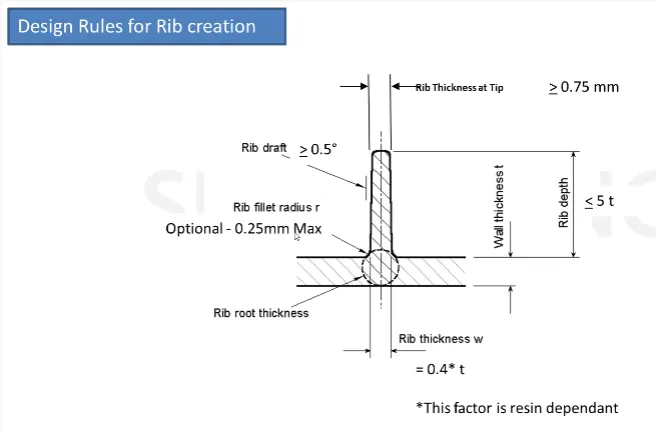
(6) CREATE RIBS AND SCREW BOSS- We will create the rib and screw boss using the below design considerations:
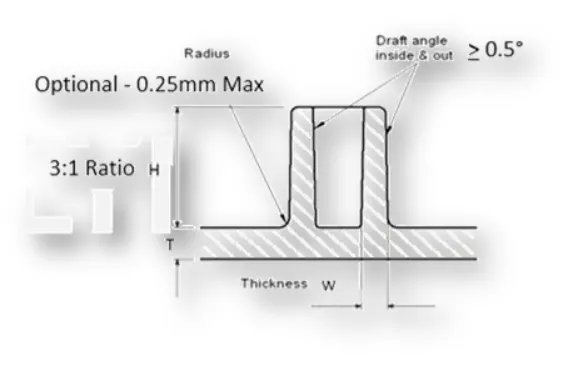
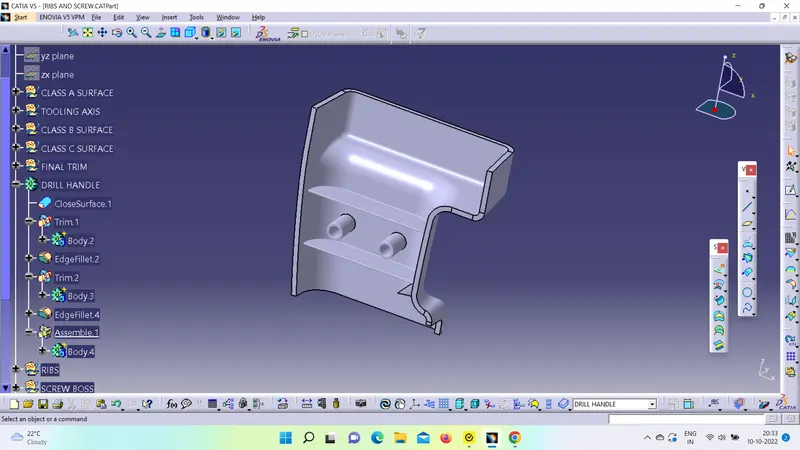
Now, we will get an output which is shown below:
(7) DRAFT ANALYSIS - We will perform draft analysis on the final component and after performing. We will get the result which is shown below:
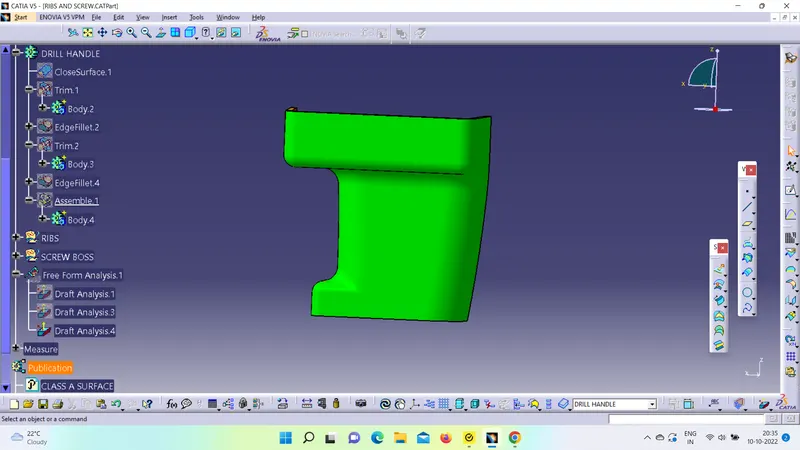
CONCLUSION : We will get an output in which we have make ribs and screw boss on the CLASS B SURFACE.
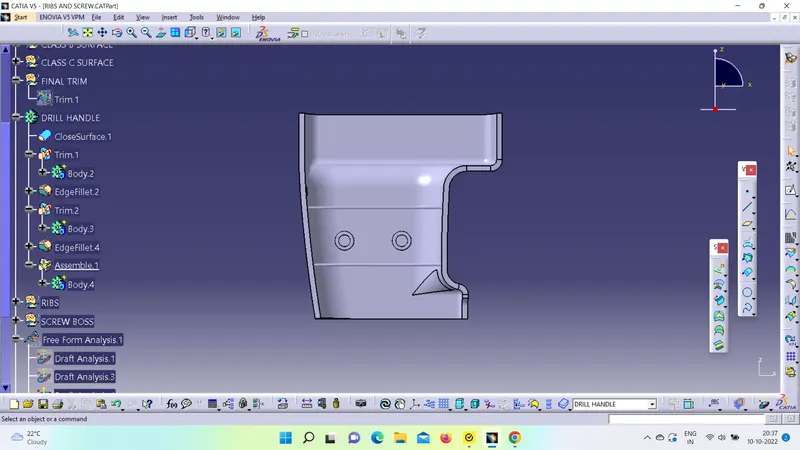
ALL VIEWS OF THE COMPONENT :
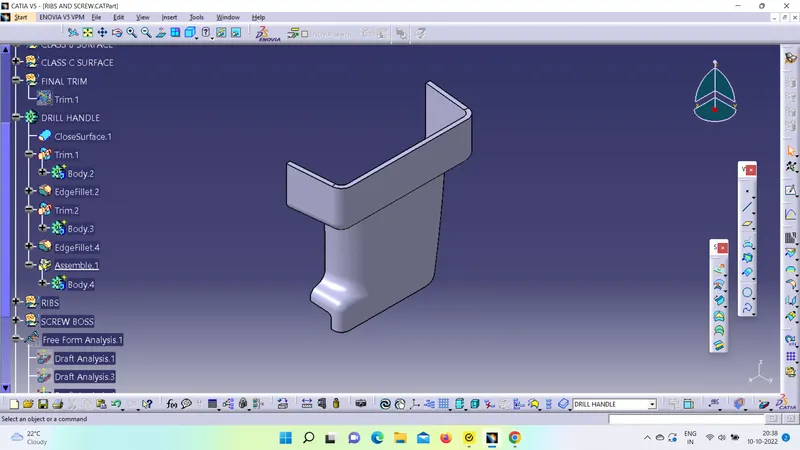
ISOMETRIC VIEW -
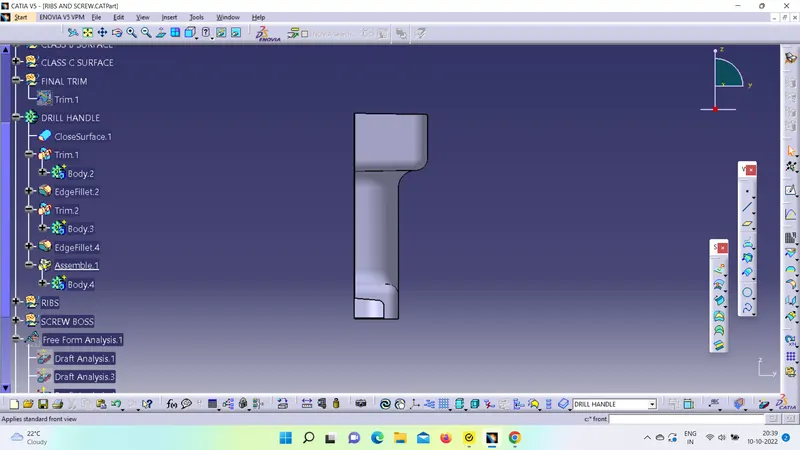
FRONT VIEW -
TOP VIEW -
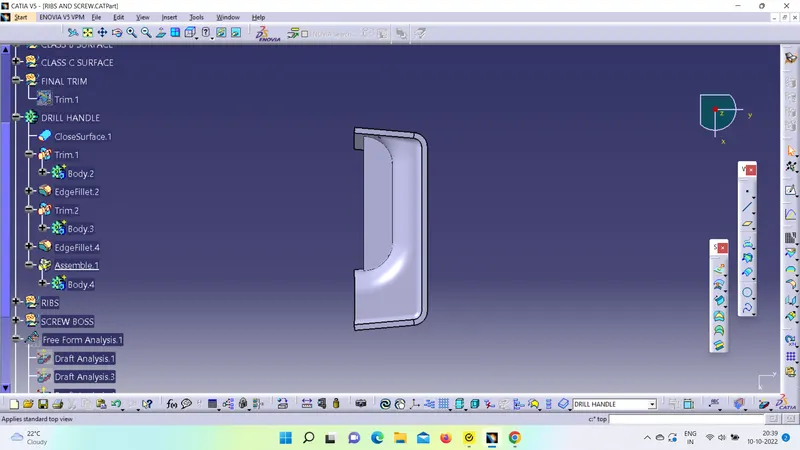
SIDE VIEW -
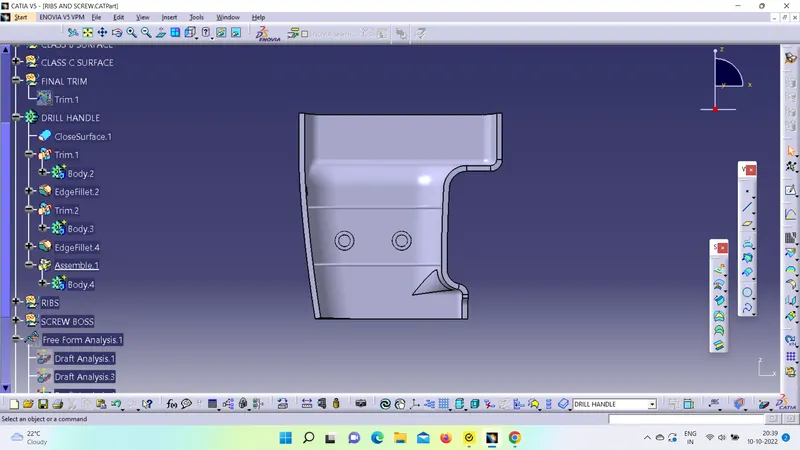
FEATURE TREE -