Week 9 - Attachment Feature Creation (Ribs & Screw Boss) - Challenge 1
PROJECT
Drill Handle with Attachment Features Creation
Aim:
To create the Rib & Screw boss for the Drill Handle through a given input Class A Surface and Tooling axis to Draft Analysis on the A surface and final plastic component.
REPORT:
Drill Handle:
Class A Surface:
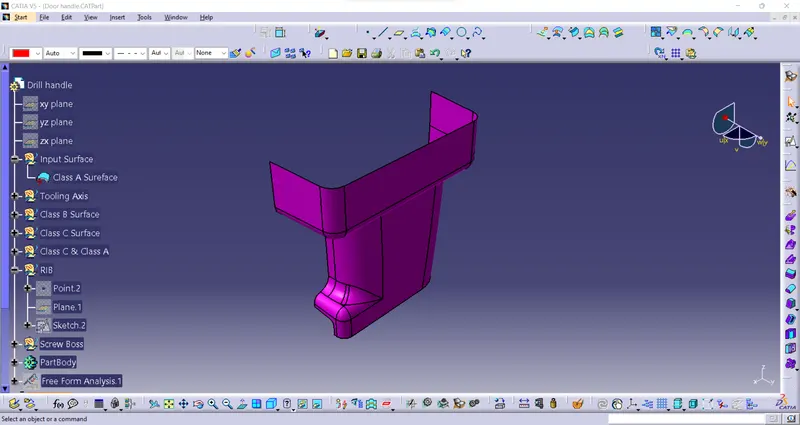
- To start the design process we need to find out the tooling axis for the surface and check the drafts using the Draft Analysis tool in CATIA.
- And Publicize the A surface.
Tooling Axis:
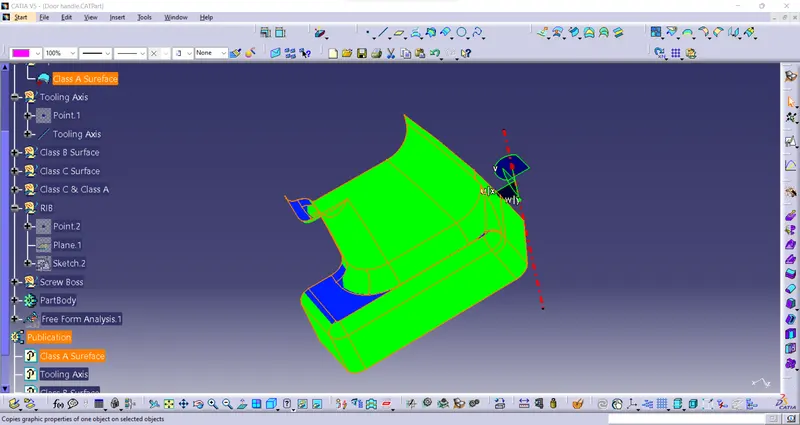
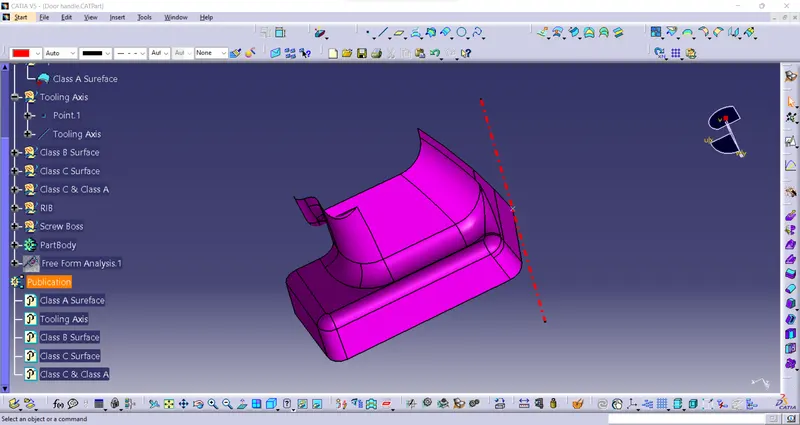
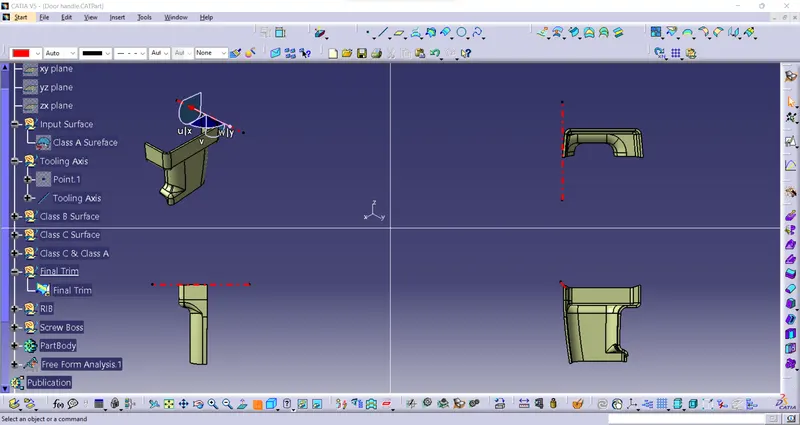
- Create a point (Coordinates) 0,0,0 mm and Create a Line - NormalTo Surface click on the point and take a surface (zx plane), give some color and make it a dashed line.
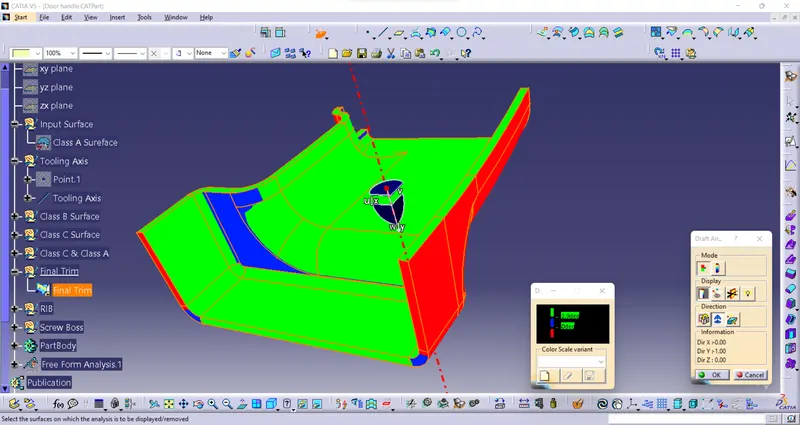
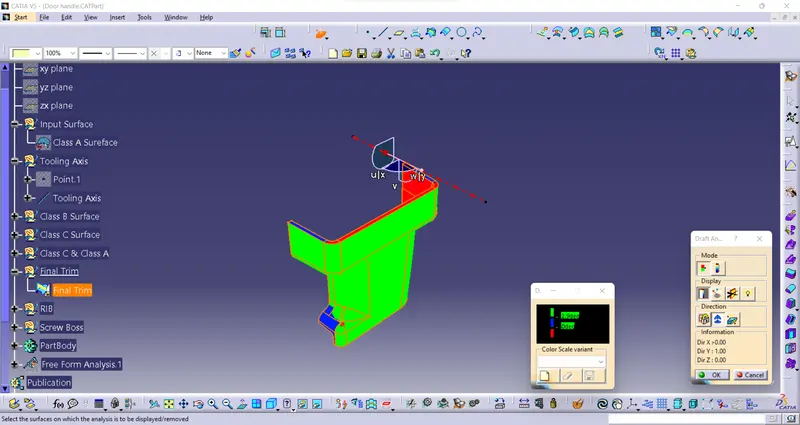
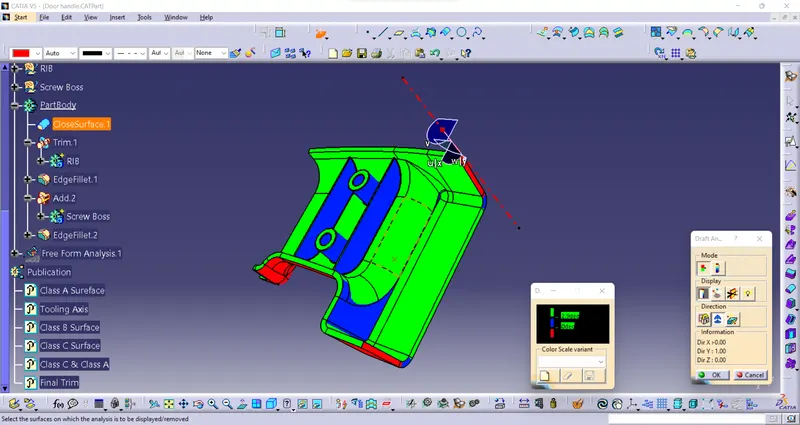
- Take a draft analysis with A surface in positive green and blue, little deviation is there.
- And same thing to do in final draft analysis with final solid component, it seems a deviation green and blue that’s fine acceptable.
- And Publicate the Tooling Axis.
Class B Surface:
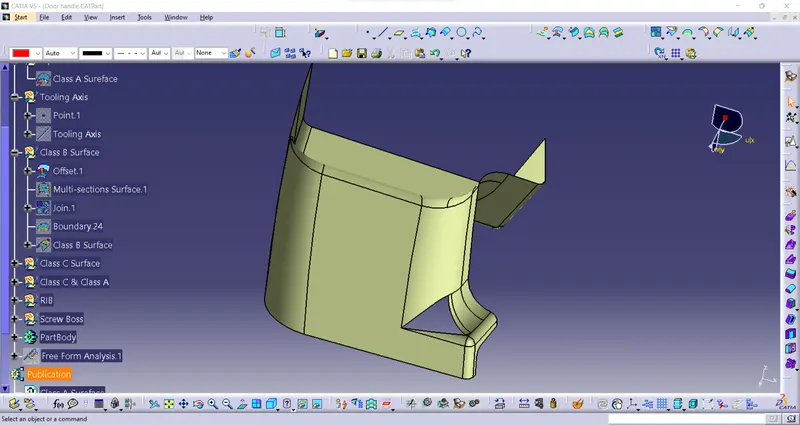
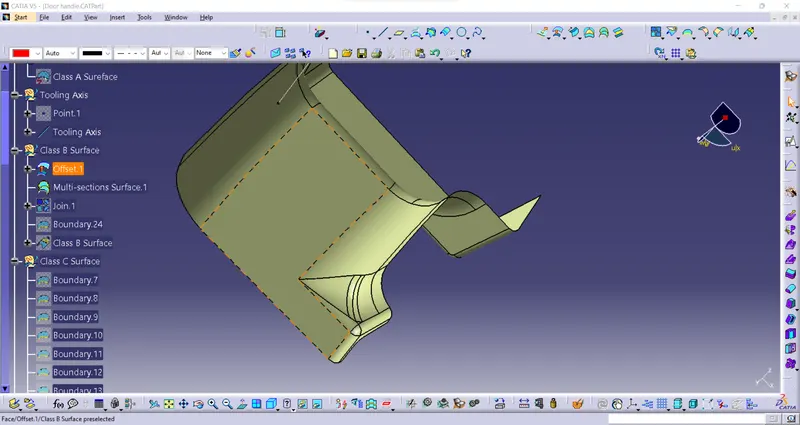
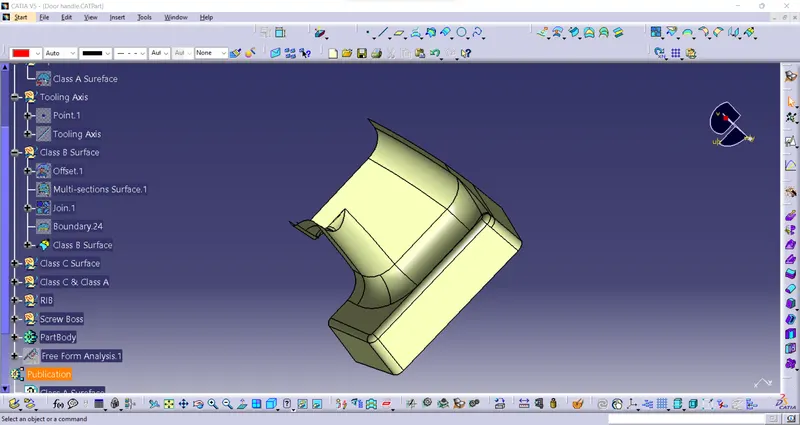
- Take a 2.5mm Offset from Class A Surface upward towards the unfinished surface we get .
- Take a multi section surface to fill it and join the both surfaces, This is Class B Surface.
- Then Publicize the B-Surface.
Class C Surface:
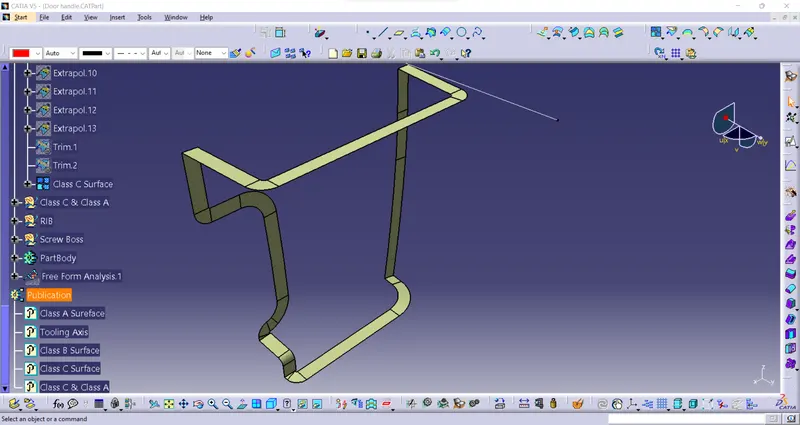
- Unhide the A Surface to Take a boundary as a reference to make C surface.
- Go to sweep line-> with Reference Surface 87 degree draft angle for all sweep.
- And join all the sweep parts to make a Class C surface.
- Then Publicize it.
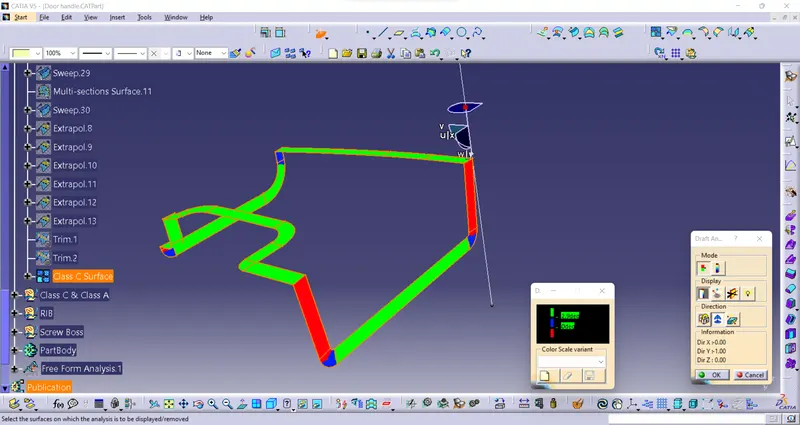
It's show some deviation.
Class C & Class A Surfaces:
- Join the both finished Class C and Class A surfaces.
- Then Publicize it.
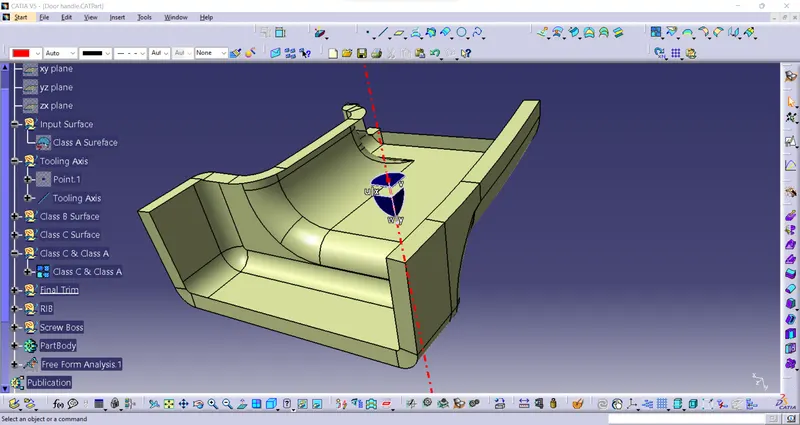
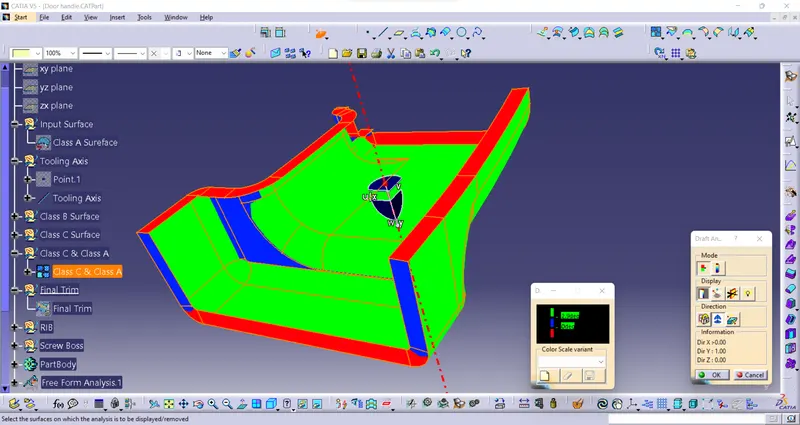
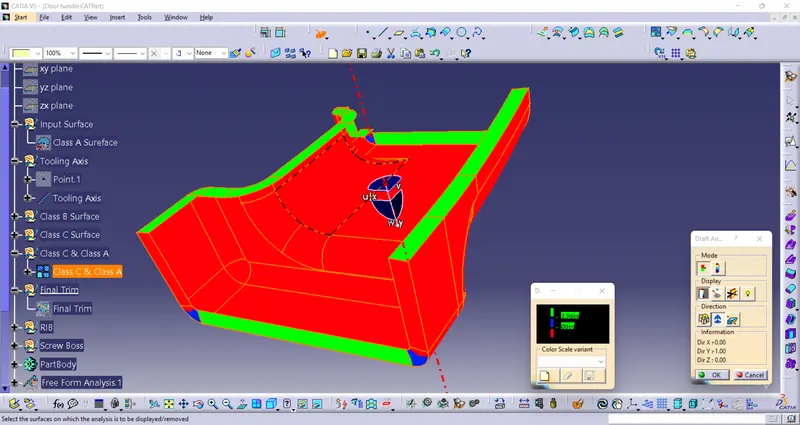
Final trim:
- Take a Joined part C Surface And A Surface to Trim with Class B Surface, we get the output closed surface body.
- Then Analyze the Draft with the final part.
- Publicize it.
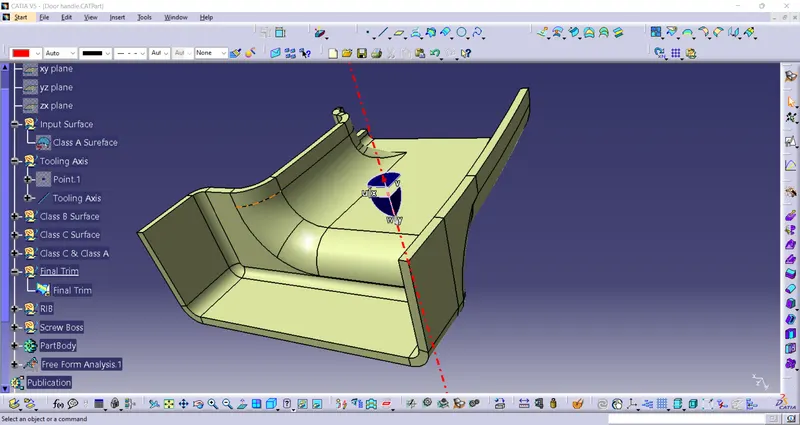
Attachment Feature Creation:
Rib:
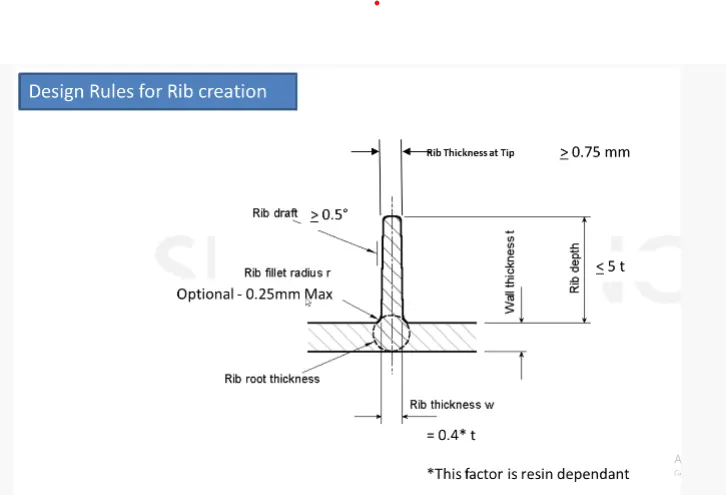
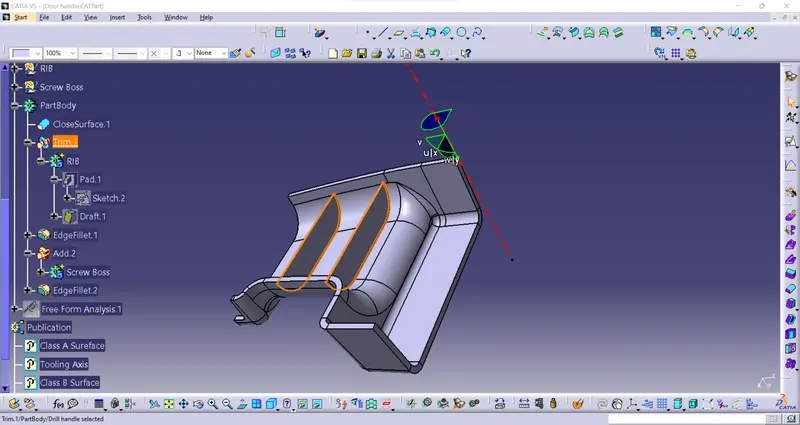
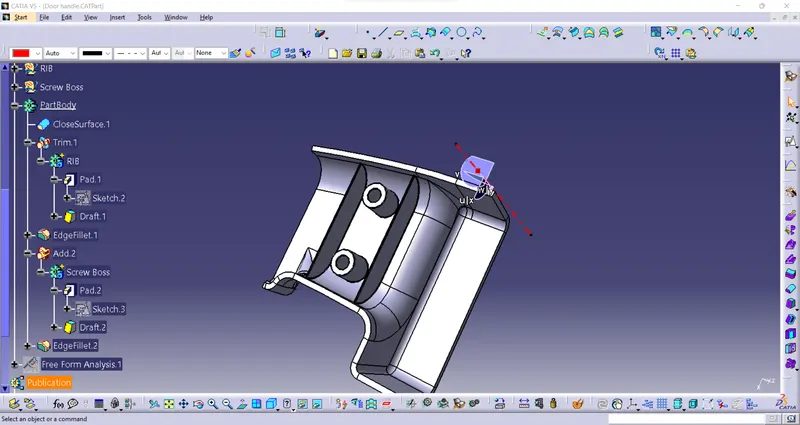
- Create a plane on the surface where we need and make a sketch 2 parallel lines,
the values I used mentioned the diagram given below.
Screw Boss:
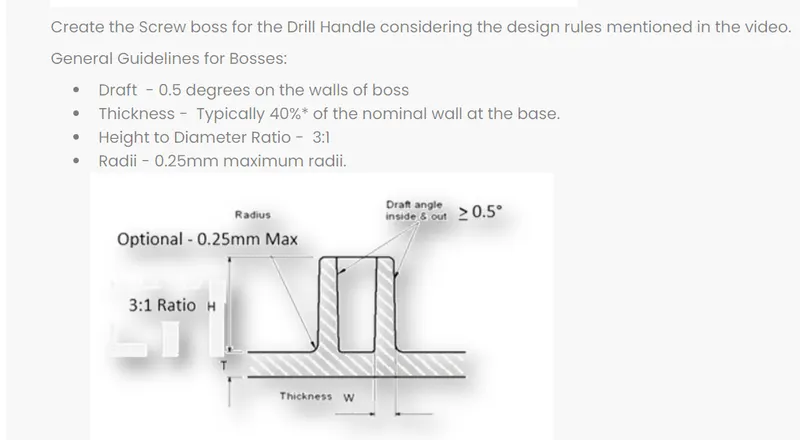
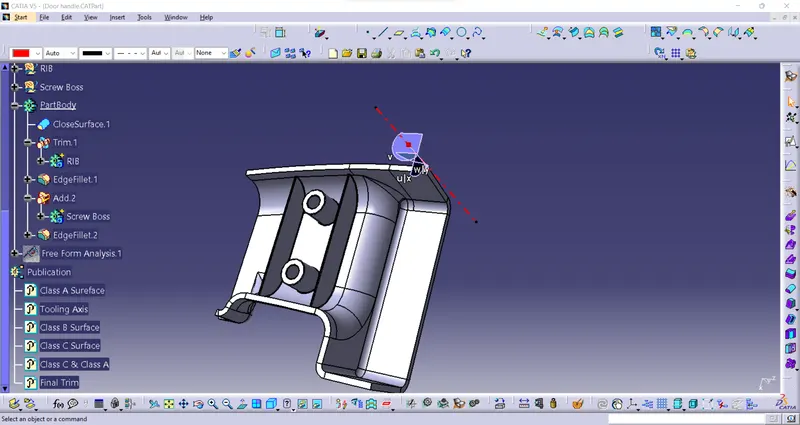
- Using a plane create for ‘Rib’, create a sketch, the measurements are taken by diagram given below.
Part Body:
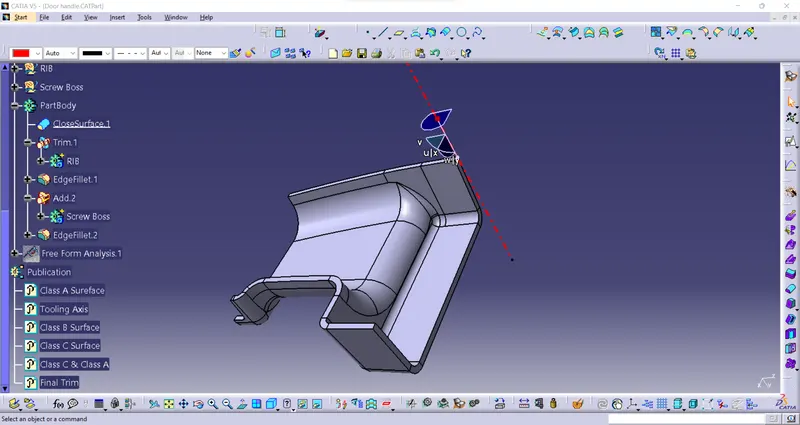
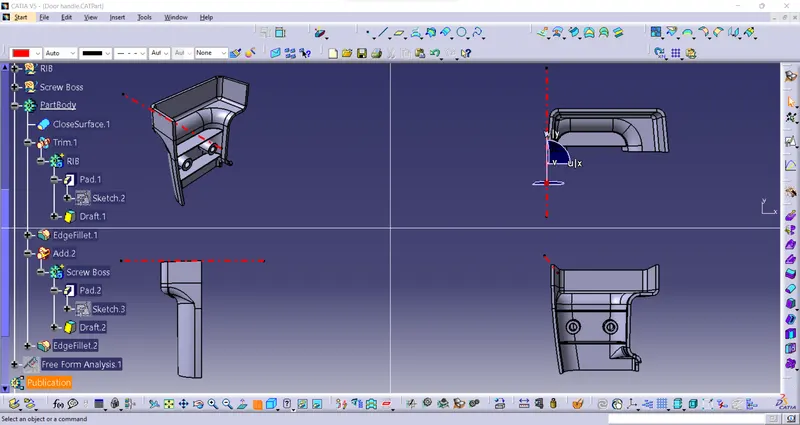
- Go To Part WorkBench-> Close Surface To Make a Closed Solid Body, final output of the model.
- Insert a new body to make a solid part of the Ribs and union trim with the part body attached.
- Insert another Body to make a solid part of the screw boss and add with the part body to attach.
Conclusion:
The report of “Drill Handle” with Attachment feature Creation (Ribs & Screw Boss), And the project Is Done By Myself and thank you!.