Week 9 - Attachment Feature Creation - Challenge 2
Aim: Create the Dog House for the Door Trim considering the design rules mentioned in the video.
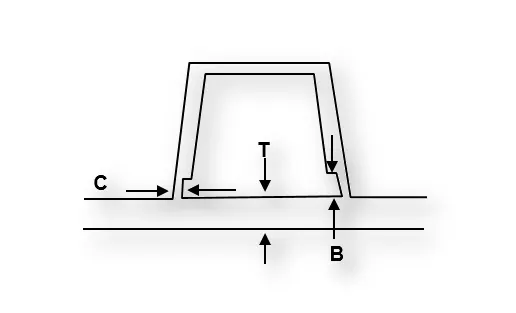
"C" is where the doghouse contacts the backside of the surface
-
Doghouse wall thickness at the intersection of the part wall ( C ) should be 40% or less than the main wall stock ( T ).
-
The height of ( B ) should be between 3.0 – 6.0 mm
Description:
Class A Surface:
- Visible surface and aesthetic look
- Surface with textures
- Surfaces provided by Customer (OEM)
- Don’t have any features like (rib, snap, bosses, etc) on class A surface.
- Class A surface is made from scanned data with different software like alias etc.
- Surfaces which are having CURVATURE CONTINUITY IS CALLED class-A.
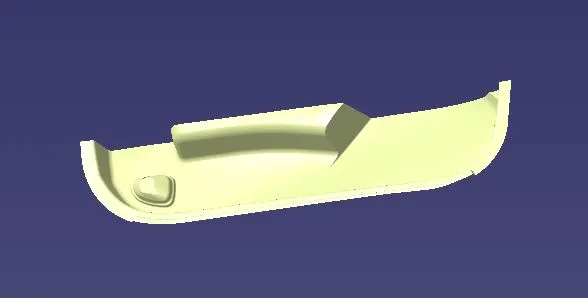
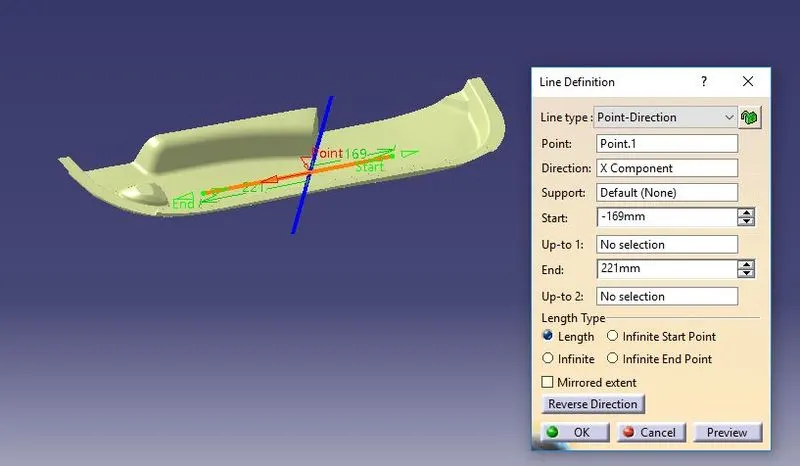
Tooling Axis:
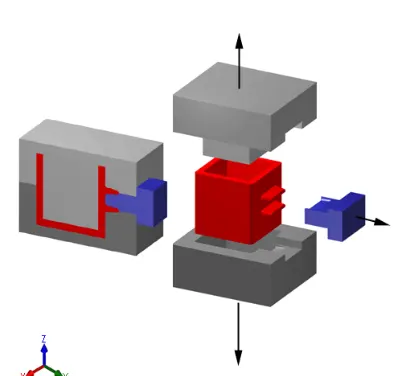
The Tooling Direction is basically the direction that the mold pulls apart. The mold is built in two separate pieces, basically. You have a Cavity side and you have the Core side. The Core pulls apart from the Cavity and that's the Dyeline or the Tooling Direction
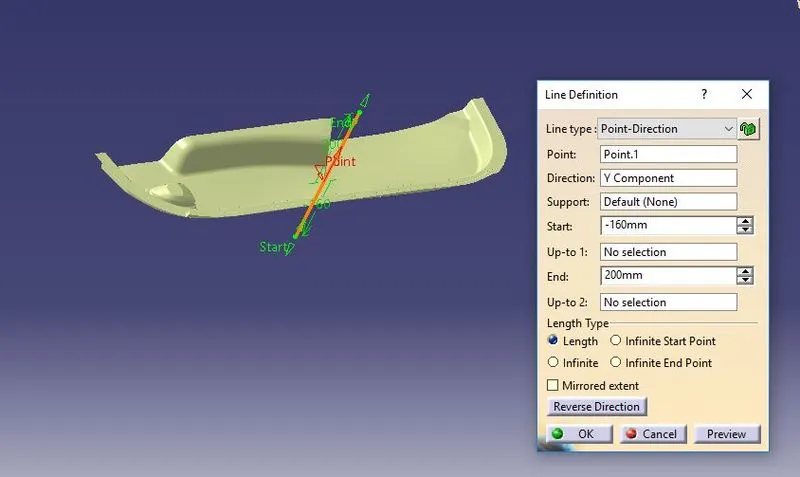
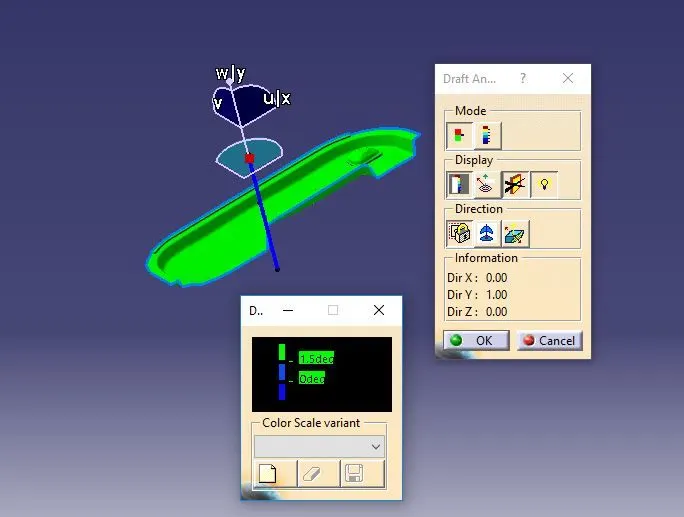
Draft Analysis Class A Surface:
Side Core tooling Axis:
When a product is designed in such a way that it cannot be cleared with the main tooling axis during the molding process, there we use the side core axis, another tooling axis perpendicular to the main tooling axis.
CLASS B SURFACE:
- Invisible Surfaces.
- Surface mostly don't have textures
- Surface needs to be created according to the class-A surface.
- Having all features in B-side surface only.
- Surfaces which is having TANGENT CONTINUITY IS CALLED class-B
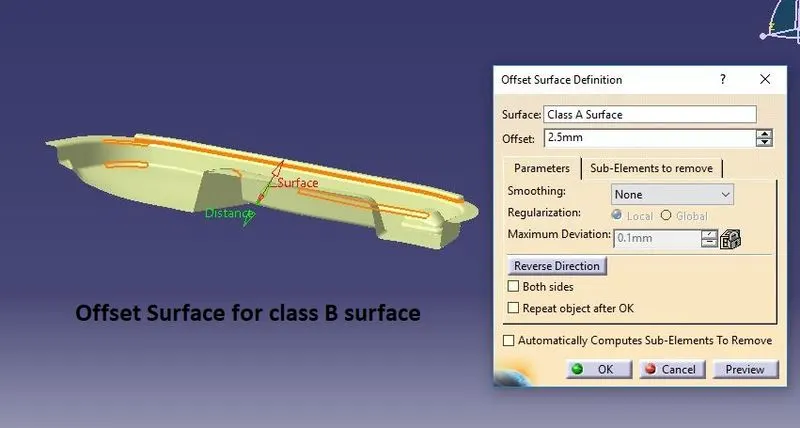
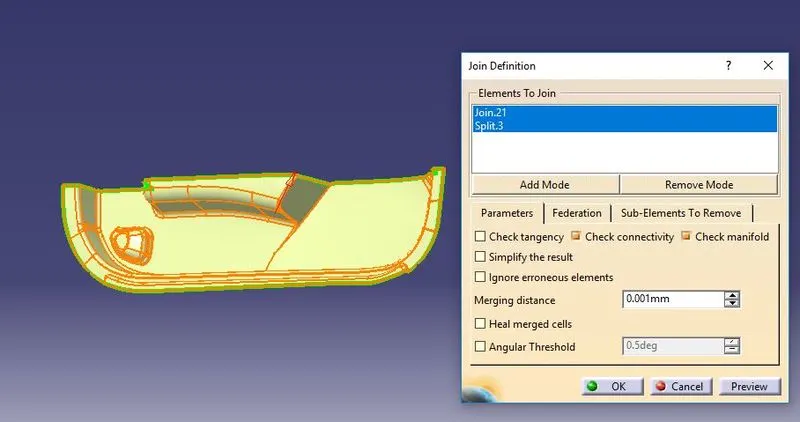
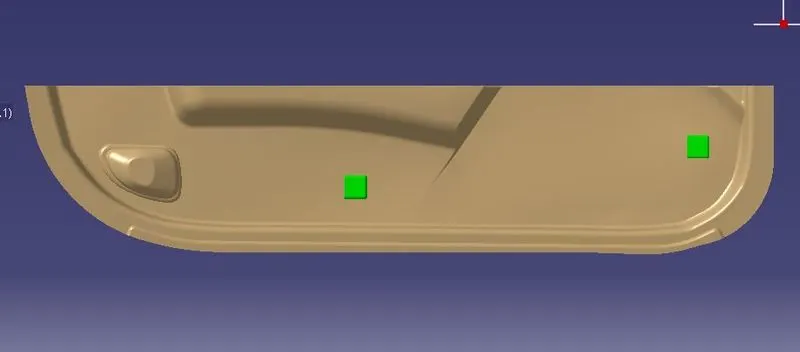
Just Offseted the Class A for 2.5mm & performed some modifications as per requirement.
CLASS C SURFACE:
Took a boundry for class A
Sweept using boundry & Reference surface.
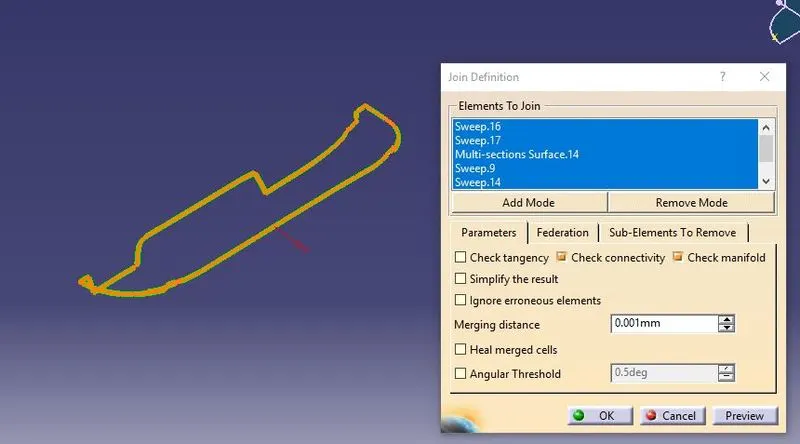
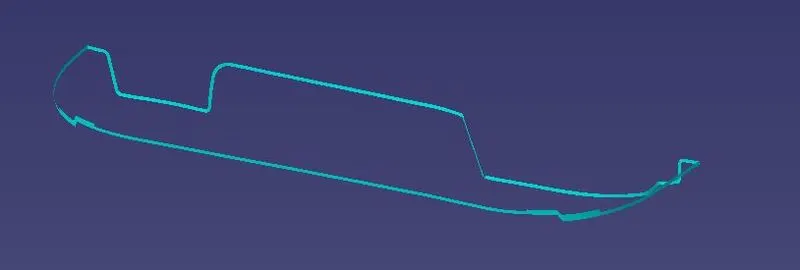
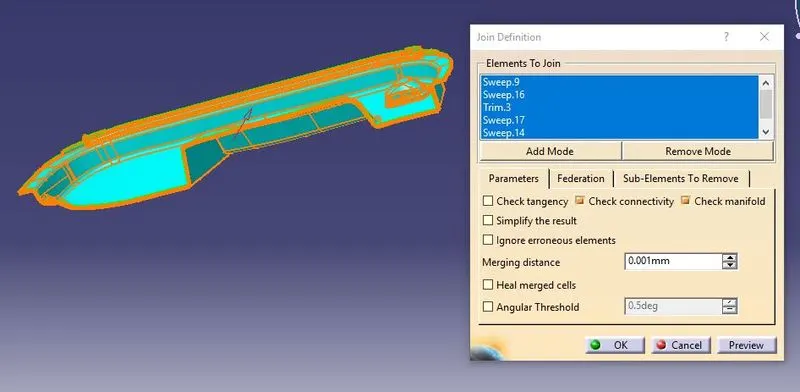
Class A+C Surface:
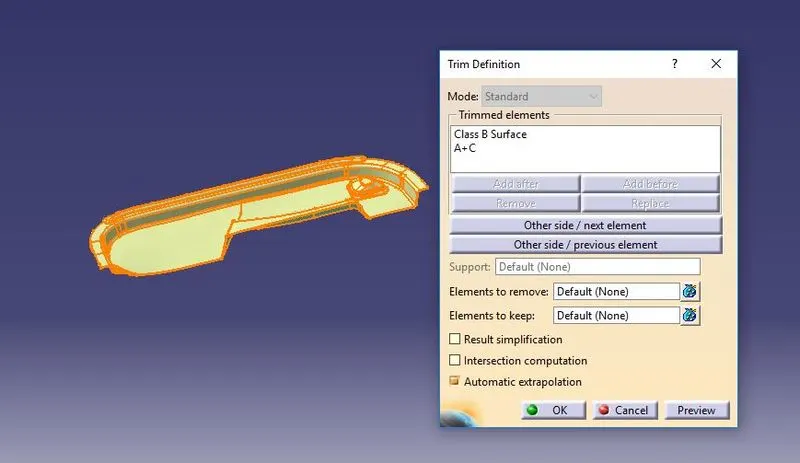
Final Trim Surface:
DOG HOUSE:
Dog house is an engineering feature used in plastic trim design. Dog houses are used as supporting feature. Sometimes other engineering features like snaps; locators etc. are mounded on them to increase their strength. Dog houses are subjected to draft analysis to prevent breakage of the component during ejection from mould cavity. Dog house and other engineering components are built on B-surface.
Design procedure of dog house:
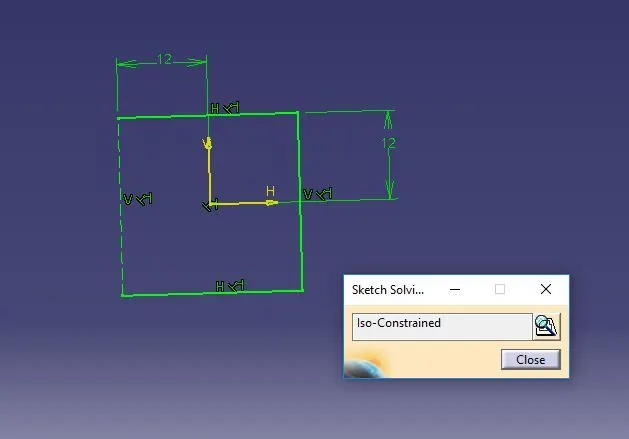
- Make a rectangle to enclose the screw boss in it but make sure it is open from one side.
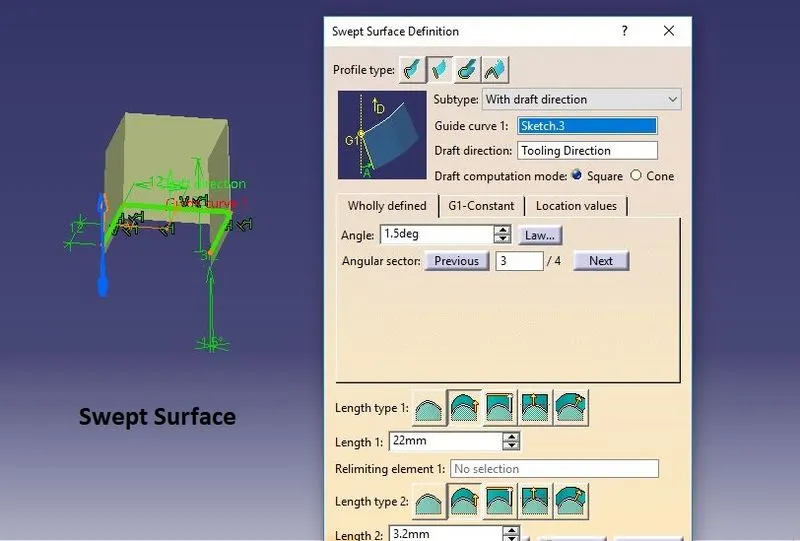
- Sweep it with tooling axis as the pulling direction and give a minimum draft of 1.5deg inwards.
-
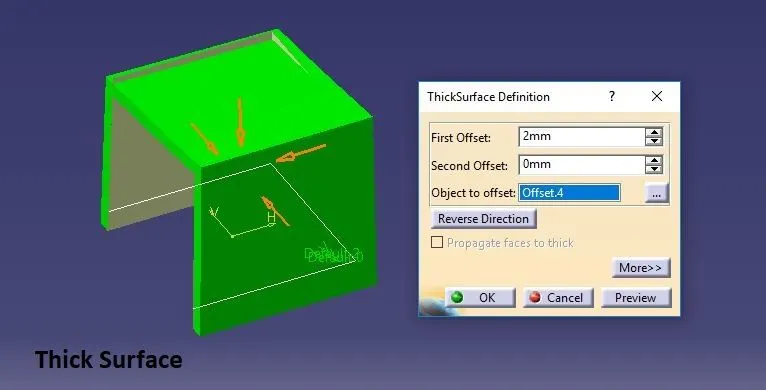
Enclose it from the top by using the off-set of extract of the base of class-A surface. The offset distance determines the height of the dog house, so give it according to the design rules.
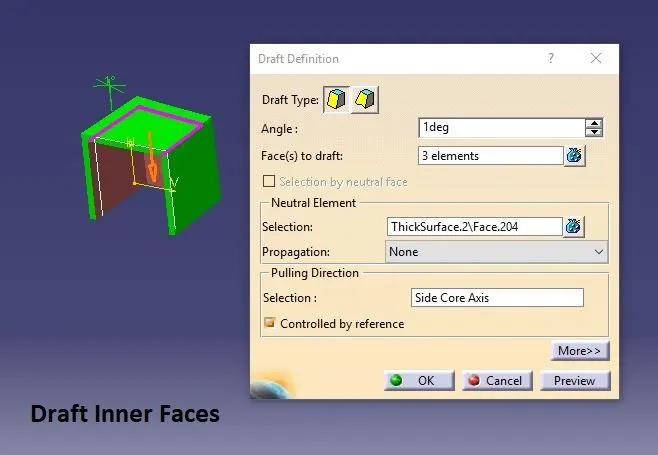
- The inward face of the dog house should be drafted too, so give them a draft of 0.5deg.
- Use the same extract of class-A, and offset it at the height of 3mm-6mm. 8. Extract the inside faces of the dog house and offset it outwards at 0.4't and trim them togather.
- Go to the part design and split it with the model
- After that we will fillet the entire model of the dog house and add it to the main body
- Later we mount the screw boss on the dog house by translating it
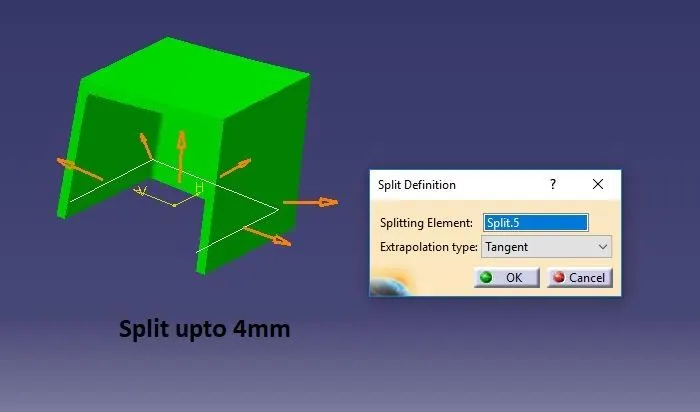
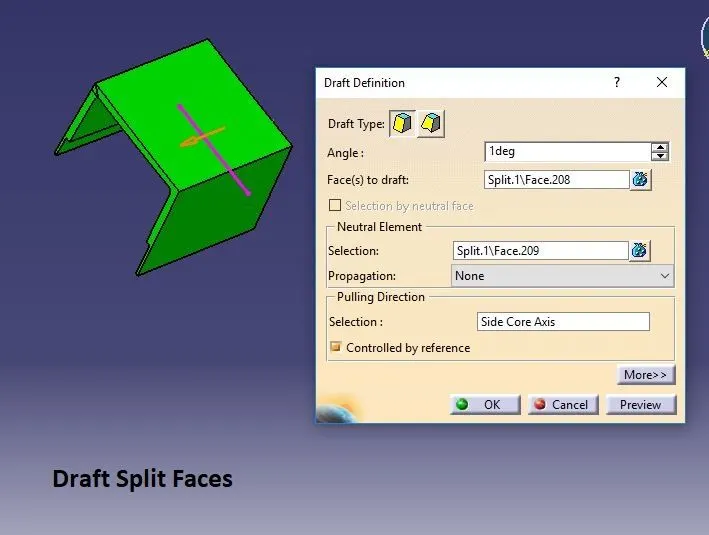
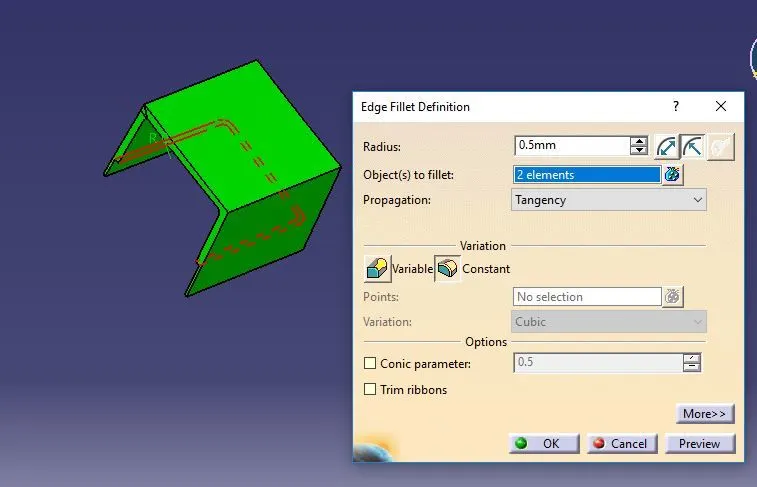
Draft Analysis Dog House Outer Face along the Tooling Axis:
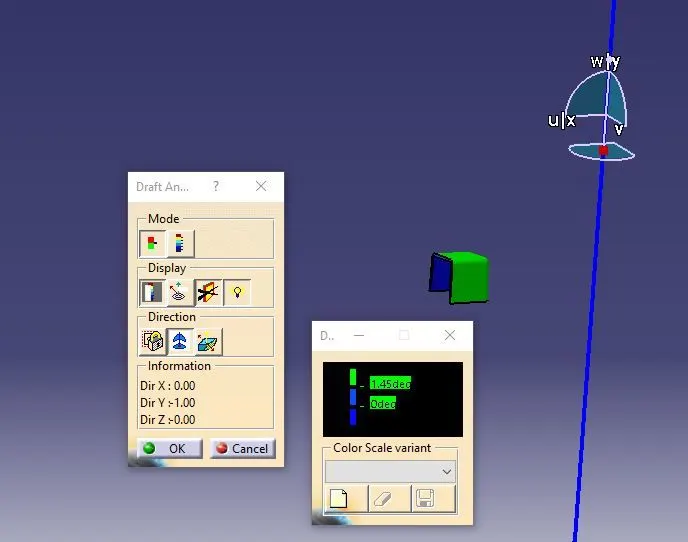
Draft Analysis Dog House inner Face along the Side core Tooling Axis:
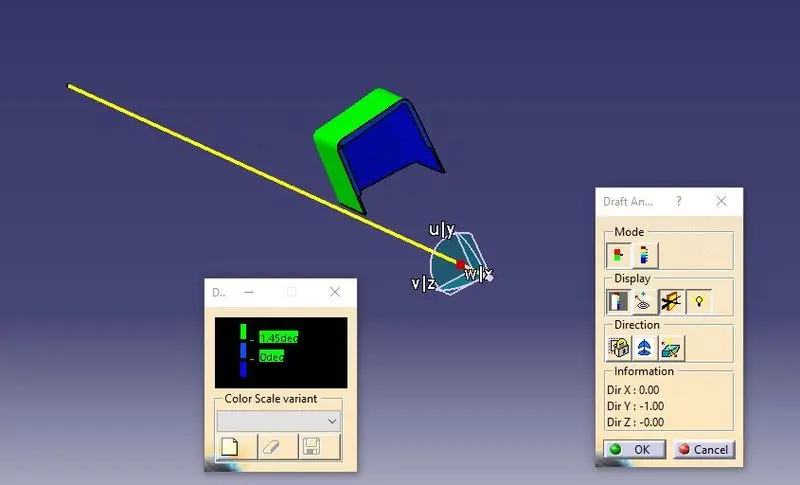
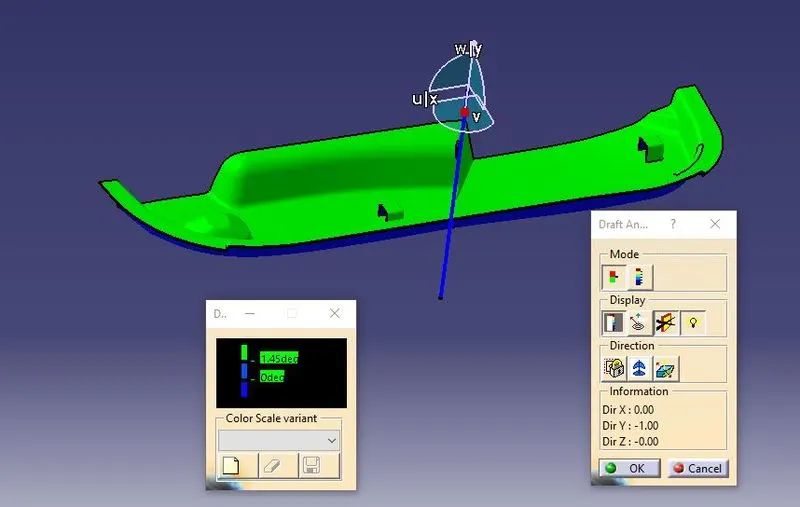
Draft Analysis of Final Component along Tooling Axis:
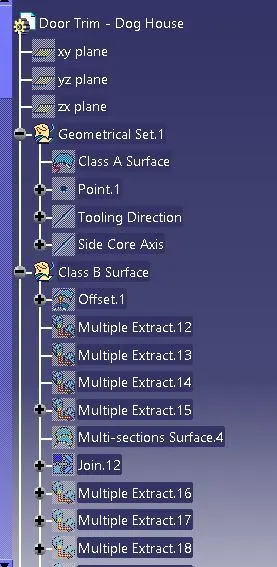
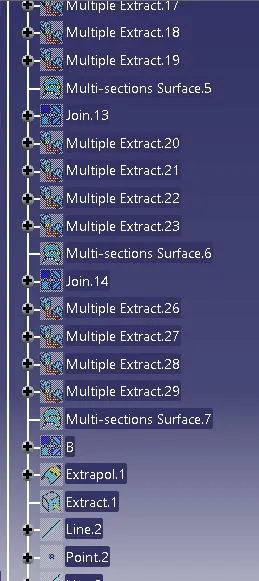
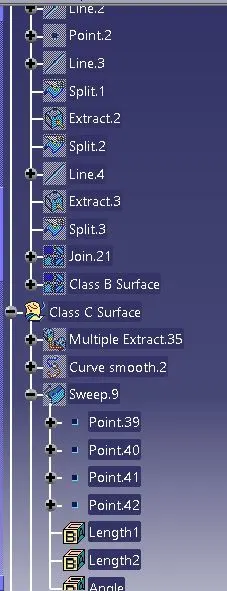
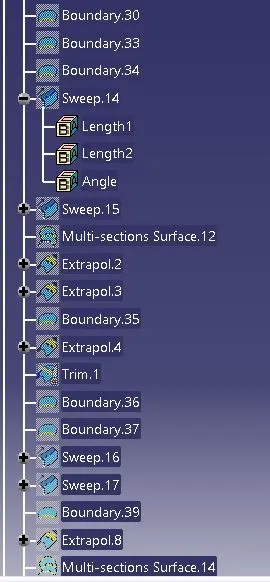
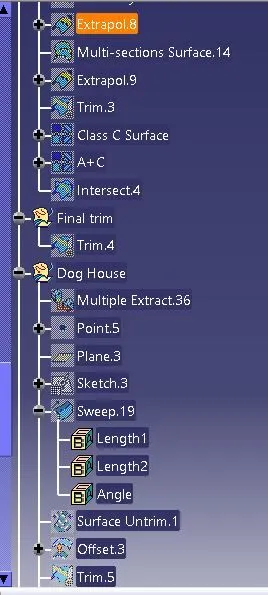
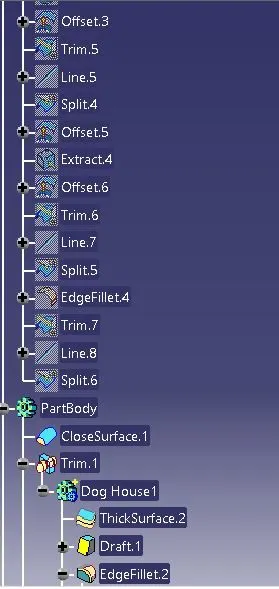
Feature Tree:
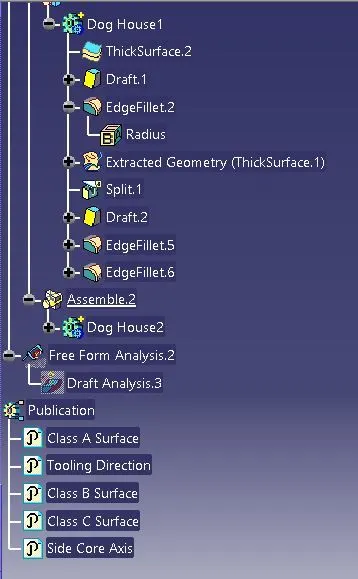
Different views:
1) Isometric Views:
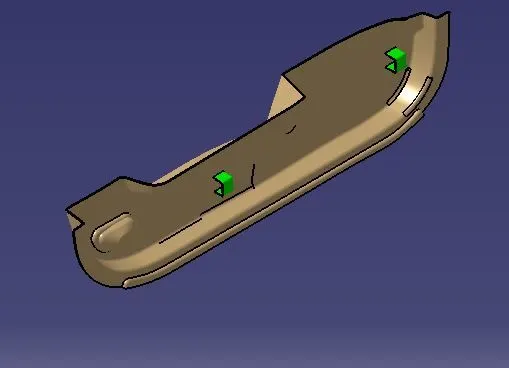
2) Front View:
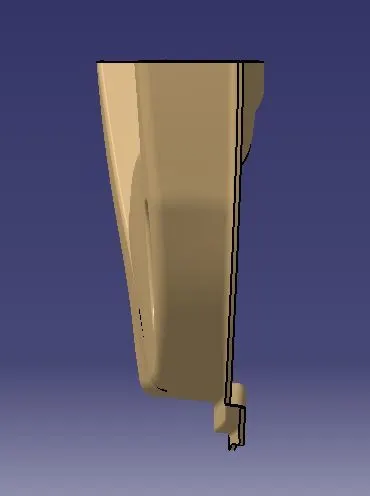
3) Top View:
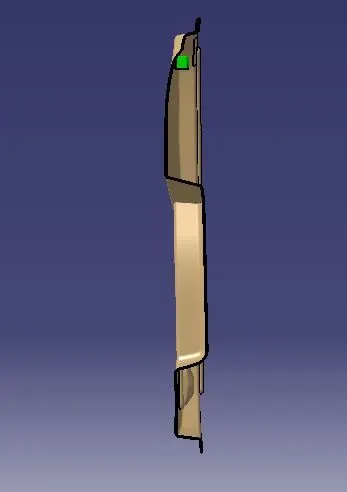
4) Right side view:
Conclusion: Thus I have created the Dog House by following the Design Rules