Radar Mast & Final Assembly of Yacht
Modeling of Sunseeker Predator Yacht Report
Aim/Objective: -
Step 1: To Modeled different parts of Yacht using solid work station on different planes & provide Decals
Step 2: To Creating Assembly of Yacht using previously modeled parts
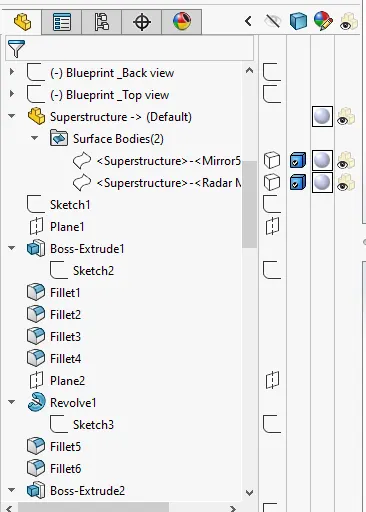
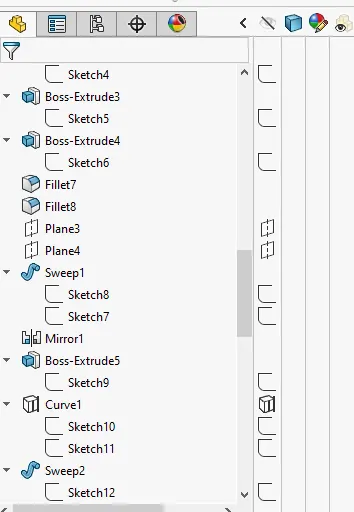
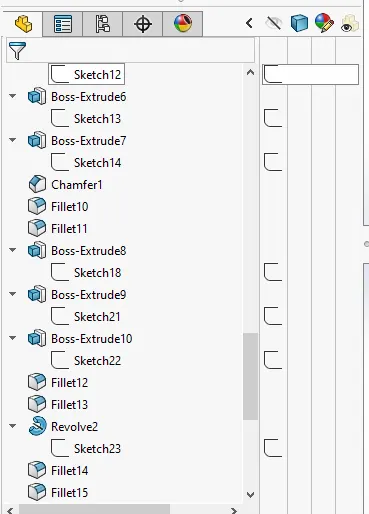
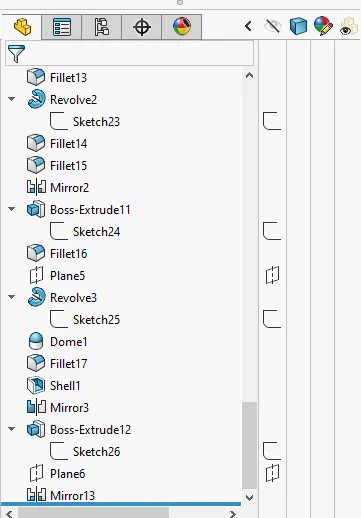
Step 3: To provide photo realistic render image using solid work visualizer.
Brief Introduction: The Yacht has made by using part modeling making different parts by using solid work software. Below is the following parts of chopper:-
1) Propeller
2) Radar
3) Garage Door
4) Hul
5) Front Seat, Middle Seat & Rear Seat
6) Superstructure
7) Radar Mast
8) Assembly
Let’s get Start with Each part Modeling
- Propeller: Propeller is kind of fan it is submerged in to the water it provide thrust by taking power from the engine to the yacht so that it can move forward.
Command Used
1) 2D Plane
2) 2D Sketch
3) Smart Dimension
4) Revolve
5) Reference Plane
6) Loft base
7) Fillet
8) Cut Extrude
9) Cirpattern
10) Appearance
Image of modeled part
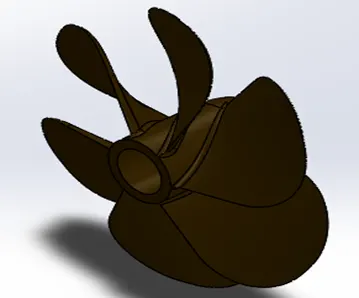
2. Radar: It is a Device which is used to detect the object it is topmost part of the Yacht and placed above & back side of superstructure
Commands used
1) 2D Planes
2) 2D Sketch
3) Boss Extrude
4) Smart Dimension
5) Cut Extrude
6) Sketch Pattern
7) Fillet
8) Mirror
9) Split Line
10) Appearance
Image of Modeled Part
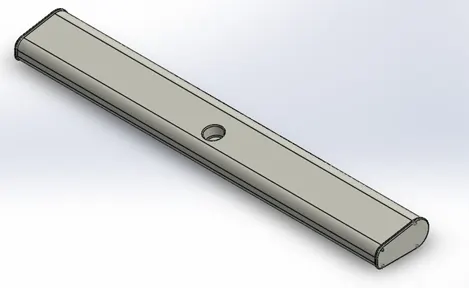
- Garage Door: It is just like a door which is mounted back side of yacht in the garage we can park the vehicle. The door can be open up & down by means of hinge.
Command Used
1) 2D Planes
2) 2D Sketch
3) Smart Dimension
4) Cut extrude
5) 3D Sketch
6) Shell
7) Fillet
8) Mirror
9) Ref. Plane
10) Appearance
Image of Modeled Part
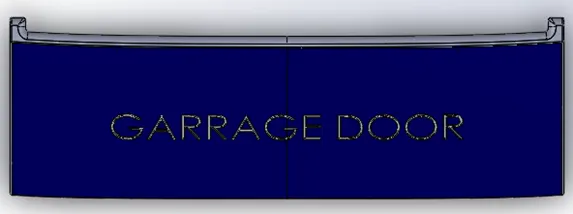
- Hul: It is made by surface modeling it is base of the yacht we can make as half part & other half can be mirrored this hul part of the yacht only float on water
Commands Used
1) Blueprint setup
2) 2D Plane
3) 2D Sketch
3) Smart Dimension
4) Projected Curve
5) Surface Loft
6) Surface Trim
7) Surface Extrude
8) Surface Fill
9) Surface Knit
10) Shell
11) Boss Extrude
12) Cut Extrude
13) Fillet
14) Chamfer
15) Ref Plane
16) 3D Sketch
17) Swept Boss
18) Revolve
19) Dome
20) helix/Spiral
21) Lpattern
22) Extrude Thin
23) Cut Extrude
24) Mirror
25) Combine
26) Split
27) Appearance
Modeled part Image
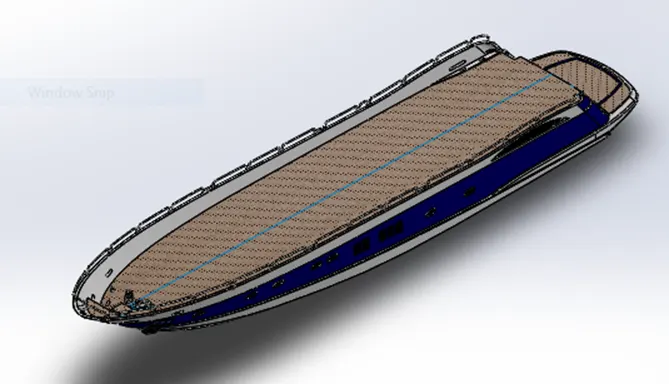
5. Superstructure: It is mounted on the deck surface of hul. It is also made from surface modeling. We make first part of model then after mirroring & doing knit. It becomes as solid body
Commands Used
1) 2D Planes
2) 2D Sketch
3) Smart Dimension
4) Surface Extrude
5) Reference plane
6) 3D Sketch
7) Surface Sweep
8) Surface Knit
9) Ruled Surface
10) Surface Trim
11) Projected Curve
12) Surface Loft
13) Surface Fill
14) Surface Extend
15) Boss Extrude
16) Cut Extrude
17) Delete Face
18) Surface Offset
19) Thicken
20) Dome
21) Fillet
22) Swept Boss
23) Extrude Thin
24) Split Line
25) Mirror
26) Chamfer
27) Appearance
Modeled Part Image
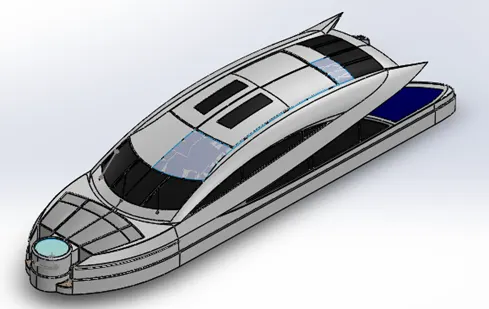
- Front Seat: As the name refer Front it is placed ahead of superstructure & above the deck surface of hul. It also made by surface modeling
Commands Used
1) 2D Planes
2) 2D Sketch
3) Smart Dimension
4) Reference plane
5) Surface sweep
6) Surface Extrude
7) Surface Trim
8) Surface fill
9) Surface Knit
10) Chamfer
11) Revolve
12) Cut Extrude
13) Cut extrude thin
14) Mirror
15) Dome
16) Fillet
17) Appearance
Modeled Part Image
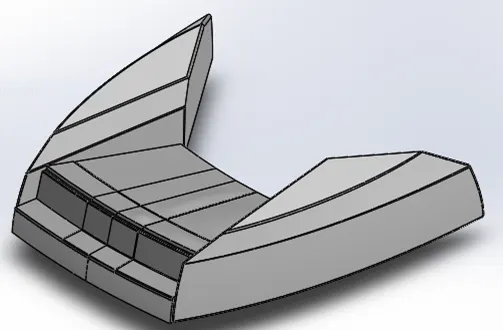
- Middle Seat: It is made by surface modeling
Commands Used
1) 2D Planes
2) 2D Sketch
3) Smart dimension
4) Boss Extrude
5) Fillet
6) Cut Extrude
7) Mirror
8) Chamfer
9) Reference Plane
10) Appearance
Modeled Part Image
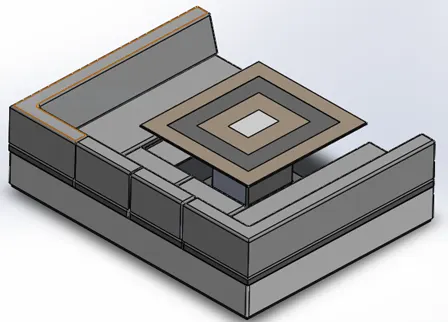
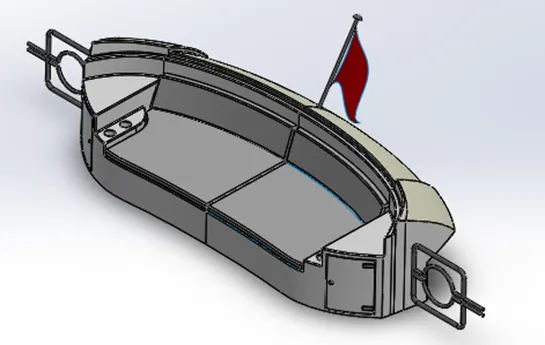
8. Rear Seat: It is also made from surface modeling and placed above the Deck surface of hul garage
Commands Used
1) 2D Planes
2) 2D Sketch
3) Smart Dimension
4) Reference plane
5) Surface Sweep
6) Surface offset
7) Surface trim
8) Ruled Surface
9) Surface Knit
10) Surface extrude
11) 3D Sketch
12) Surface Loft
13) Boss Extrude
14) Cut Extrude
15) Chamfer
16) Fillet
17) Swept Boss
18) Mirror
19) Revolve
20) Appearance
Modeled Part Image
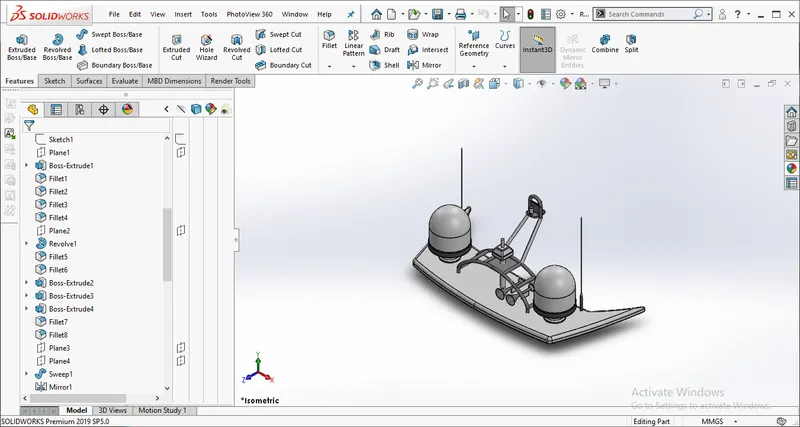
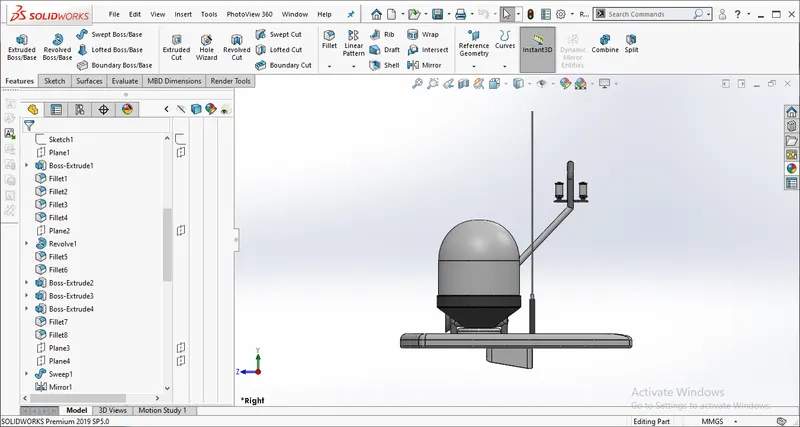
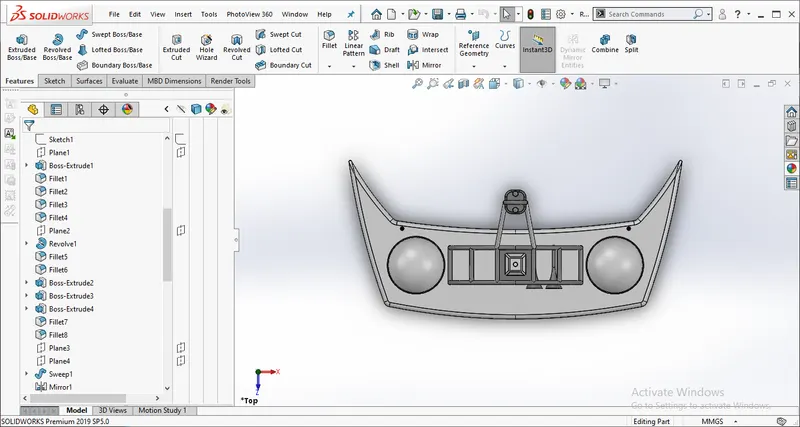
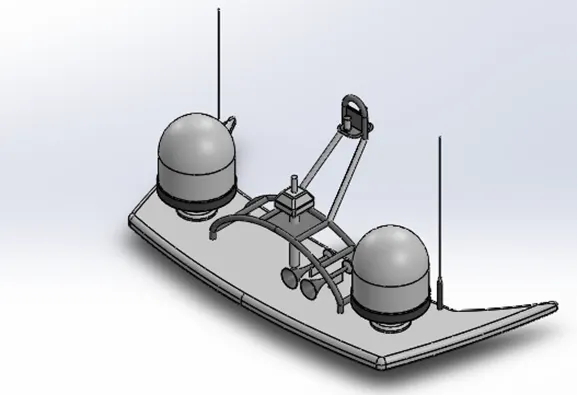
- Radar Mast: It is a device which control the position of Radar and send & receive the signal. It is modeled on the deck surface of superstructure.
Commands Used
1) 2D Plane
2) 2D Sketch
3) Smart Dimension
4) Reference plane
5) Boss Extrude
6) Fillet
7) Swept Boss
8) Mirror
9) Projected curve
10) Chamfer
11) Revolve
12) Dome
13) Shell
14) Appearance
Modeled Part Image
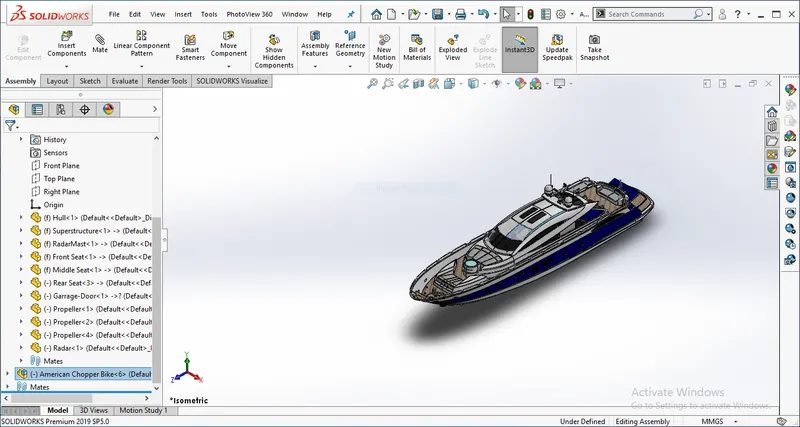
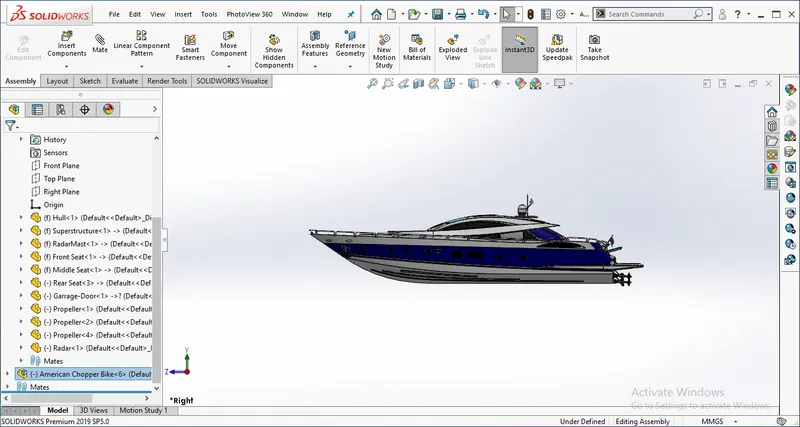
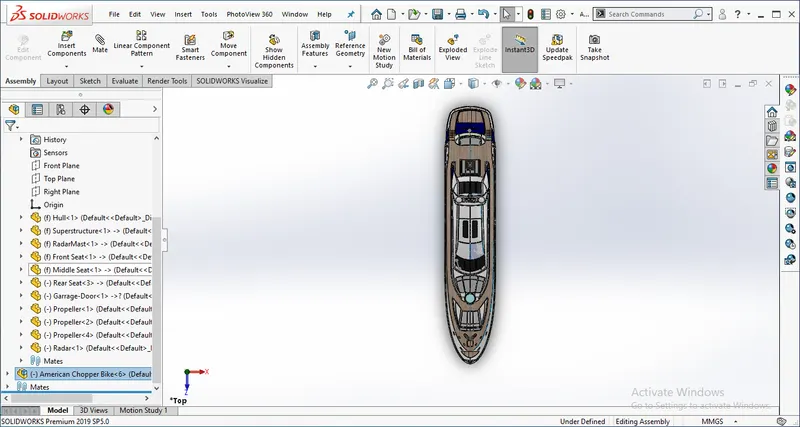
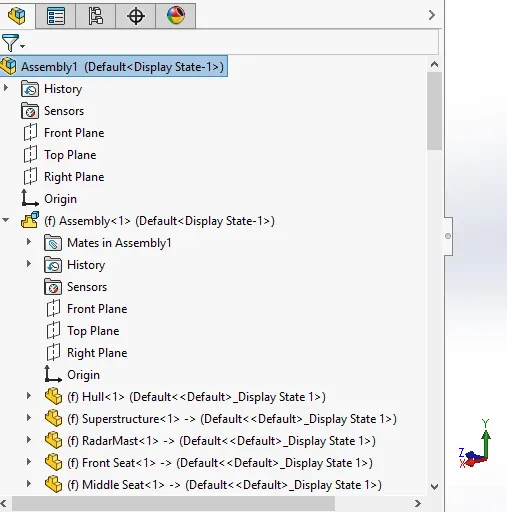
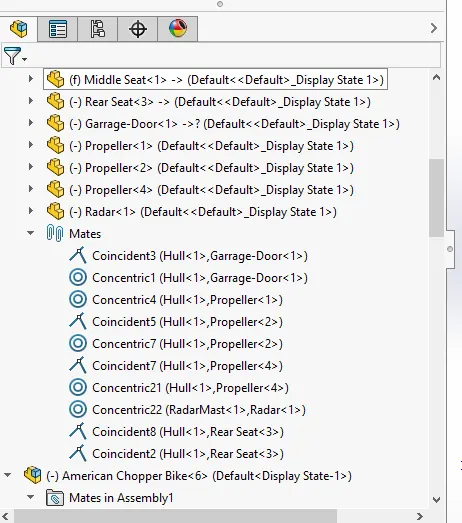
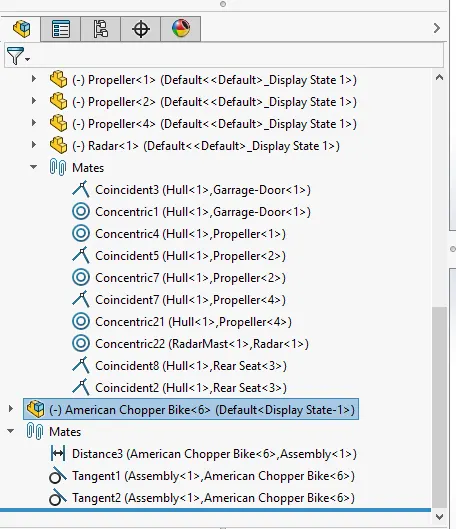
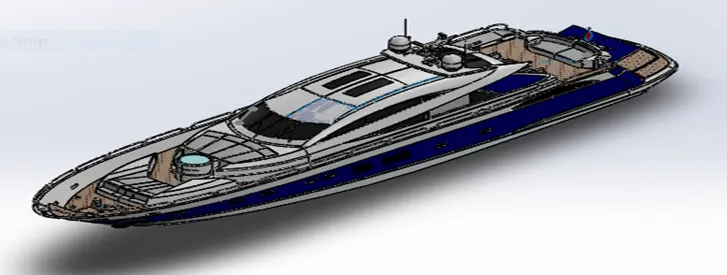
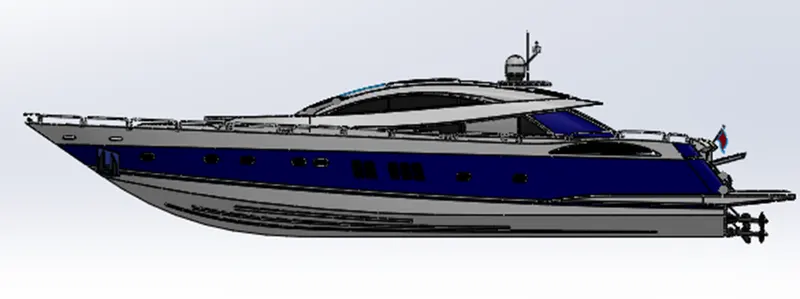
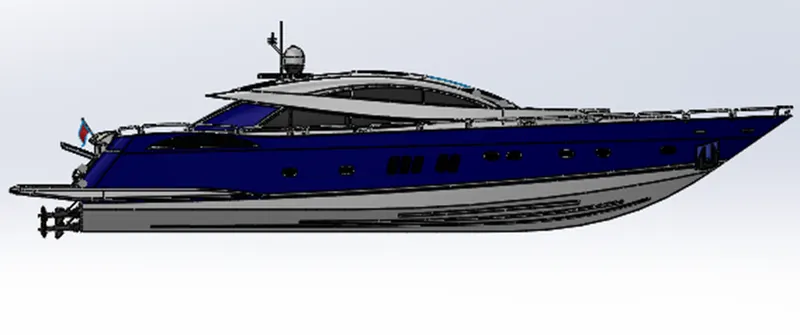
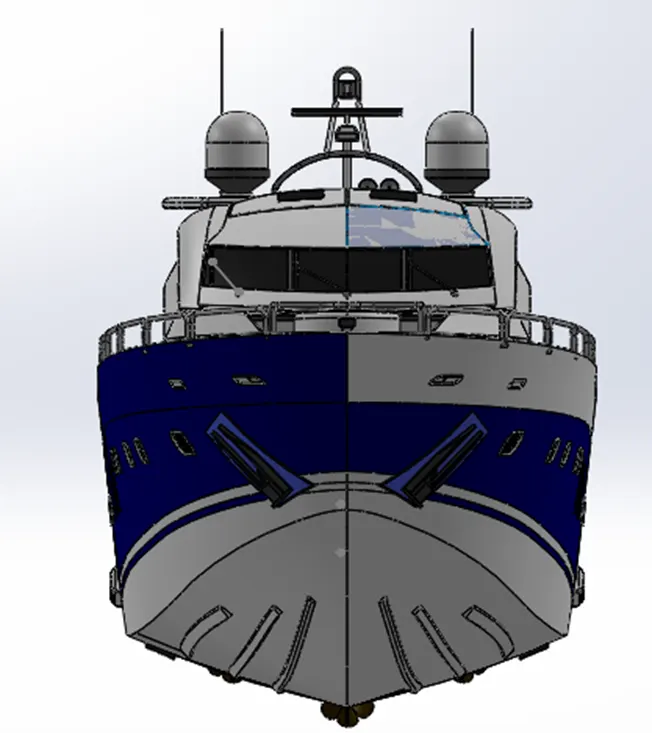
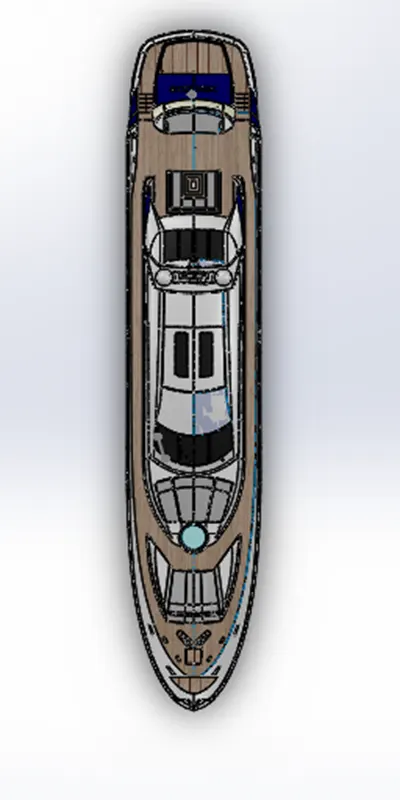
- Assembly: In the Assembly of Yacht the individual part are imported and provide the mate relationship to make them constraint. Generally mate used Coincident Mate, Concentric Mate etc..
Following are the sequence of importing Individual model below:
- Importing the Hul
- Importing the superstructure
- Importing the Front seat
- Importing the Middle & Rear Seat
- Importing the Radar Mast
- Importing the Radar
- Importing the Garage Door
- Importing the three propeller
- Import the Bike or any Car & place in the garage after apply some Mate Relation
Assembled Part Views:
Isometric View:
Right Side View:
Left Side View:
Front View:
Top View:
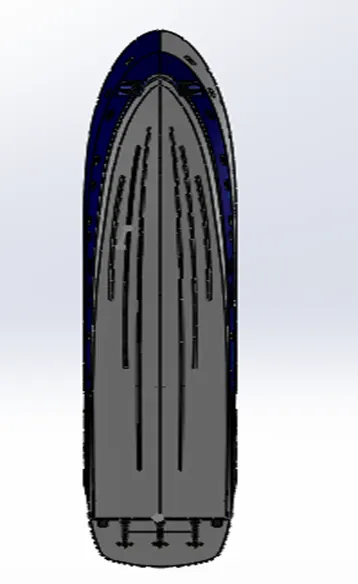
Bottom View:
Photorealistic Render using Solid Work Visualizer:
Water Way:
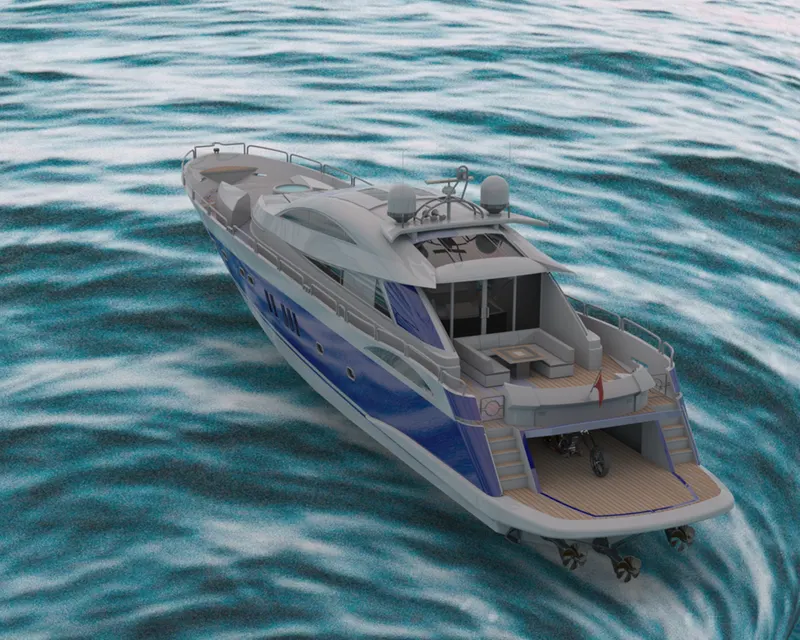
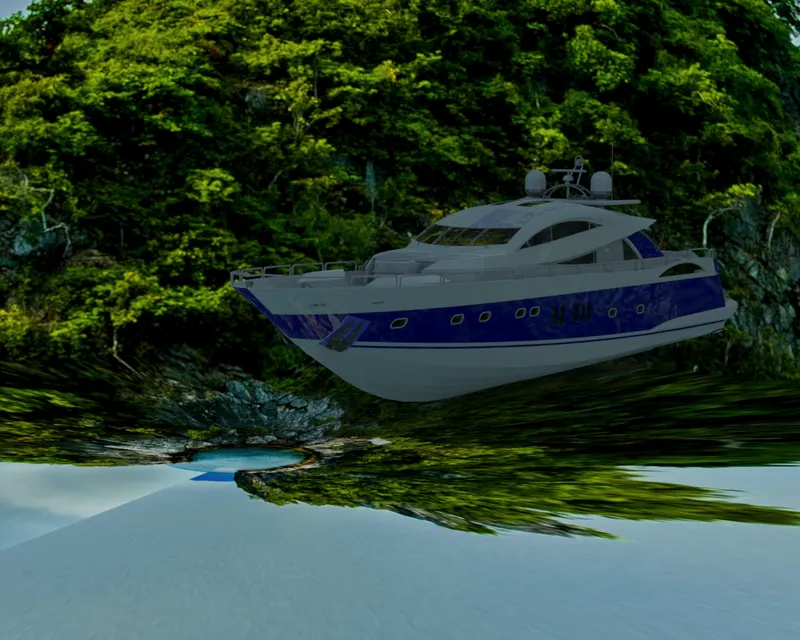
Conclusion: Thus the Assembly of Yacht has successfully been completed using solid work station by modeling individual part and assembled them by giving some mate & Constraint Relation. Also provided a photo Realistic Render to it by using Solid visualizer