Week 9 - Attachment Feature Creation - Challenge 2
Create the Dog House for the Door Trim considering the design rules.
Given class-A surface:
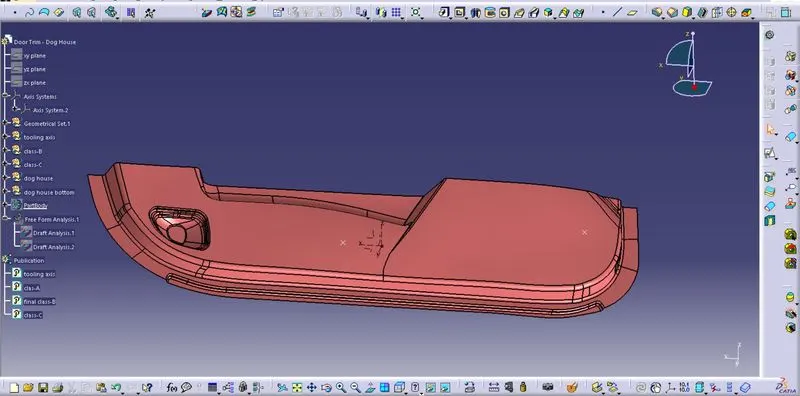
From the given class-A surface, we need to create a solid part and then create a dog house on the thickened component.
To create the component first we need the tooling axis, extracting the surface of the class-A surface and placing a point in the centre of the surface. using the point a reference line is created perpendicular to the surface. This line is the tooling axis. using the tooling axis we perform the draft analysis on the given class-A surface.
Draft analysis is done using the tooling axis with the minimum draft angle of 3deg. The draft analysis image is shown below.
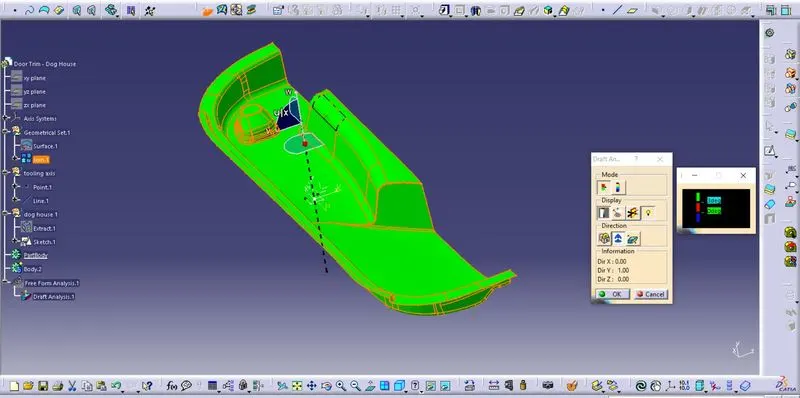
The given class-A gives has a green region all over, hence we can proceed to create the class-B surface.
Using extract, offset, join and multisection surface we create the class-B surface. if there are some regions which have large gaps or are unable to offset, then we can use the multisection surface to get the required surface. The class-B surface is shown in the below image.
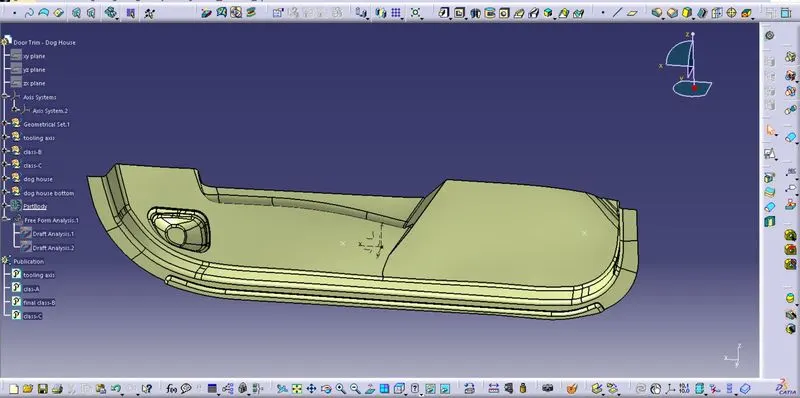
After creating the class-B surface we need to create the class-C surface. For the class-C surface, we need to extract the boundary of the class-A surface and use the sweep option. In the sweep option use with reference surface and give the draft angle as 90deg. The class-C surface is shown in the below image.
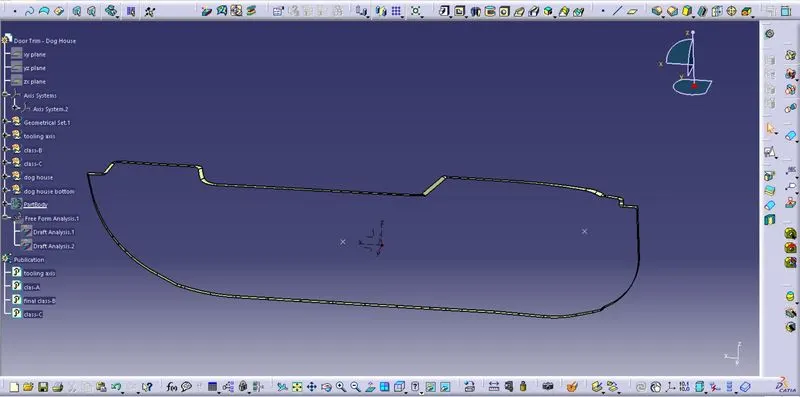
Once we have all the surfaces we can join them using the trim and join option. After creating the thickened component, we have to create the solid body using the part body workbench. The solid body is shown below.
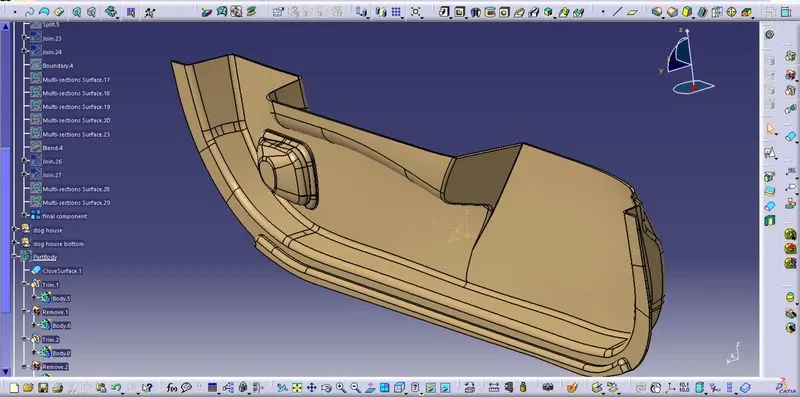
Creation of dog house:
The design requirement for the design of a dog house is shown below.
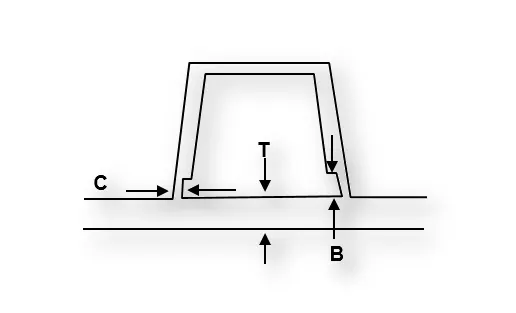
Doghouse wall thickness at the intersection of the part wall ( C ) should be 40% or less than the main wall stock ( T ).
The height of ( B ) should be between 3.0 – 6.0 mm.
As per the design requirements, the sketch of the dog house is shown below.
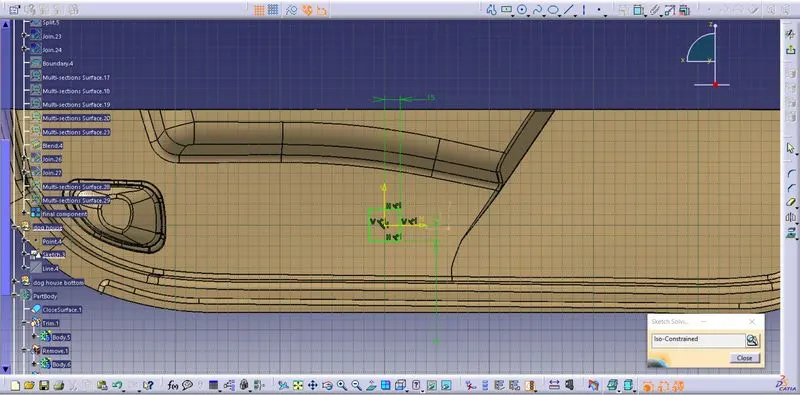
The sketch is extruded using the pad to a certain mm and then using the shell option we remove the material inside the pad from the selected face. The thickness of the component is 1.2mm. The body is drafted using the draft option for the outer walls which is 1.5deg and for the inner face, the draft angle is 0.5deg. For the inside face, the tooling is created using the point and x-direction. It is because the tool moves perpendicular to the main tooling axis to form the inside walls.
The bottom slot for the dog house sketch is shown below.
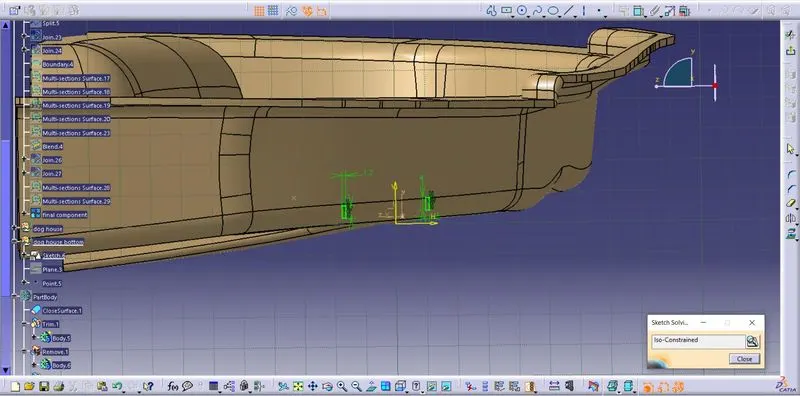
Using the union trim option, we join the dog house to the part body.
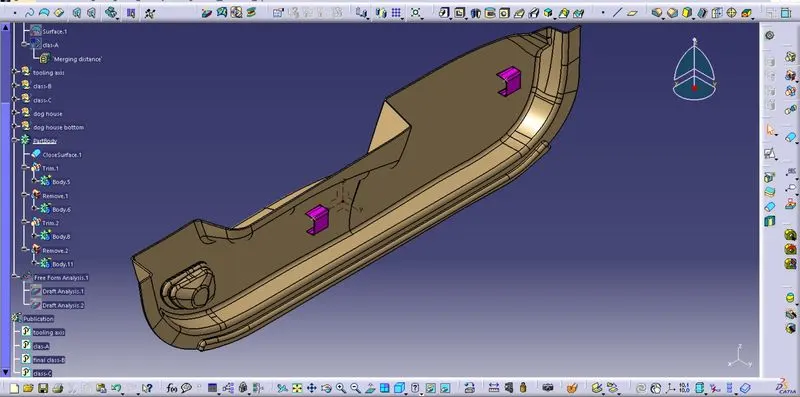
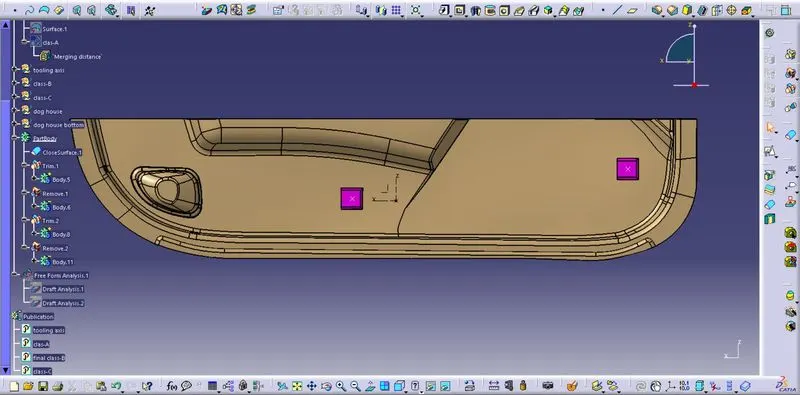
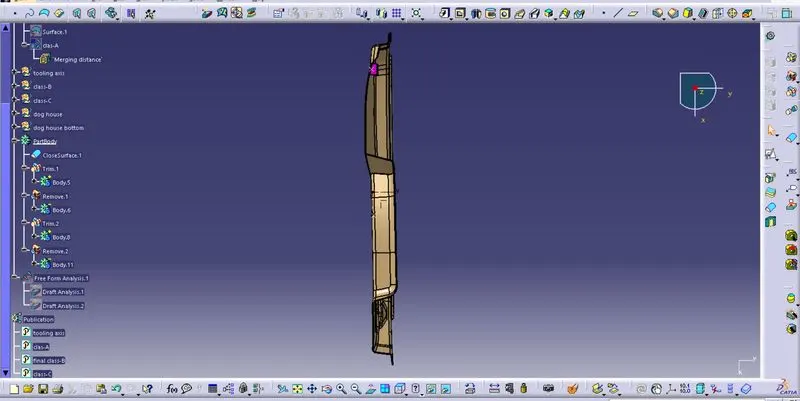
- Screenshots of the completed design in various orientations (Isometric, Front, Side, and Top View).
Draft analysis of the dog house:
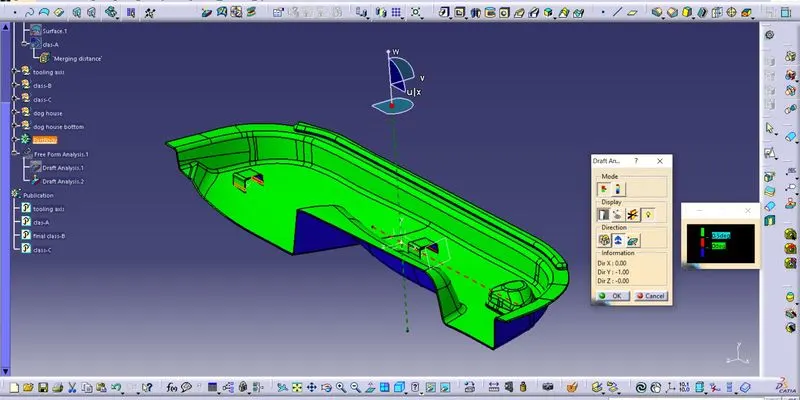
After creating the component with dog houses draft analysis is made with a draft angle of 0.5deg. The created components has green colour region with the given tooling axis and the part can be manufacturable and easily ejected outside.