Week 9 - Attachment Feature Creation - Challenge 2
General Guidelines for Bosses:
- Draft - 0.5 degrees on walls of boss
- Thickness - Typically 40%* of the nominal wall at the base.
- Height to Diameter Ratio - 3:1
- Radii - 0.25mm maximum radii.
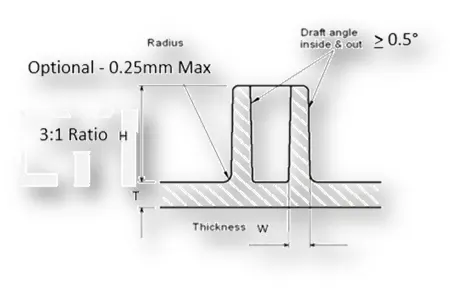
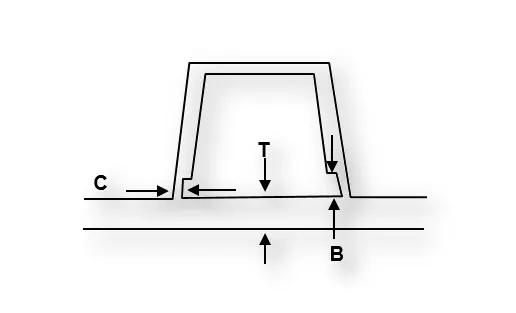
"C" is where the doghouse contacts the backside of the surface
-
Doghouse wall thickness at the intersection of the part wall ( C ) should be 40% or less than the main wall stock ( T ).
-
Height of ( B ) should be between 3.0 – 6.0 mm
Final Solution:
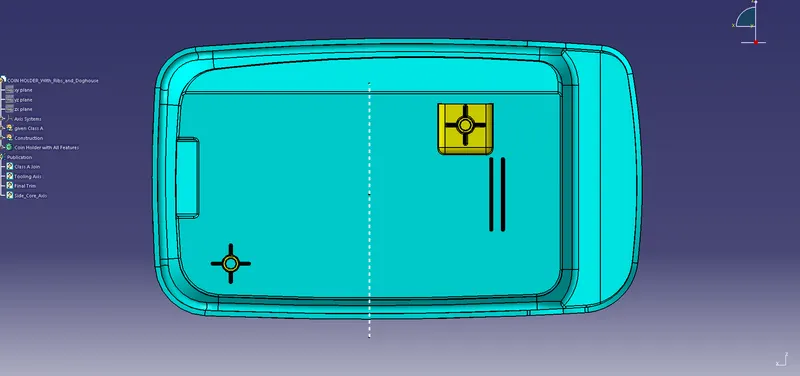
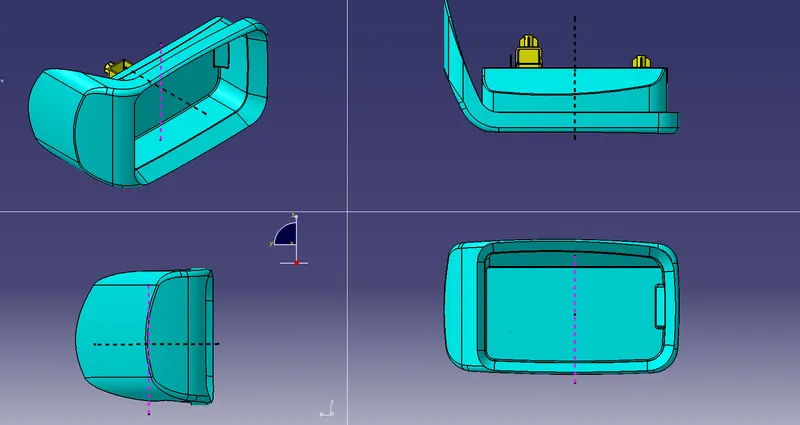
Main tooling axis:
Here we have used the bisection method for creating the tooling direction.
We will be creating the tooling direction with Bisecting method, for that we will have to check on X and Z directions, since here we have a bit different case because the part is oriented differently, what we have is that, it's not having Symmetry one of side/direction which is Z, so we have to check manually for the direction, and determine that how the part will be clearing out. So now, since Y is the Main Tooling Direction (normal to the base surface).
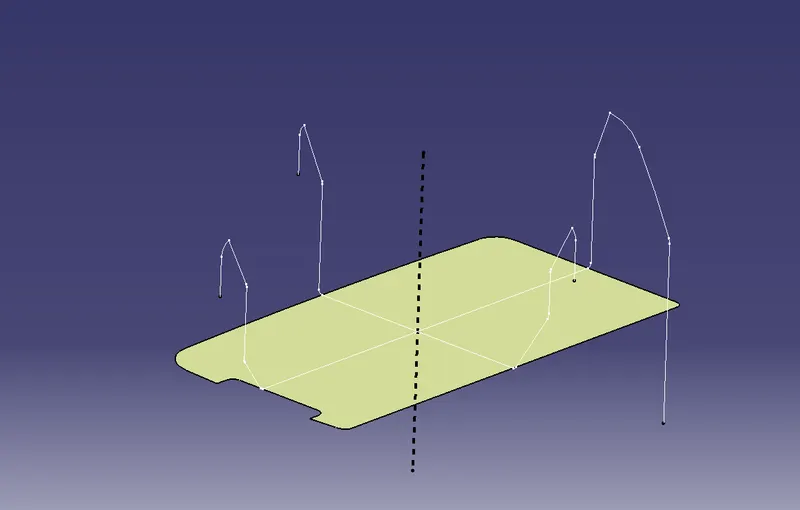
Side Core Tooling Axis: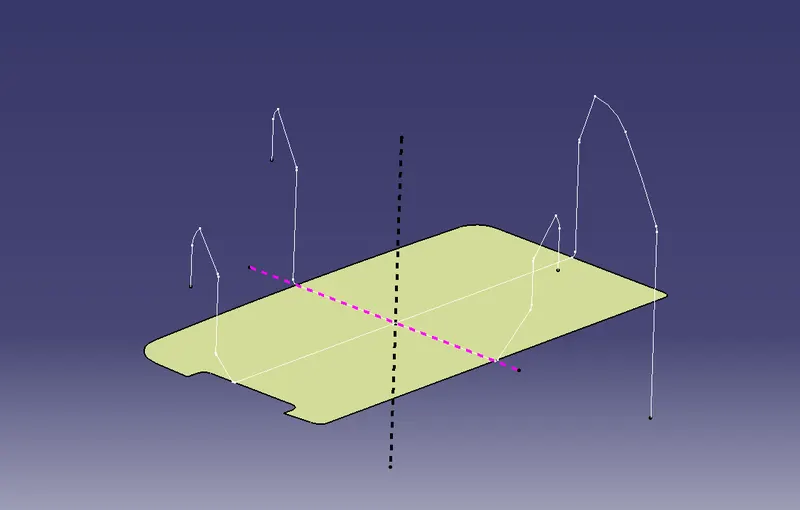
Dog House Construction:
The basis function of the Dog House is to avoid SINK marks. This is needed when the Boss we are designing is thick enough to create a Sink defect. And to avoid this possibility we create a thick feature/ decrease the thickness where the base is connected, as shown in the figure.
Another thing is that we have a large distance from the base (B Surface) we cannot simply design the Boss all the way through, instead we give a Dog House to lift it, and Place the Boss on top of the Dog House.
The final feature of creating a dog is when we require the opposite or Perpendicular Boss with respect to the tooling Direction. Then we can Create a dog house respectively and place the Boss on top of it.After following these guidelines, we will be able to make a Dog House which follows design considerations and will not create any issues during Manufacturing.
Process –
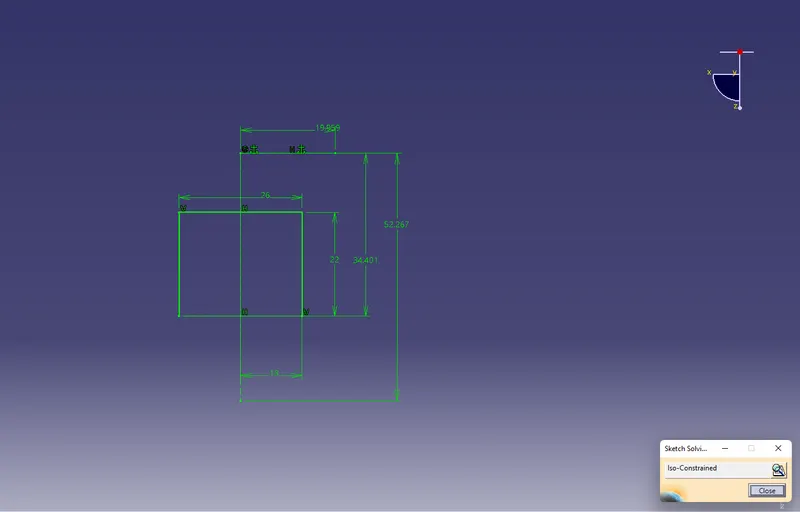
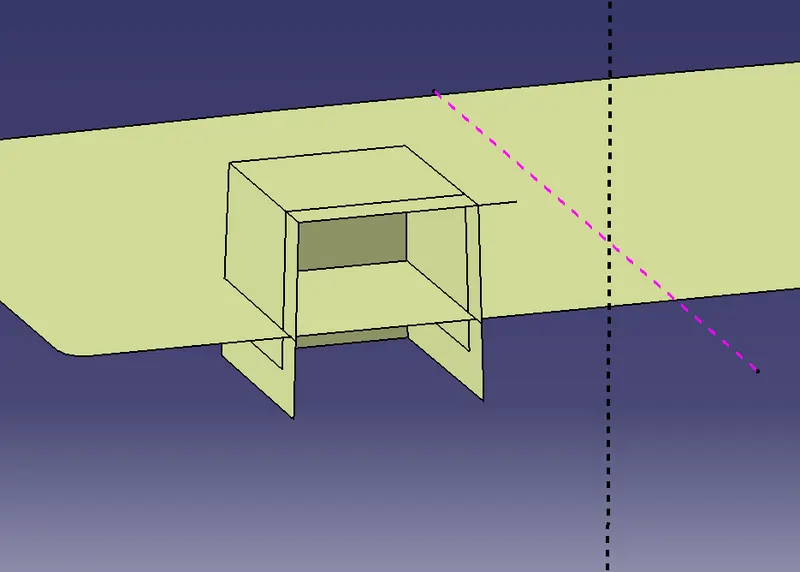
After we have understood how to create a dog house, we can now move to the software, since there are no specific areas defined, we can design the Dog House where we want to, so we have extracted the surface and then created a Positional Sketch which will be making our body.
After this we can move to the part workbench and then thicken the extruded sketch, and cut the unnecessary extensions, with the help of SPLIT BODY command.
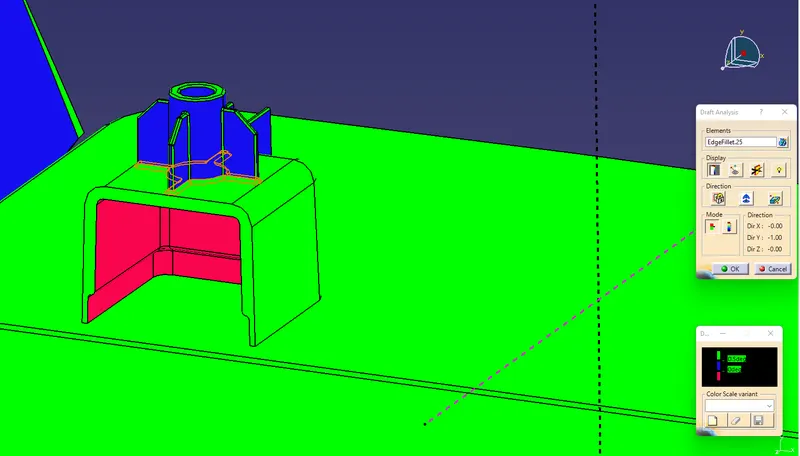
Now since Dog House is a feature which creates an Undercut, we will have to make a Separate Tooling Direction Which will be helping in that case. Also, not to mention we also need to give the drafts on all the faces and then finish the design with the fillets.
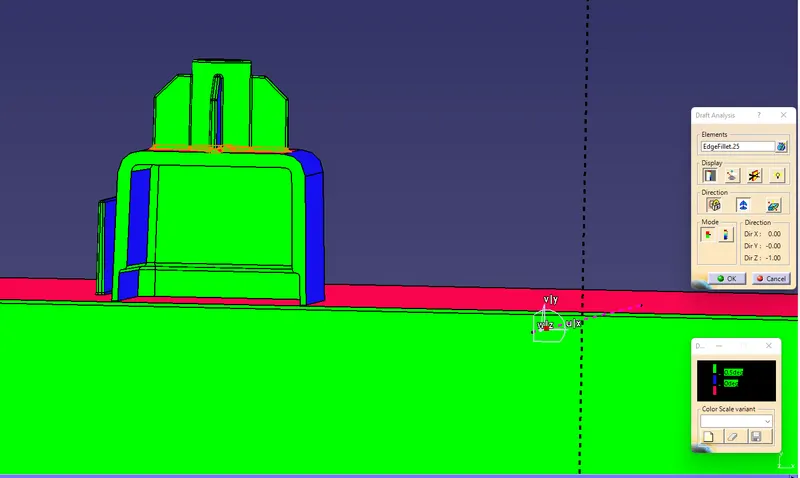
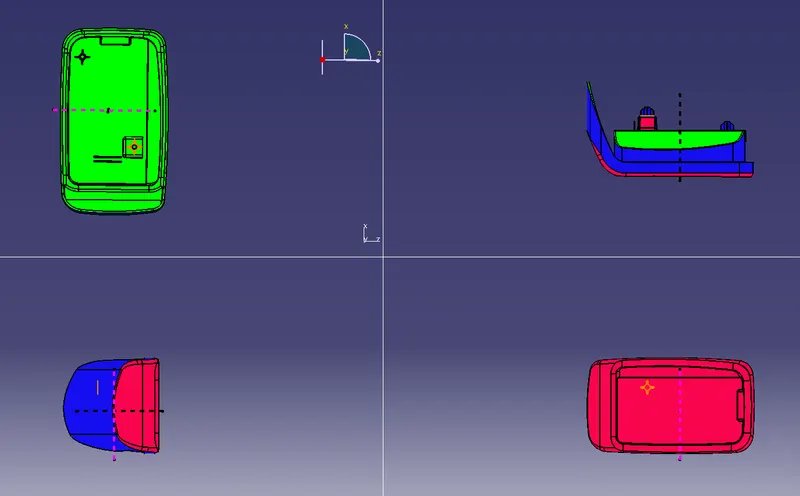
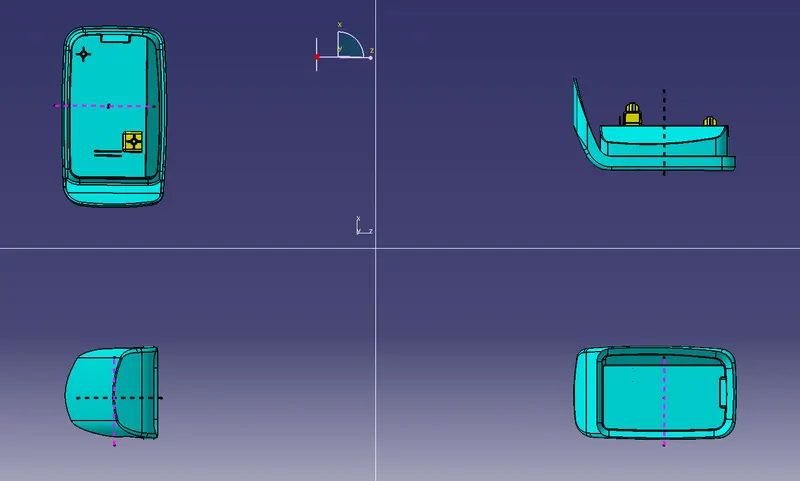
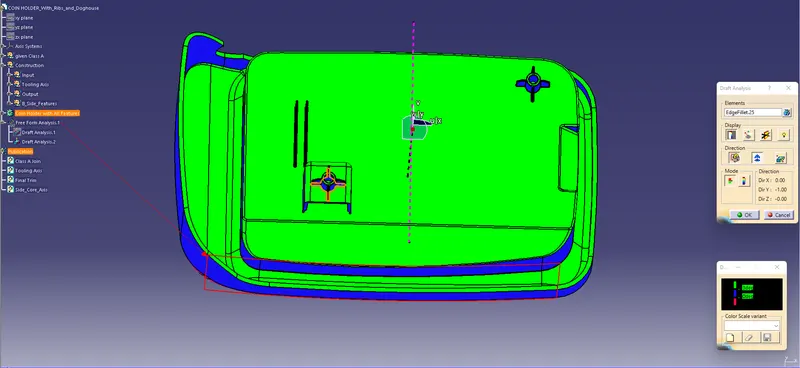
Consider the images of the Complete Dog house and Respective Draft Analysis.
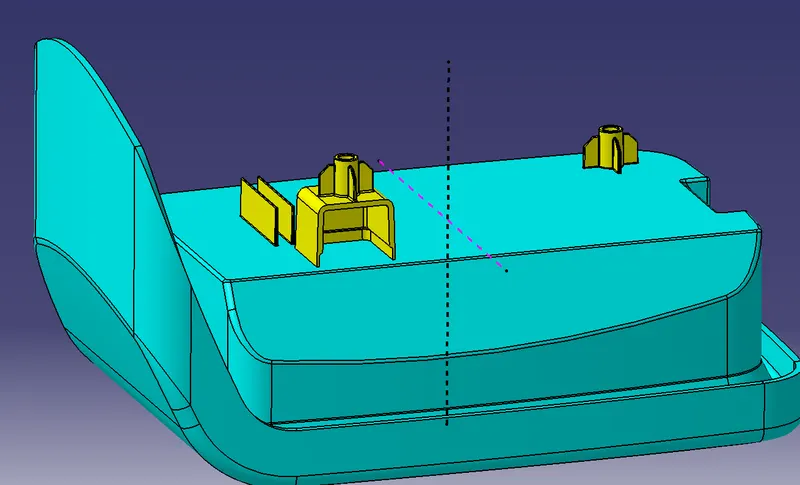
Draft Analysis:
Main Tooling Axis
Side tooling Axis: