Week 9 - Attachment Feature Creation - Challenge 2
AIM:
To build the boss and Dog House for the Centre console coin holder while keeping the design rules in mind.
THEORY:
We had already made a coin holder and added ribs because ribs are vital in the design of plastic parts since they allow us to make a component rigid without making it excessively thick. In this task, we will create screw bosses and a dog home based on the design parameters.
SCREW BOSS
The boss is a fundamental design feature in a plastics moulding. Bosses are often cylindrical since it is the easiest shape to make in the mould and the strongest shape to have in the moulded part. When we require a mounting point, a location point, reinforcement surrounding a hole, or a spacer, we use the boss. The boss can be fitted with an insert, a screw, or a plain shaft as a sliding or a press fit.
In other words, the boss is not as straightforward as he appears. Depending on its application, it may have to withstand a wide range of stresses, including tension, compression, torsion, flexing shear, and bursting, therefore it must be constructed accordingly. We may begin with some broad design rules based on the ideas we've already established for ribs and walls. The boss can be thought of as a type of rib that is wrapped around in the shape of a tube. An 'perfect' boss, made according to rib guidelines, would not cause sink marks or stick in the mould, but the tubular form of the boss would be insufficient in most circumstances. In reality, most leaders defy some rib design norms out of need.
This means that boss design must strike a balance between sink marks and functionality. The most basic aspect of boss design is rigidity. This can be accomplished by supporting the boss with buttress ribs and, more frequently than not, by connecting the boss to a side wall. Sink marks and stress spots can be avoided by designing the support ribs according to standard rib principles.
DESIGN CONSIDERATION FOR PLASTICS:
- WALL THICKNESS:
Thick portions waste material and are simply not cost effective. As a result, solid structures that would work well in wood or metal must be converted to a'shell' form in plastics. This is accomplished by hollowing out or 'coring' thick areas, resulting in a component that is fundamentally formed of relatively thin walls joined by curves, angles, corners, ribs, steps, and offsets, regardless of complexity. All of these walls should be the same thickness as much as possible. For reinforced materials, the recommended wall thickness range is 0.75 mm to 3 mm. Unreinforced materials have thicknesses ranging from 0.5 mm to 5 mm.
WALL THICKNESS(W)-0.70"(NOMINAL THICKNESS OF PLASTIC MATERIAL)
- CORNER RADII
Comers that are properly constructed will make a significant impact in the quality, strength, and dimensional accuracy of a moulding. But there is another advantage. Smooth curved comers aid in the flow of plastic in the mould by lowering pressure decreases in the cavity and minimising flow-front break-up. Internal radii should be at least 0.5 times the wall thickness, ideally 0.6 to 0.75 times the wall thickness.
CORNER RADII (0.6-0.75) (NOMINAL THICKNESS OF PLASTIC MATERIAL)
- DRAFT ANGLE:
Tooling must be cleared for easy ejection of the component from the core cavity. In order to clear tooling certain value of draft is given to the component. Minimum of 2-3deg is provides on all plastic components.
DRAFT ANGLE-2-3 DEGREE
- FILLETS:
Fillet on the inner side = 0.25 Thickness of the plastic material
Fillet on the outer side = 1.25 * Thickness of the plastic material
Fillet on the coming edges = 0.25 * Thickness of the plastic material
Coring thickness = 0.40 * Thickness of the plastic material
PROCEDURE:-
Extract the coin holder base.
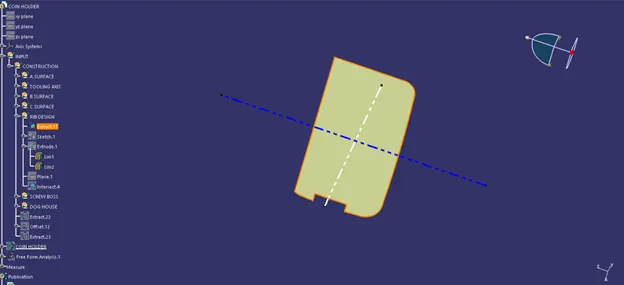
Draw the sketch of ribs
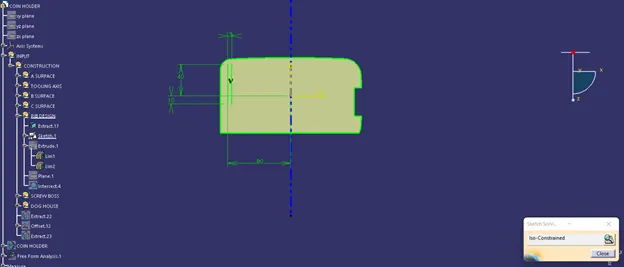
Then extrude it.
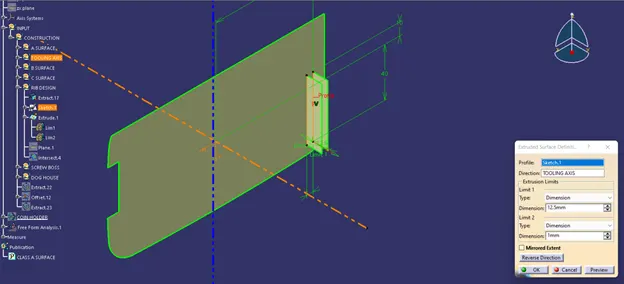
Now draw the sketch of heat stake.
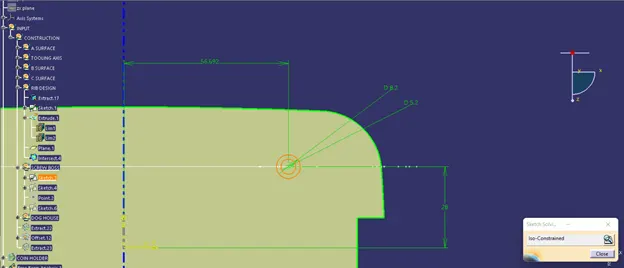
Pad the drawn sketch.
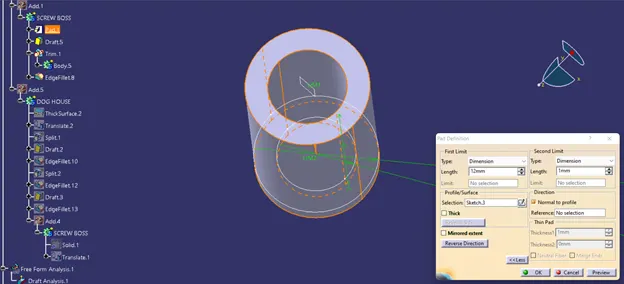
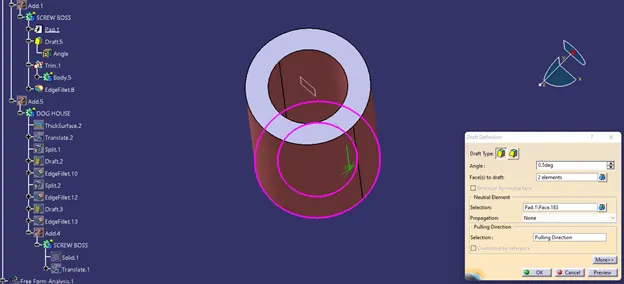
Draft the heat stake.
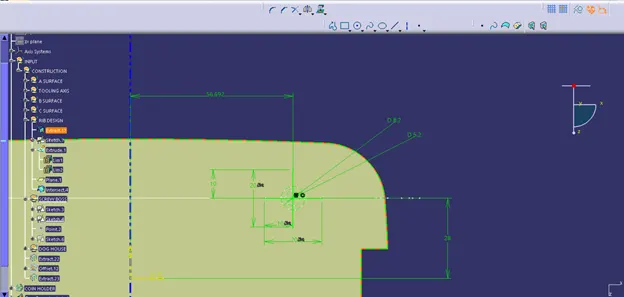
Draw the sketch of the ribs.
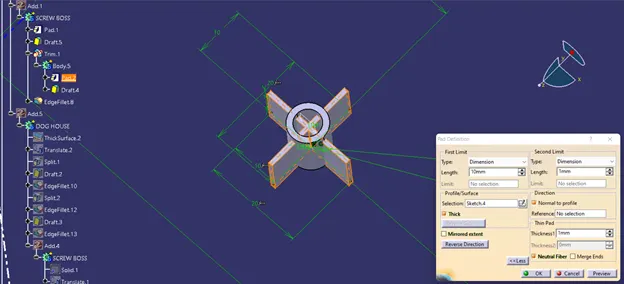
Then pad the ribs.
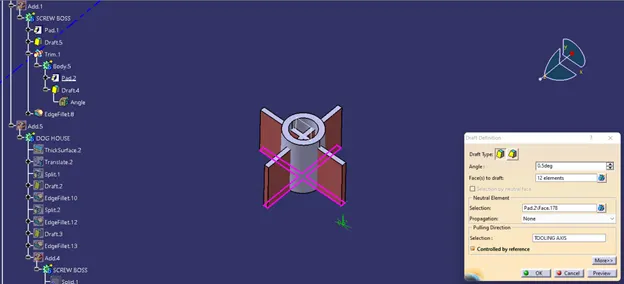
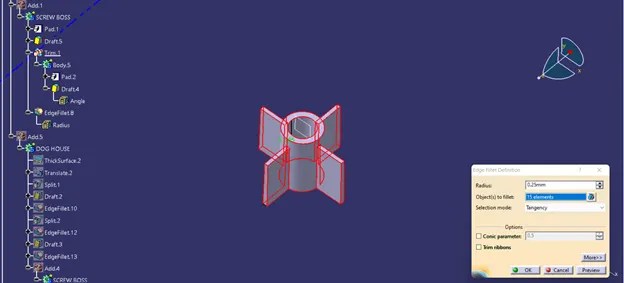
Now edgefillet the ribs.
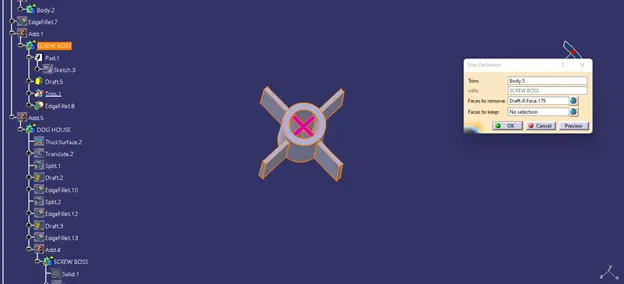
Now unitrim the heatstake and the ribs and select the face to remove.
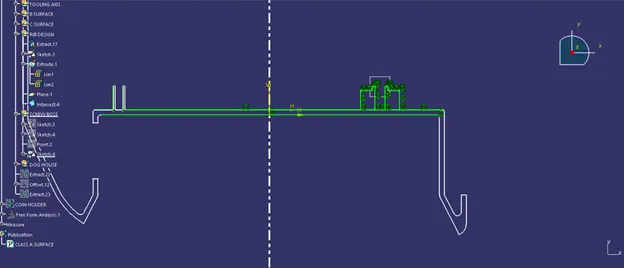
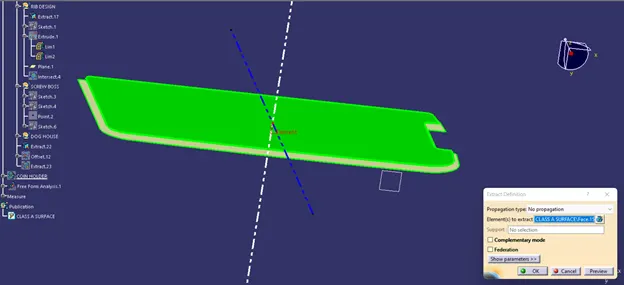
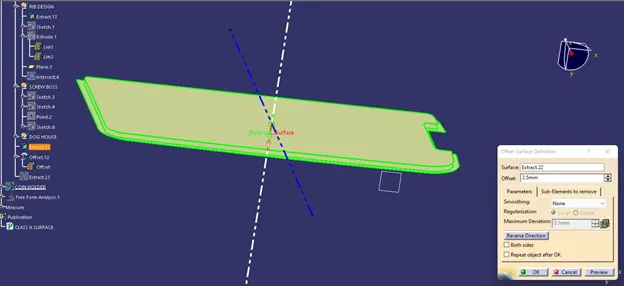
Now draw the sketch for the doghouse.
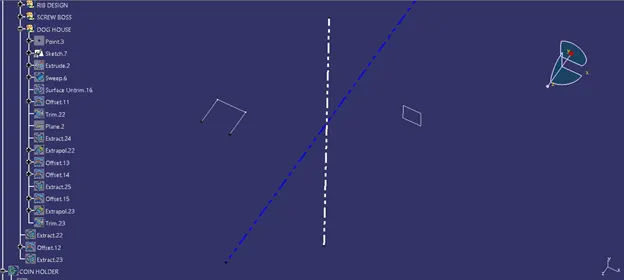
Then extrude the sketch.
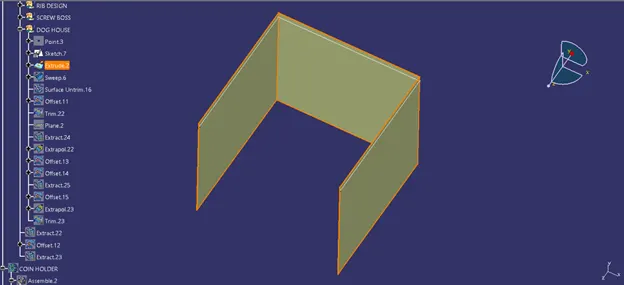
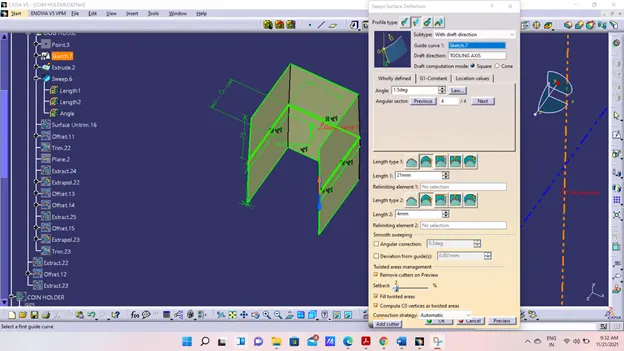
Now take the offset of the extracted portion and the trim it with the extruded part.
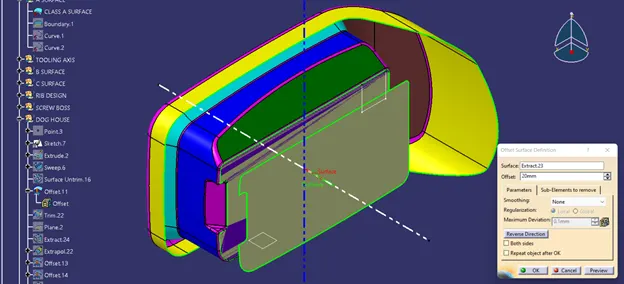
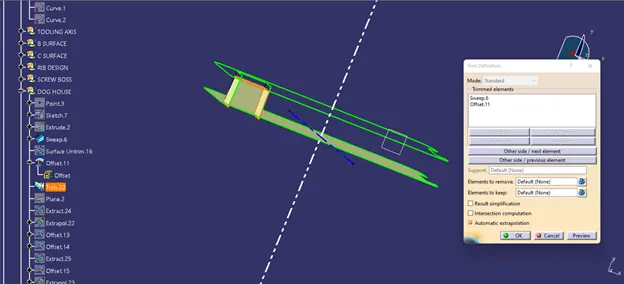
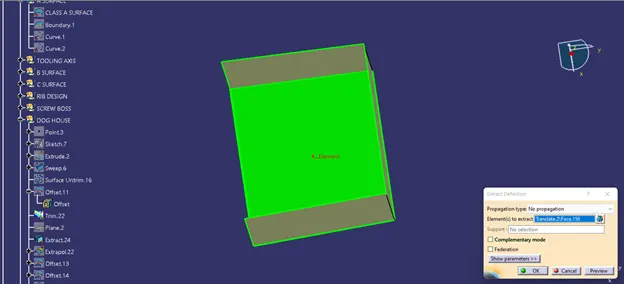
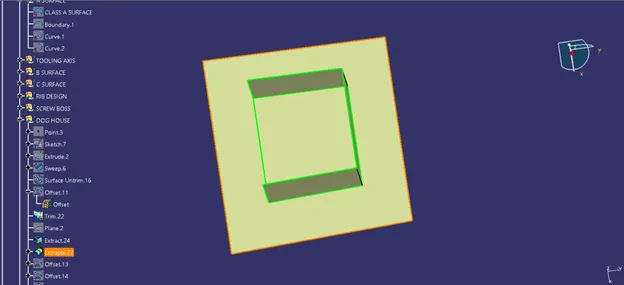
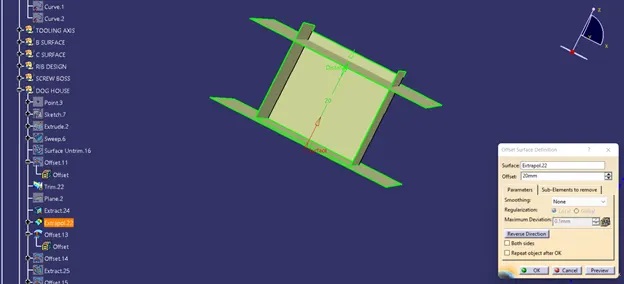
After trim then use thicken the dog house.
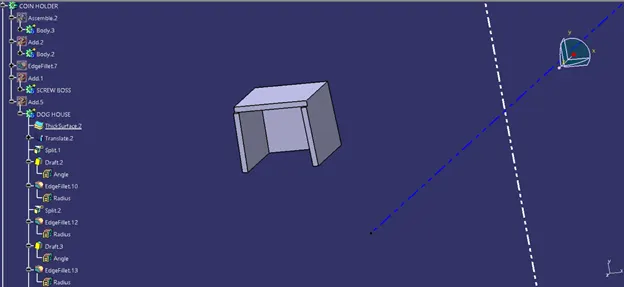
Now draft and apply edge fillet.
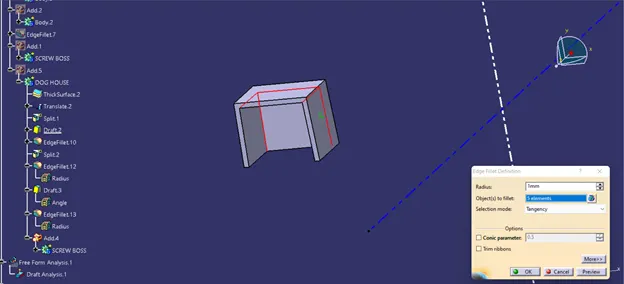
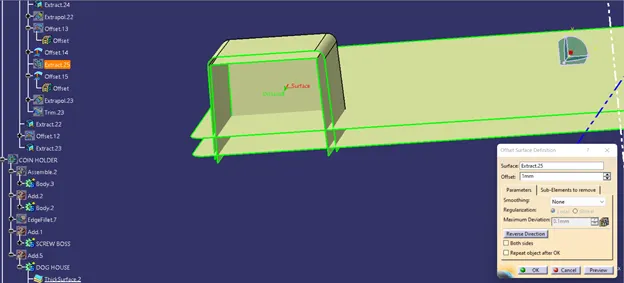
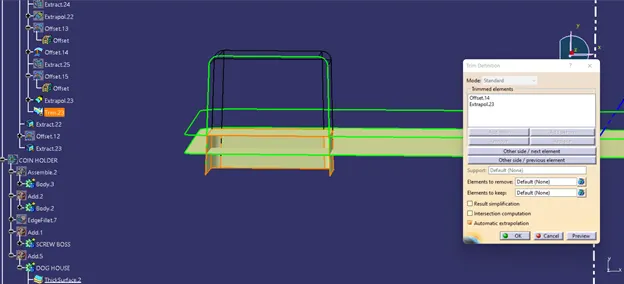
Now split the cut out part.
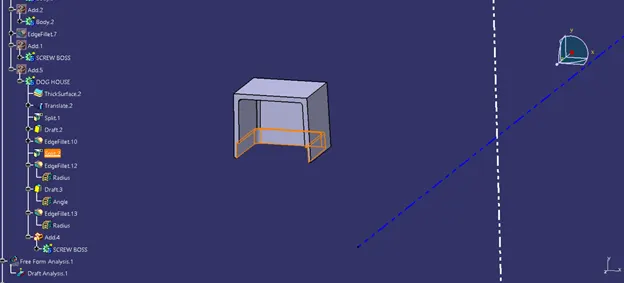
Now apply draft as well as edge fillet from both side.
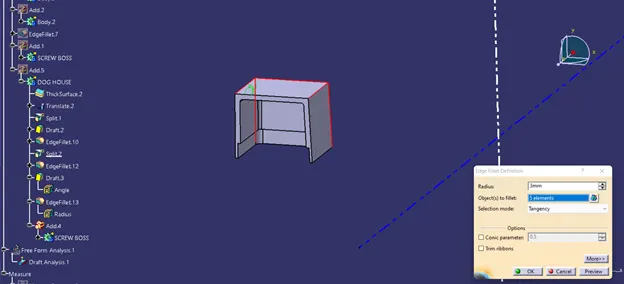
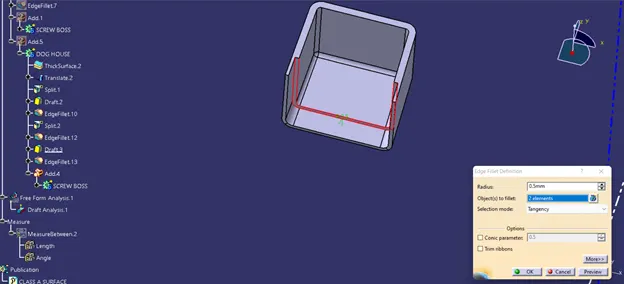
Now assemble the screw boss, dog house and coin holder.
Draft analysis.
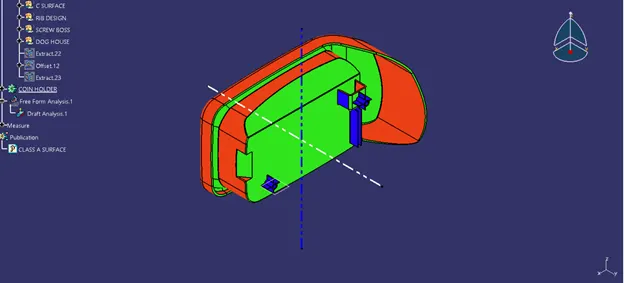
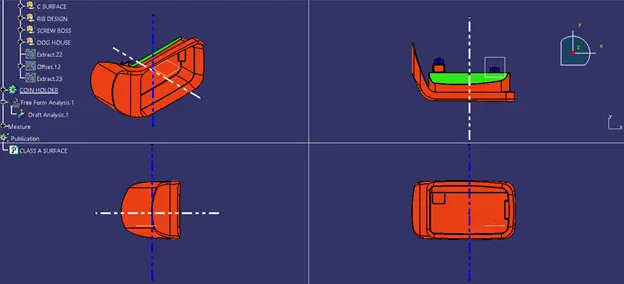
Isometric, Front, Side, and Top View
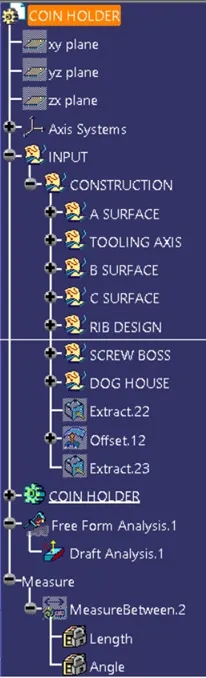
Geometrical set
RESULT:
So, ultimately, we designed the boss and Dog House for the Centre console coin holder while keeping the design guidelines in mind, and we ran draft analysis on it.