Week 9 - Attachment Feature Creation - Challenge 2
DOOR TRIM ( DOG HOUSE )
OBJECTIVE:
Create the Dog House for the Door Trim Considering the design rules.
INTRODUCTION:
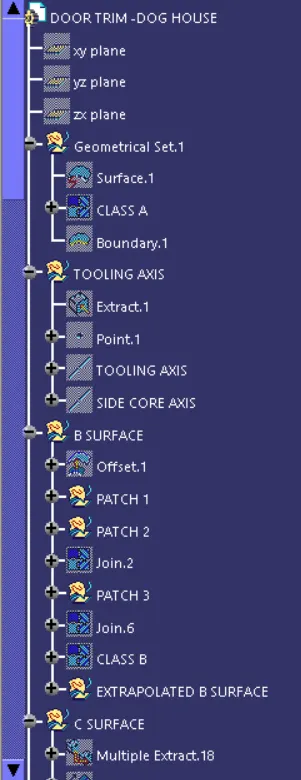
Create a Tooling axis for the given class A surface, Then Create the Class B and C surfaces and Join All of them together. Perform draft analysis on the plastic component. Create the dog house for the door trim.
SPECIFICATIONS:
Thickness = 2.5mm
CLASS A:
Class A surface is an aesthetic surface with high quality finish. Most class A surfaces for an automotive component are made using Autodesk-Alias based on the final concept-sketch. All class A surfaces should have Curvature-continuity which means the continuity between the surfaces should share the same boundary.
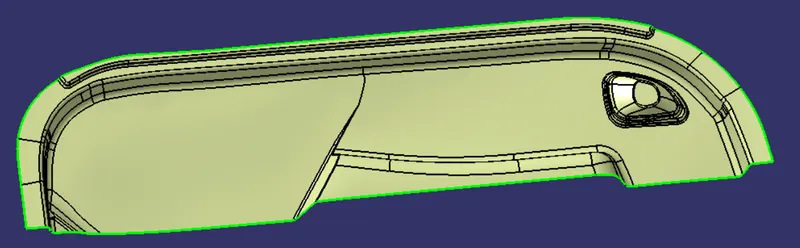
It is taken as a reference by the Automotive Pastic Designer to create Class B and Class C surfaces. Import the given Class A surface, Check for continuity using boundary and create the tooling axis for the Class A surfaces and perform Draft Analysis.
TOOLING AXIS:
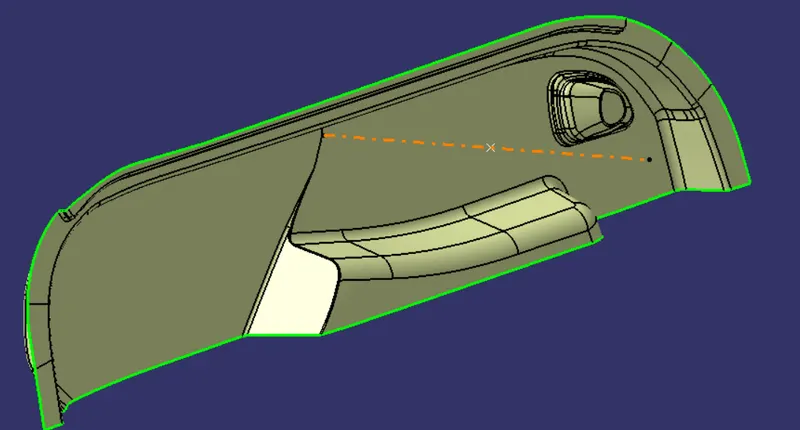
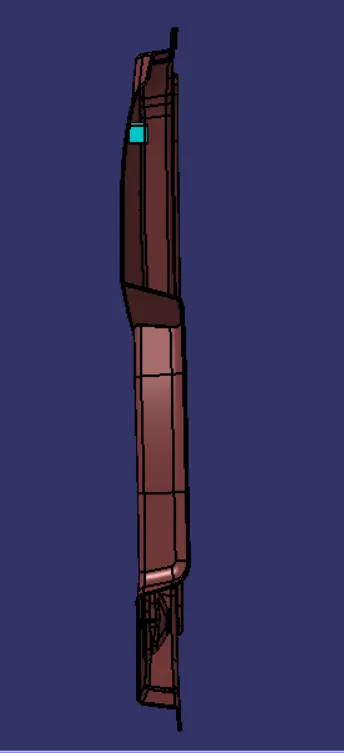
It is the direction in which the core and cavity opens and closes. After the class A is imported check for possible irregularity, using boundary. Extract a flat surface, create a point on the flat surface using on surface option. Create a line using point direction in the point on surface. The created line is the tooling axis, perform draft analysis on the class A surface using tooling axis.
DRAFT ANALYSIS:
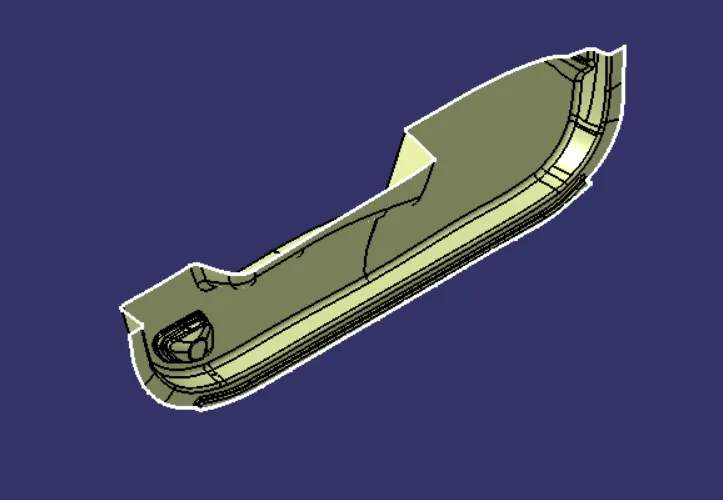
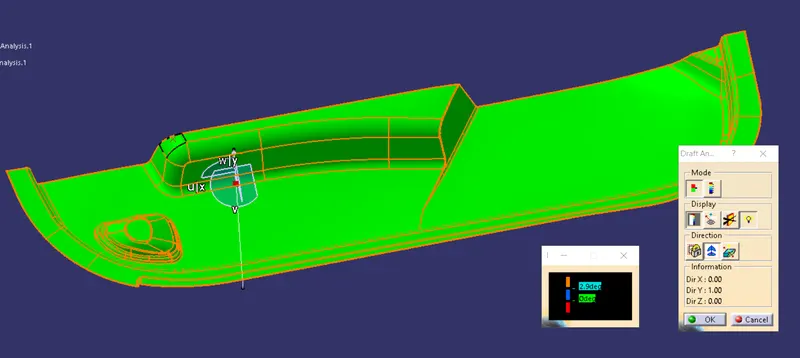
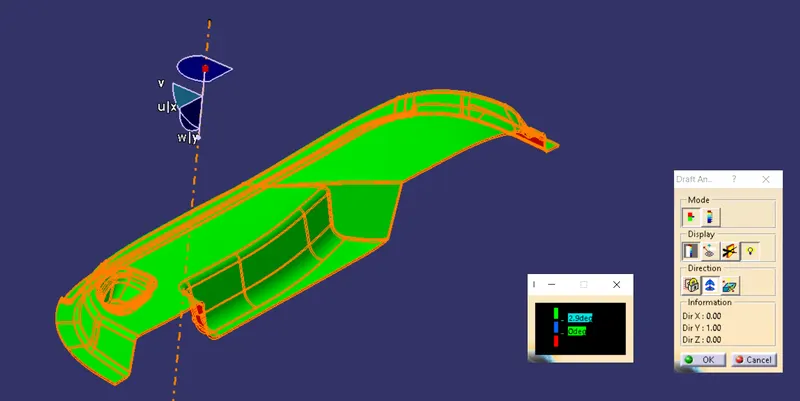
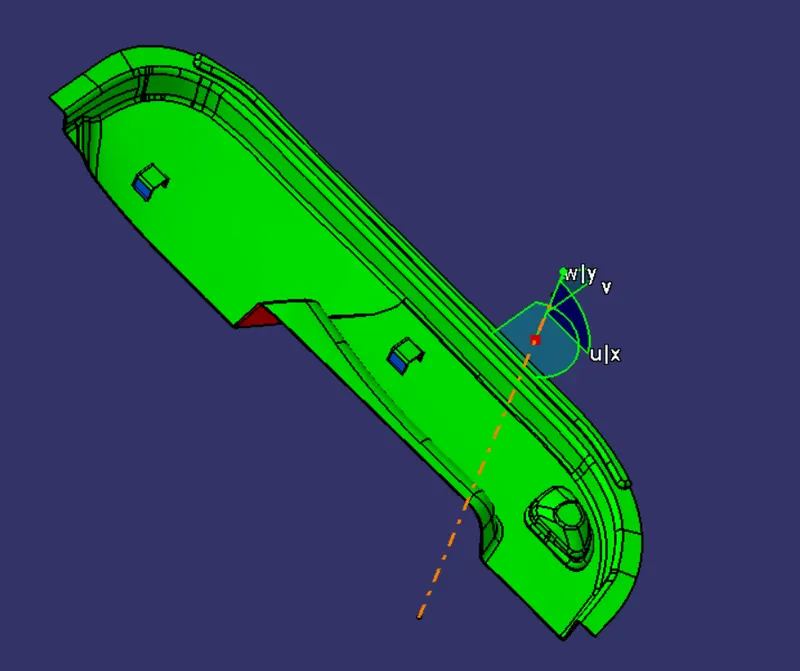
The draft analysis technique is used to analyze whether our part model created is manufacturable based on the draft condition applied. To perform draft analysis the view parameters are set to material mode.
Then insert the feature draft anlysis select the axis system and drag the axis system to align and coincide with the tooling axis and lock the orientation.
This axis system defines the draft direction according to the tooling axis. Set the minimum value, here it is set to 3 degrees and it will be displayed in green colour. Now select the running point tool to measure the draft angle at various locations.
B SURFACE:
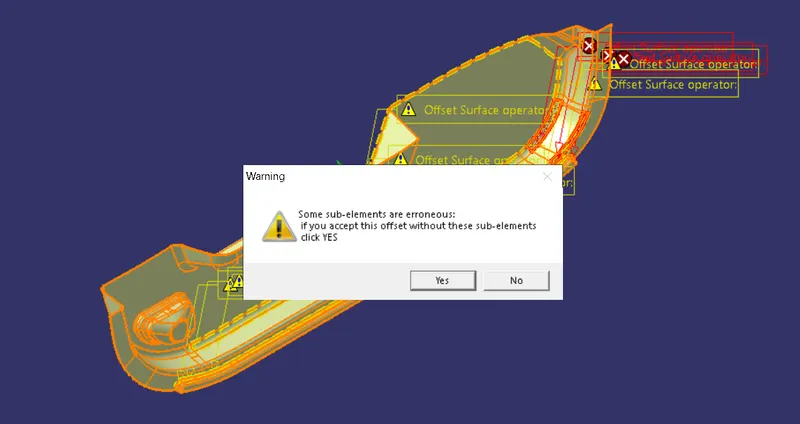
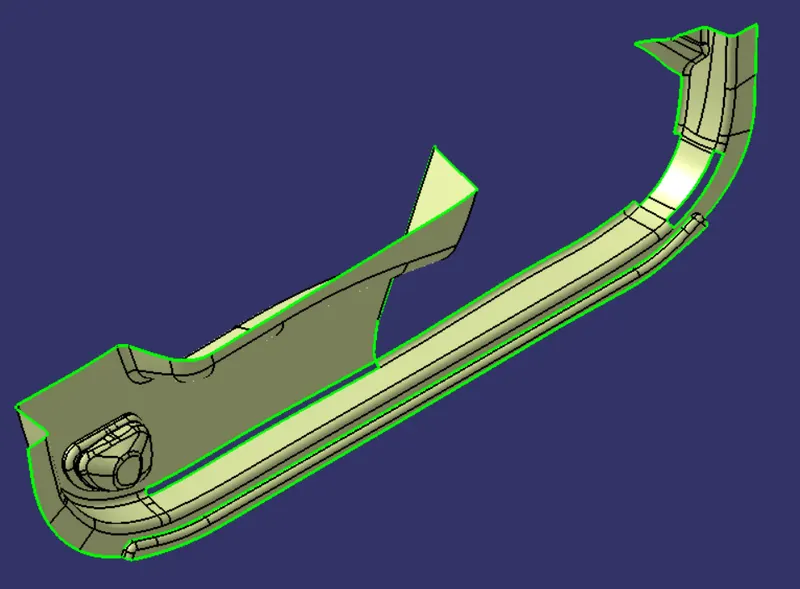
Offset the class A for 2.5mm on upward direction, Where the dog house is going to take place. Some surface discontinuity is appeared, Close all the patches by Multi-sections Surface.

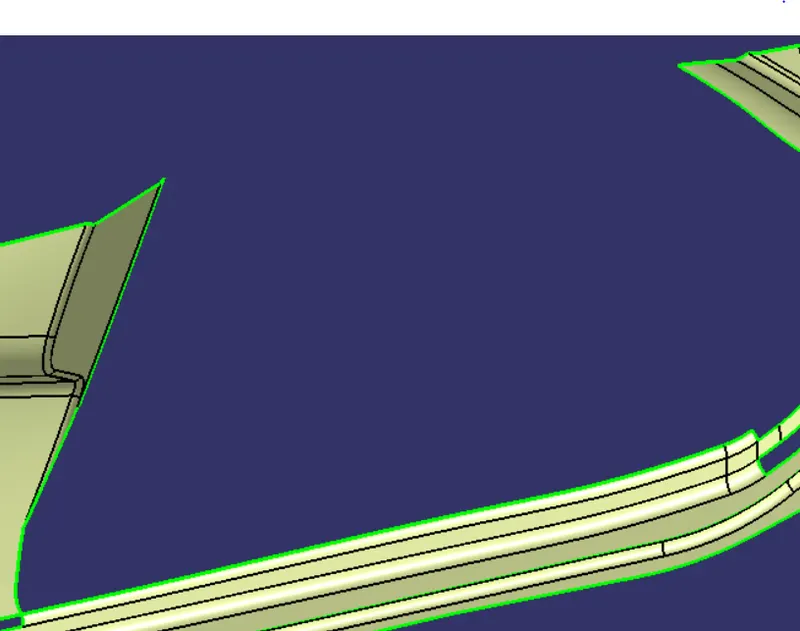
PATCHES:
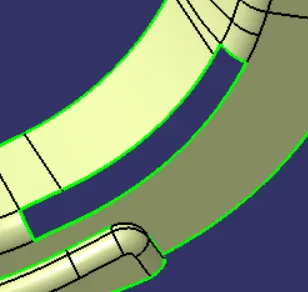
Extract the edges of the open surfaces, Do a multi-section surface operation to close all the patches.
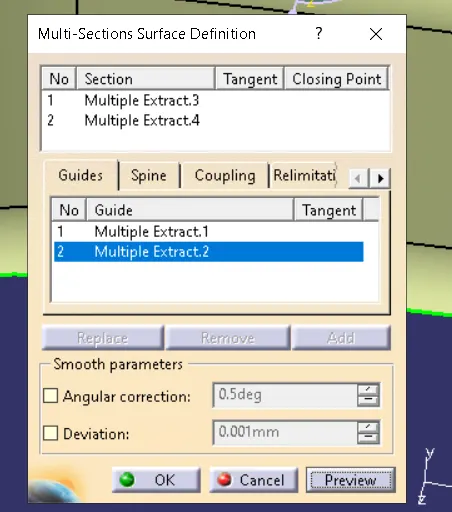
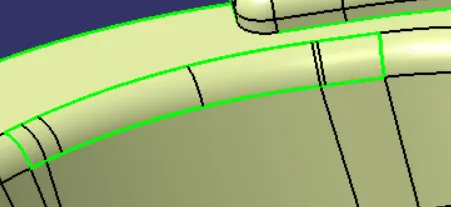

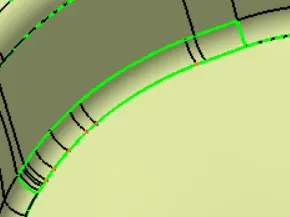
After closing the patches, join them together to get the Final B Surafce.
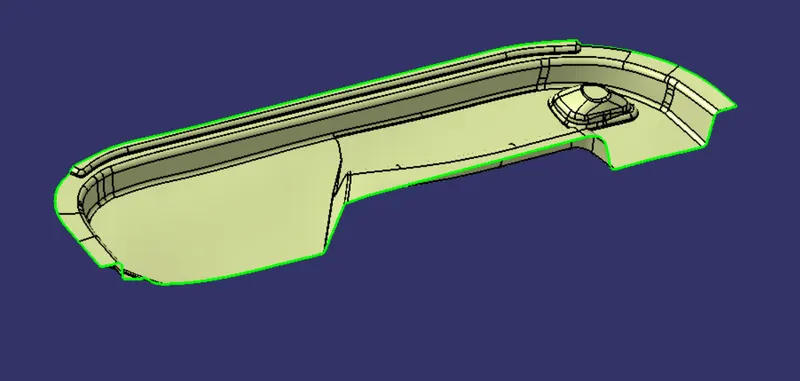
C SURFACE:
Extract the boundaries of the class A surface, Do a Sweep on them to get the Class C surface.
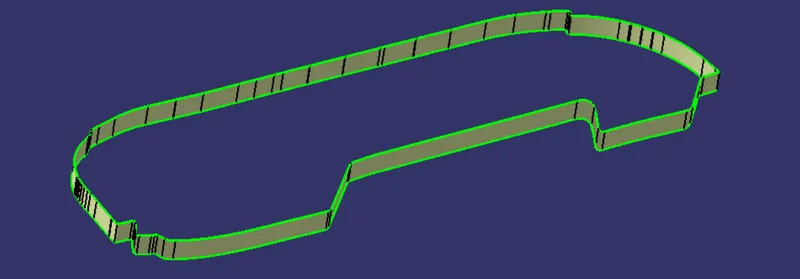
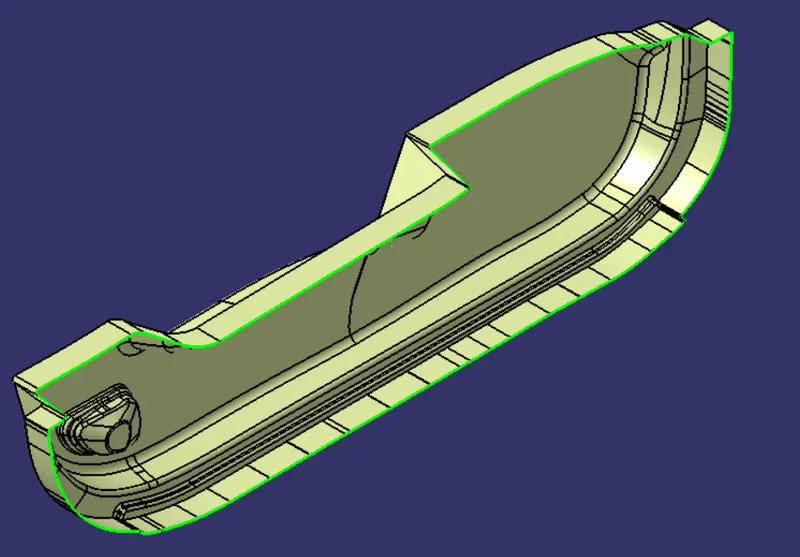
CLASS A AND C:
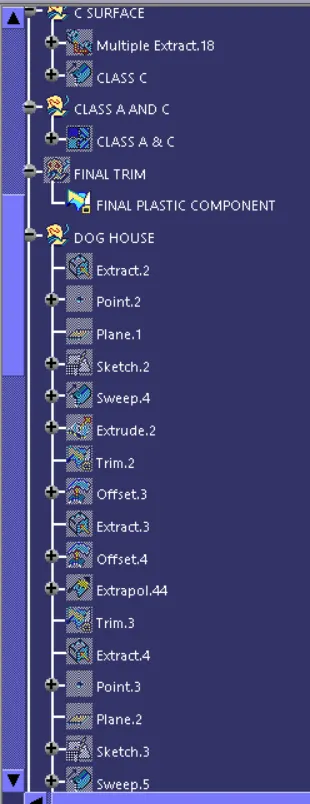
Join the class A surface with the Class C surface.
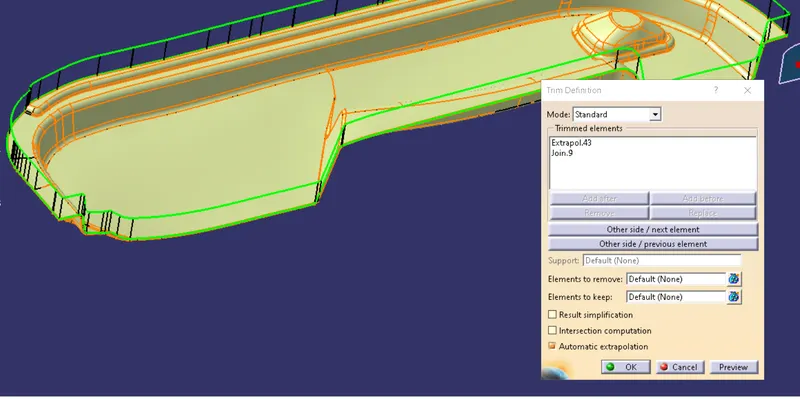
FINAL TRIM:
Trim the above surface with the Extrapolated Class B Surface to get the Final Component Door Trim.
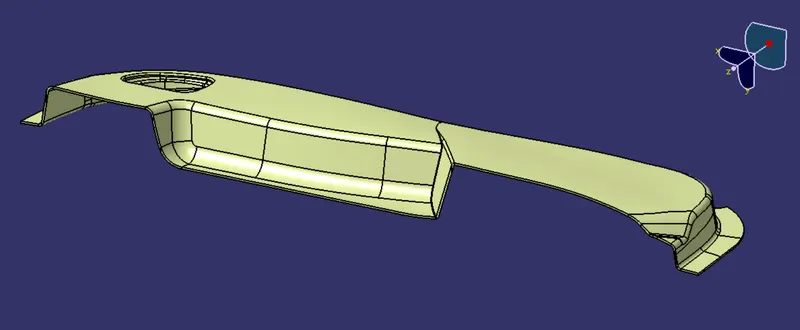
CLOSE SURFACE:
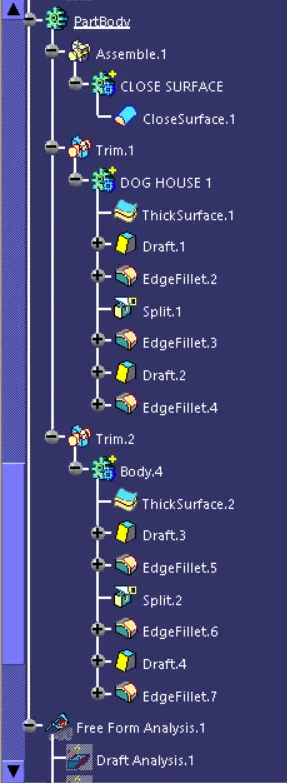
Open the part workbench Define it on a partbody and do a close surface operation.
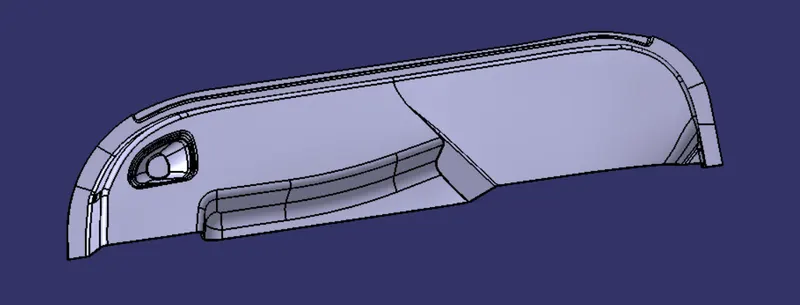
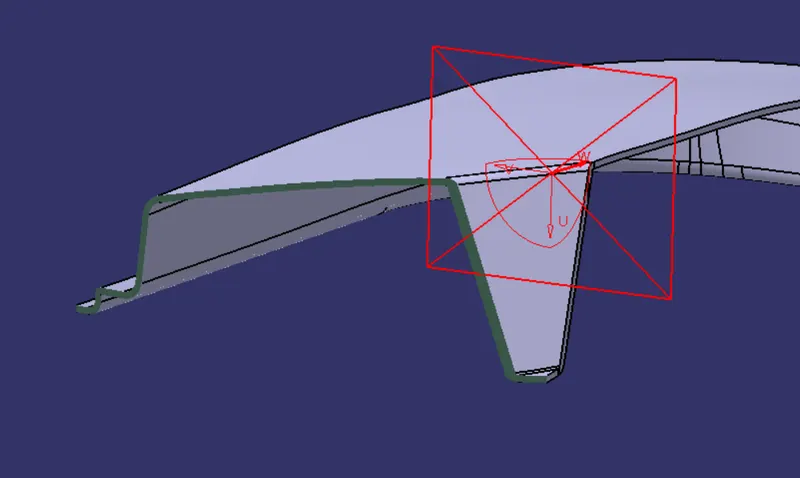
DRAFT:
Perform a draft analysis on the close surface Door Trim.
DOG HOUSE DESIGN:
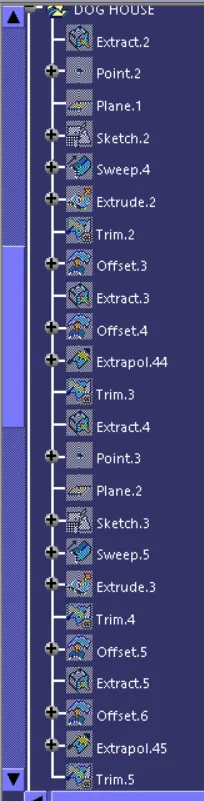
Extract the close surface area where the dog house is going to take place. Create a Positioned Sketch and Sweep the sketch with 1.5degree deviation.
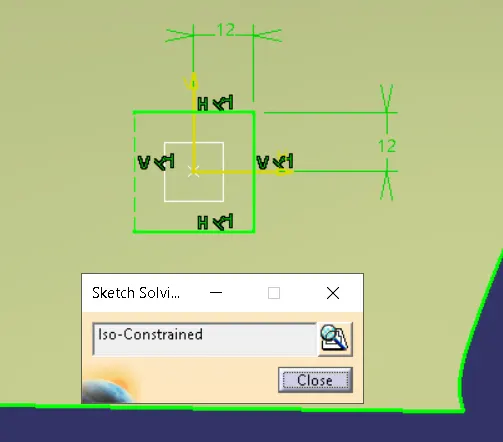
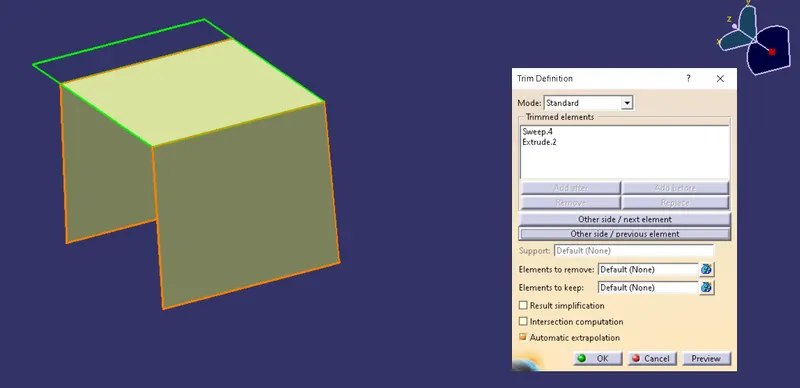
Close the top region of the sweep surface, Extrude a edge Trim it with sweep.
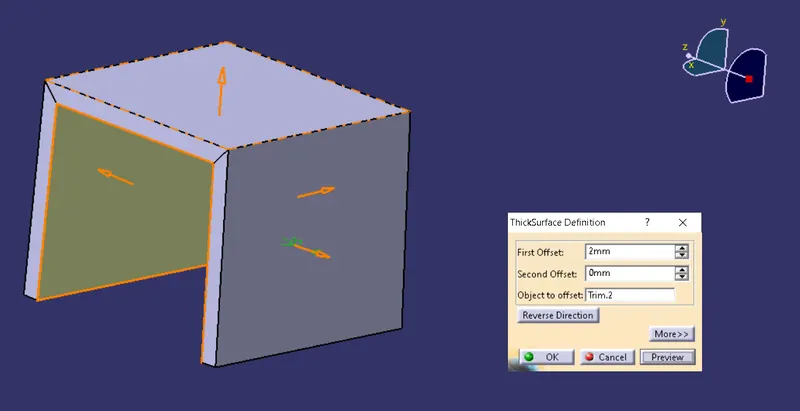
Thicken the above surface outward 2mm.
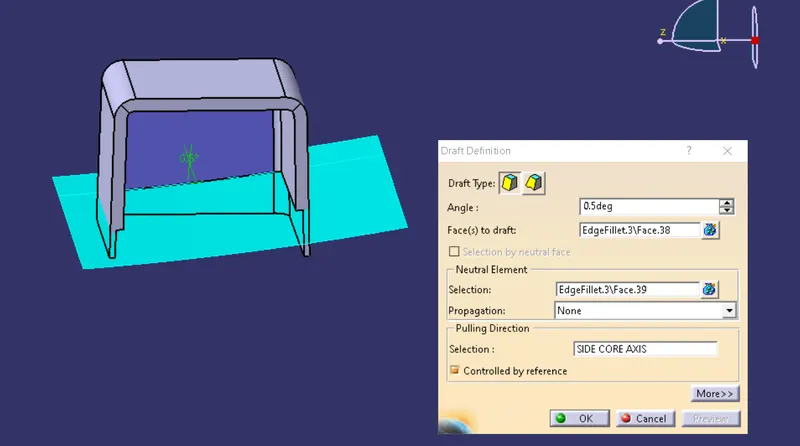
Perform the Draft on the thicken surface and fillet the edges.
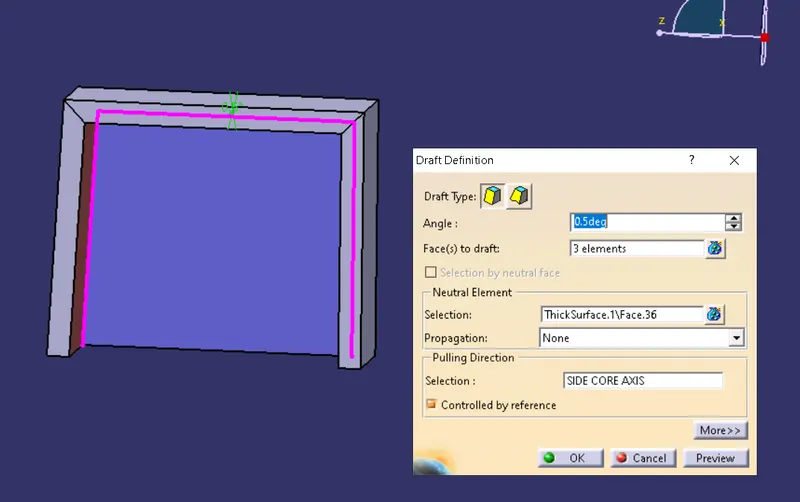
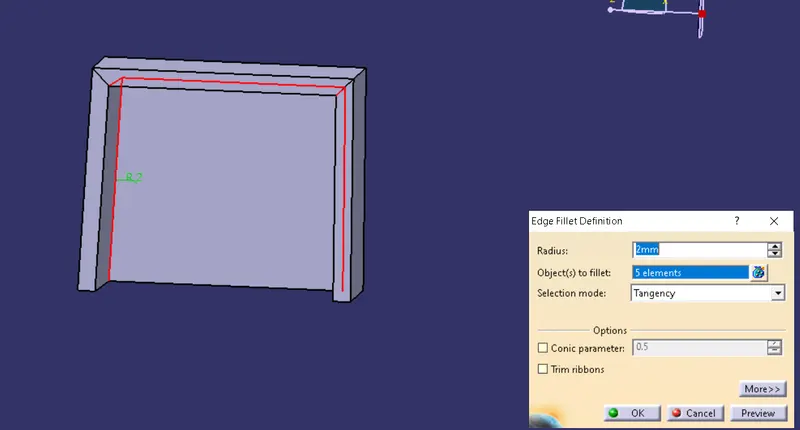
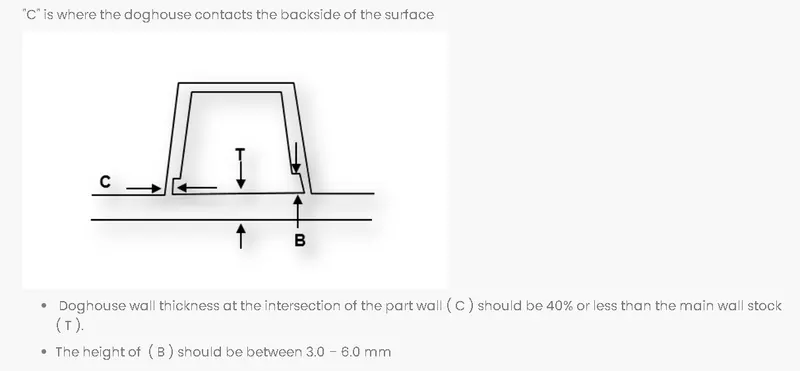
Split the bottom of the dog house according to the design rules. Extract the inner surface of the dog house and offset it to 1mm. Offset the base surface to 4mm. Trim them together and split the trim with the dog house.
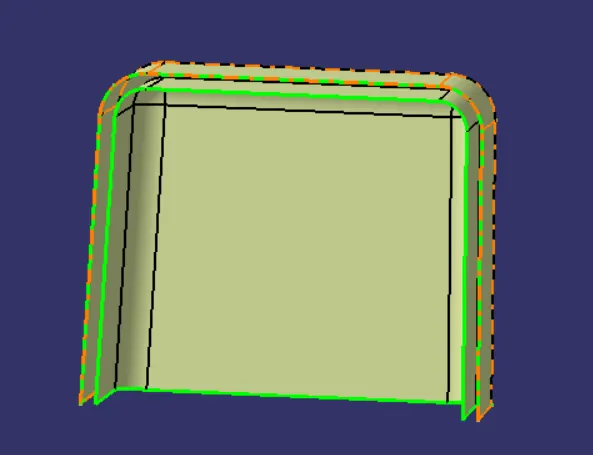
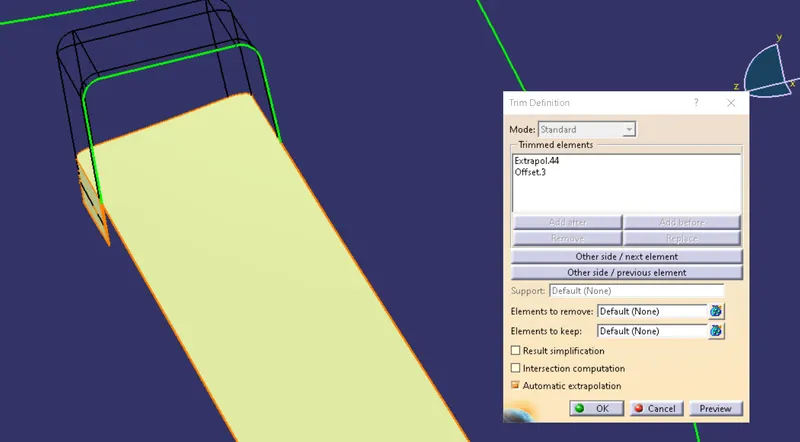
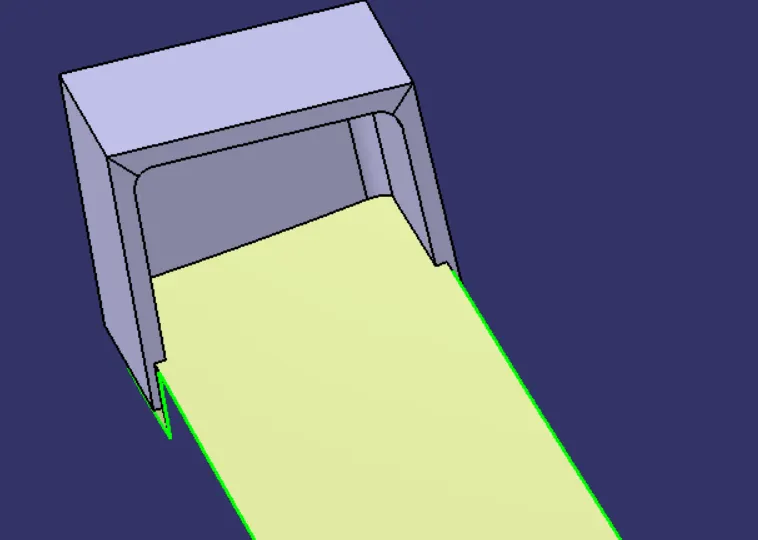
Create a draft on the inner face of the dog house and fillet the bottom edges.
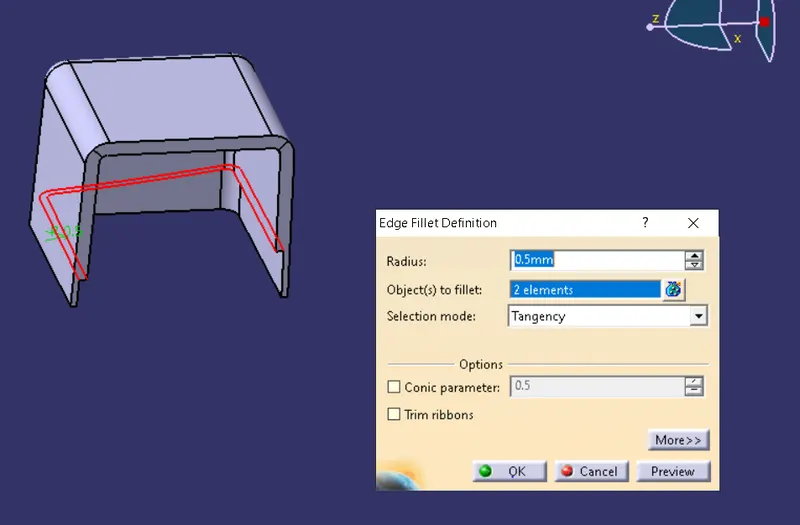
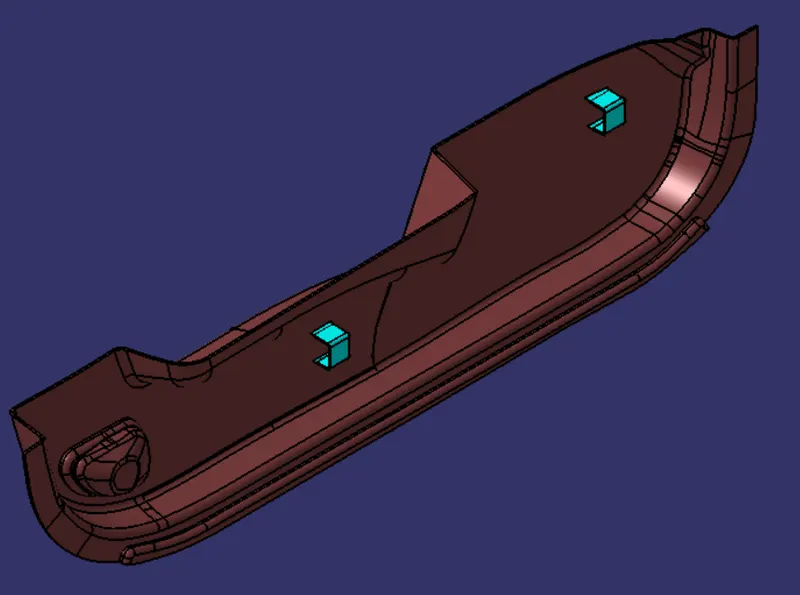
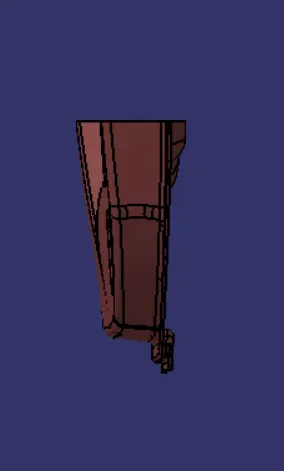
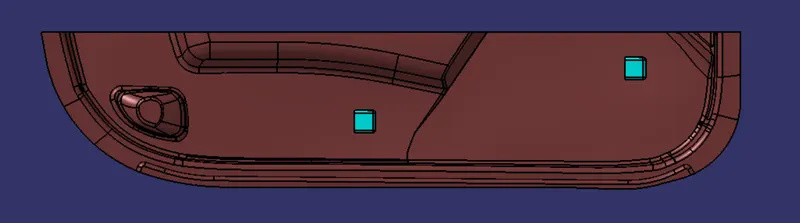
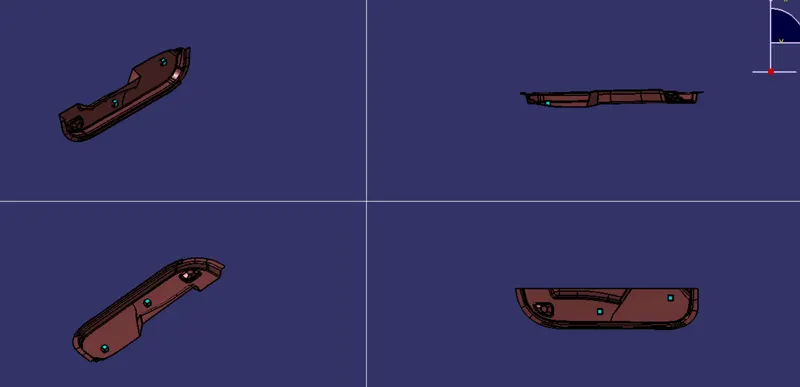
Create two DOG HOUSE like this and trim them with the CLOSE SURFACE.
DRAFT ON DOG HOUSE:
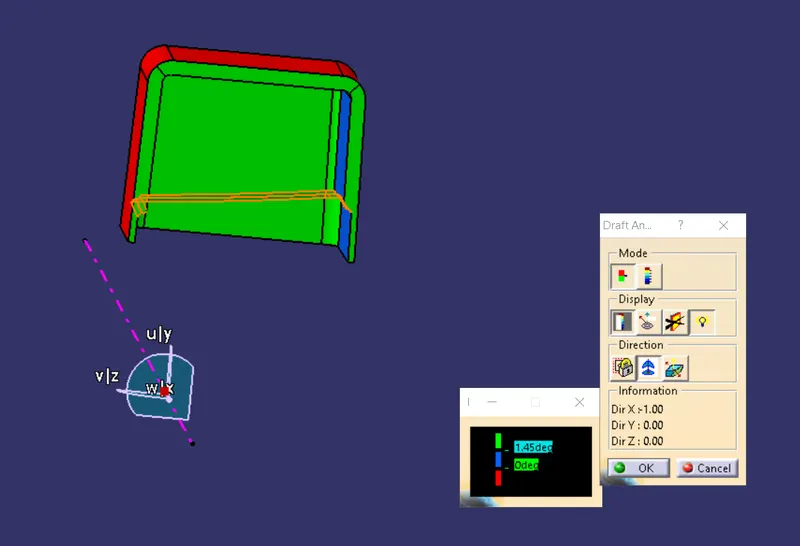
FINAL DRAFT:
VIEWS:
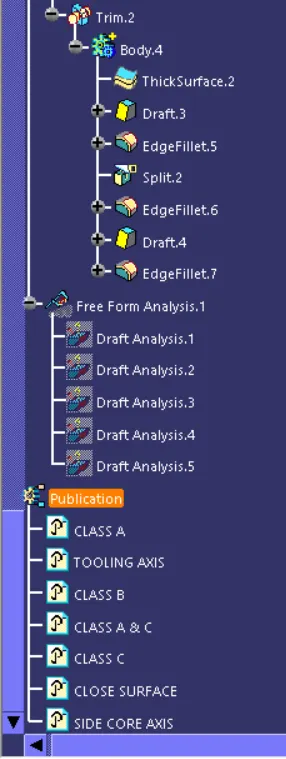
TREE STRUCTURE: