Week 8 - Challenge 3 - Coin Holder Design
COIN HOLDER DESIGN
INTRODUCTION:
To Create the Coin Holder Plastic component through the given Class A Surface and to perform Draft Analysis on the model by using the Tooling axis, Class B and C Surface.
OBJECTIVE:
Create the Tooling Axis
Create the Class B and C surface
Create the Close Surface
Perform Draft Analysis
SPECIFICATIONS:
Coin Holder Thickness = 2.5mm
Minimum Draft Angle = 3 Degrees
CLASS A SURFACE:
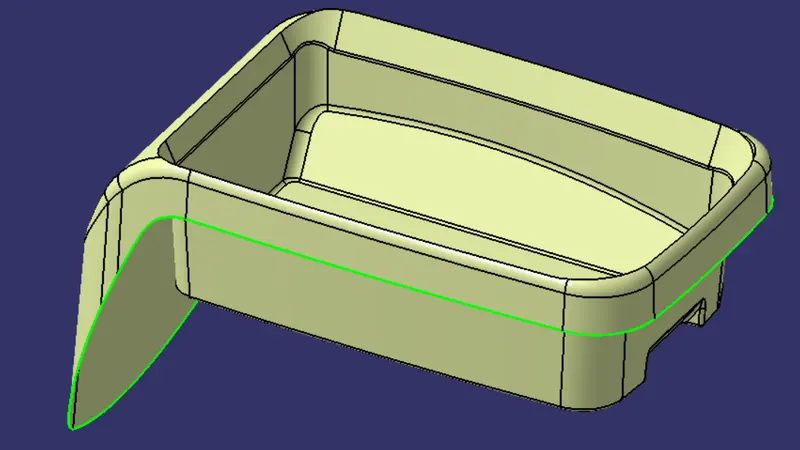
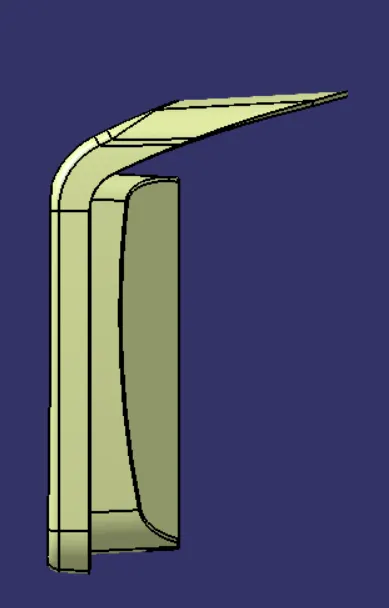
It is a surface created by the designing team which is then given as an input to the plastic designer to create the plastic component. it is the aesthetic surface and the outer surface.
The class A surface is given and we have to check the boundary for gaps. Then create a tooling axis to check the given surface is capable for drafting.
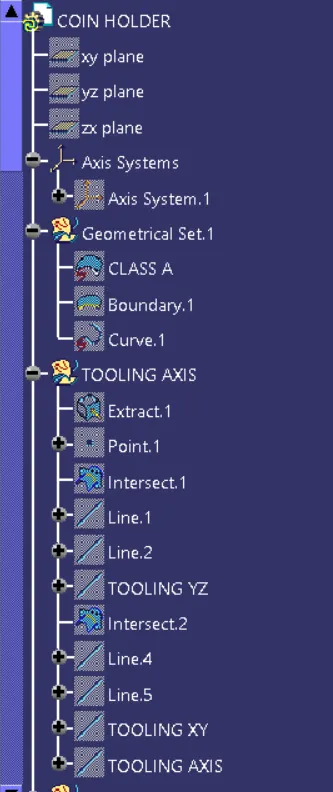
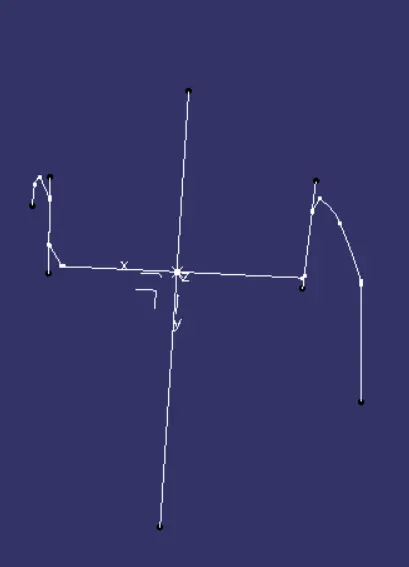
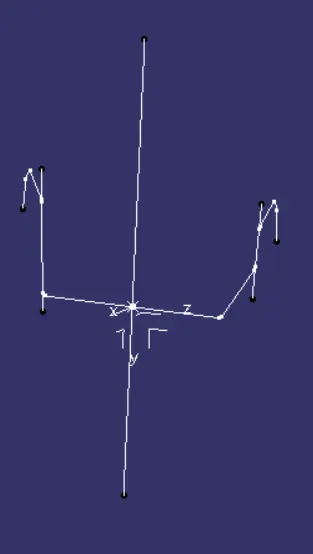
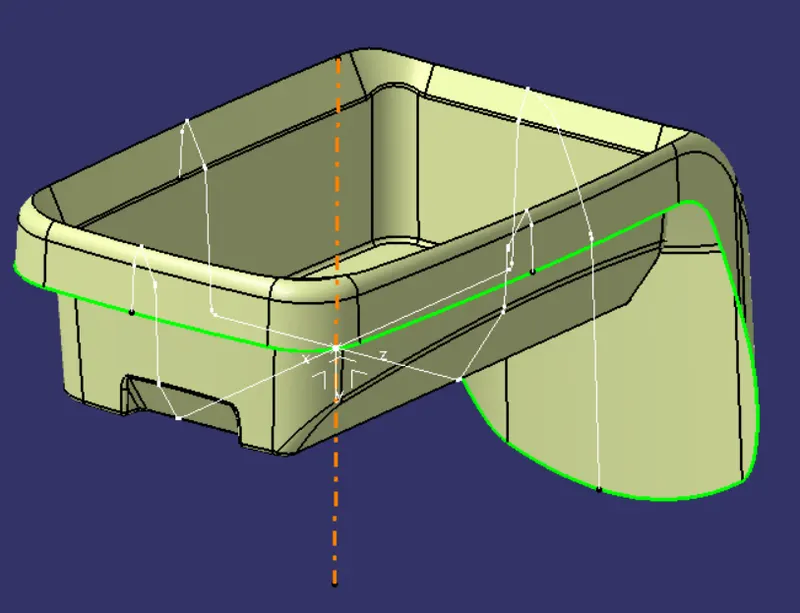
TOOLING AXIS :
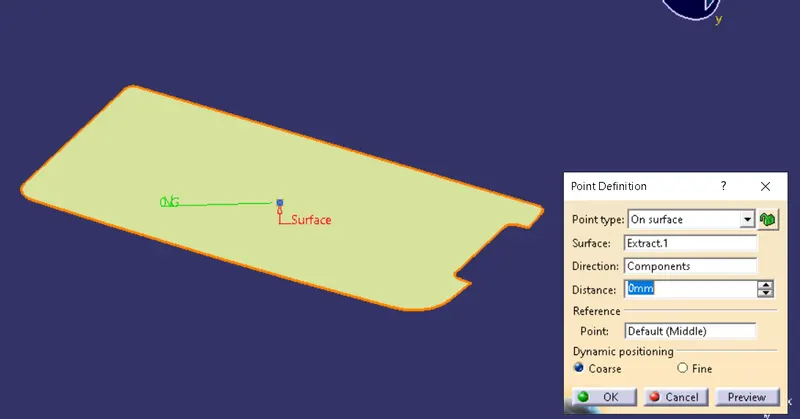
It is the direction in which the core and cavity opens and closes. After the class A is imported check for possible irregularity, using boundary option create a center point.
Then using intersection option intersect the surface with the axis system to get the intersection of the surface to create the lines to bisect.
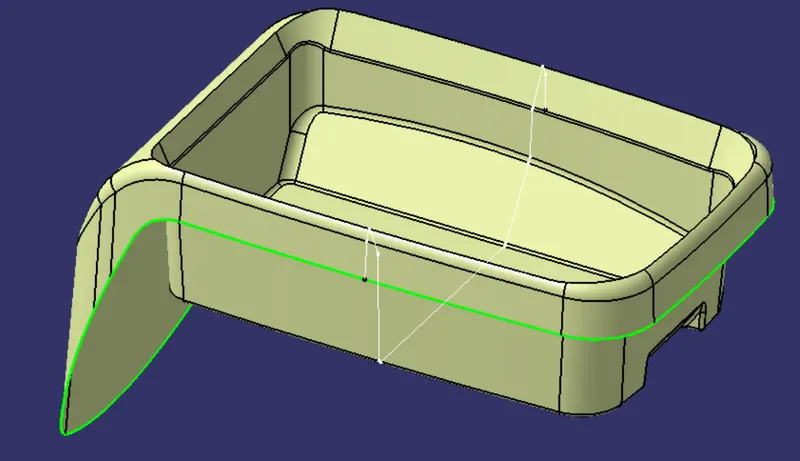
Then create the lines which contains the deflection to bisect them. Check on the other side of the axis on the surface to check for possible deflection on the surface and create the lines to bisecting them. Bisects the lines to create lines on both direction and bisect them together to create the TOOLING AXIS.
DRAFT ANALYSIS:
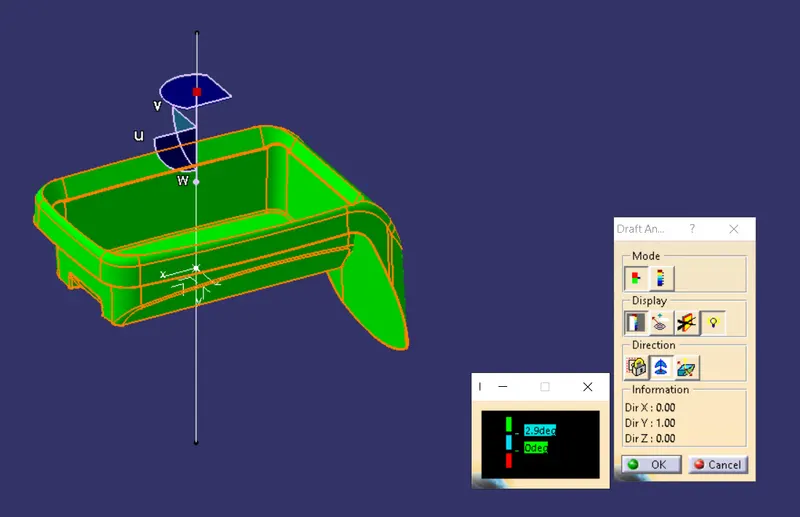
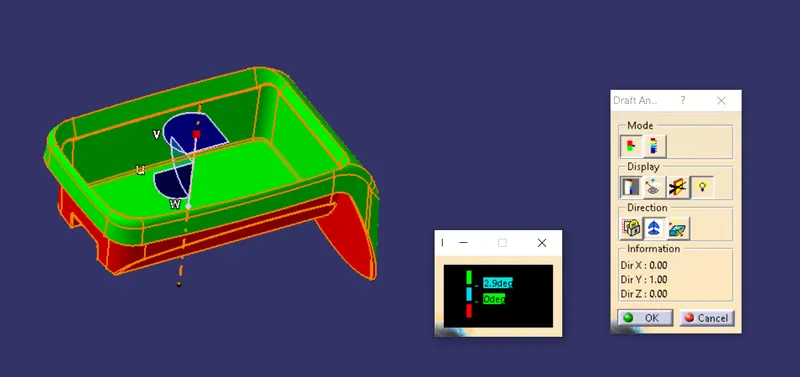
The draft analysis technique is used to analyze whether our part model created is manufacturable based on the draft condition applied. To perform draft analysis the view parameters are set to material mode.
Then insert the Feature Draft Analysis. select the axis system and drag the axis system to align and coincide with the tooling axis and lock the orientation.
This axis system defines the draft direction according to the tooling axis. Set the minimum draft value. here it is set to 3 degrees and it will be displayed in green colour. Now select the running point tool to measure the draft angle at various locations.
CLASS B SURFACE:
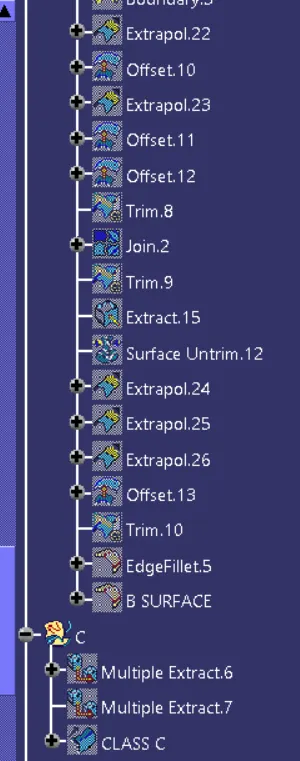
The offset from class A surface is used to produce the class B surface. All engineering features such as screw bosses, dog house, ribs are produced on the B surface.
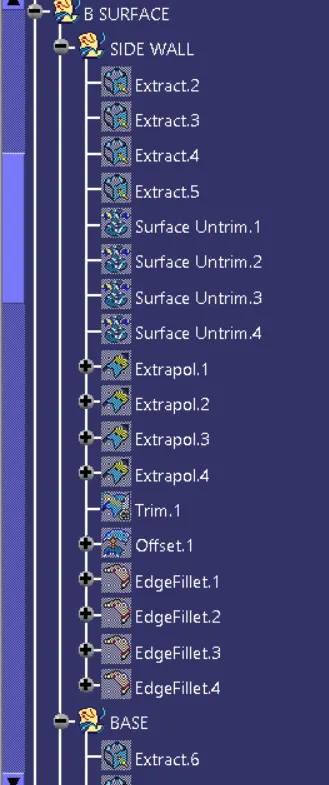
SIDE WALLS:
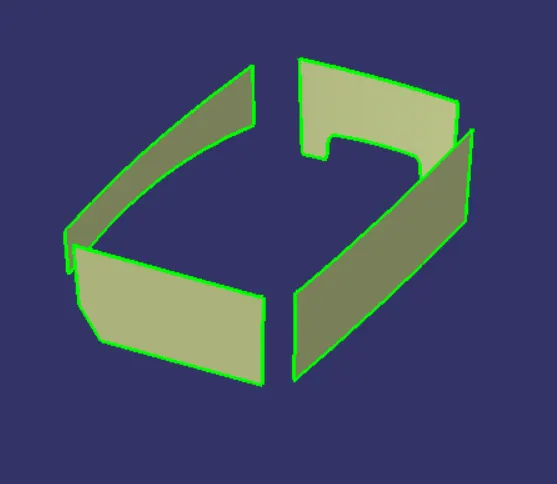
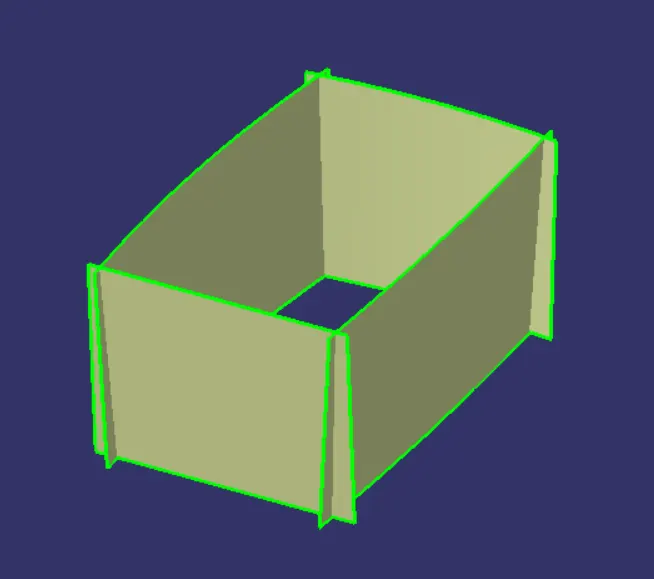
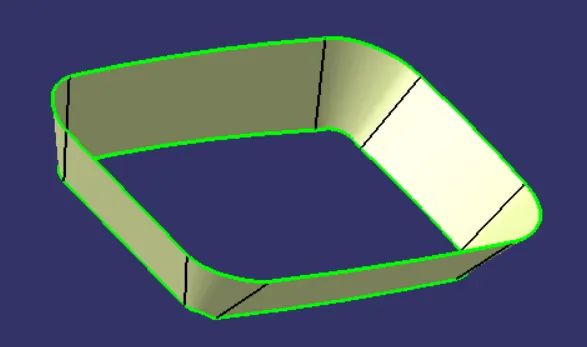
Select the walls which are needed and extract them all. untrim all the extracted surfaces and extrapolate them. Trim all the surfaces together and offset them 2.5mm.
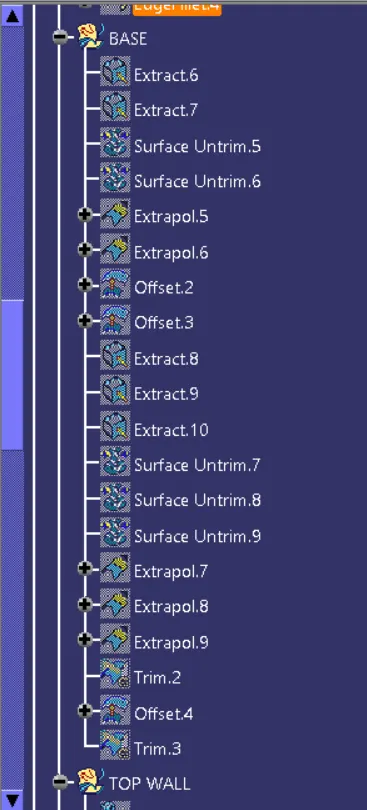
BASE:
Select the base surface and the small wall on the side extract them. Select the inner block on the surface and extract them.
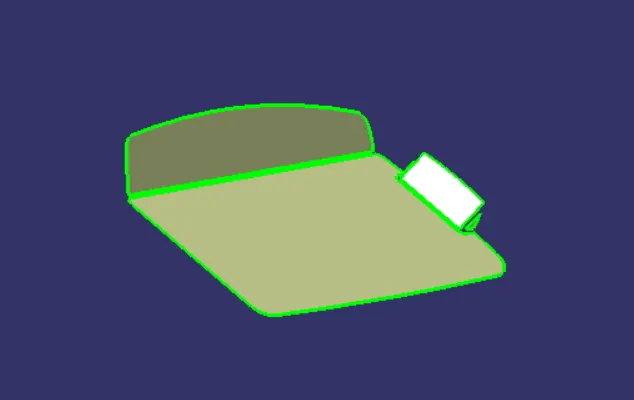
Untrim all the extracted surface and extrapolate them.
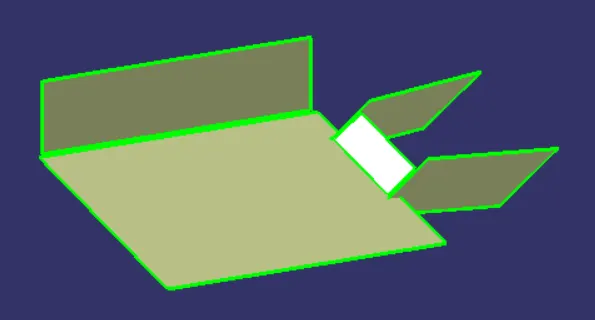
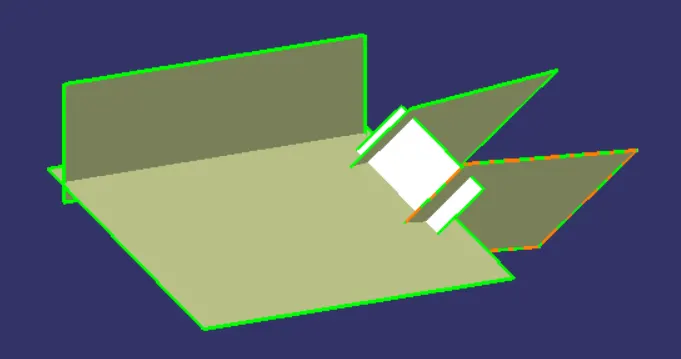
Trim the surfaces together and offset them to create the base surface for B surface.
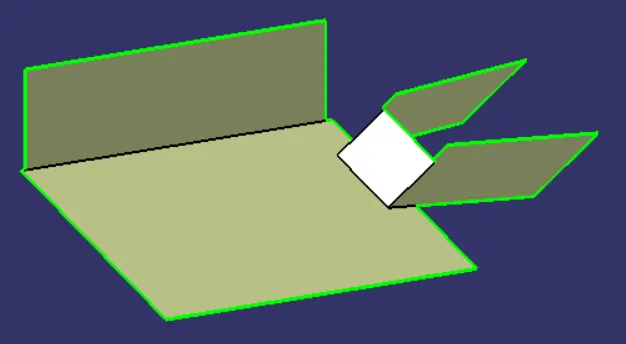
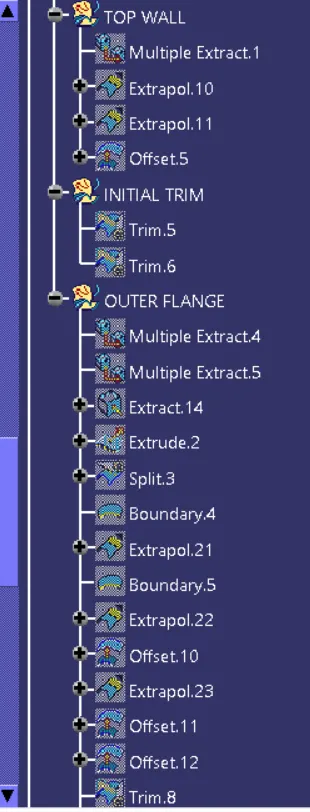
TOP SURFACE:
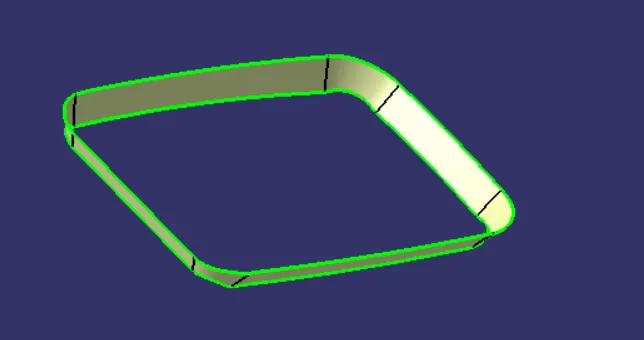
Extract the Top portion of the Class A surface, Extrapolate them on both direction and offset them.
INITIAL TRIM:
First trim the side walls with the base surface together to create the base of B surface.
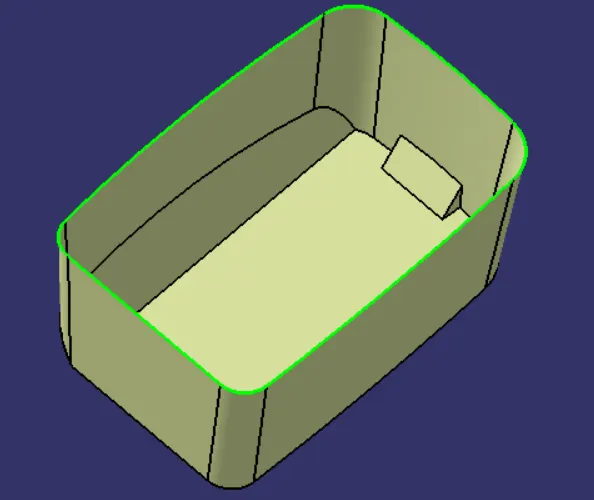
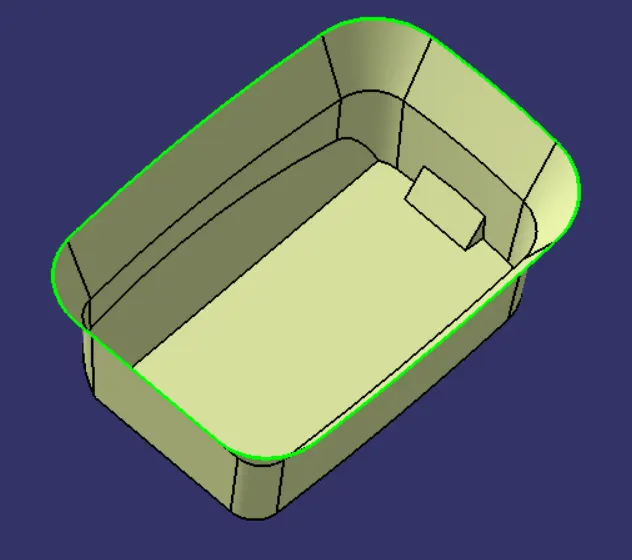
Trim the above surface with top surface to get the initial trim of the Class B Surface.
OUTER FLANGE:
To Create the outer surface, we need to extract the Outer Flange surfaces on the Class A Surface.
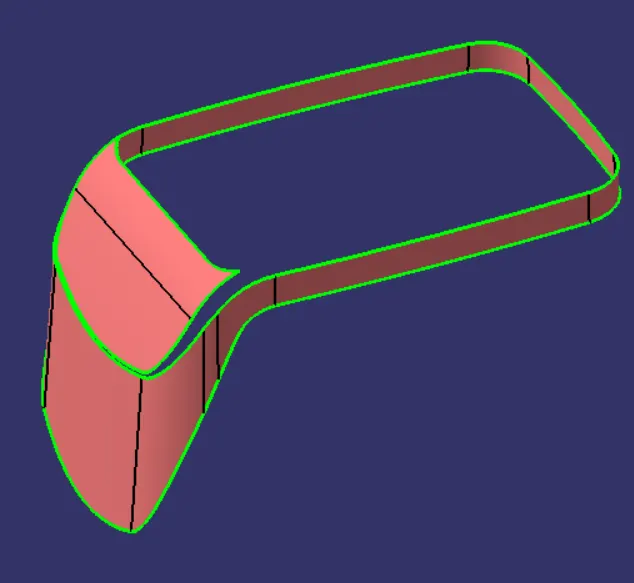
Split the surface into two so might not face any difficuties, extrapolate the top flange and the tail flange. offset the base of the tail flange after extapolating them and offset the top of the tail flange after extrapolating them and trim them together.
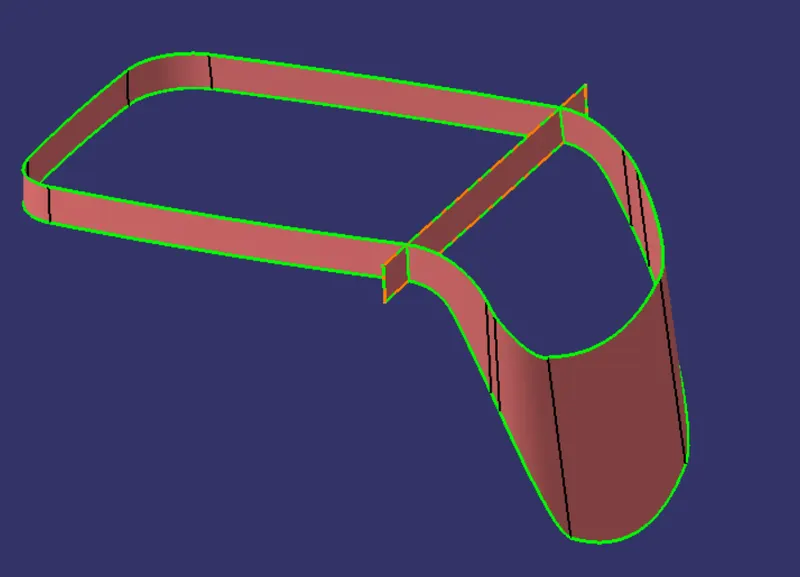
Trim the surfaces together to get the tail part of the outer flange and join the offset surface with the offset surface of the top flange.
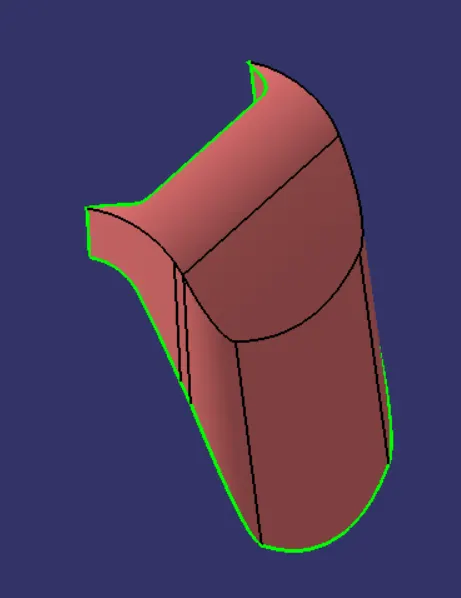
Offset the top surface of the outer flange and join the surface with the tail part of the outer flange to get the total portion of the outer flange.
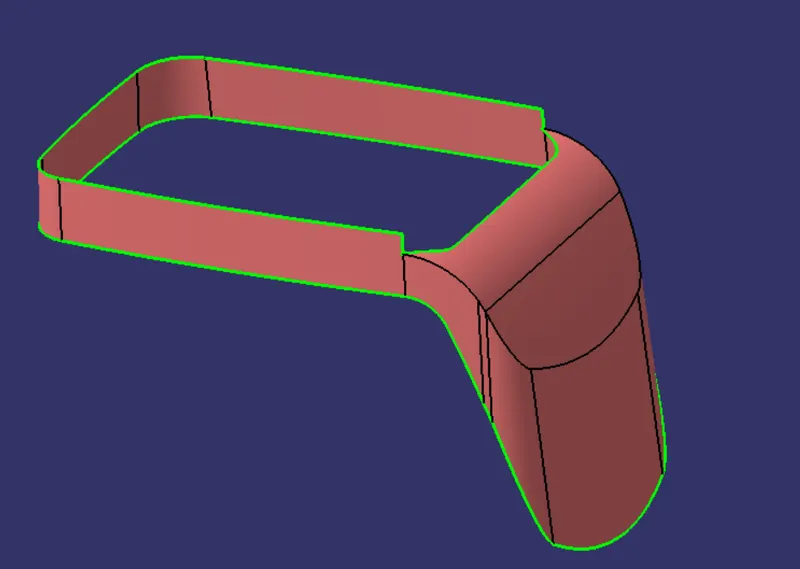
FINAL SURFACE:
Trim the above surface with the base trim of the class B surface to get the outer surface.
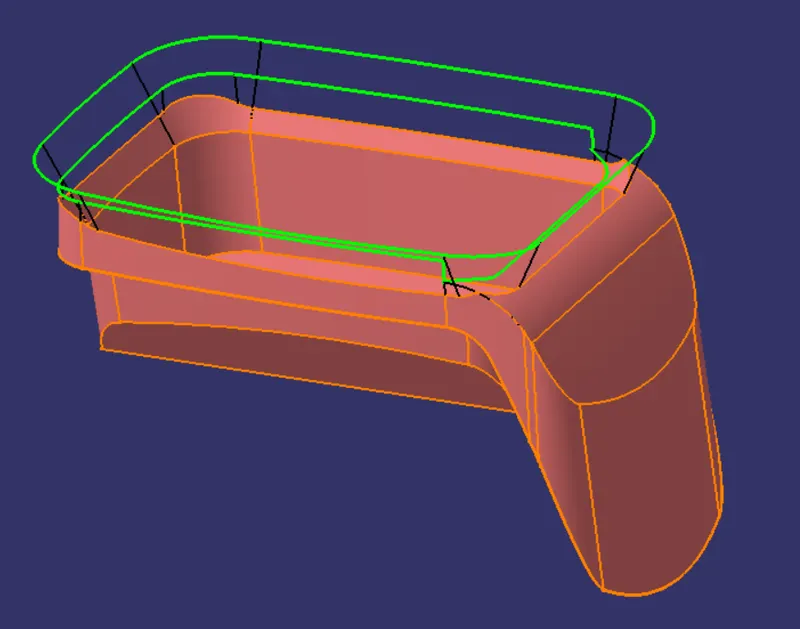
Enable the Class A to indentify any defect in the created surface. there is a surface on top of the outer flange in the B surface, we need to extract the surface and extrapolate them to get the final B surface.
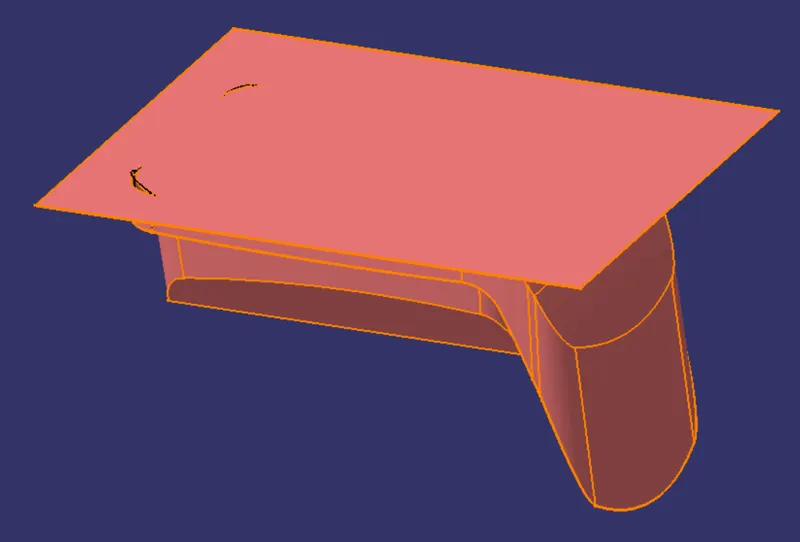
Apply the fillet on the B surface by measuring the Class A surface. The fillet must includ the value of thickness in the class A surface to get the proper Class B surface.
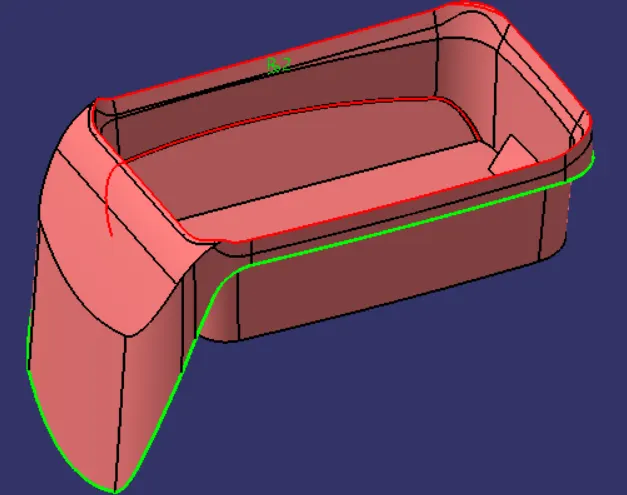
CLASS B SURFACE:
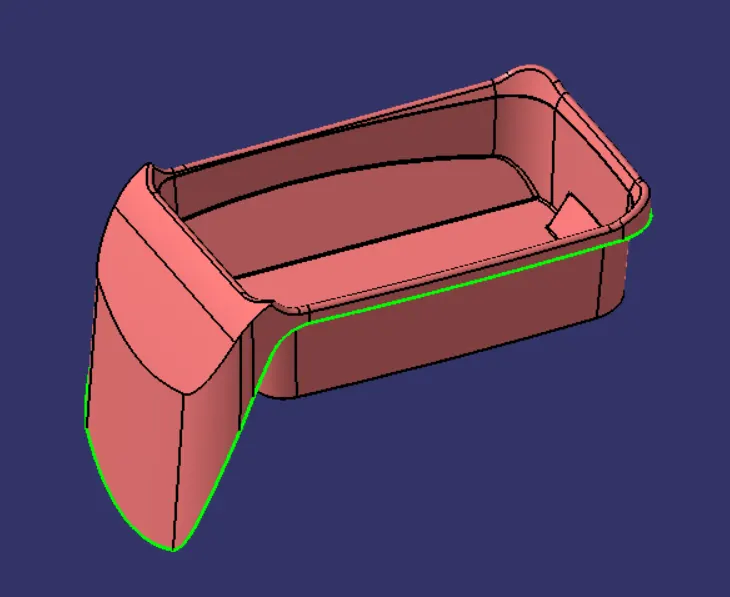
C SURFACE:
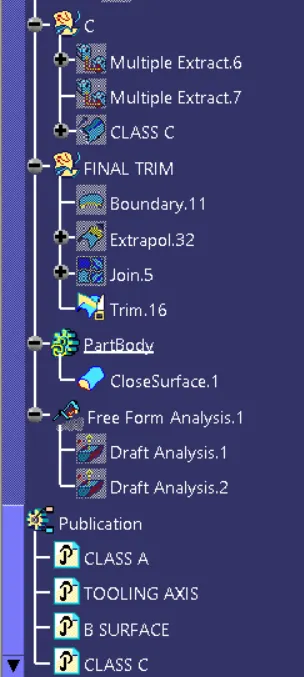
This is the surface that connects the Class A and B surface together. After Joining all three surfaces together check the draft analysis on the final component. Convert the component into a closed surface.
Extract the outer boundary of the flange and extract the outer surface of the flange.
Sweep the outer boundary with reference to surface extracted. The sweep dimensions must be above the thickness of 2.5mm.
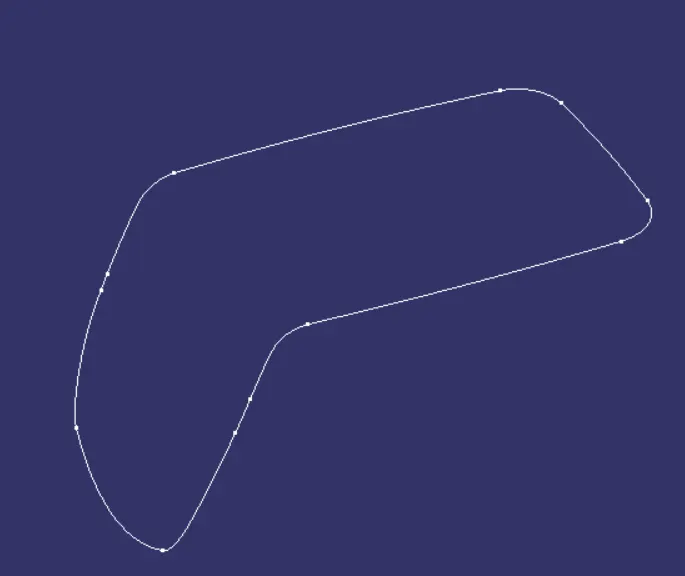
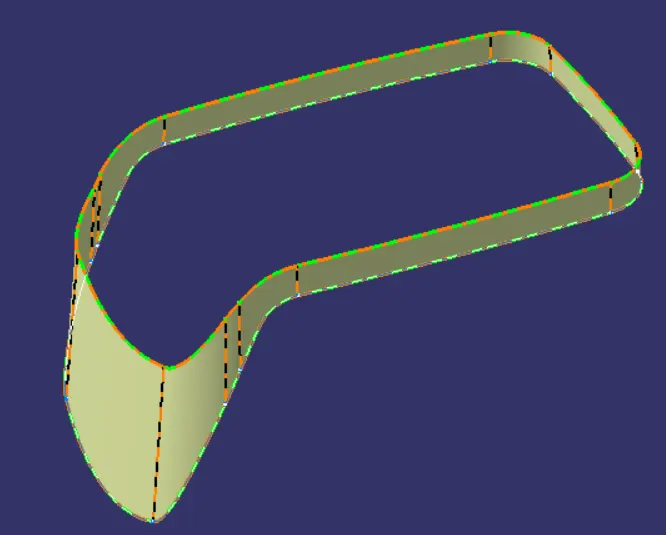
CLASS C SURFACE:
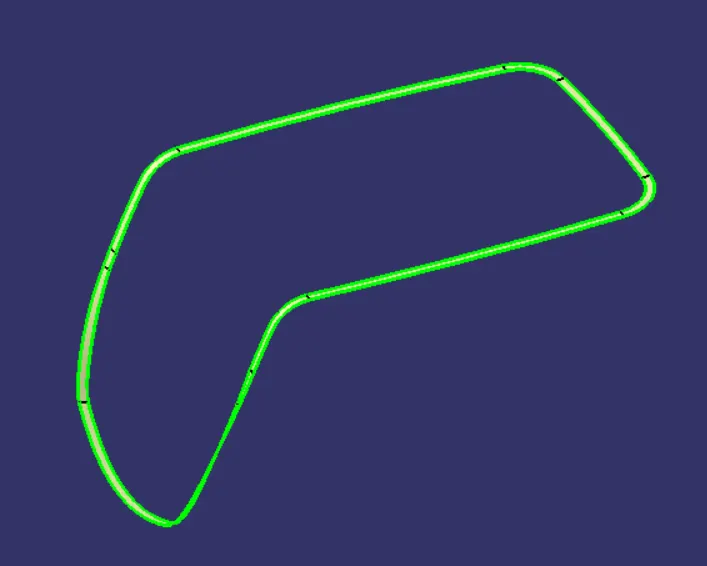
FINAL COMPONENT:
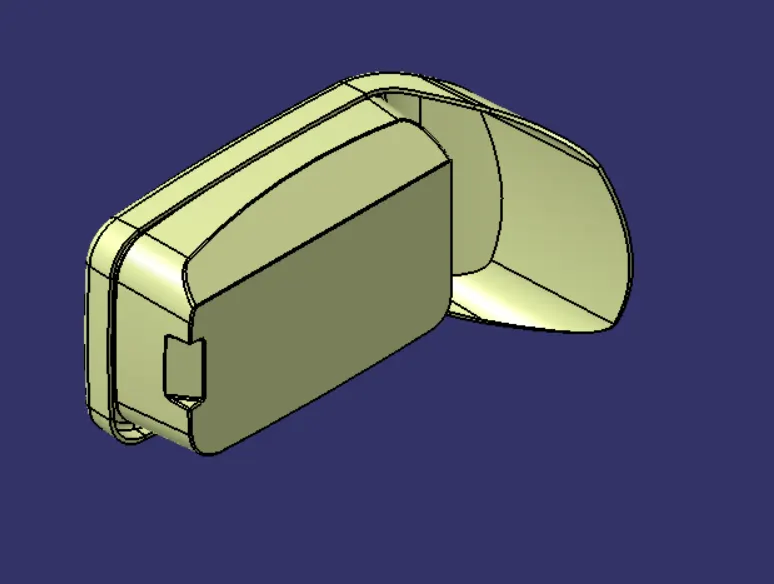
Join the class A with the C surface and trim the joined surface with B surface to get final component.
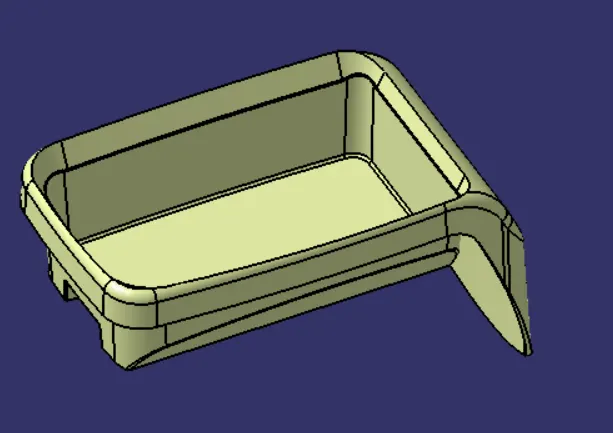
CLOSE SURFACE:
Open the part workbench and define the part body and click on Close Surface.
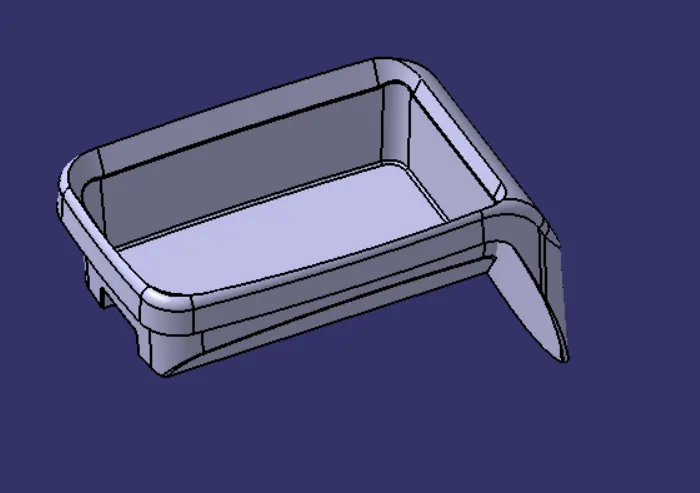
FINAL DRAFT:
Do a final draft on the surface with the tooling axis.
VIEWS:
TREE STRUCTURE: