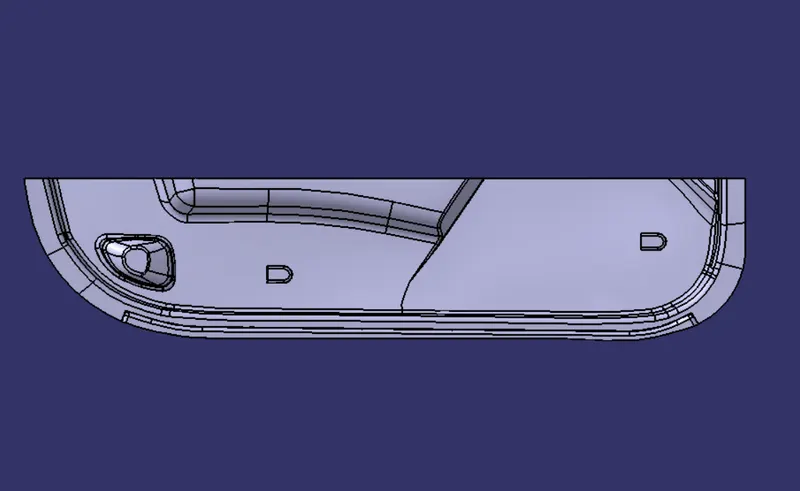
Week 9 - Attachment Feature Creation - Challenge 2
CREATION OF MAIN TOOLING AXIS
POINT AND DIRECTION METHOD
STEP FOLLOWED :
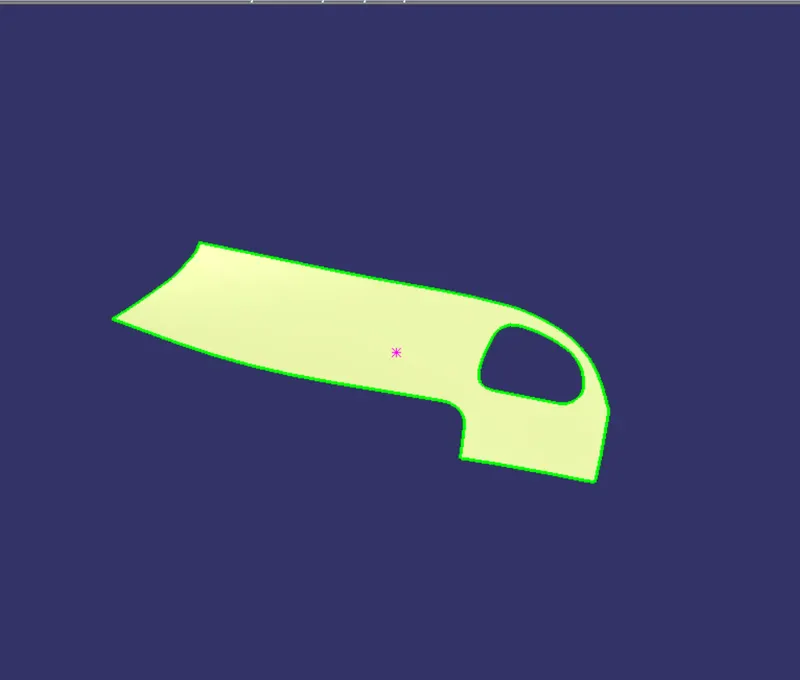
1) Extract a surface from class-A which is almost straight and from it's top view most of the part of class-A should be vesible.
2) Create a point on that surface
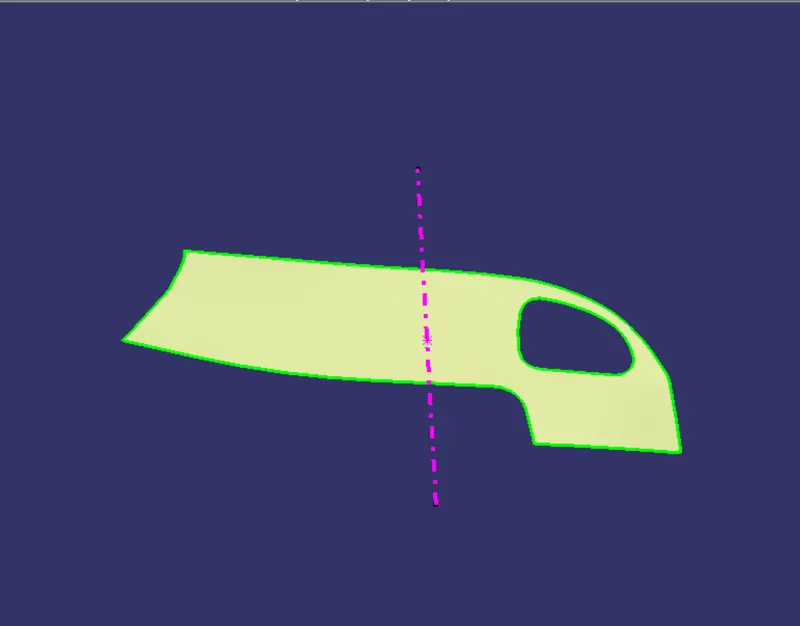
3) Create a line from that point in appropriate tooling direction
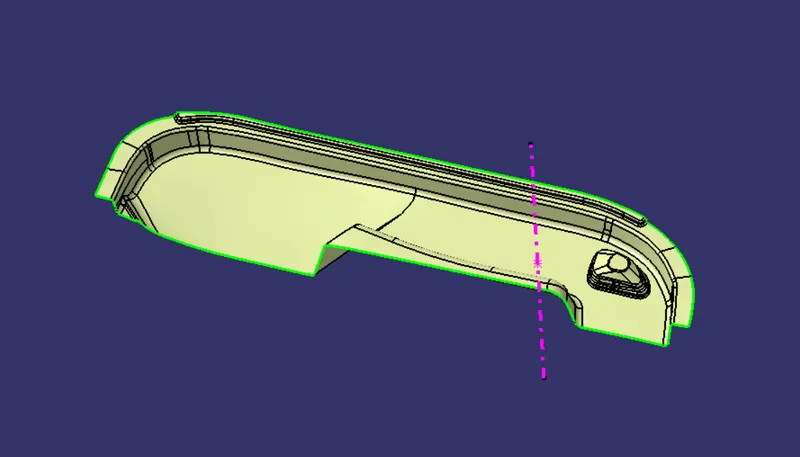
4) Above found line will be the desired main tooling axis ,now we can change it's properties.
DRAFT ANALYSIS :
DRAFT ANALYSIS FOR CLASS -A SURFACE
STEP FOLLOWED :
1) Create main tooling axis
2) Change the view mode : material mode , select the class-A surface, set the value of angle in which we have check the draft
3) Drag the compass in main tooling axis ,activate the compass and recheck its position
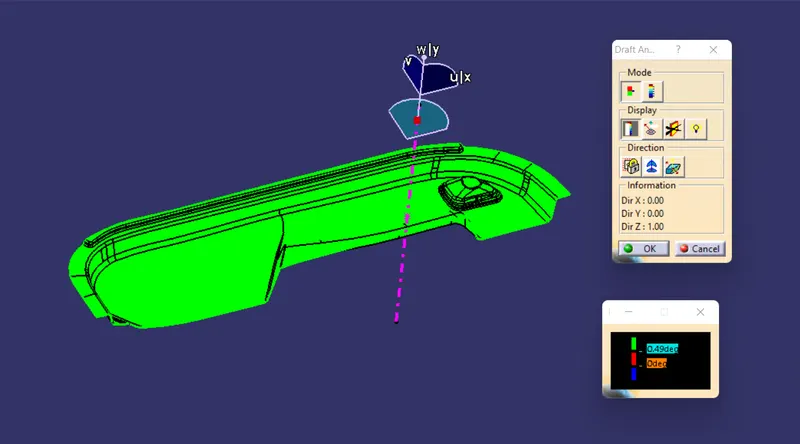
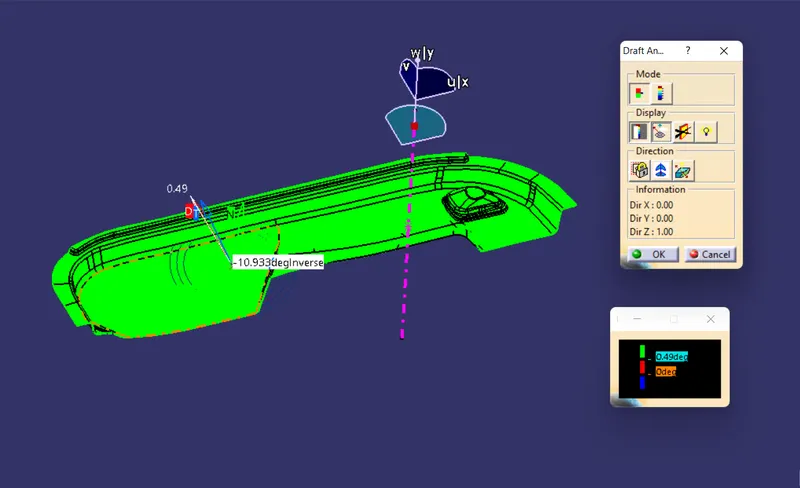
4) Now we can perform the draft analysis in various mode such as quick analysis mode , full analysis mode and analysis under running point .
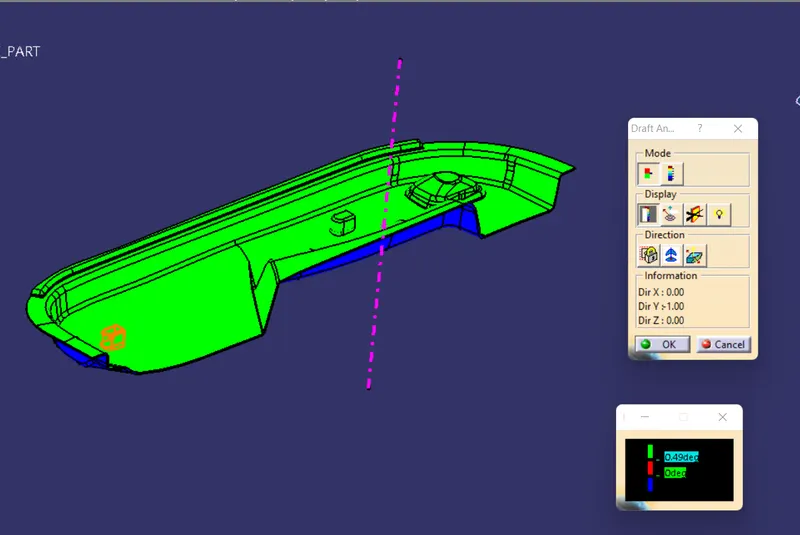
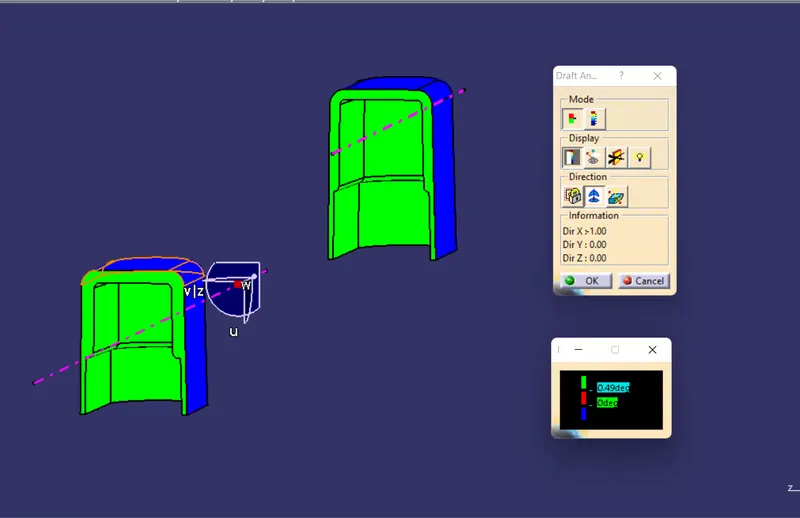
5) Same process we can also follow for the draft analysis of complete part , for the draft analysis of side core of dog house a further tooling axis will be requird which is according to attached design.
Note : The draft angle of some portion of class-A surface is not correct that's why there is some problem in the drfat analysis of complete part body in same portion. ( Discussed in common support session )
QUICK ANALYSIS MODE
ANALYSIS UNDER RUNNING POINT
DRAFT ANALYSIS FOR COMPLETE PART
DRAFT ANALYSIS FOR THE SIDE CORE OF BOTH DOG HOUSE
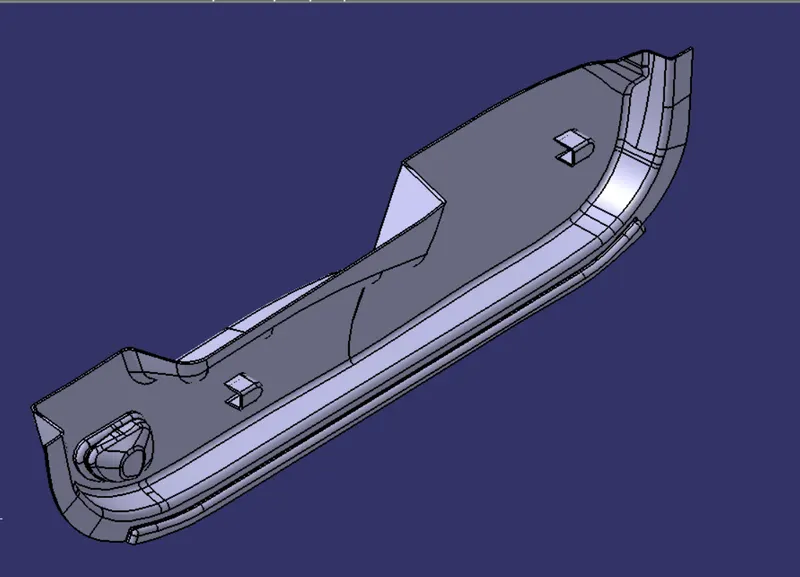
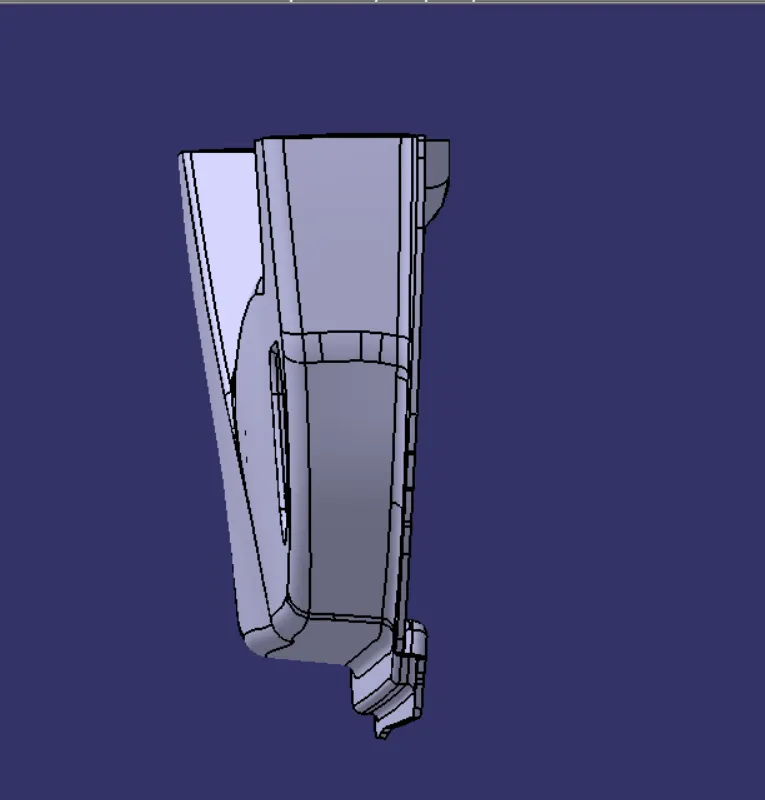
VARIOUS ORIENTATION OF PART :
ISOMETRIC VIEW :
FRONT VIEW :
TOP VIEW :
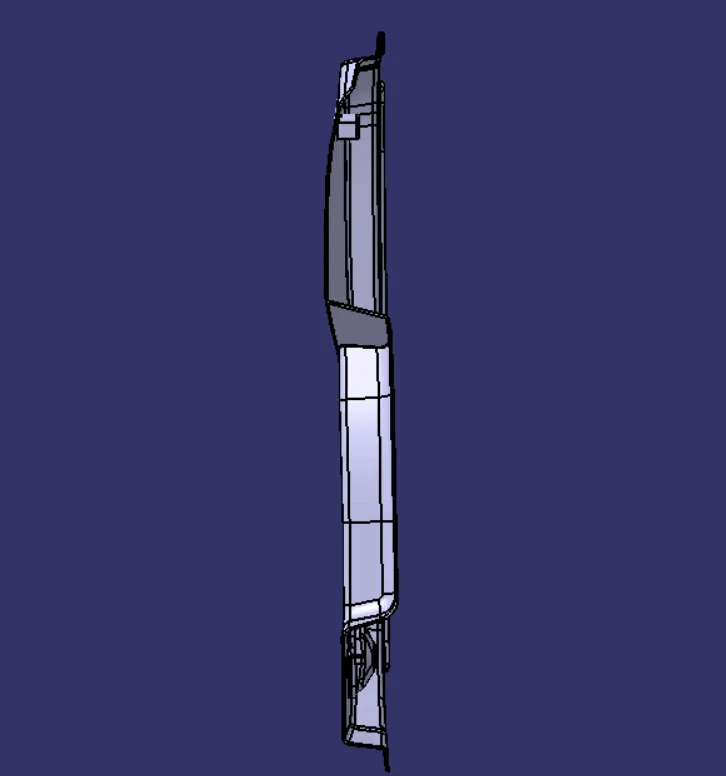
SIDE VIEW :