Week 9 - Attachment Feature Creation - Challenge 1
Aim: To Create Rib on the base of given part body.
Design consideration for Rib:
Draft angle- 0.5 degree per side
Thickness – typically 30% to 40% wall thickness
Height<= 5 times wall thickness
Spacing 3:1 or 2:1 (steel height/ width ratio maximum)
Fillet radii: 0.25mm maximum.
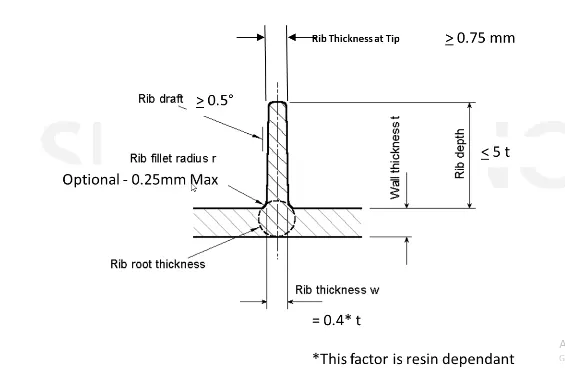
Ribs play the most valuable supporting role in many plastics applications. They generally serve two primary purposes in a plastic part to add strength and function. They can also prevent aesthetic defects and non-fill risks.
Strength – Long, flat stretches of material in plastic parts can pose strength and structure issues. These areas tend to be weaker because they are unsupported. To add strength, changing your material to one that has higher strength properties may bring you closer to a solution. In the case that material change is not possible or does not alleviate the issue, rib structures can add localized strength to your part.
Function: Ribs can also add functionality to your part. Consider using ribs to create functional features in your part instead of more complex child features. This can simplify your design and mitigate molding risk.
Warp: Long, flat stretches of material also pose higher risk for warping. To offset this, you might want to add material to these stretches to add structure. However, adding material creates risk for increased cycle time and sink. By adding ribs instead, you can add structure and strength while mitigating sink.
Sink: in sections that have thicker walls for strength, coring out and leaving structural ribs can have the same effect – maintaining structure and strength while mitigating sink risks.
Non-fill: in this section or high-pressure areas, ribs can act as flow leaders, relieving pressure and allowing plastic to flow.
When Rib should be added?
Adding and adjusting ribs to a part design can generally happen at thee stages: during initial part design, after mold flow simulation of the part, and after molding parts.
Initial Design: at the initial design phase, you want to consider areas of flatness and user stress for rib placement. Following standard rib design guidelines can help you design optimal ribs.
Post Moldflow: After initial design, mold flow simulation can help visualize how molten plastic will flow through and fill the mold to form the plastic part. From here you can see the risk areas of plastic fill. In thick areas expected to have non-uniform shrink, coring out can reduce the risk of sink. Sometimes ribs create locally thick areas that are susceptible to shrink. Removing unnecessary ribs can help eliminate these shrink risks. In thin or high-pressure areas projected to experience non-fill, adding ribs can reduce these risks.
Post Molding: once you have molded parts in hand, part problem will inform where addition and subtraction of ribs may benefit part quality. If you see warp, adding ribs can help. If you see sink under ribs, modifying or removing ribs can help. Adding ribs are steel safe changes, meaning that an existing mold can easily be modified to incorporate them. Removing ribs grows more complicated and costlier because metal needs to be added to the tool. Incorporate fewer ribs into your initial design if you are at all unsure.
Procedure:
- Draw a line on base surface of the coin holder with using portion sketch. Construct the line with using axis. And extrude this line and add thickening for this surface.
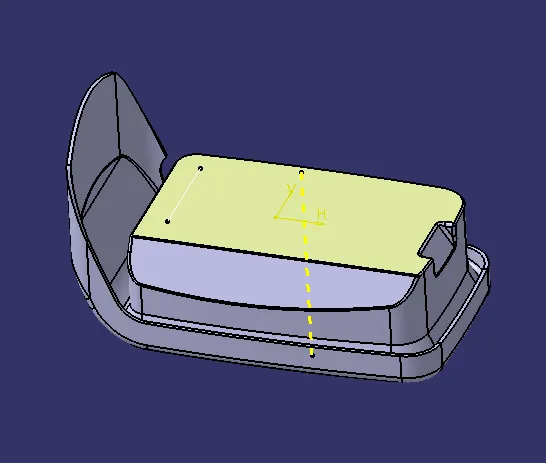
- Add thickness of the rib 0.4*thickness of the component. Coin holder thickness is 2.5. so, consider the rib thickness is 0.4*2.5= 1mm.
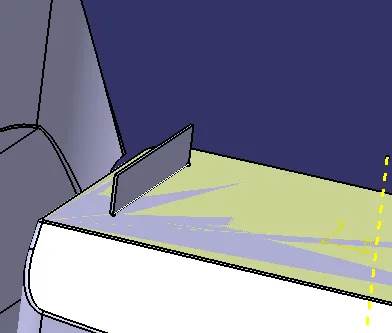
- Give the draft angle is 0.5 for the rib. Height of the rib is 5* thickness. Thickness is 2.5 so height of the rib is 5*2.5 = 12.5
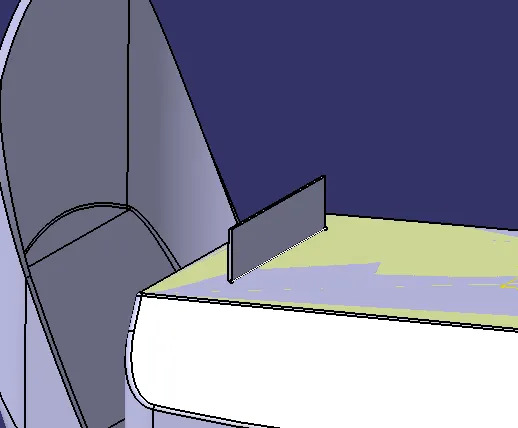
- Rib root thickness is R= 1.34. So, space between the two ribs is 3:1 ratio. Height of the rib is 12.5
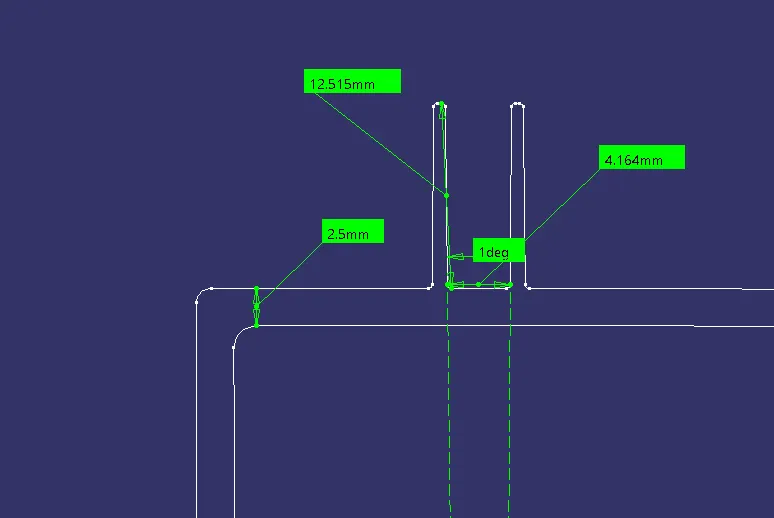
- Space between the rib is x
- Ratio 3
- X = 12.5/3 = 4.1mm is minimum.
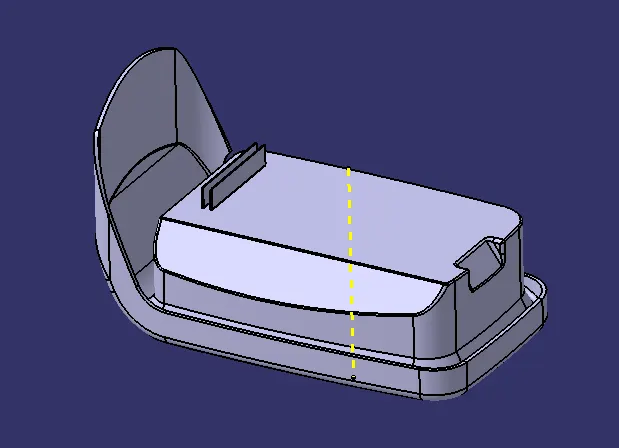
Draft Analysis:
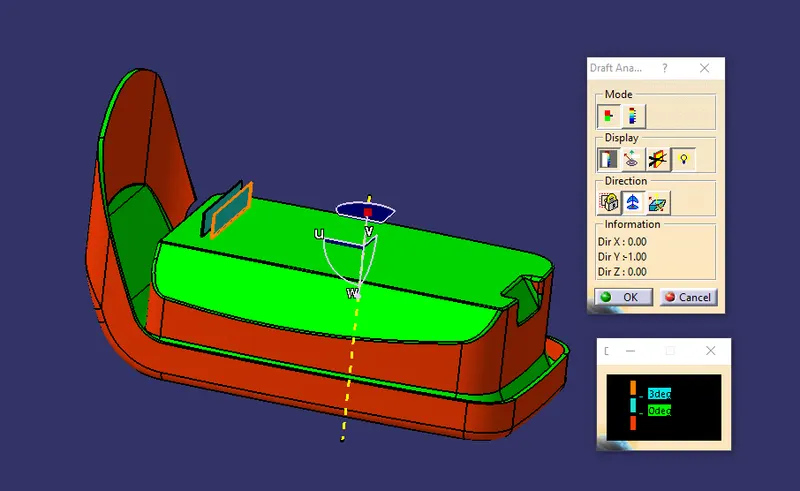
Result:
Thus Ribs are designed on the flat base as per the plastic standards of injection molding.