Week 9 - Attachment Feature Creation - Challenge 1
Attachment Features Creation (Challenge-1)
What is Generative Shape Design?
The Generative Shape Design provides an extensive set of tools for creating and modifying mechanical surfaces used in the design of complex shapes or hybrid parts, its feature-based approach offers a productive and intuitive design environment to capture and reuse design methodologies and specifications. It helps to design advanced shapes that are based on a combination of wireframe and extensive multiple surfaces which includes high-level features with full specification capture and reuse.
What is Draft Analysis?
The Draft Analysis command enables you to detect if the part of you drafted will be easily removed, this type of analysis is performed based on color images identifying zones on the analyzed element where the deviation from the draft direction at any point corresponds to specified values.
No parts can be ejected from the tool if it is having a straight 90-degree profile from its base surface, a small draft angle is provided to each and every area of the component in order to get an easy removal of the component from the tool. Draft analysis technique is used to analyze whether our part model created in cad is manufacturable based on the draft condition applied.
In the molding process the molded parts have to eject from the die so there are some issues while removing the molded parts it may get sticky with the die, or while removing the chances to get damaged, so we need to set up is the draft angle this draft angle helps the molded part to eject from the die easily.
What is Class A, Class B, Class C Surfaces?
Class-A Surface: Surfaces made by the designer which is given as an input to the plastic modeler to work on, it is aesthetic surface and the outer most surface.
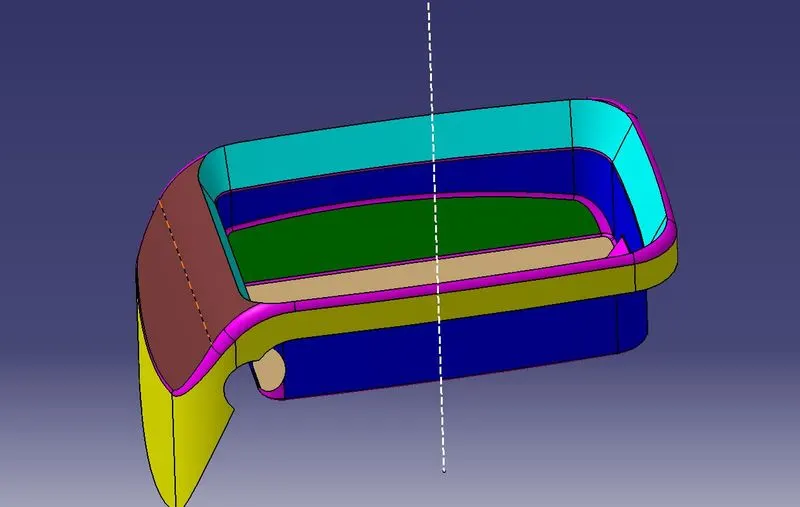
Class-B Surface: Surfaces made below a certain thickness from the Class-A surface is Class-B surface. This is the surface that contains engineering aspects of the model.
Class-C Surface: Surfaces that join Class-A and Class-B surfaces is Class-C surface.
What is Rib?
Ribs are features in plastic injection molded parts, they are thin extensions that run perpendicular to a wall or plane. They are commonly used to provide additional support and strength to a part.
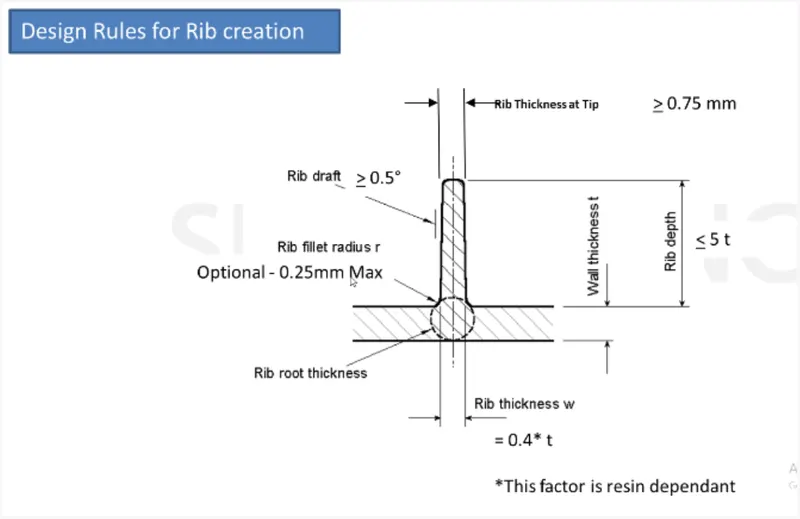
Thickness and location are essential to rib design. Here are some useful design guidelines:
- They should be designed with a thickness that is 1/2 the wall thickness to avoid a thick section at the wall base.
- To minimize sink marks, design ribs that are approximately 60% of the joining wall thickness for minimum risk.
- Best practices include spacing at a distance of at least twice the wall thickness.
- Glossy materials require a thinner rib (40% of wall thickness).
Methodology
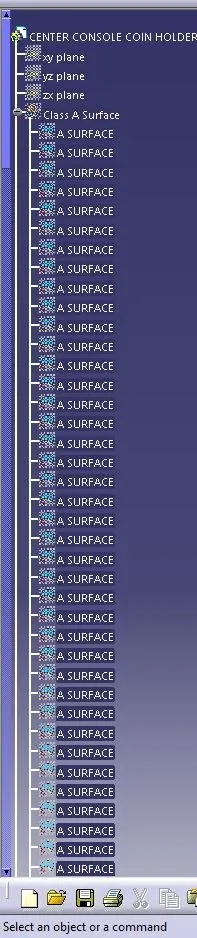
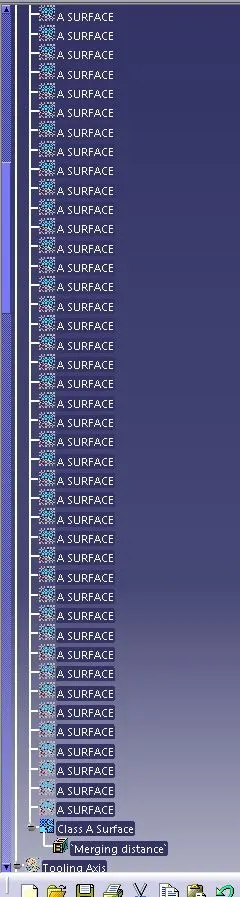
In this Coin holder Design creation, we have the CLASS A surface given to us, so we focused on few things:
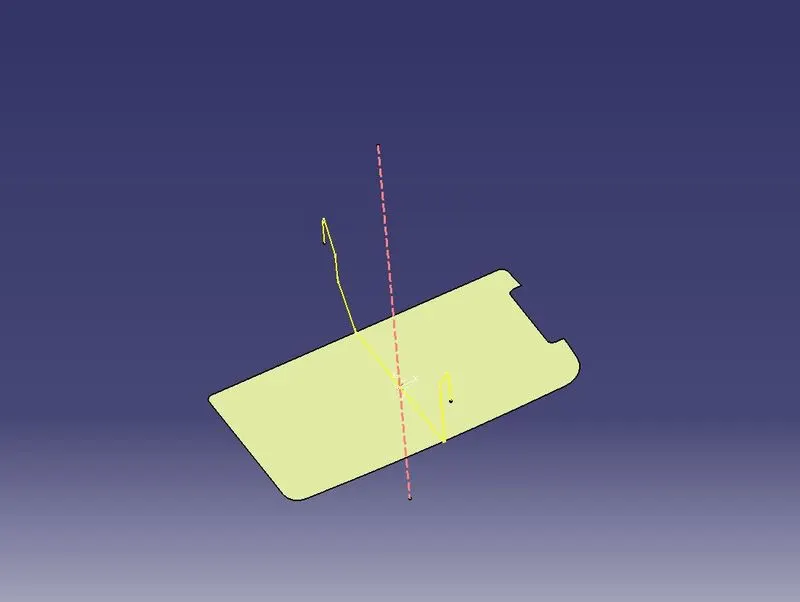
- Tooling Axis:
- Intersect the model with the plane perpendicular or to an axis system.
- Extend the lines which are perpendicular to the plane.
- Again, intersect the model with another plane and extend the lines perpendicular to it.
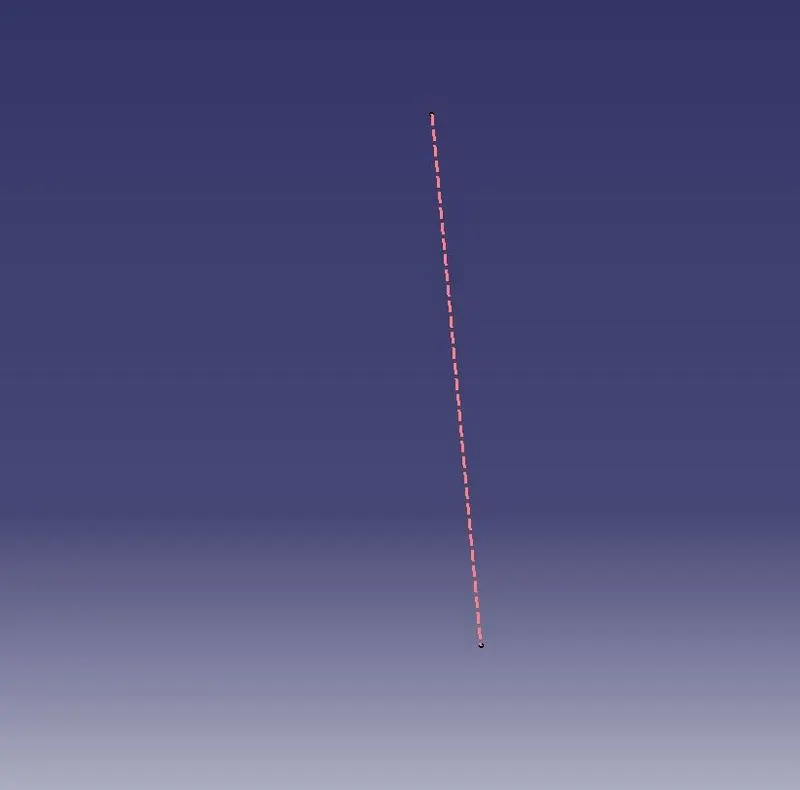
- Create a bisecting line by bisecting option in Line Definition.
- Rename it Tooling Axis.
- Draft Analysis:
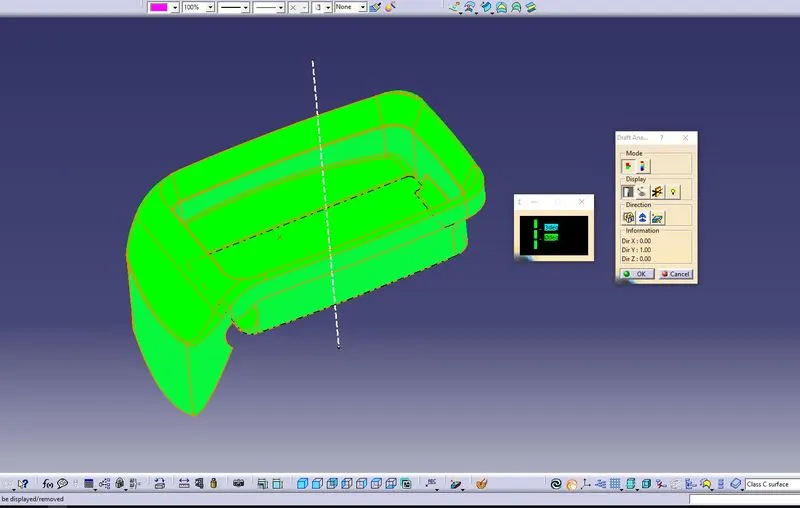
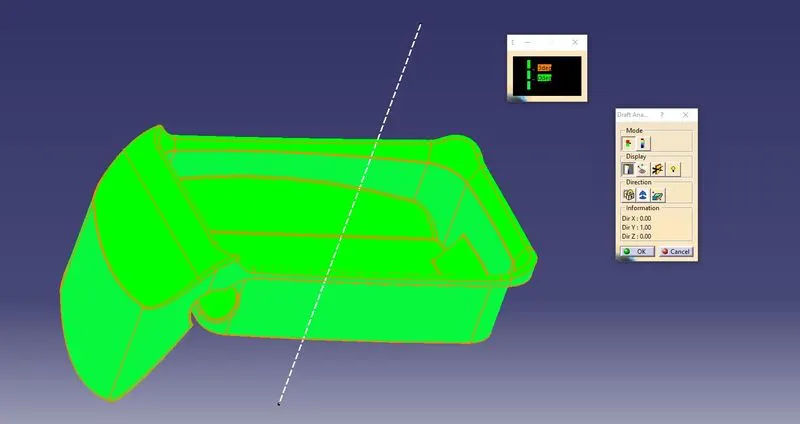
The Draft analysis for a 3 Degree draft is done on the Class A surface, so can be seen all the surfaces are more than 3 Degree of draft.
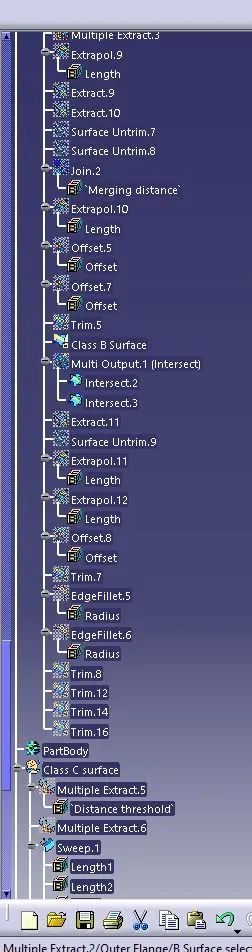
- Class-B Surface:
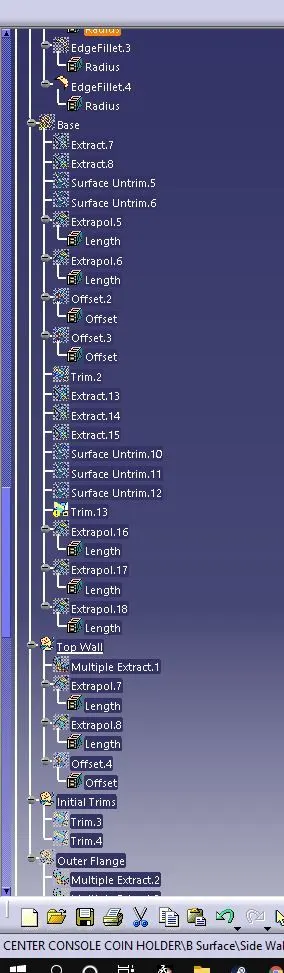
- Extract the side walls with no propagation in extract option.
- Untrim them
- Extrapolate the walls with the point continuity of distance 20mm.
- Trim the walls to get the required shape.
- Offset those trimmed walls with thickness value.
- Now, extract the surfaces separately and untrim them.
- Extrapolate the surfaces with required distances.
- Offset them with thickness value.
- Trim them for required shape.
- Measure the fillets, calculate it and create fillets.
- Class-C Surface:
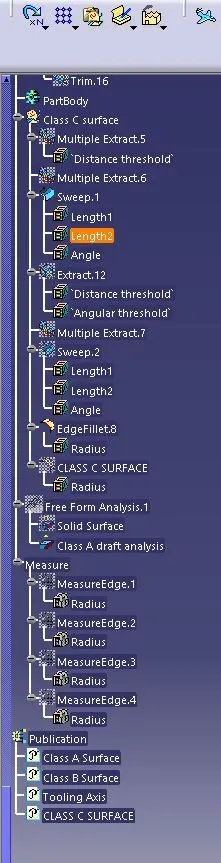
- Get the boundary lines of Class A surface separately.
- Smooth the curves with a smooth option as boundary lines have a lot of vertices.
- Sweep the curves with tooling axis as direction in Sweep option.
- As both lines do not intersect, extrapolate them with a certain distance.
- Trim the surfaces
Class c img
- Making a solid model from surface:
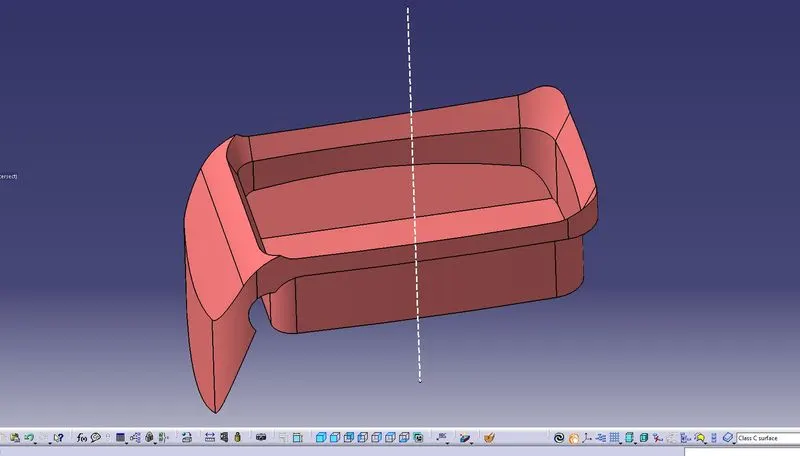
After completing the previous step, go to PART DESIGN, and use the closed surface feature to close the model.
- Draft Analysis on the Final Component:
To perform Draft Analysis on the model, go to the menu bar > select insert > Analysis > Feature Draft Analysis.
To give draft direction, use the compass and align it with the tooling axis which we created for the model, once it is properly aligned, select the surfaces of the model which will show us the draft angle given on the component is having a 3 deg draft value (green color). If the draft value is negative (component showing color in red) then we need to adjust the tooling axis direction with the help of a compass.
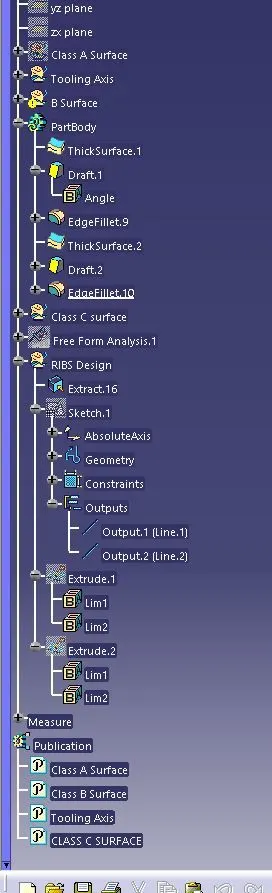
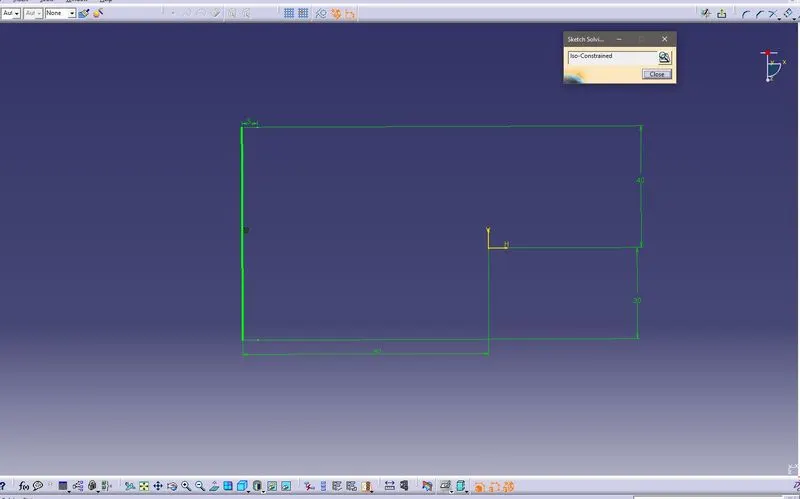
- Create Rib Features on to the Coin Holder
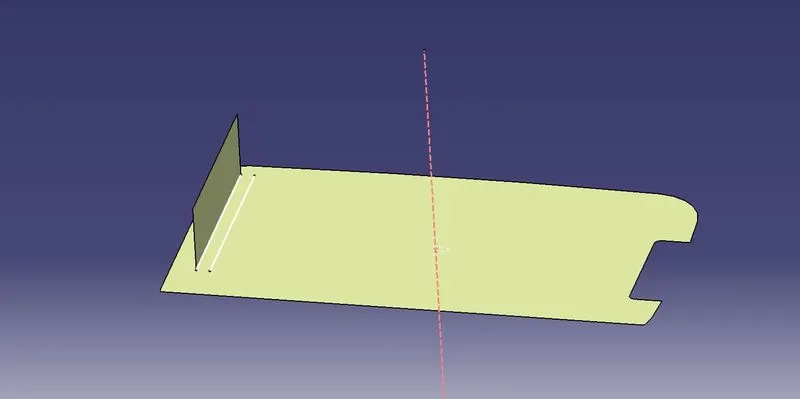
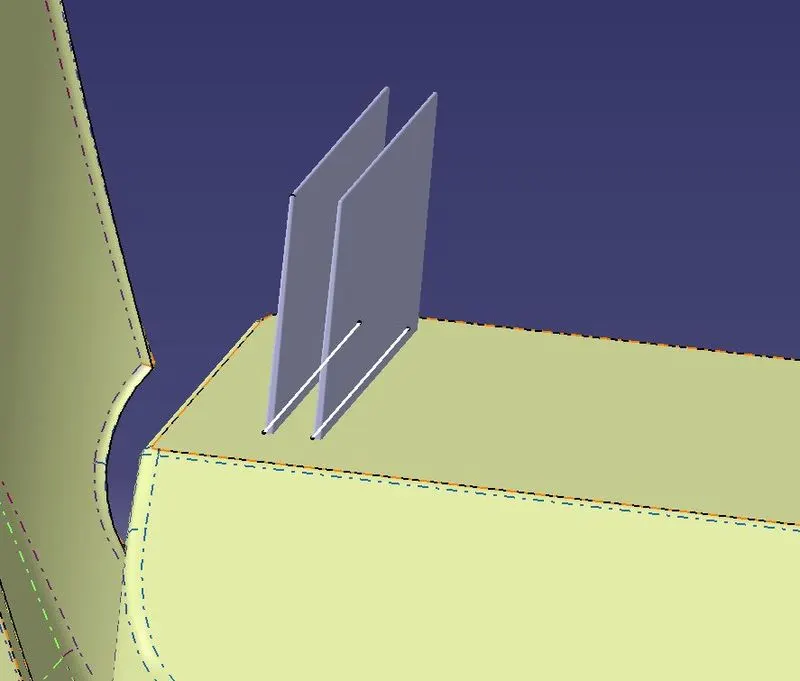
- First Extract the Base Surface of the coin holder, on this plane draw a line that will be then extruded along the direction of tooling axis to height of 12.5 mm.
- Later, move the part-to-Part Design workbench, thickened the extruded surface by 1mm since the rib thickness has to be 0.4*t.
- The thickened ribs are drafted by 0.5 degrees. Pulling direction is taken as the upper face of the ribs.
- Another Rib is created of the same features 5 mm apart according to the design rule.
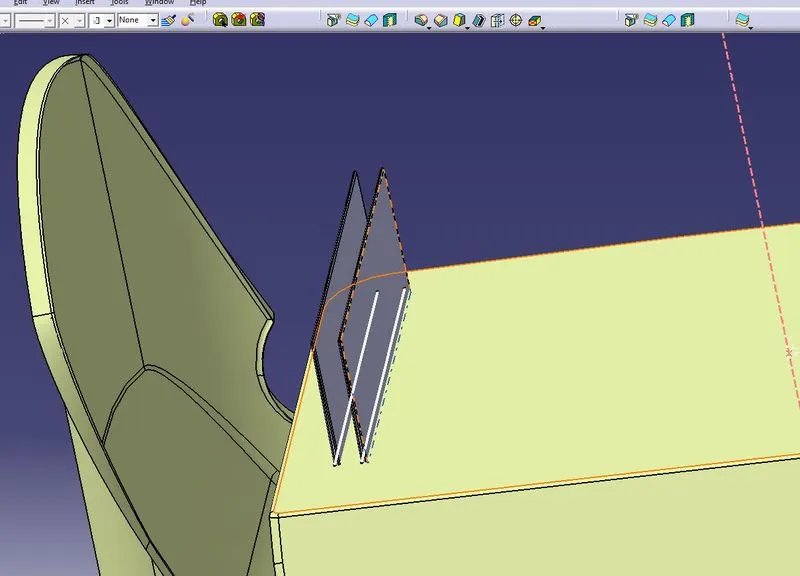
- Lastly, both ribs are provided with fillets of 0.25mm radius.
TREE