Week 9 - Attachment Feature Creation - Challenge 1
COIN HOLDER
RIB CREATION.
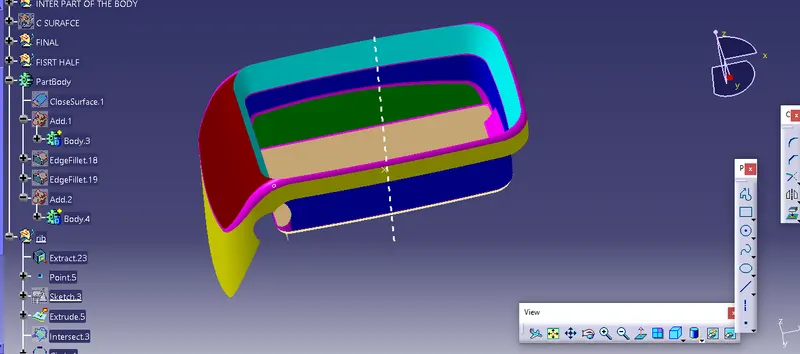
- first, complete the overview of the working body.
- use the extract command to create the bottom layer of the surface.
- using surface point to create the point on the extracted surface.
- by using the XY plane create the intersecting line.
- create a tooling axis by using a bisecting line.
creating the line.
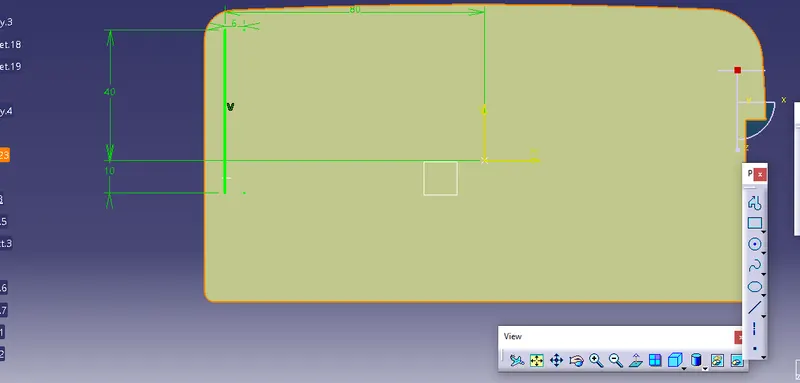
- select the sketch and set plane surface.
- cerate a line and set the dimensions.
- make sure the line is in iso-constrain.
- after creating the line.
- line convert into output.
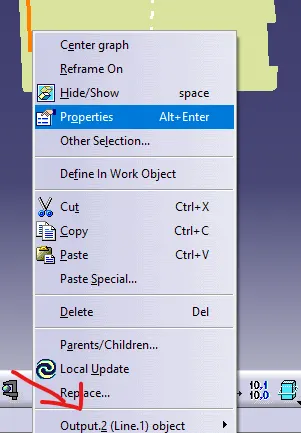
- the line gets highlighted.
- line get extrude by using the tooling axis.
- 0.4*t is multiplied length.
- make sure part bodies are supported.
- after creating the thicker surface of 1 mm (2.5*0.4=1).
- then select the draft at the angle of 0.5 deg pulling direction is tooling axis.
- filleted the surface at an angle of 0.25 radius.
- select every edge.
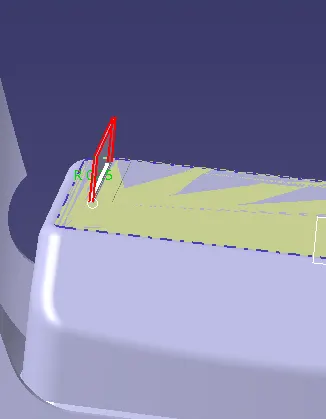
- the rib is added to the main part body.
After adding the body into the main part body.
- select the plane and close the surface to create the intersecting line.
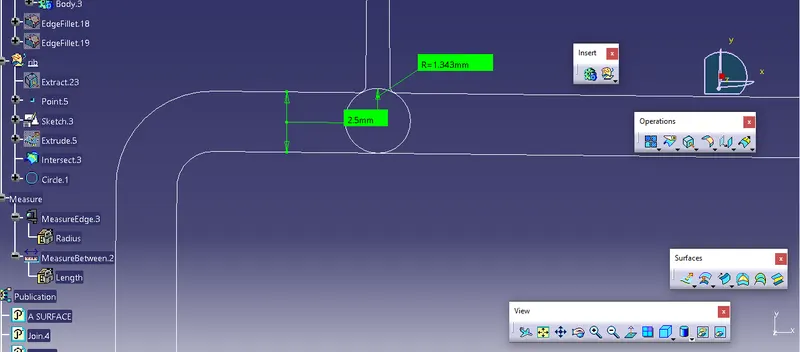
- check the line of the part body by using the measuring item.
- create a circle by using the tri-tangent.
- using the three tangents.
- can change the angles and length based on the requirement.
- The height of the rib is 12.5 mm.
- Similarly, the second rib is created.
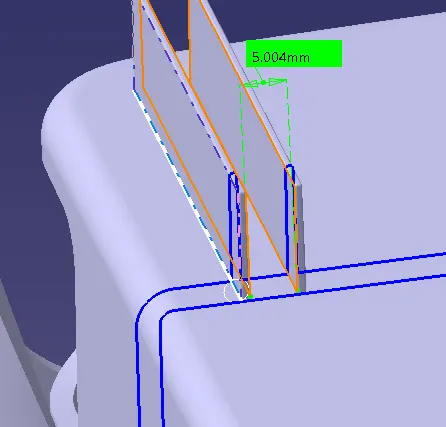
- Height 12.5/3=4.1666 is the length between the two ribs.
- length can be taken up to 6mm.
- length should be up to 5mm.
DRAFT ANALYSIS.
- Set the compass in the required position.
- compass as to placed on the tooling axis.
- green is 3 deg.
- blue is 3 to 0 deg.
- red is below 0 deg.
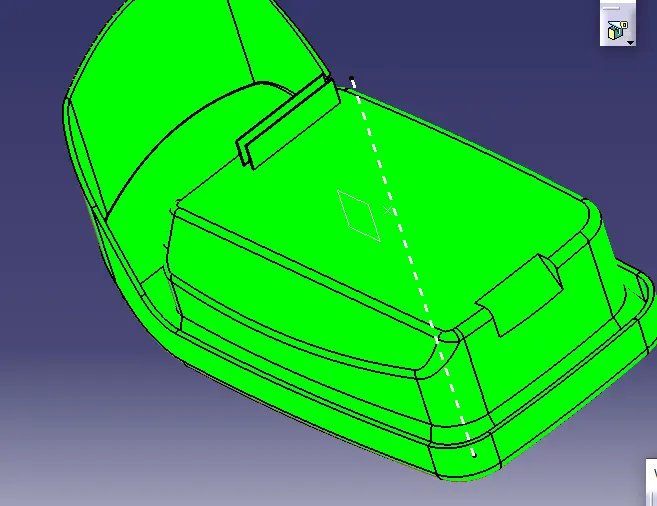
- check the running analysis of the ribs.
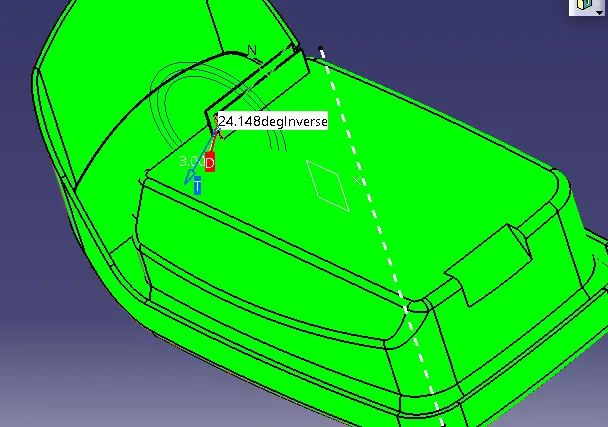
- draft analysis is needed to check the degrees of the body.
- it has to be 3 deg and 2.1 deg is also acceptable.
THANKYOU......