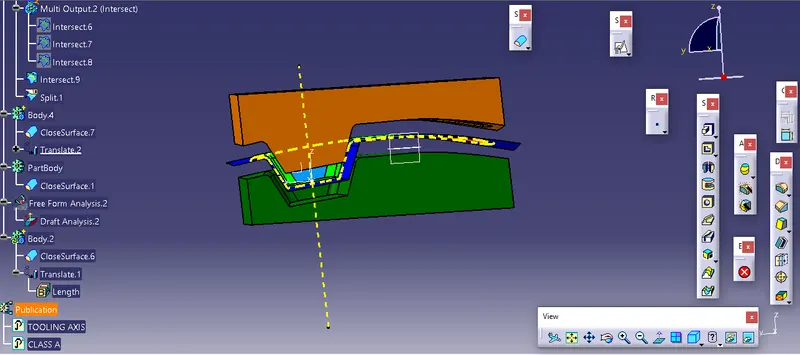
Week 8 - Challenge 5 - Core & Cavity Design
SWITCH BEZEL:
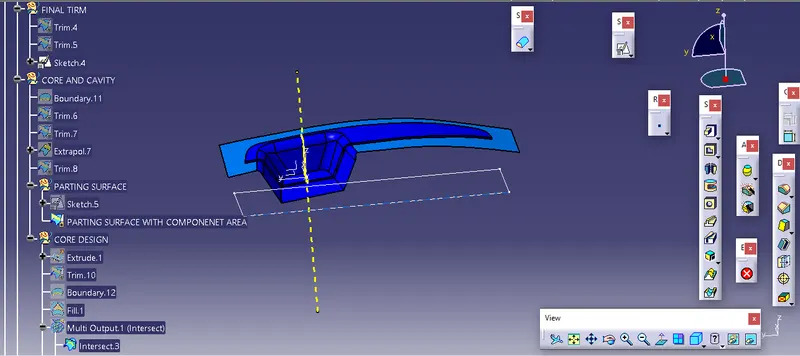
CORE AND CAVITY:
CAVITY:
- Take class A surface and class C surface trimmed surface part and surface C.
- Extract class c and select the boundary of class C and take a class B
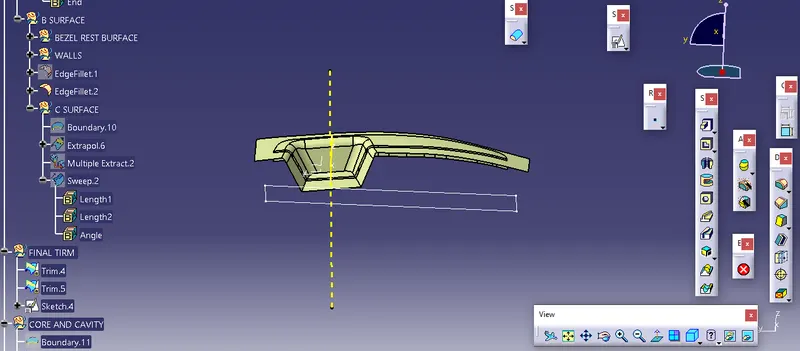
- trim them and get the component of the body.
- get the cavity of the body.
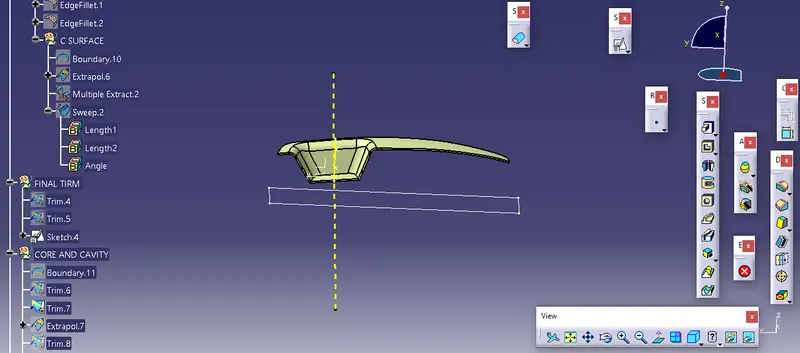
- tooling axis also required.
- take the AXIS AND ZX plane and set the surface to the ZX plane.
- take a rectangle and extract them on the opposite sides of the body.
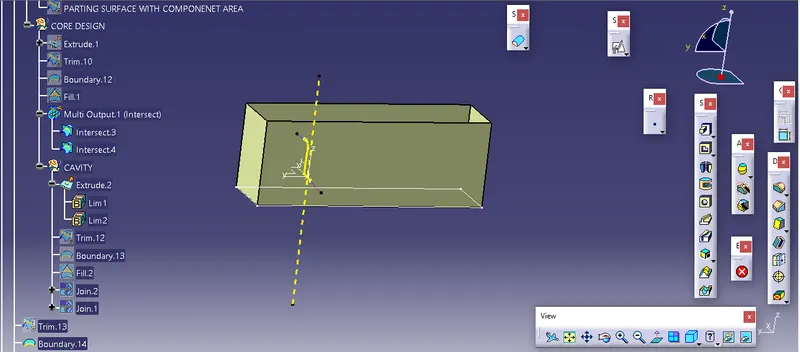
- extract along the tooling axis.
- trim with the surface C and extracted rectangle.
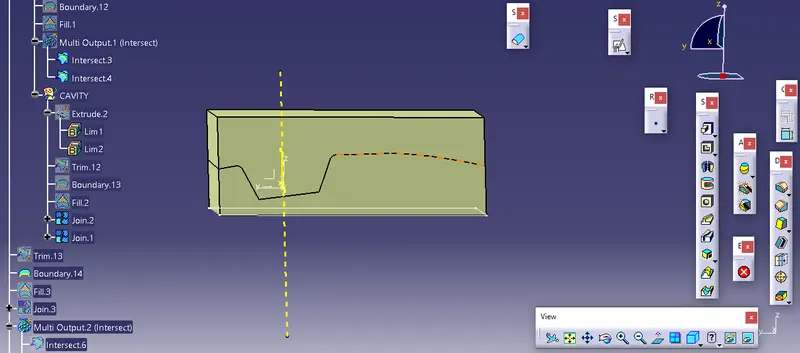
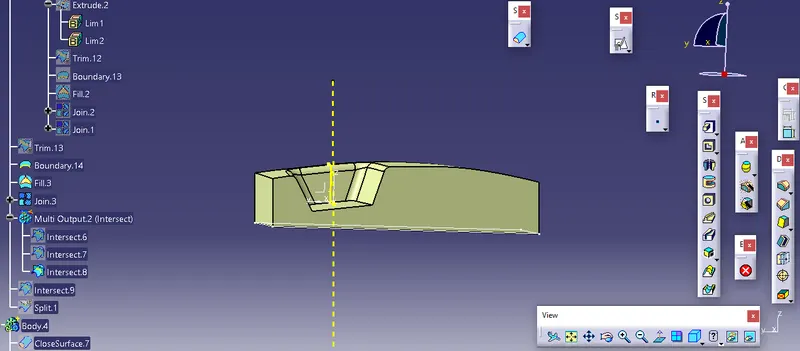
- cover the bottom by using the command of fill and join with trim body.
- Go to the part body and select the close surface and body coverts in solid.
- By using the intersect create an intersecting line to the part body.
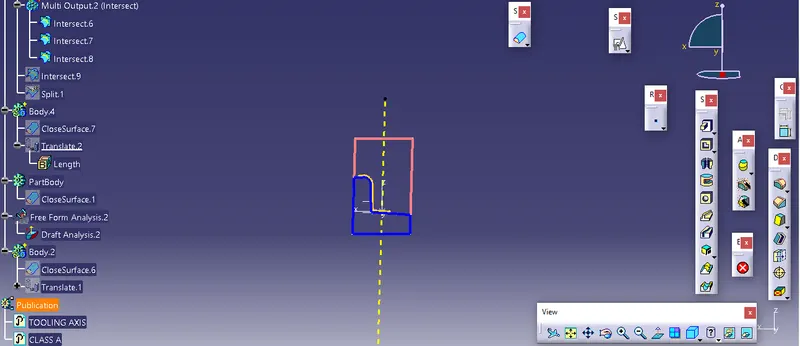
- on the same opposite side also created.
CORE ALSO CREATED IN THE SAME SIMILARLY.
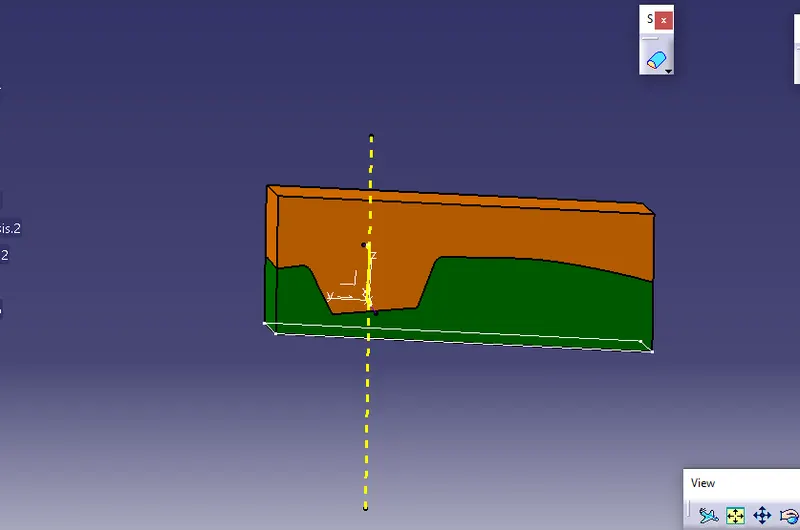
CORE AND CAVITY LOOK LIKE.
COMPONENT :
TAKE CLASS A AND CLASS B
select class A and class B to use the command to create a boundary by intersecting the command.
after a split, the intersect and class A finally get the component.
FINALLY.
- the core is represented by orange.
- the cavity is represented by green.
- the component is represented by blue.
- yellow is the intersection.
- the straight line is the tooling axis.
- the body moved by using the transfer command is in the part body.