Geometry morphing of sheet metal component and an automobile Hand rest using ANSA
GEOMETRY MORPHING (BOX MORPHING) OF SHEET METAL COMPONENT AND AN AUTOMOBILE HAND REST USING ANSA
AIM:
- The aim is to change the shape of the geometry and features of the sheet metal by morphing.
- To increase the height of the dog houses and ribs of the hand rest by morphing method.
INTRODUCTION:
Morphing refers to reshaping of geometry or mesh of a component depending upon the requirement. It’s very handy for spontaneous model revisions or design corrections. The mesh can be morphed in to a different shape without altering the parent geometry so that the time span required to change the shape can be reduced drastically. The wide range of morphing applications can be found in product R&D where the parent model is morphed in to different design variants and then analyzed. The outcomes of these variants were compared, based on which an efficient design/ Product can be finalized.
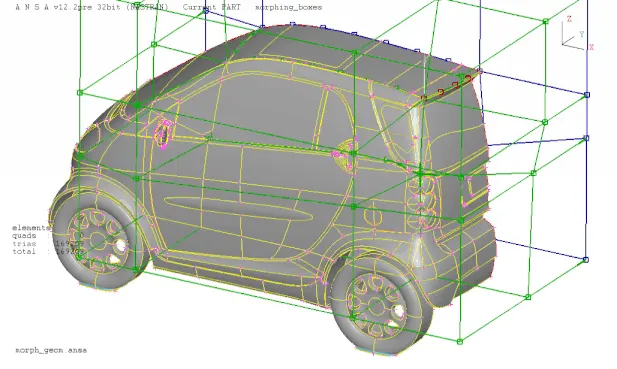
Fig: Box Morphing (Source - BETA CAE Systems)
PROCEDURE:
1. Import the Model in to ANSA and perform topo for the entire model.
2. Check for geometry errors and fix the issues if any.
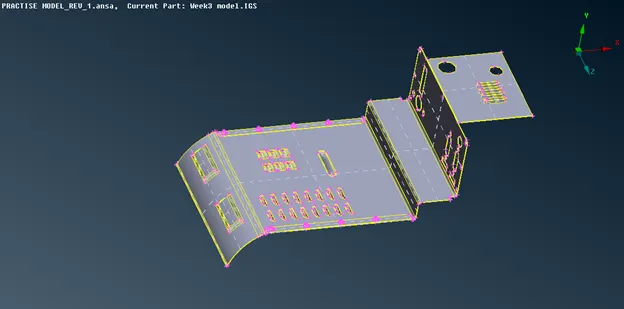
Fig: Imported model.
3. Select the morphing deck, since the method used to change the geometry is box morphing
4. Select new_ortho_geometry and select the surfaces need to be morphed.
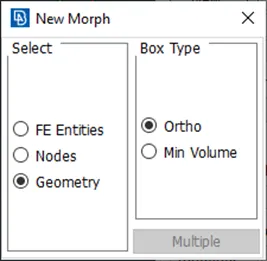
Fig: New morph tab.
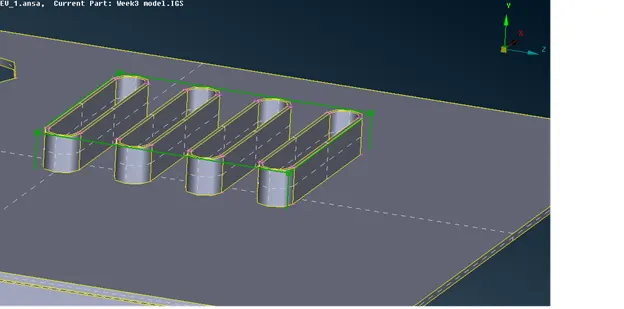
Fig: Created box for the selected geometry.
5. Select the top control nodes of the box and move the nodes in X direction to increase the height of the feature according to the local coordinate as shown in figure. Since the control nodes are free to move in any direction, depending on required shape the nodes has to be moved properly.
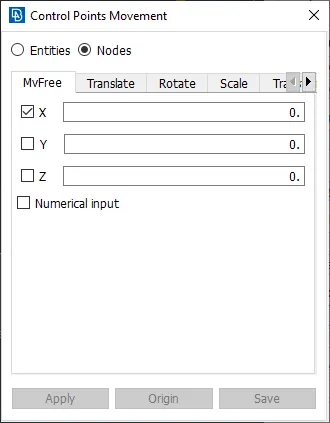
Fig: Control points movement tab.
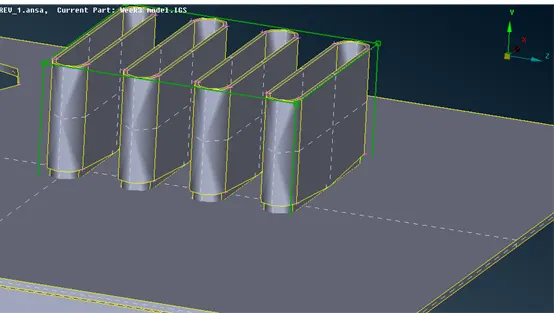
Fig: Morphed geometry with increased the height.
6. After morphing the geometry and surfaces may damage that need to be corrected manually by releasing the cons and constructing new surfaces.
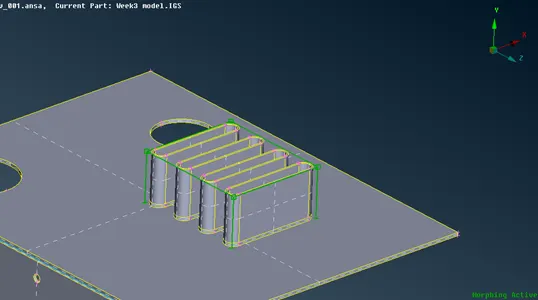
Fig: Corrected surfaces.
7. Similarly repeat the same mentioned steps for morphing of other features.
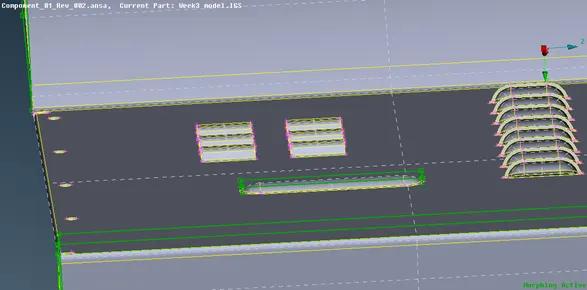
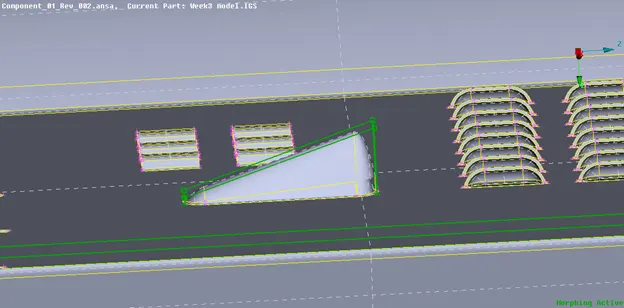
Fig: Before and after morphing.
8. The morph boxes can be split depending upon the requirement.
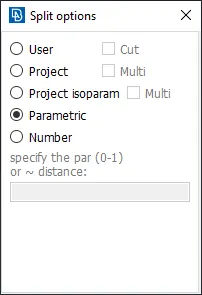
Fig: Split options.
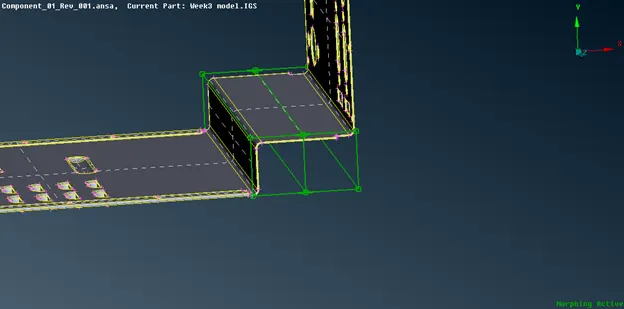
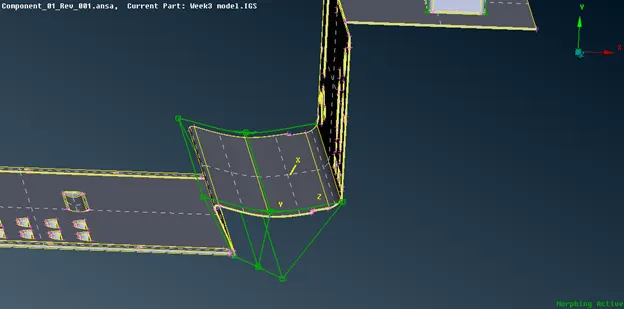
Fig: Before and after morphing.
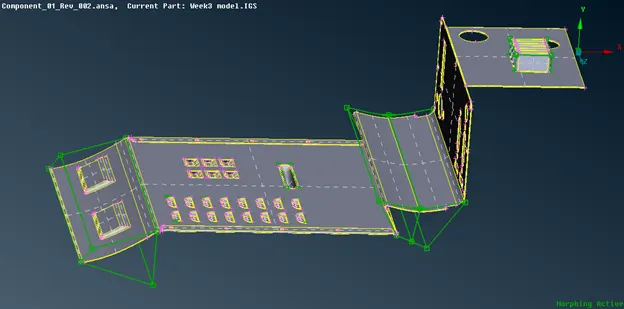
Fig: Final model.
MORPHING OF HAND REST RIBS AND DOGHOUSES:
Repeat the above mentioned steps in order to increase the height of the doghouses and ribs.
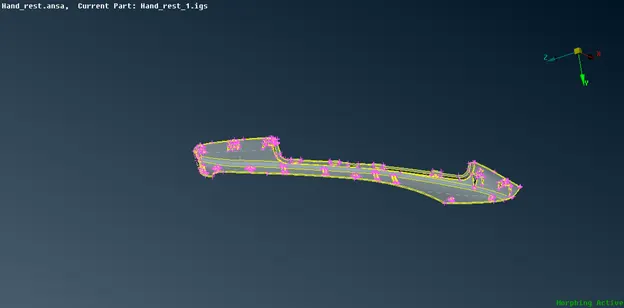
Fig: Imported model.
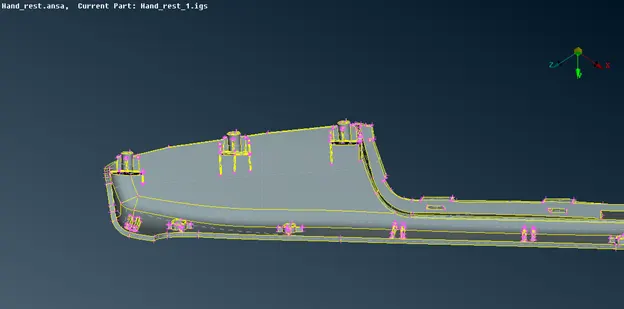
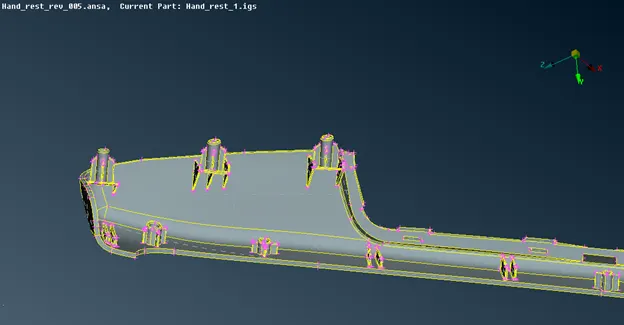
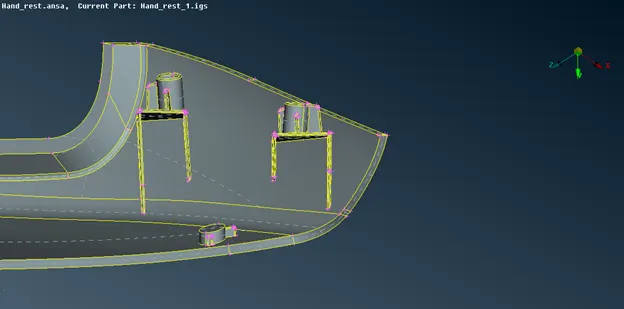
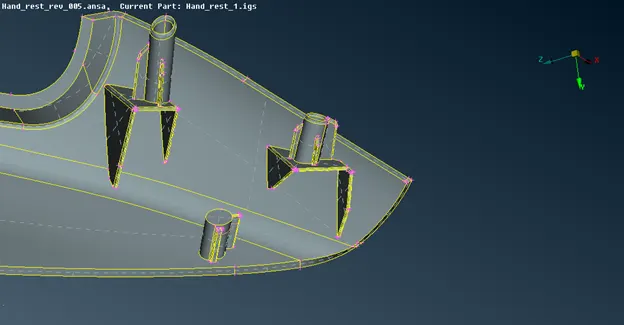
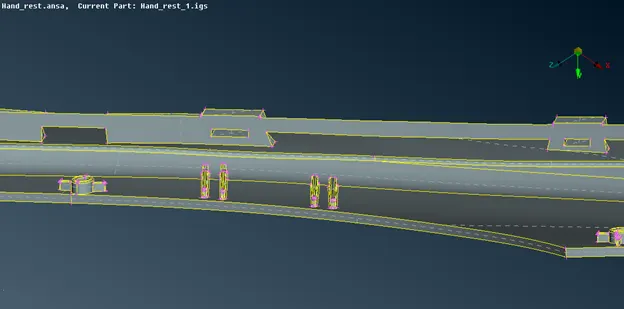
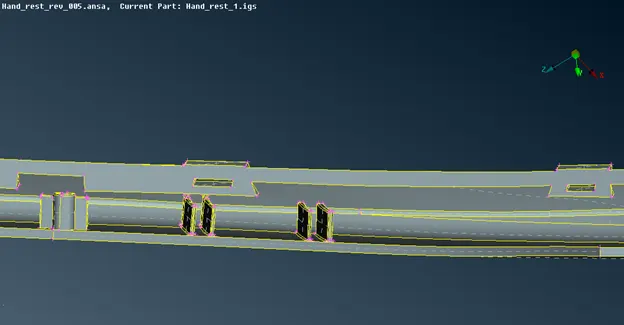
Fig: Before Morphing. Fig: After morphing.
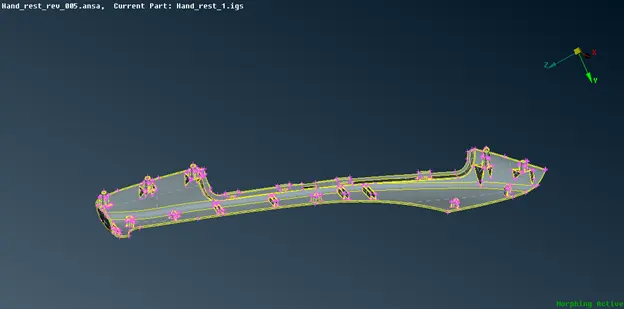
Fig: Final model.
LEARNING OUTCOMES:
- Box morphing techniques and related application of it.
- Splitting of Boxes.
- Design modifications of complex features.
- Correction of damaged surfaces after morphing.
- Rapid design and feature changing.
RESULT:
The given components were morphed to the required shape, doghouse and rib heights were increased and the damaged surfaces were corrected.