Week - 8 - Morphing
AIM
To morph the component features by using morph box by creating a morph for the all required features.
PROCEDURE
Model-1
On the first doing a simple topo clean up and getting a fresh geometry lines in every feature. So we will get a better cons on every feature.
First we do morph on the area where we have feature on the vertical plane. go to the morph deck and create a new morph box.
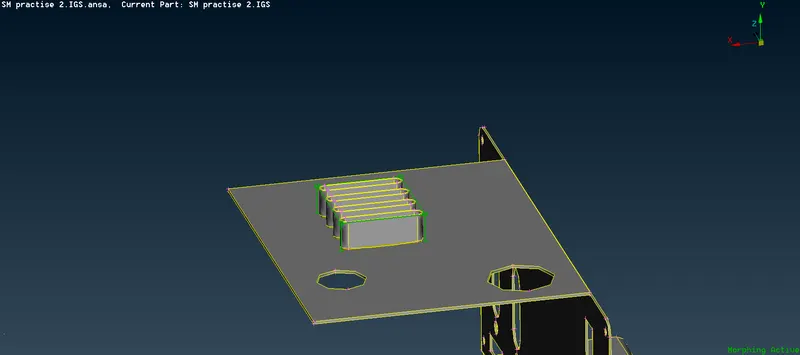
Selecting the features and clicking the geometry option will give a new morph box that will be parallel to the coordinate axis.
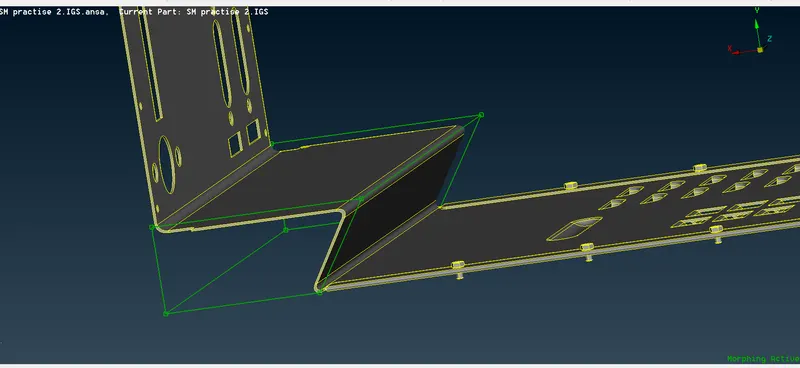
Every morph box has a 8 points on the corner that will connecting the edges. on the morph deck click move option and select a point. If we select any one of the points anywhere that will made a geometry changes.
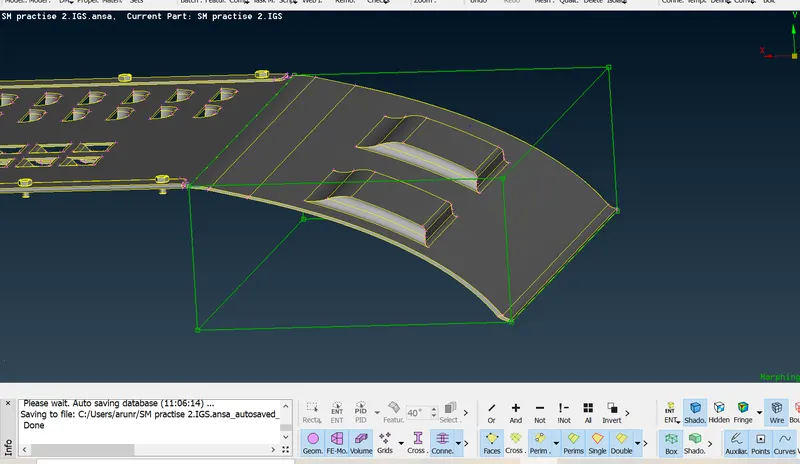
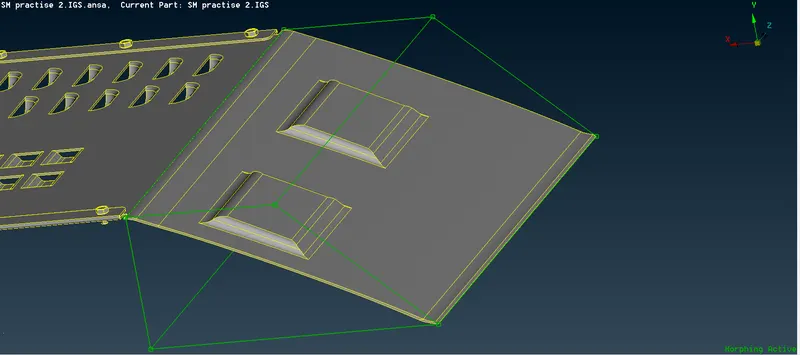
If we need to increase the height of the feature we need to select a hot point that will make changes in the height. So if we move the hot points that will move along with the coordinate axis.
Model-2
By switching on and off any one of the coordinate axis while moving the points it will move towards the certain axis.
here i shown you the before and after images of the morphing features.
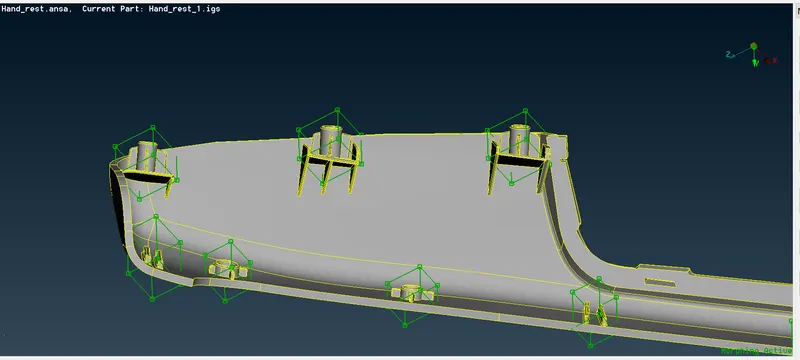
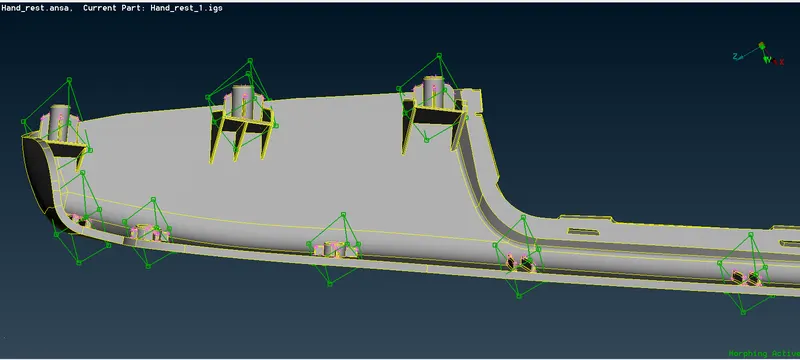
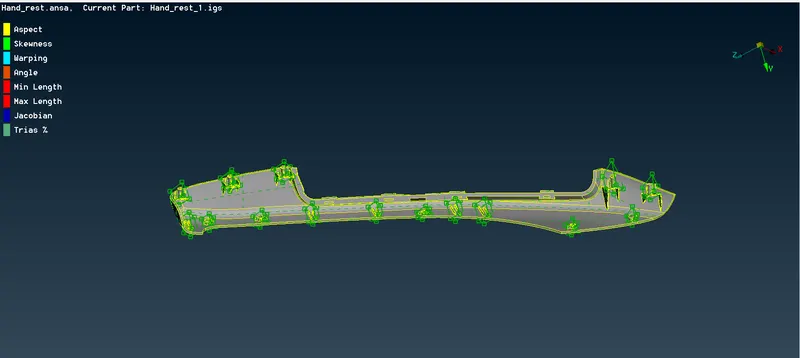
In this another model I first select the every feature by creating new morph box to every feature where I need to increase the height of the dog houses.
APPLICATIONS
In some industries like designing a body of the car, which they may use the sedan model into hatch back the body of the car.
Morphing will use in constructing building blocks and to increase a height and volume of a geometrical areas. This will reduce the time using to make changes in the design engineers.
LEARNING OUTCOMES
In this I’ve learned new tools on the morph deck, it will reduce our time for making changes in the model and the industrial applications.
CONCLUSION
This two models were done morphing by increasing their heights where ever we need.