Week - 8 - Morphing
AIM:
- Practice all the Morphing techniques that were shown in the video for Model-1.
- Perform morphing for the Model-2 and Increase the Height of the Dog houses and Ribs.
MODEL IMAGES:
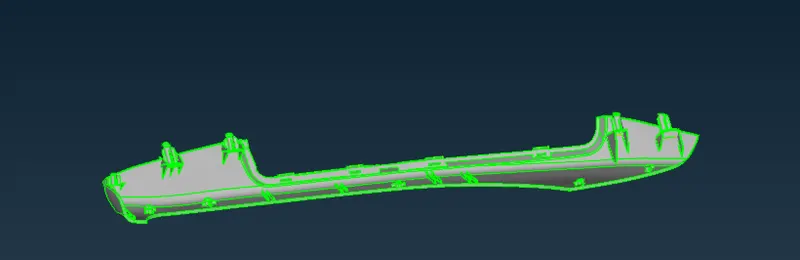
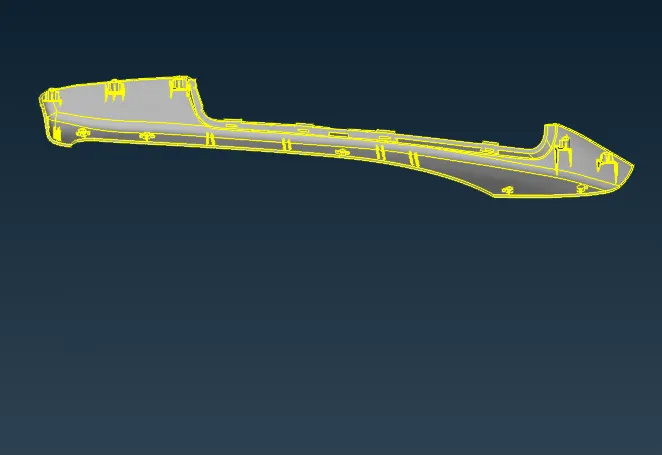
Model 1
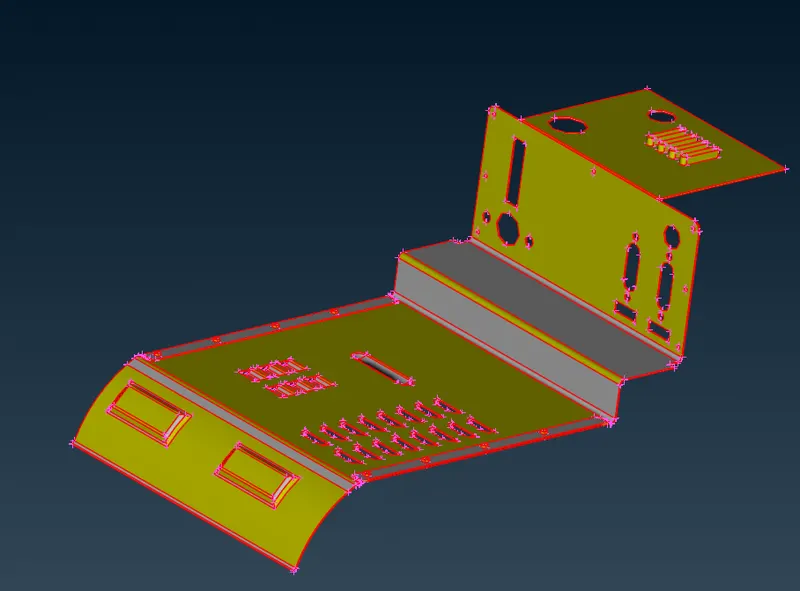
Model 2
PROCEDURE:
MODEL1:
- Before working on morphing the component, we need to 'prepare' the component and that involves getting rid of deformities, stray single cons, hot points, etc.
- This model requires a topological cleanup so we can make use of the topo tool via Faces > Topo from the topo deck.
- With the tool activated, we can highlight the entire component and proceed.
- This fixes all the single cons, which are now correctly portrayed as double cons, since it is supposed to be a closed volume.
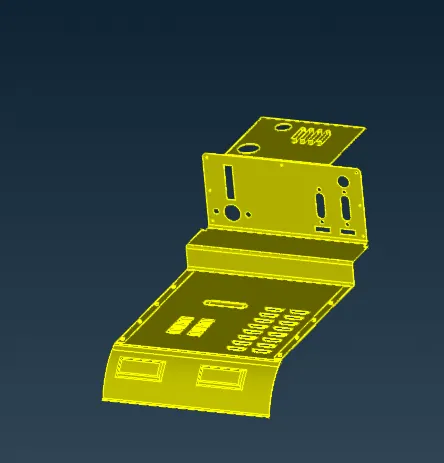
- Then, a geometry check and cleanup need to be carried out and ANSA has a tool that takes care of that.
- The checks tool can be accessed from the upper toolbar: Checks > Geometry.
- With all components visible, the checks can be 'executed'.
- The geometric discrepancies will be highlighted by the tool and they can all be selected, right clicked and fixed by clicking 'fix' .
- Now that the geometry cleanup has been carried out, we can begin with the morphing process.
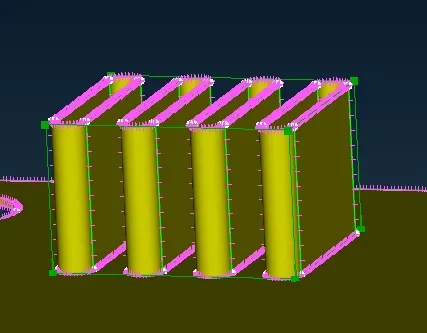
- This region in the component is isolated using one of the focus tools (Not/!Not) since the protrusions are the ones we shall be morphing.
- Then, we shall go to the ‘Morph’ deck and there we need to go to Boxes > New > Ortho and then Geometry is selected .
- The protrusions are then highlighted (selected).
- On proceeding, a ‘morph box’ is formed and this will be the basis of this morphing project.
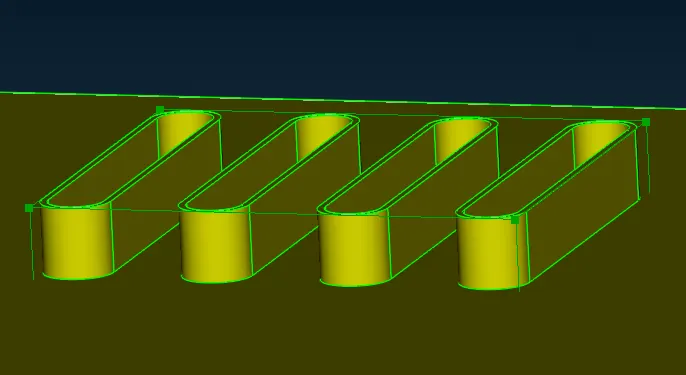
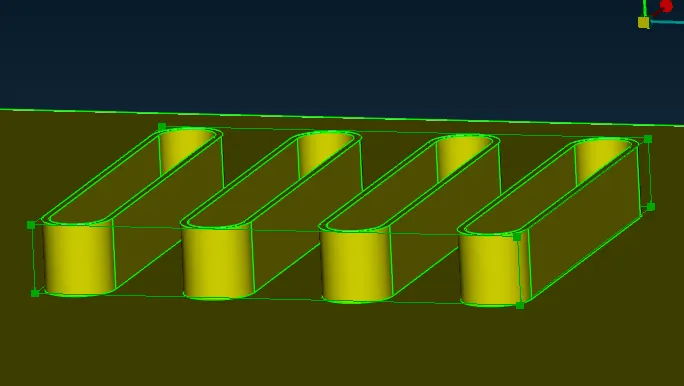
- Now we can select Box Morphing > Move to move these control grids on the morph box.
- This is essentially ‘morphing’.
- After accessing the tool and selecting the nodes of the grid(s), we can move them based on the coordinate system.
- By right-clicking one of the nodes on the grid, the tool uses the local coordinate system, which makes the morphing process more intuitive, personally.
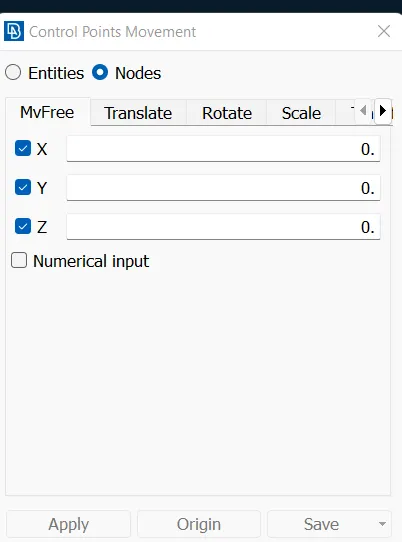
- With the nodes selected and the local coordinate system activated, we can select the coordinate in which we shall be morphing the region.
- Since the height is to be increased, the checkbox for the x coordinate will be the only one checked as shown. After that, the middle mouse is clicked to proceed and merely moving the mouse morphs the region.
- When happy with the result, we just need to left-click. And click ‘Ok’ to apply the morph.
- Next, we need to work on this region of the component
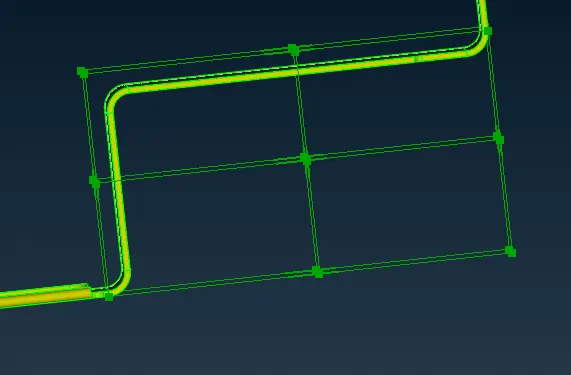
- It involves a simple morphing process that is carried from the side view of the region.
- We need to repeat the same process of creating a morph box and then moving the grids as per our requirement.
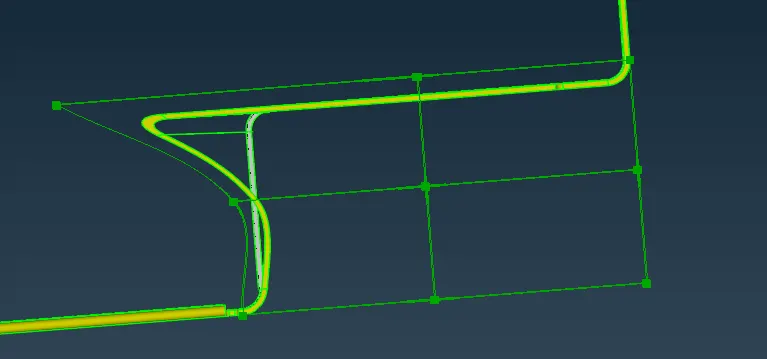
- simillarly we can morph on the other regiong as well
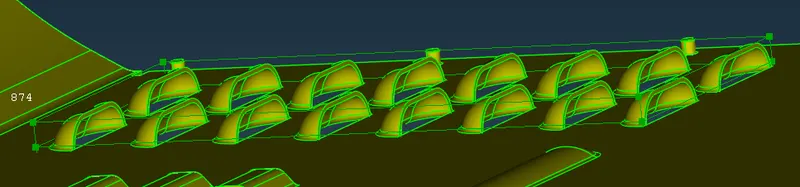
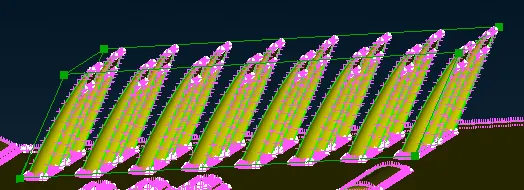
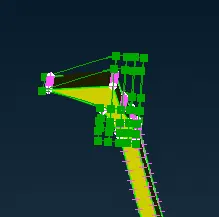
- Once we are done morphing, we can delete the morph boxes using Boxes > Delete.
MODEL 2:
- Perform morphing for the Model-2 and Increase the Height of the Dog houses and Ribs.
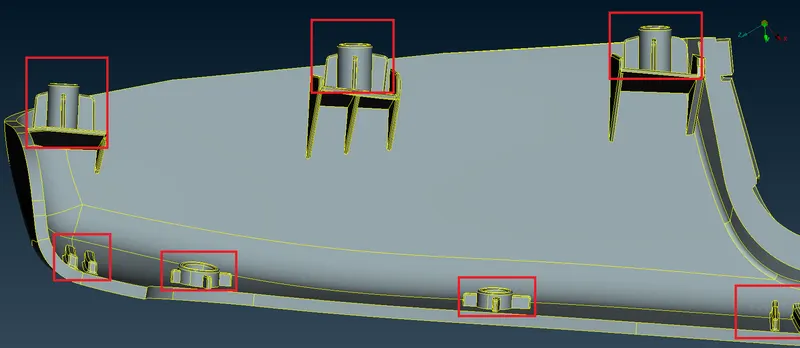
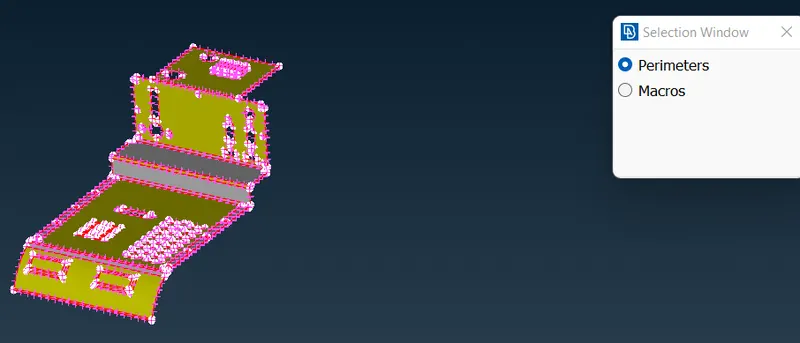
- As we did in the previous component, we are to highlight the particular doghouse & ribs using Boxes > New > Ortho.
- Since this is not a mesh and is a geometry, the geometry option is selected. After highlighting the doghouse and ribs, the middle mouse is clicked and the morph box is formed as shown:
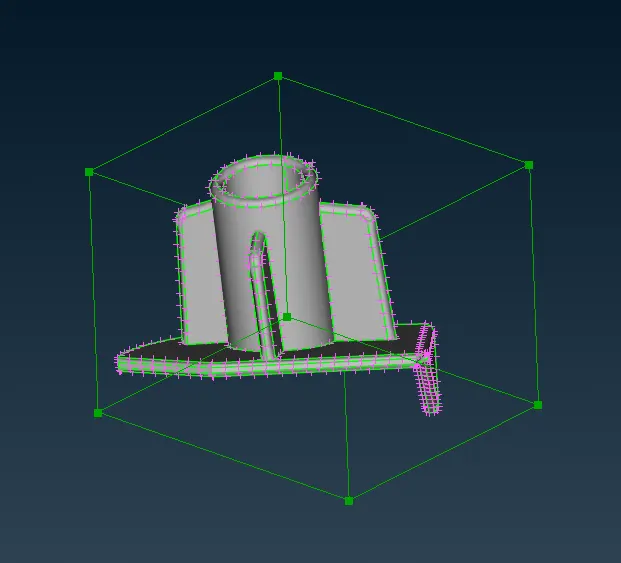
- After that, we need to make use of the Box Morphing > Move tool to move these control grids on the morph box.
- We select the node at the highest point and simply middle-clicking activates the morphing algorithm.
- Now we are free to move the doghouse and ribs, according to the selected coordinates of course.
- When done, we simply need to middle-click again for the algorithm to apply the morph.
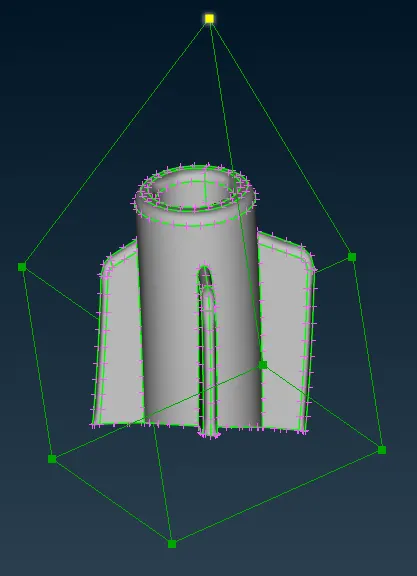
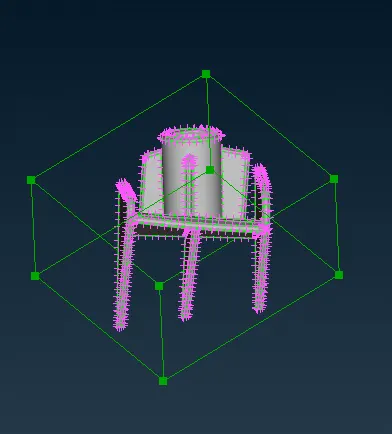
- In other cases, such as this rib, simply selecting the rib and creating a box doesn’t seem to help with providing a more proper morph later on.
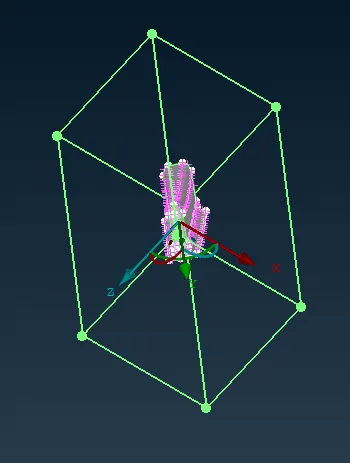
- In these cases, using the ‘Min volume’ setting from the morph box options seems to provide a more accurate morph box that facilitates the morphing of these ribs.
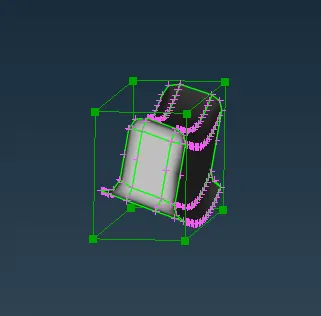
- As we don’t want the height-increasing morph process to affect the base of these components (and cause geometrical/graphical issues), we can, instead, split these boxes as shown:
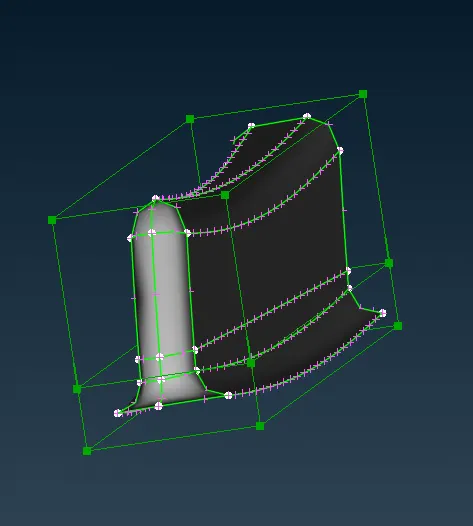
- Doing so won’t affect the bottom half. This is done using Boxes > Split tool.
- We merely need to click the edge that requires splitting and the algorithm splits it along a plane at the point of clicking.
- Then, as usual, we just need to select the move tool via Box Morphing > Move to move the upper half as per our requirements to increase height.
- These processes are repeated for all the doghouses and ribs on the armrest component
LEARNING OUTCOMES:
- Learned the concept of morphing and morph tools available in the morph deck.
- Learned about the applications of morphing.
RESULTS:
Both the given models were morphed as per requirements - the first model was morphed as per the Week 8 video on morphing and the second model’s ribs and doghouses were morphed as specified in the given screenshot.
FINAL IMAGES OF MODEL:
MODEL 1
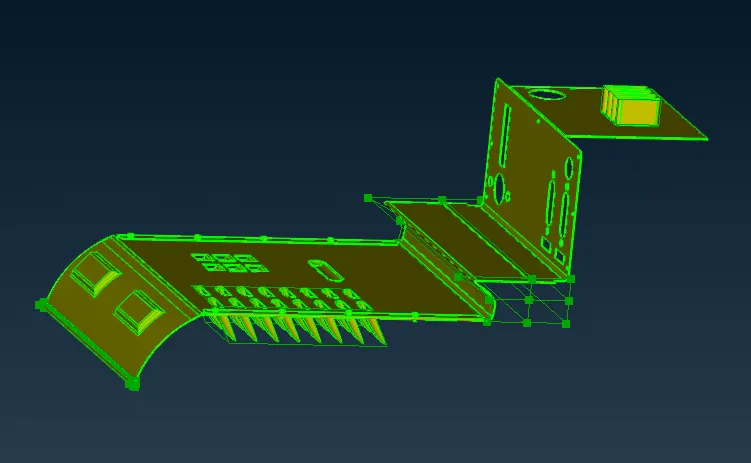
MODEL 2