Week - 8 - Morphing
Aim:1) Practice all the Morphing techniques that were shown in the video for Model-1.
2) Perform morphing for Model-2 and Increase the Height of the Dog houses and Ribs.
Principle :
Morphing structures are structures that alter their shape and size upon application of a stimulus. This field has been of interest to numerous researchers all over the world due to its advantages over conventionally used materials. Most reported morphing studies are confined to aerospace applications and studies conducted specifically for automotive applications are limited. This paper discusses morphing technology applications in automobiles, particularly with popularly used smart materials like Shape Memory Polymer, Shape Memory Alloy, Elastomers, and others. It also addresses systems such as sensors and actuators required for morphing structures to function. Some morphing applications in an automobile have been covered. Some research in the morphing of aerostructures can be incorporated into the automotive industry, so an attempt is made to correlate the findings of aerospace research to potential automotive applications.
Take an example of Maruti swift and Swift Dezire
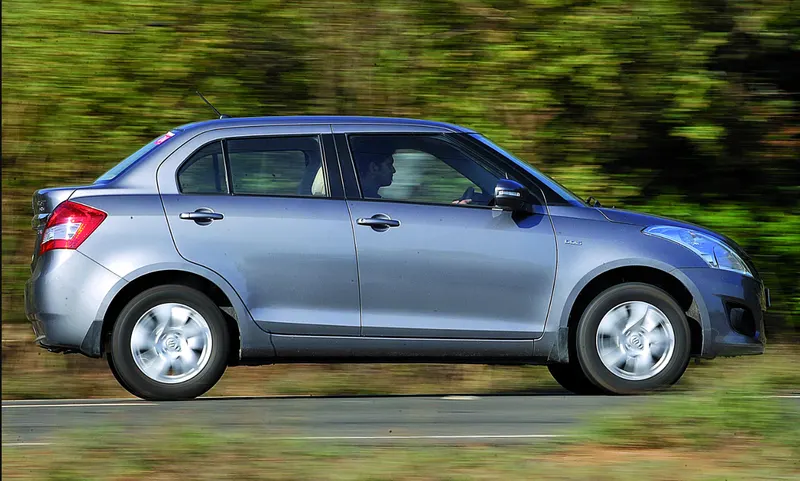
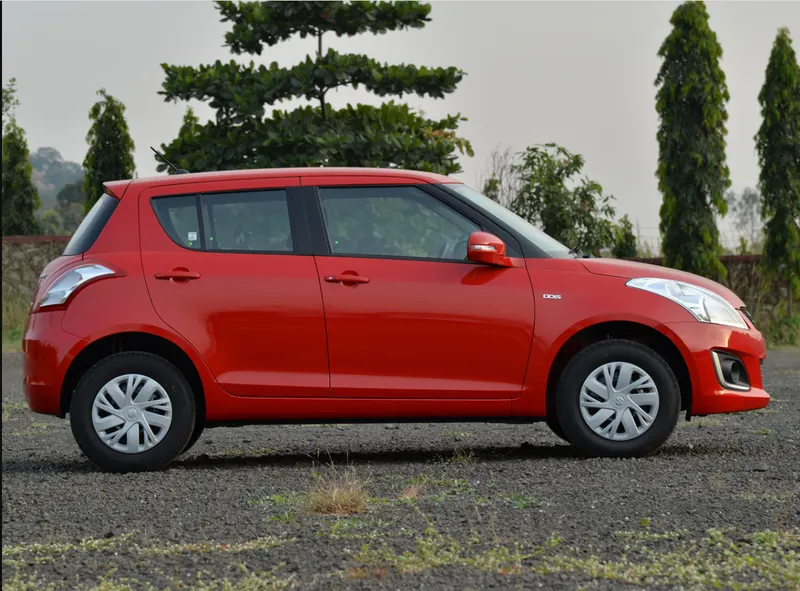
Fig(1): Swift Dezire Fig(2): Swift
As we can see from the above images one is a hatchback(fig(2)) and another is a compact sedan(Fig(1))
Though the chassis of the vehicle is the same the dimensions are different. One has a longer boot than the other. This is done with the Help of morphing ie Modifying an existing Model without creating a new model
This helps us to get an idea of what a model will look like before actual modeling can be created. This helps us in reducing Time and cost
Since Morphing changes an existing model It will help us in reducing time, cost, and energy in creating a new model. As result, a lot of components can be shared btw the two models which further reduces the cost and inventory
of the company
It helps the company to bring out the model much faster into the market than doing a lot of Rand D in bringing a new model
Procedure :
There are Two Models for which we have to do Morphing
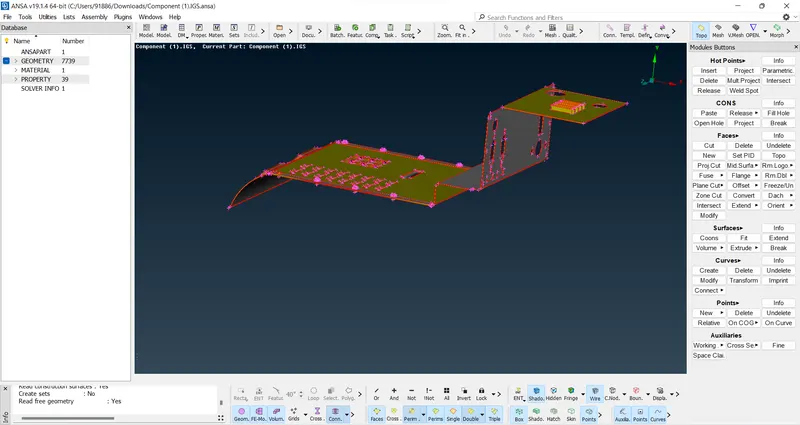
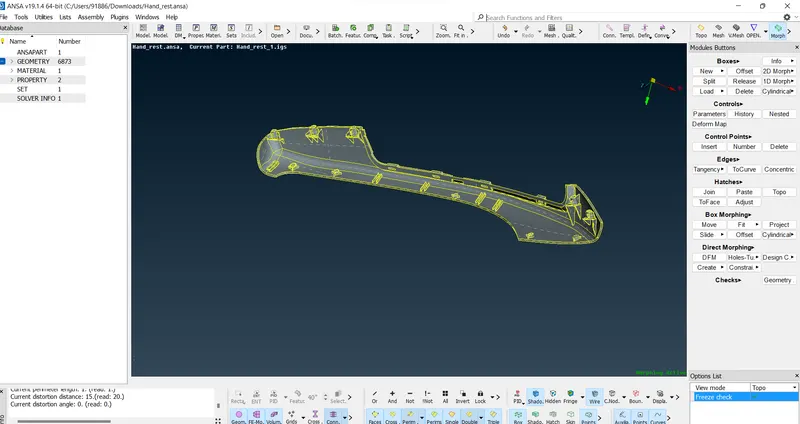
Model1 Model2
Model 1:
Load the model into ANSA software
Perform TOPO on the Model and check for geometry errors
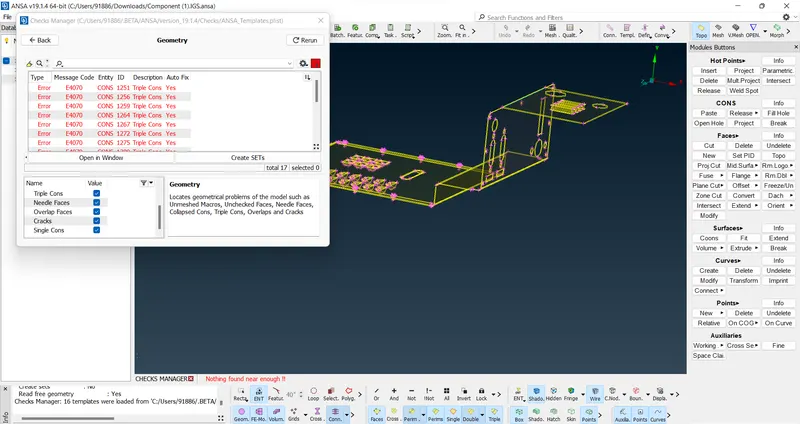
There are geometrical errors in the Model. It can be rectified using the Auto fix function or by fixing the error Manually
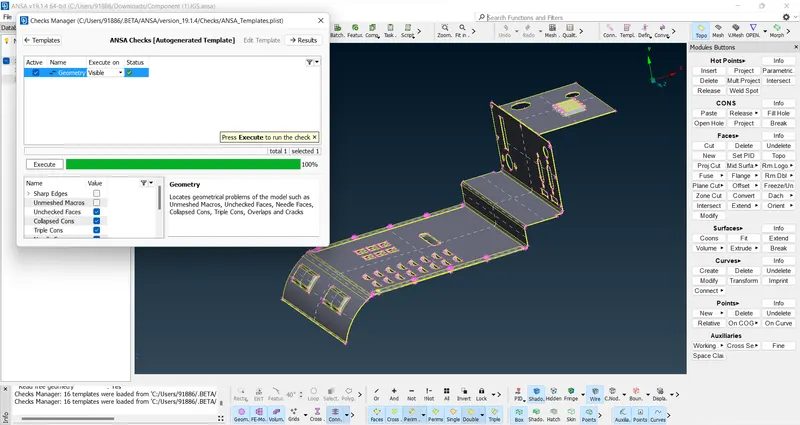
Once the Model is free from Geometrical errors. Morphing can be done
Select the feature for which Morphing is to be done BOX>NEW>ORTHO
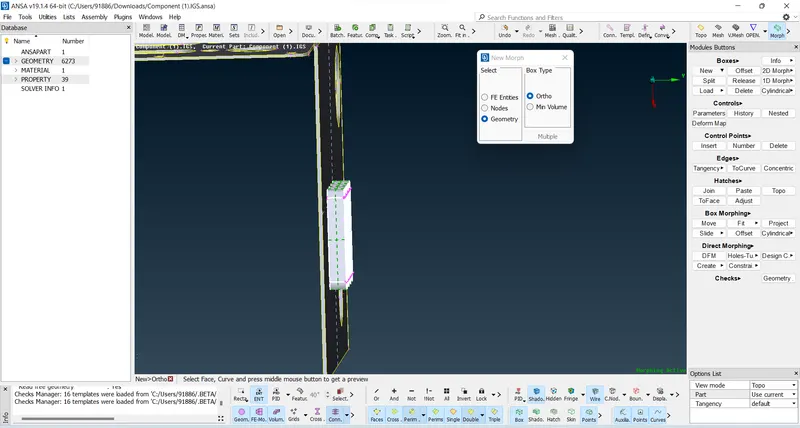
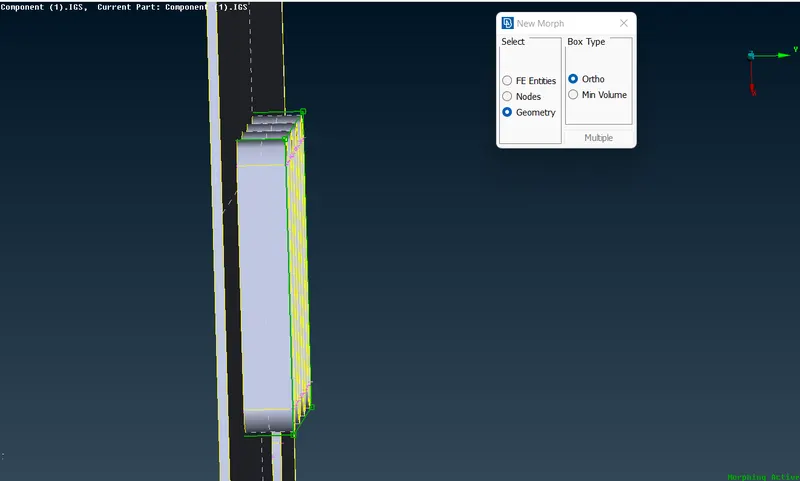
After Selecting the feature, Middle click on the mouse, and a box is created around the feature
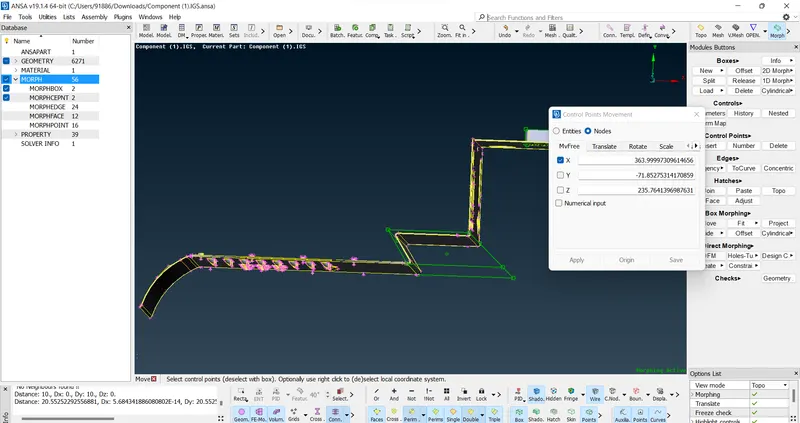
To move the feature Select the move option BOX MORPHING> MOVE. A window will pop up showing the directions in which the feature is to be moved
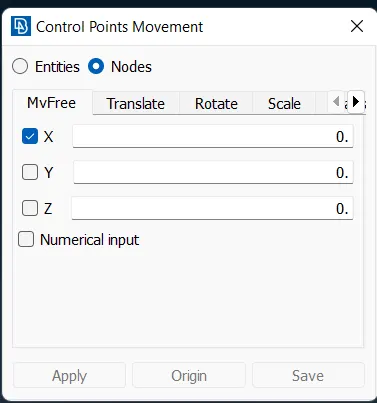
The feature can be moved either by Mvfree or by moving the feature along a fixed Axis. This allows the user to move the feature in any direction required.
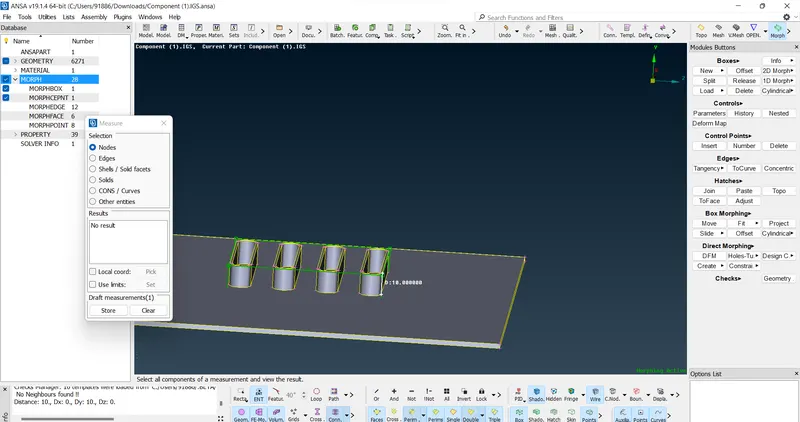
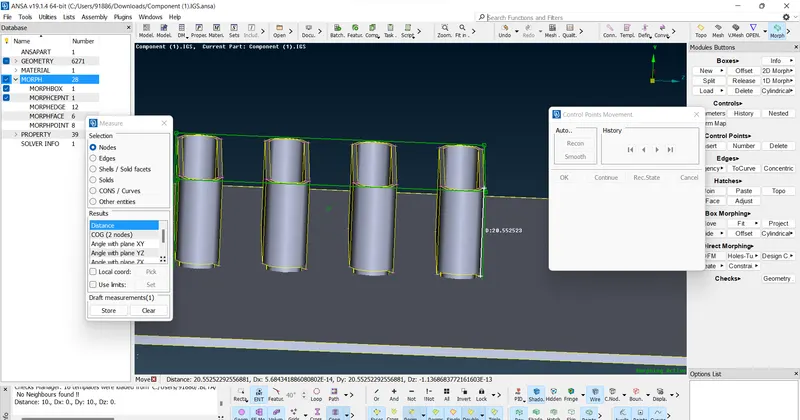
initially, the height of the feature is 10. After using the Move option the height of the feature is increased to 28
Similarly, Move to change the feature dimensions as follows
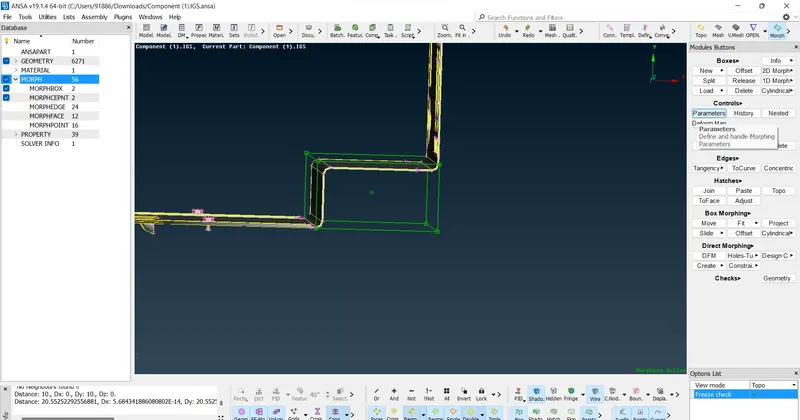
Before After
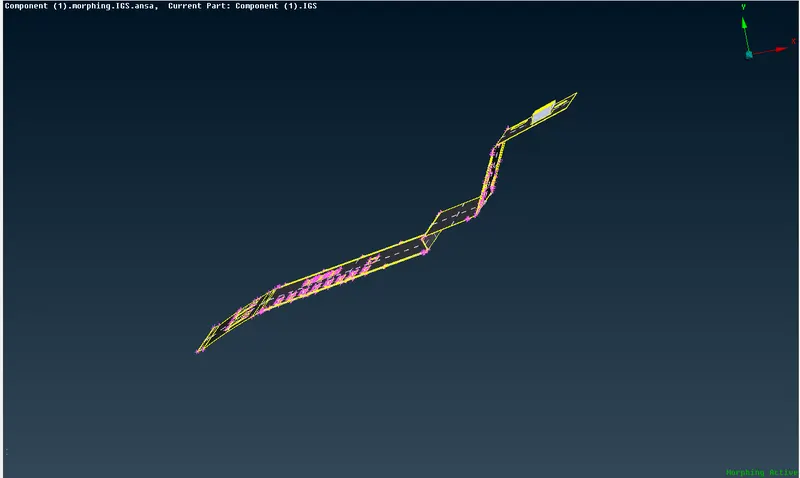
Final model
Model 2:Perform morphing for Model-2 and Increase the Height of the Dog houses and Ribs. (Refer to the Red annotations in the below image to understand what are Dog houses and Ribs
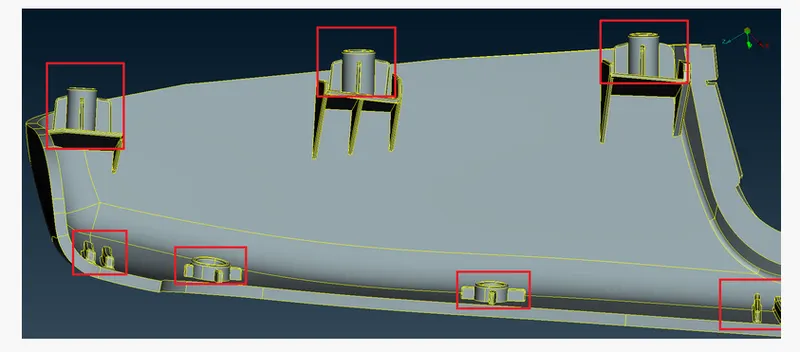
AS Explained in the previous model. The same procedure has to be followed with this model
In this model, we have to increase the height of the dog house and ribs
Load the model into ANSA software and perform TOPO on the model and check for geometry errors
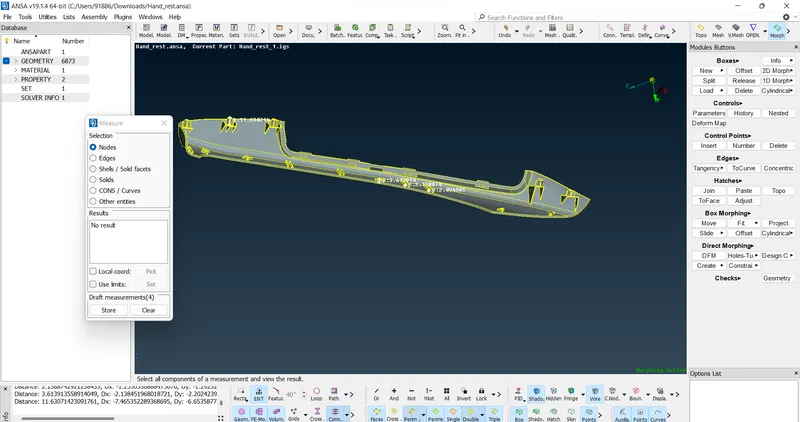
Once the Model is free from Geometrical errors. Morphing can be done
Select the Dog house and ribs for which Morphing is to be done BOX>NEW>ORTHO
After Selecting the feature, Middle click on the mouse, and a box is created around the feature
To move the feature Select the move option BOX MORPHING> MOVE. A window will pop up showing the directions in which the feature is to be moved
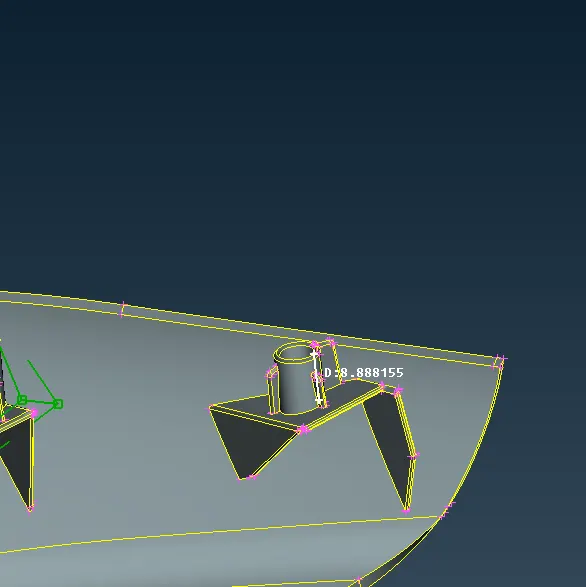
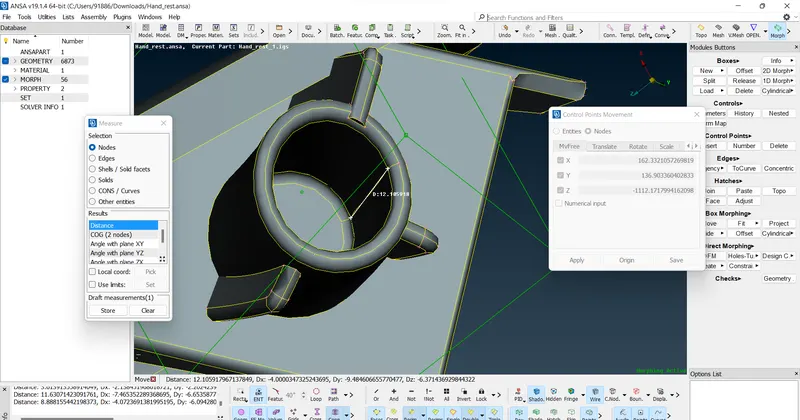
Height Before and after Morphing
Final Model :
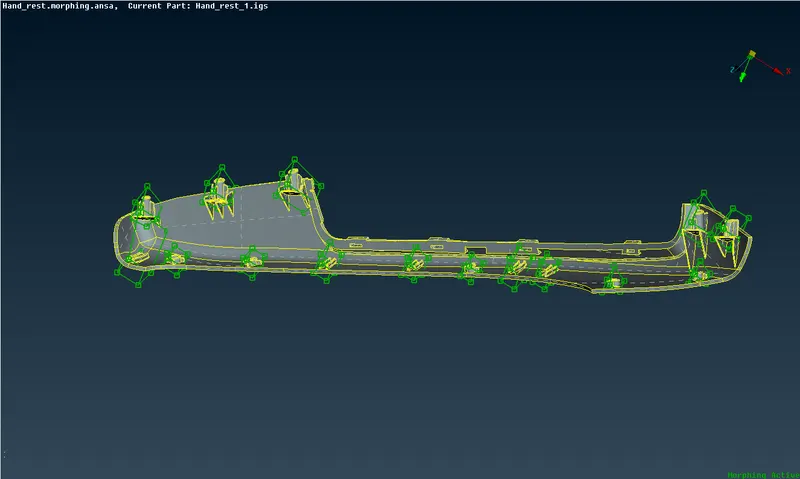
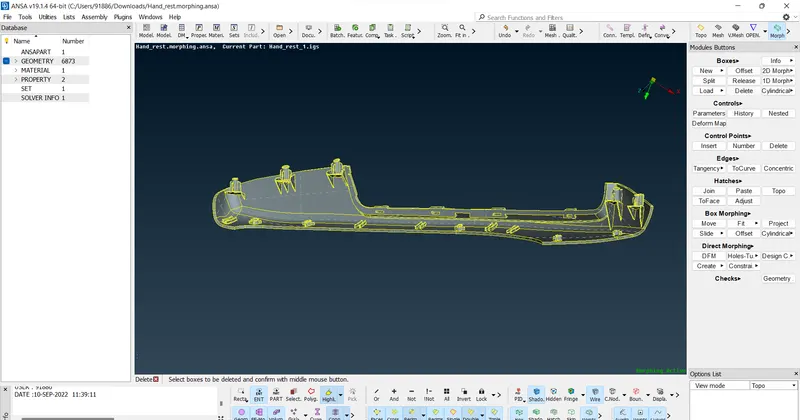
Conclusion :
Learned the concept of Morphing and its applications
Learned About the tools used for Morphing