Week - 8 - Morphing
To practice and apply the Morphing techniques on the given
model1 and morph the model 2 by increasing the height of the
dog houses and ribs as given in the question.
Model Images:-
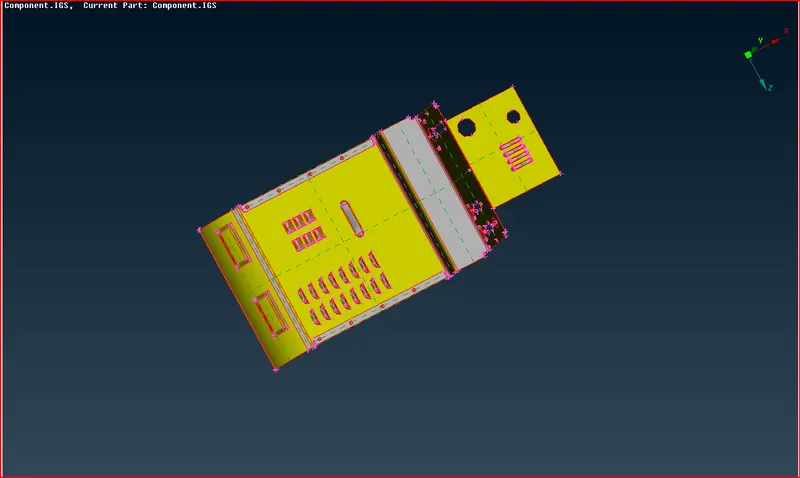
Model - 1
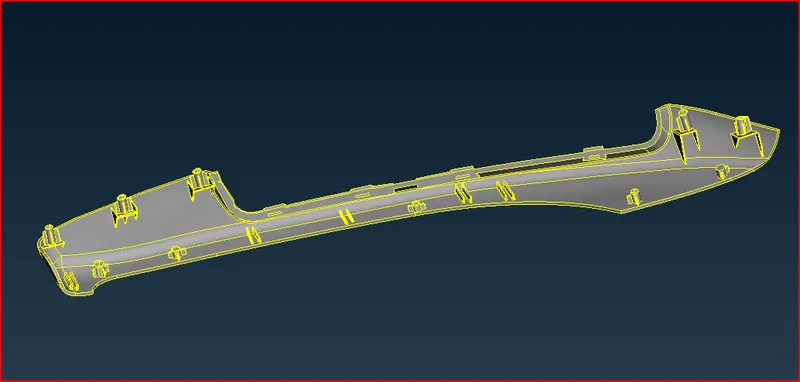
Model - 2
PROCEDURE :-
Model - 1
Before we proceed to morph on the component we need to understand the
concept of the morphing. So what is morphing ?
MORPHING
It is tool to change the shape of geometry or FE model to an extent, and
then it can proceed for analysis.
In the first model, the Geometry has been clear with the geometry doing
topology.
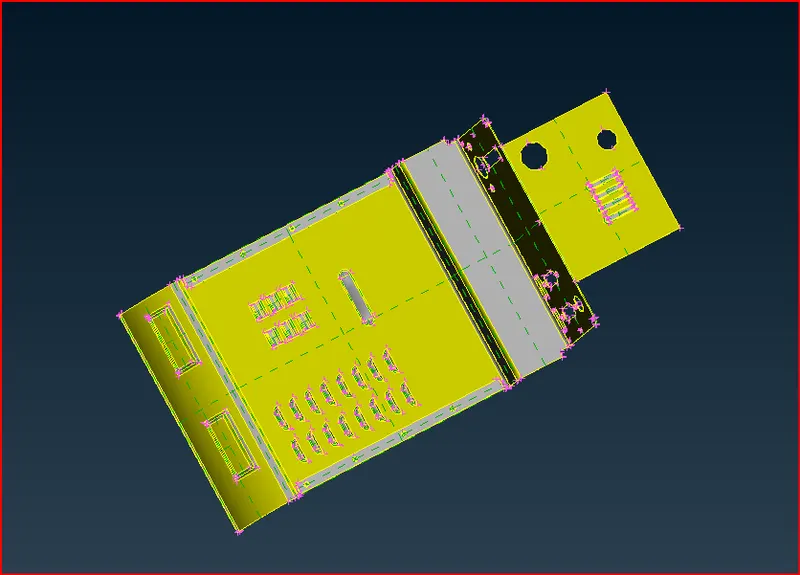
After that we want one diection colour so that we do orientation. In oreintation yellow colour
is negative and grey colour indicates positive. In gray colour we can see easy to the cons.
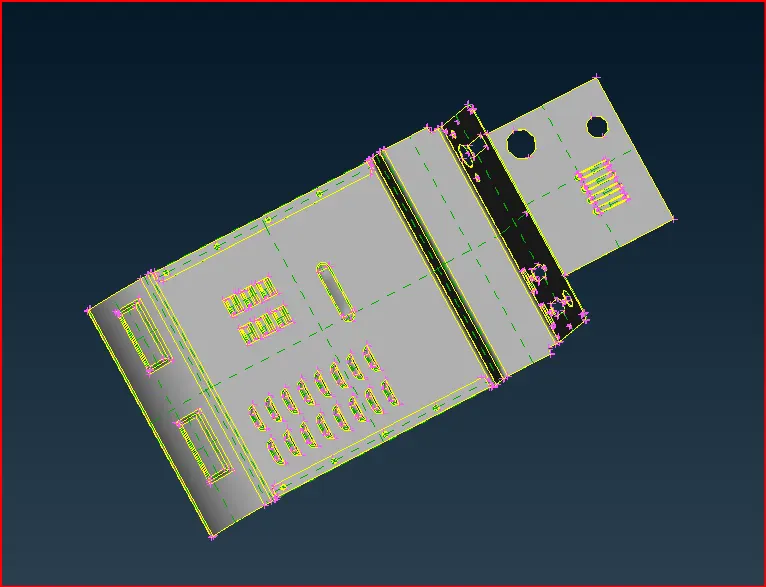
After that we go for geometry check,
Check Manager > Geometry > Execute
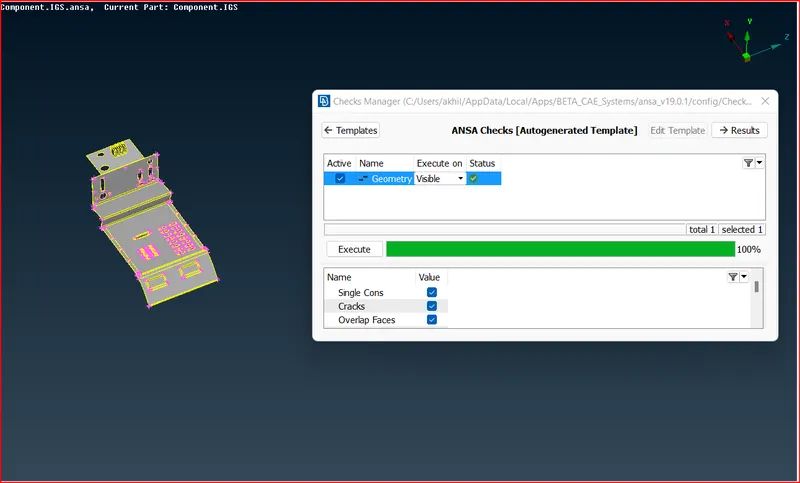
sometimes we got error that time select all the errors and then fix them. If it will not
execute then solve this error manually.
After that we go for the morphing,
To morph the height of the top face with cylinder shape to chnage the height the box is
created with the new option, selecting the ortho option in that we have a geometry that needs
to change the shape.
So, selecting the geometry and box type ortho then selecting the morph box.
Selecting the points of the box that change the shape before changing the shape
for the cylinder, First clicking the right click for the coordinates. Changing the direction because to
change the height, moving by coordinates the height will be increased.
This height will be increases to used move tab.
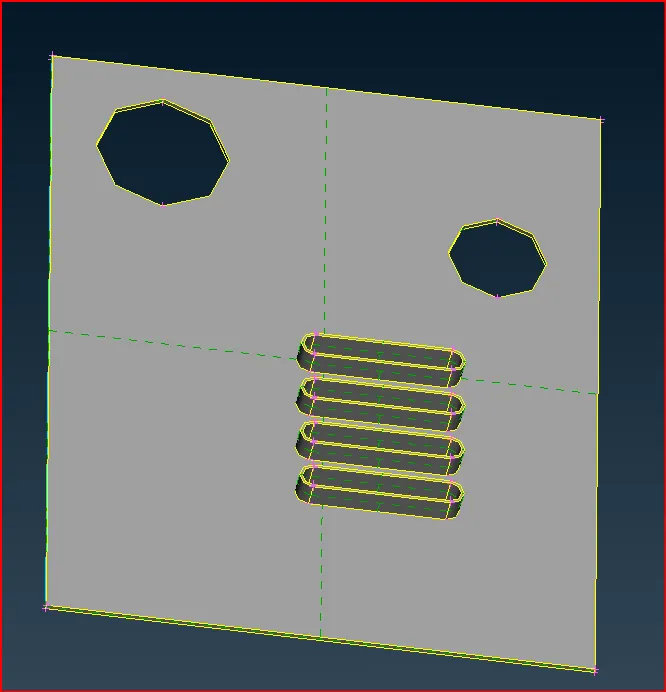
fig. seleted the part for morphing
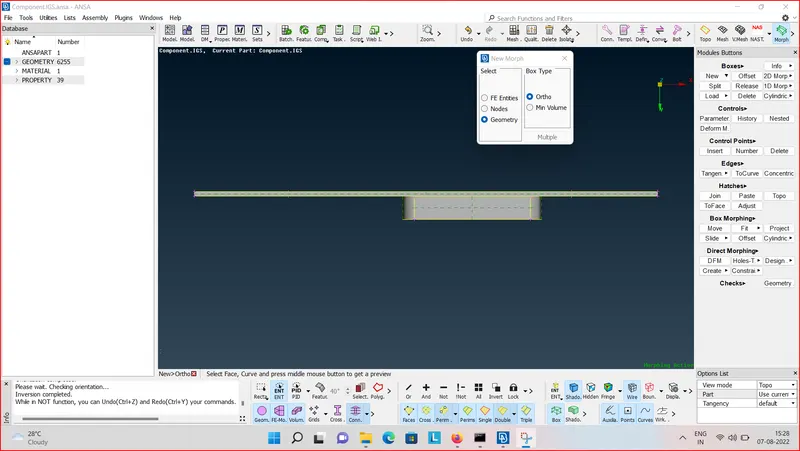
fig. using new tab
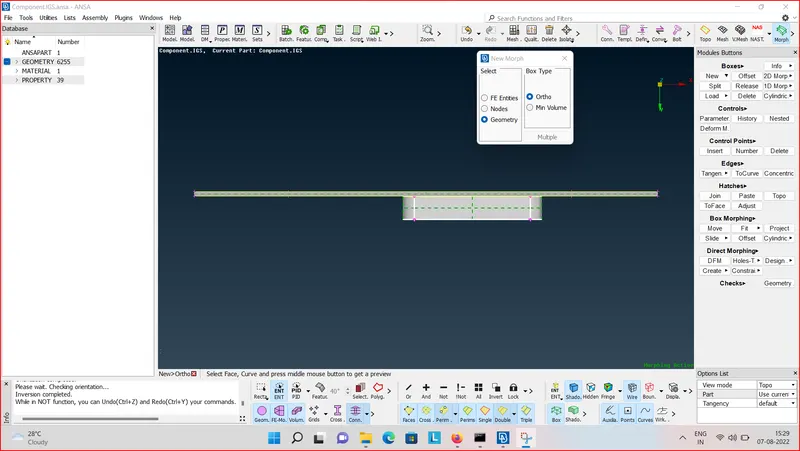
fig. select the part for Morphing
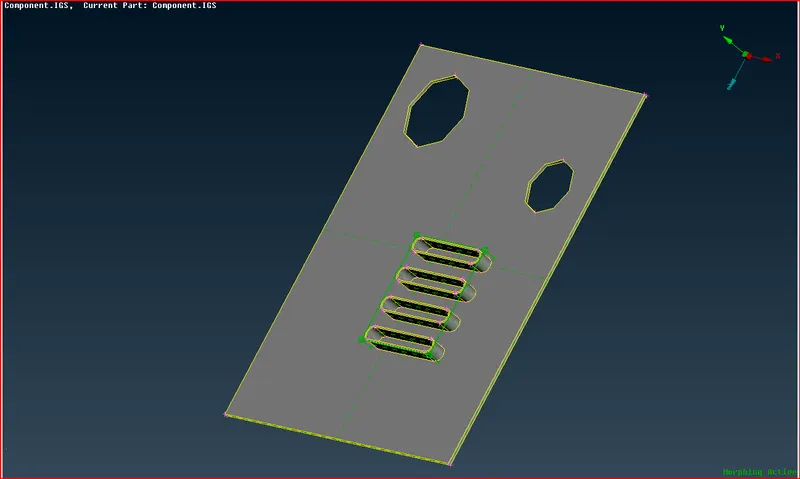
fig. morphing created
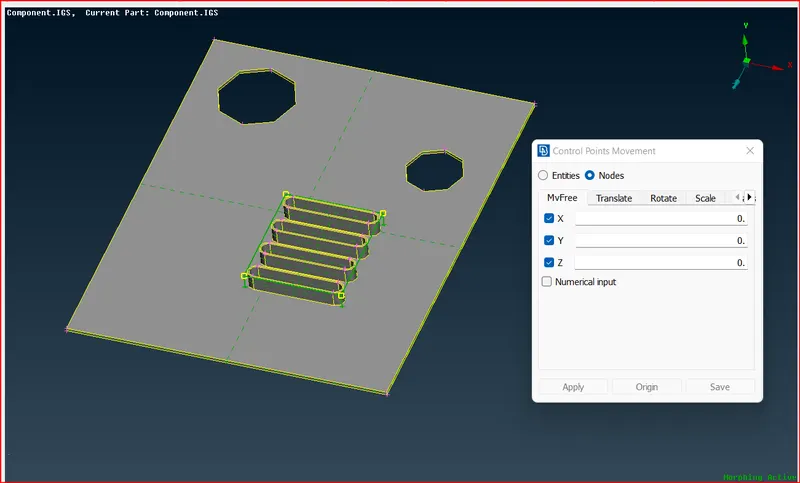
fig. Move tab
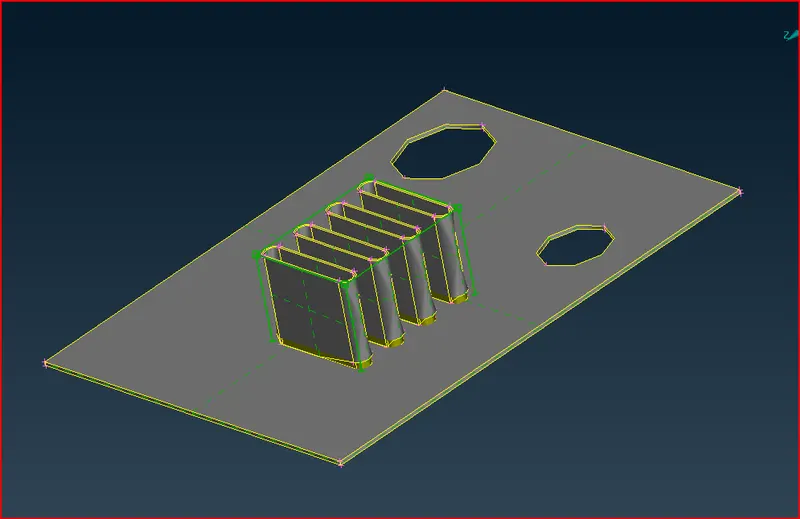
fig. Morph by height
Because of the increase the height in the geometry has some deform to check the geometry
perfectly, the length of geometry changes with 1 mm in perimeter and macros.
For other geometry changes, the same process is applied but with the for moving coordinates the
x and y direction is selected and also with z direction.
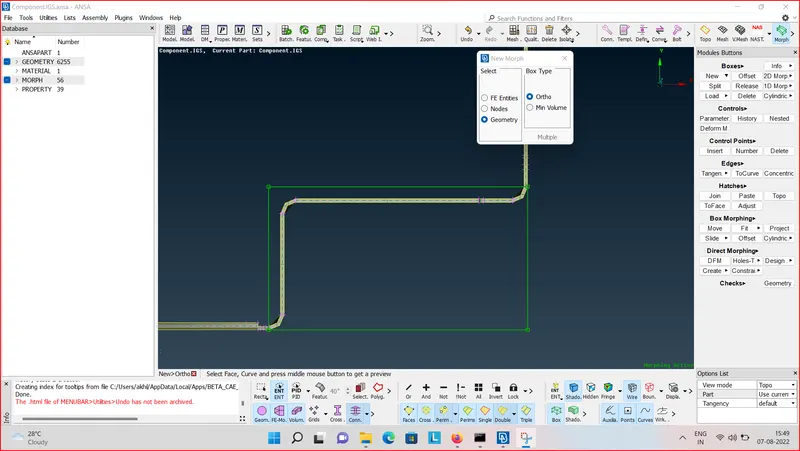
fig. another part created for morph
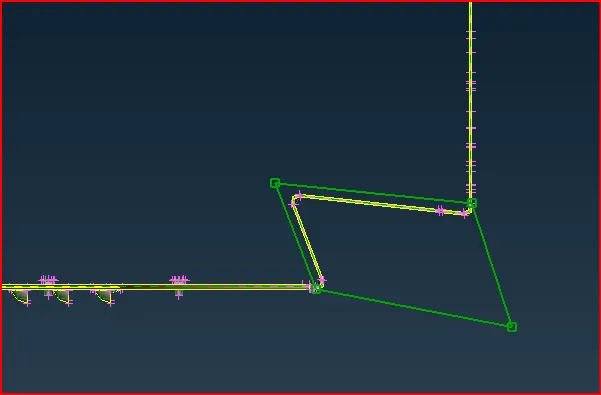
fig. shape changed
The whole geometry is also morphed ( shape change ) is also done.
After morphing the component the box can be deleted by deleting.
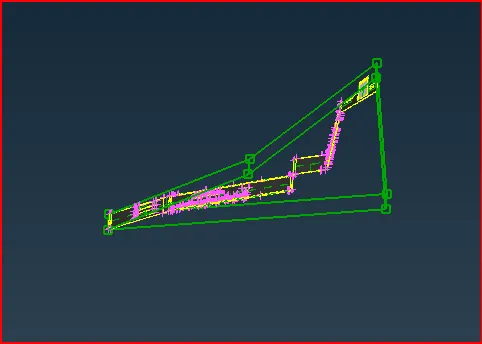
fig. Whole part morph
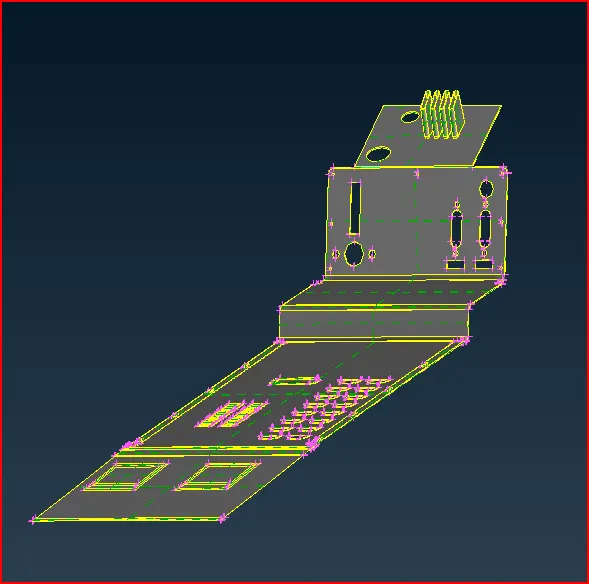
fig. shape changed
In the given second model of the challenge we have to morph and increase the height
of the Dog houses and ribs which are given in the sample image below.
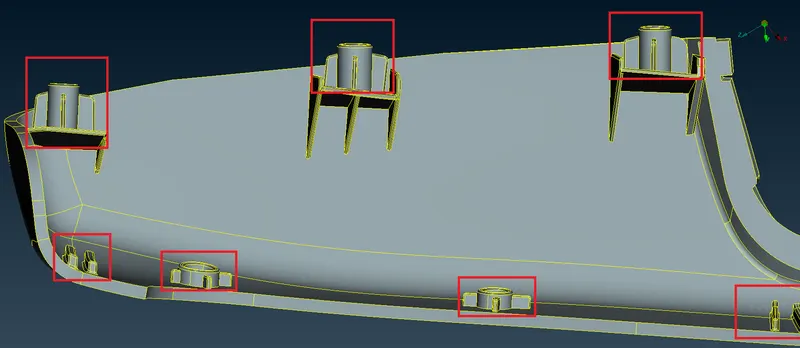
Follow all the above steps.
First we have to import the CAD model to the ANSA software to practice.
fig. importing the model 2
Do the topological and Geometry cleanup on the model 2.
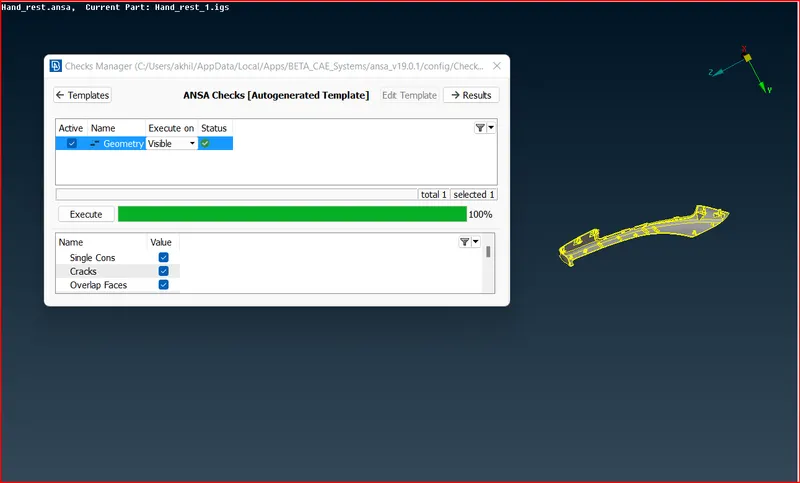
fig. geometry check on the model 2
Now, Switch to Morph module to create boxes in the areas whic are need to morphed in model 2. i.e, the
height of the dogs houses and the ribs in the model 2.
Before that, measure and store the length of the dog houses and ribs in the model 2 to check whether the length
is changed or not.
Now Create the box,
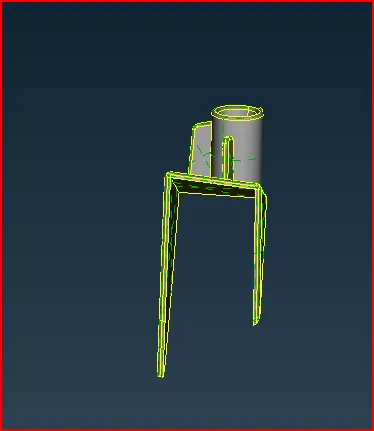
fig. before morph
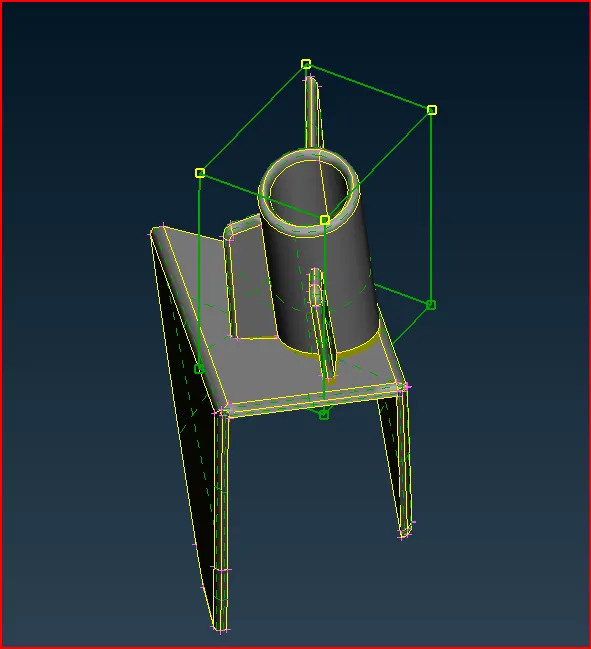
fig. after morphing
Like wise create for all the marked areas as given,
NEW>BOX TYPE>MIN VOLUME>GEOMETRY
then after middle click go to move tab
MORPH MODULE>BOX MORPHING > MOVE > ENTITIES
Select the entities of the box created and moving the mouse we can change
the length of the selected area in the box according the global axis.
Finally the height of the dog houses and the ribs are changed by the morphing.
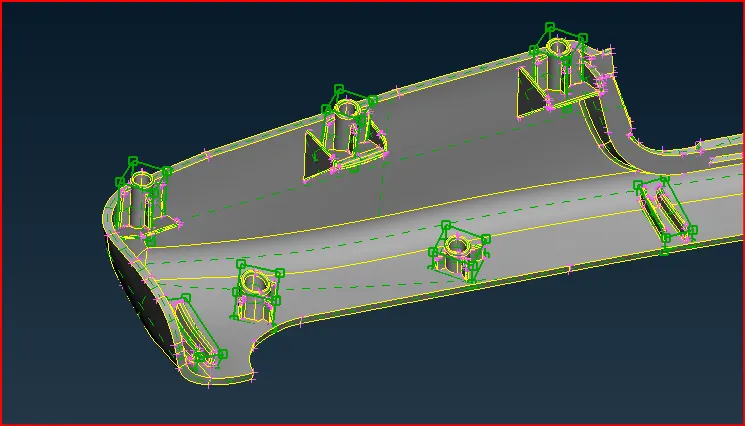
fig. After Morphing
LEARNING OUTCOMES :-
Learned how to import the geometry.
Learned how to do geometry check and clean the geometry.
Learned how to change the orientation of the model.
Learned how to create a new box for morphing.
Learned how to split the box created.
Learned how to change length of the area in the geometry where box is created by using
MOVE command and entities of the box.
Learned how to morph the FE model.
CONCLUSION :-
The whole geometry shape is changed and learned that the geometry of FE entities changes is changed by
shape as per requirements by the industries.