Week - 8 - Morphing
Q.1) ANSWER
AIM- To perform Morphing techniques on the given model using ANSA.
OBJECTIVE-
- To check for any geometrical errors in the model.
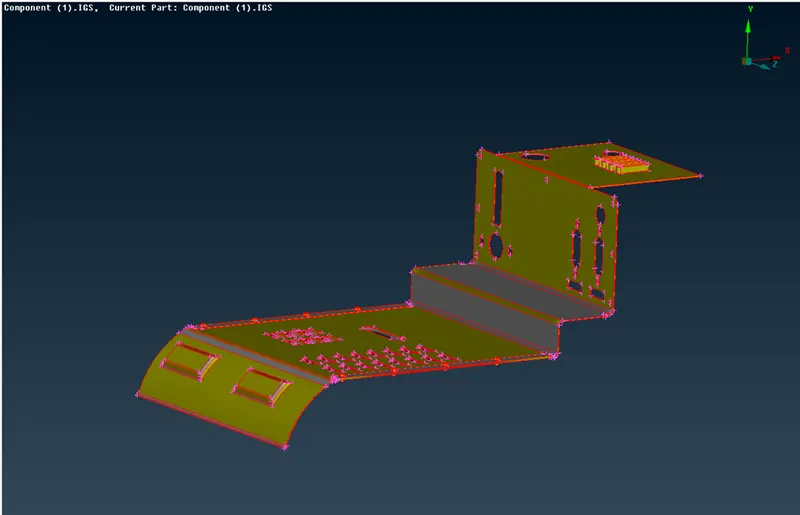
- To practice morphing techniques which were discussed in the week 8 video on the given Model -1.
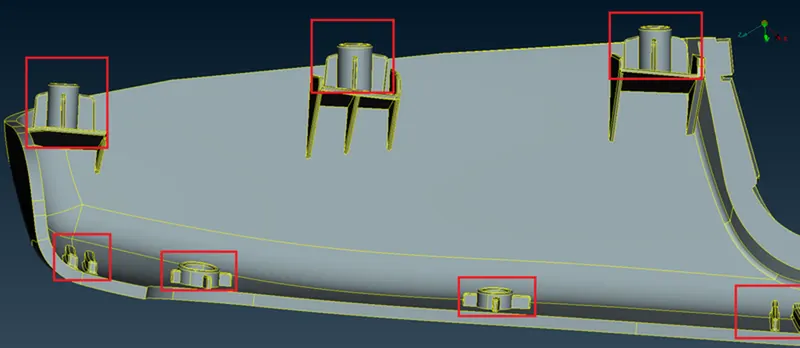
- To morph the Model-2 by increasing the height of the doghouses and the ribs according to the following screenshot.
MODEL IMAGES-
1) Importing the model:
- The model is imported into the workspace using the command [file>open >and select the model to be imported]
- The model will be imported into the workspace.
MODEL-1
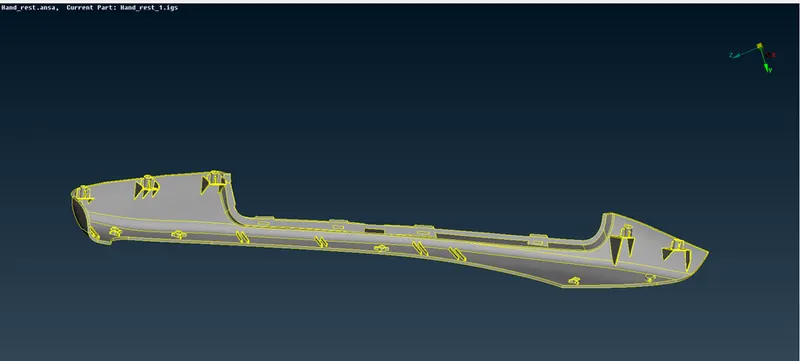
MODEL-2
PROCEDURE: MODEL 1
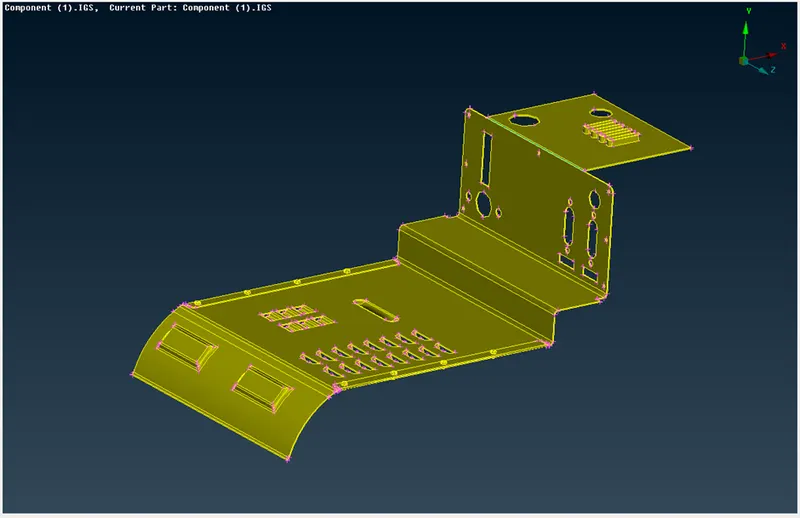
1.1) Topology Clean up:
- We topo the surface to clear the free edges and unwanted cuts.
- We get the following results.
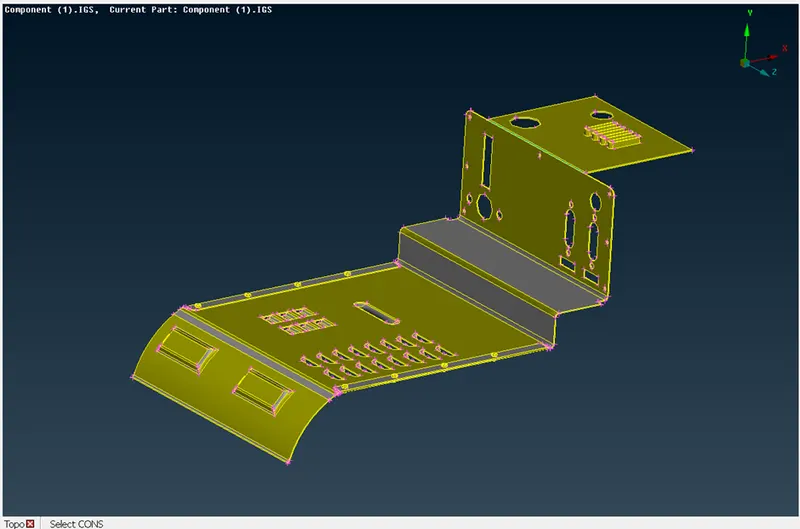
- The Model is also oriented properly using the orient tool. [Command<Faces<Orient]
1.3) Geometry Clean up:
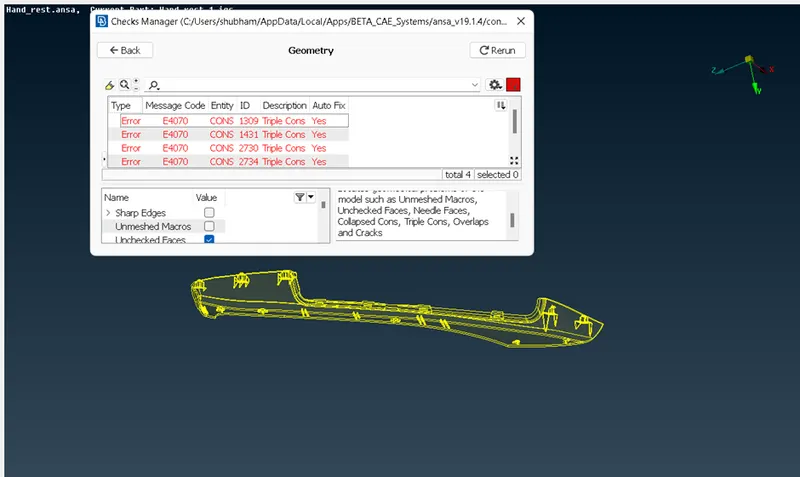
- Before working on the model, we need to check whether the model has any geometrical errors or not.
- To check the geometrical errors, we use the command< checks manager available in the tool bar.
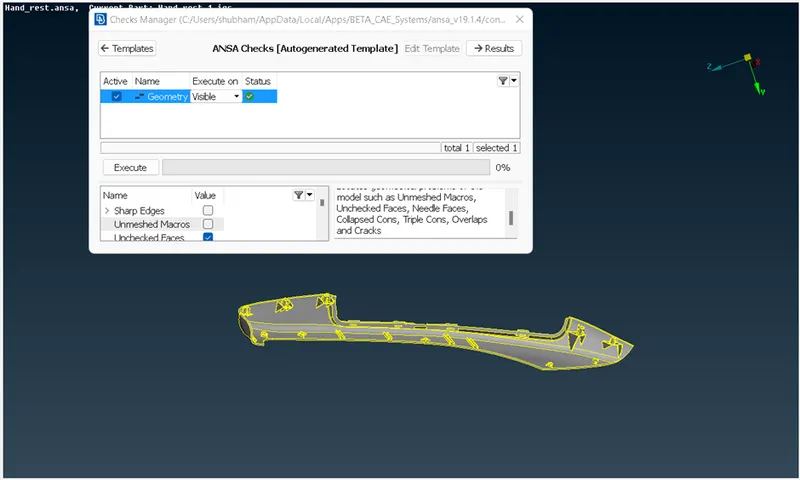
- In the check manager we select geometry option and click execute.
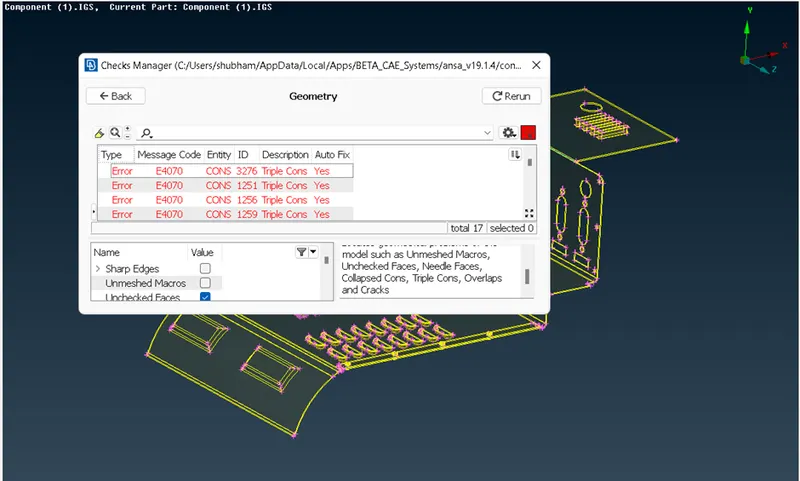
- The geometrical errors can be fixed manually and automatically.
- In this case we fix the errors automatically by right clicking and using the fix option.
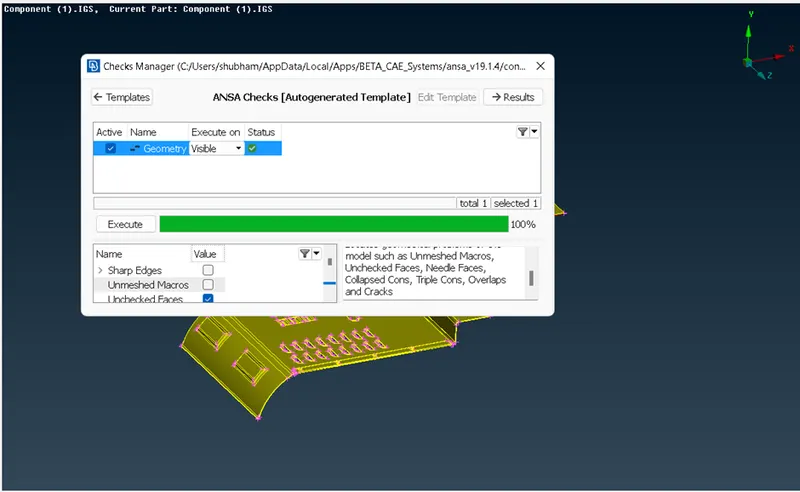
- Once the model has no error it will show green status as shown in the above image and we can proceed further.
1.4) Morphing:
- Once the geometrical clean-up is carried out, we begin with the morphing process.
- When we select the morph option , the workspace window shows “Morphing Active” in the bottom right window as seen in the below screenshot.
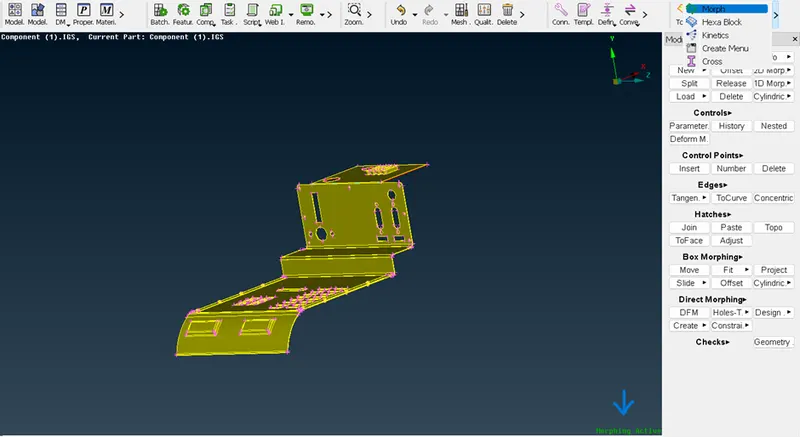
- We start the process by selecting the following region.
- Then we go to the morph deck and we use the command>Boxes>New>Ortho and then we select Geometry option.
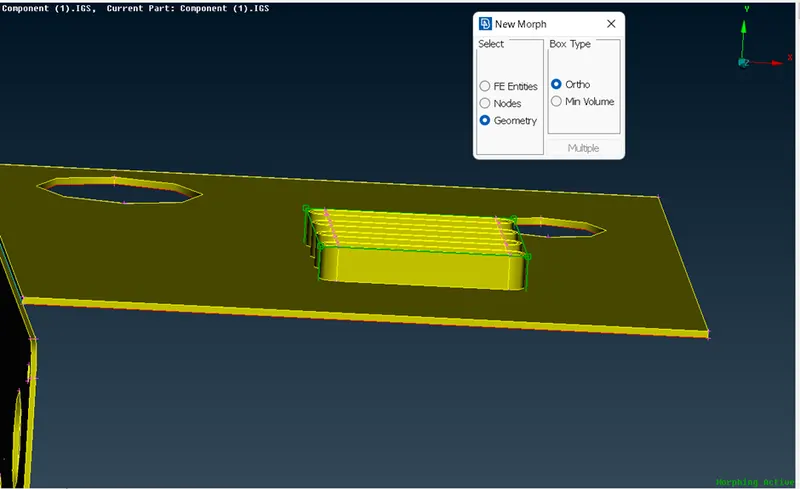
- On proceeding a ‘morph box’ will be formed. To move these control grids on the morph box we use the command>Box Morphing>Move. This is essentially ‘morphing’. We select the nodes on the grid and after that we can move them based on the coordinate system.
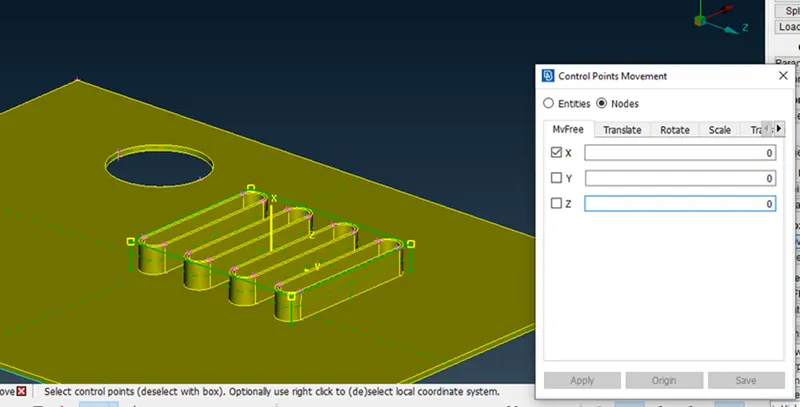
- With the nodes selected and the local coordinate system activated, we can select the coordinates in which direction we want to move. After that we click the middle mouse button to proceed and move the mouse. After we are satisfied with the result we left click the mouse button and click on ‘OK’ to apply the morph.
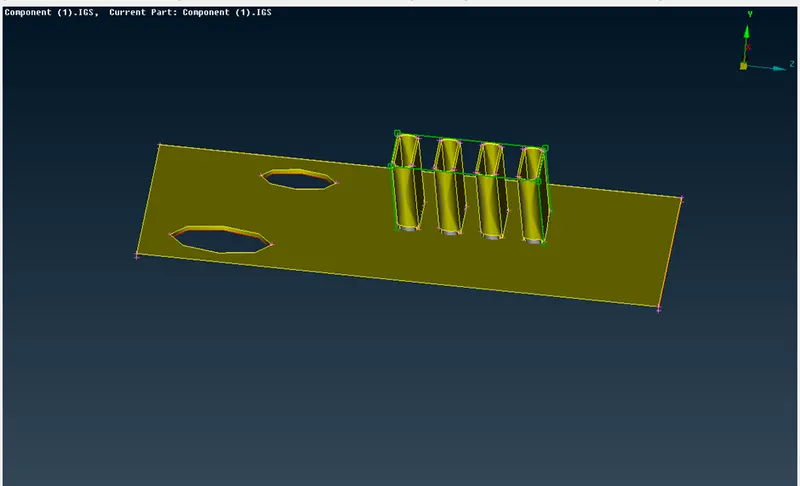
- Now we move forward to morph the next region.
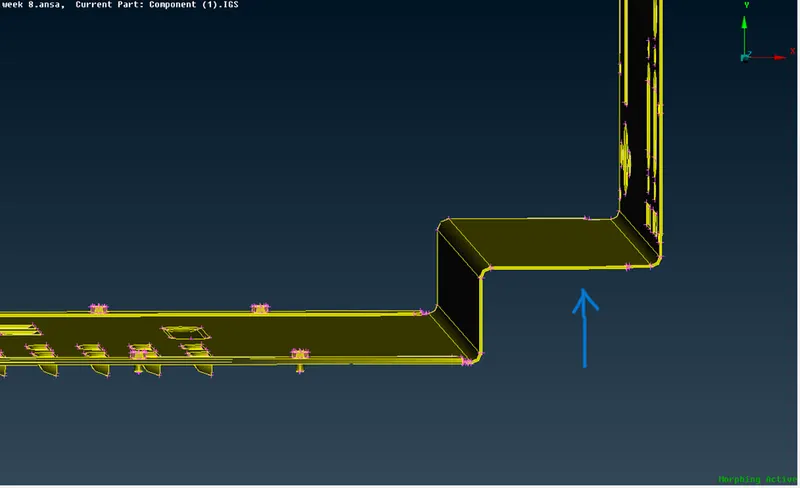
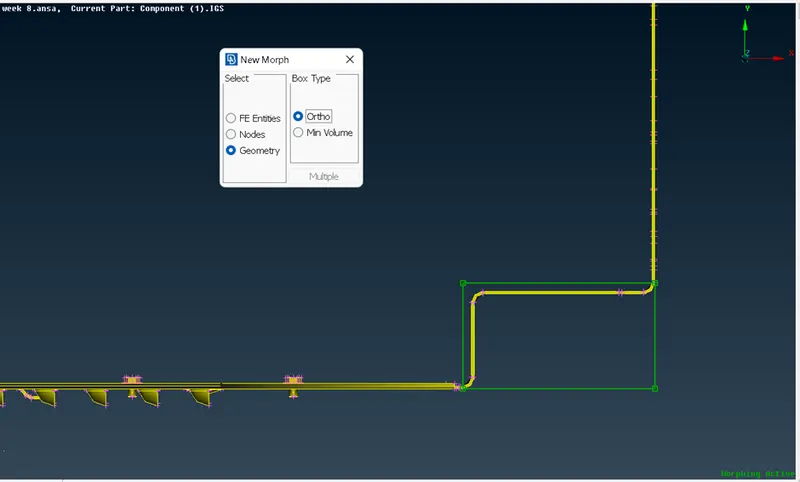
- This region involves simple morphing process that is carried out from the side view by clicking Fn+F1 key from the laptop. We then repeat the same process of creating a morph box and then move the grids as per our requirement.
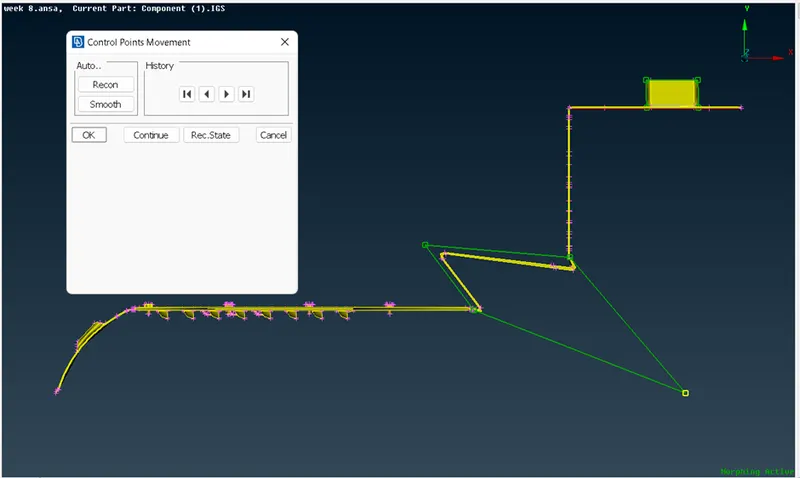
- Again, the same morphing processes are carried out in the remaining locations as shown here.
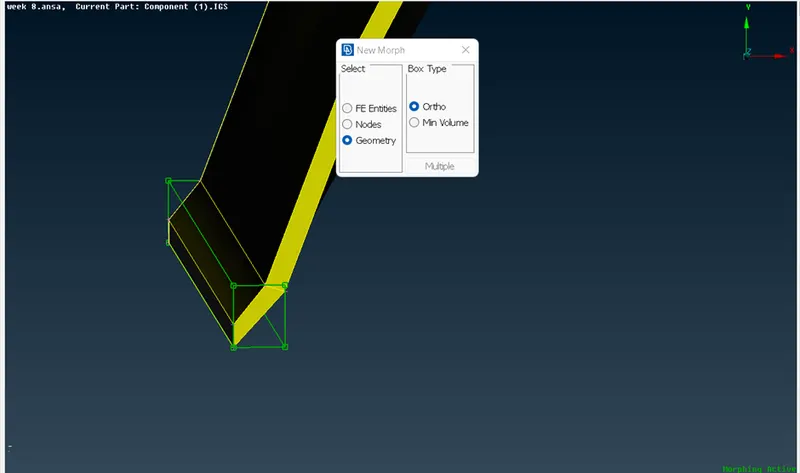
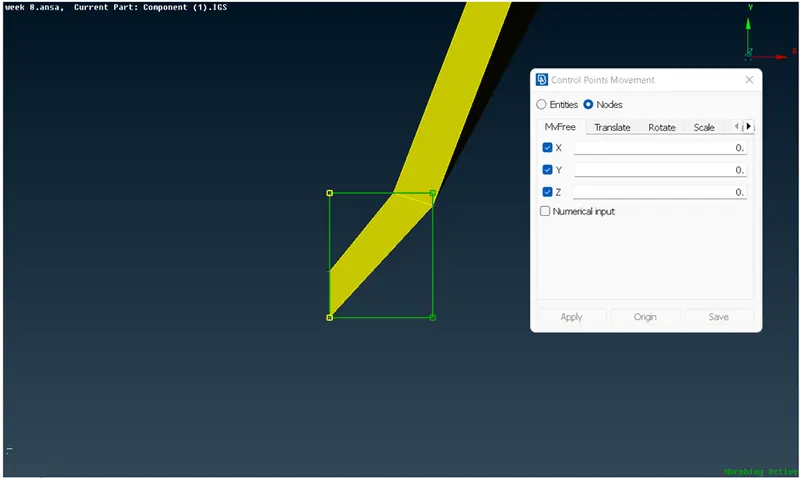
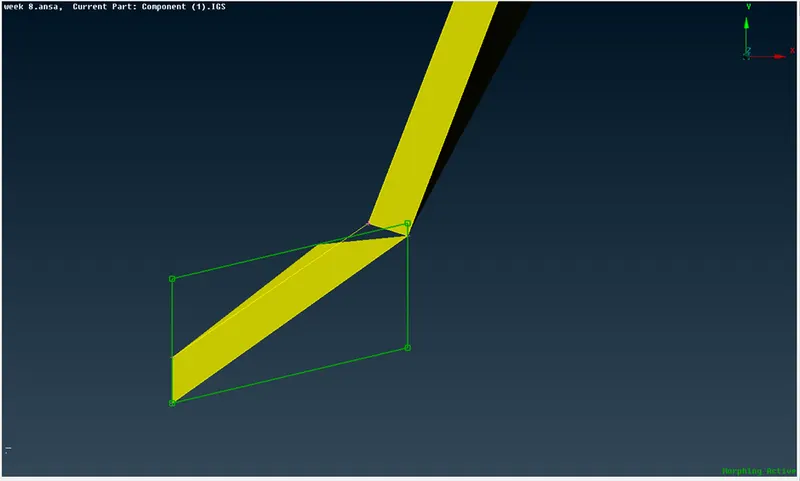
- The same process is carried out for the next region.
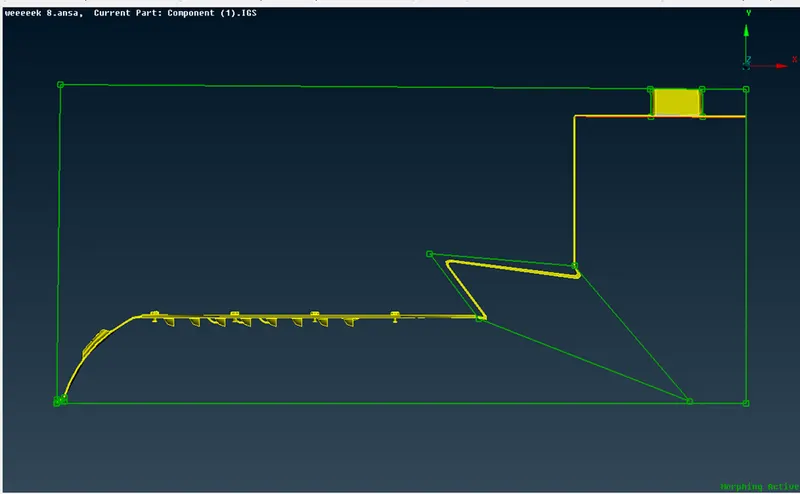
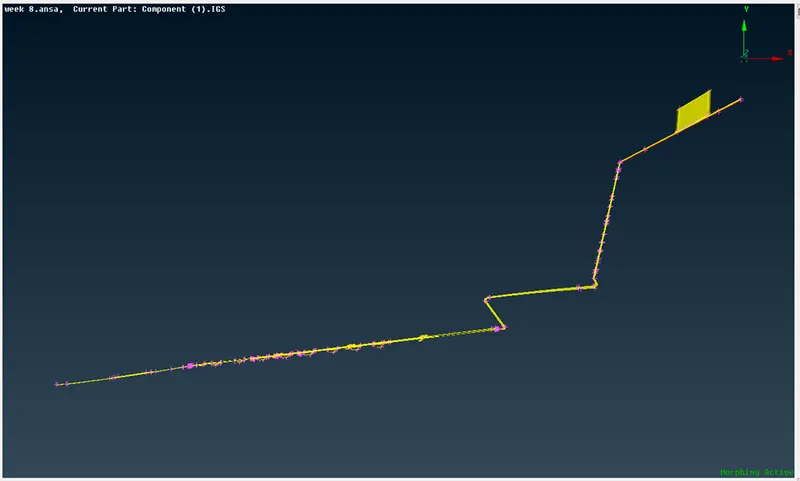
- Once we are done with the morphing process, we can delete the morph boxes using the command>Boxes>Delete.
- This is the final image of the MODEL-1
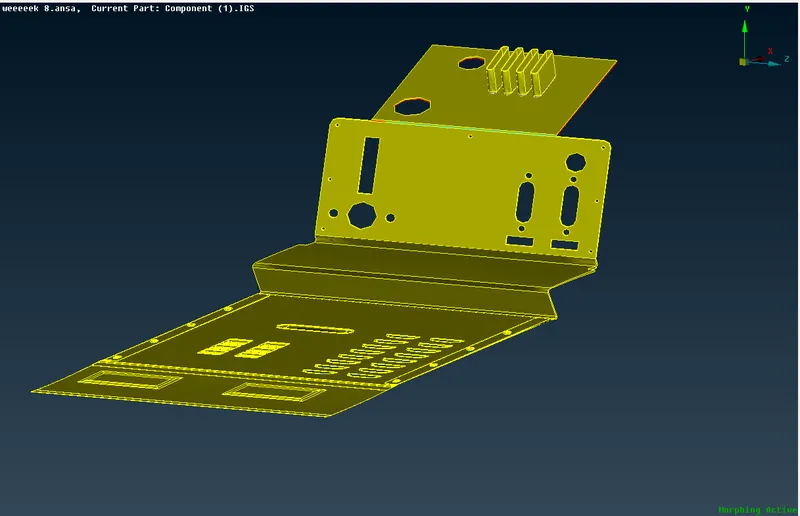
PROCEDURE: MODEL 2
- The requirement in the case of Model-2 is to increase the height of the dog houses and ribs as shown in the following picture
2.1) Topology & Geometric Clean up:
- We follow the same procedure which we followed for the model-1.
- After the topology, orientation and geometric clean-up is done we move on to morphing.
2.2) Morphing:
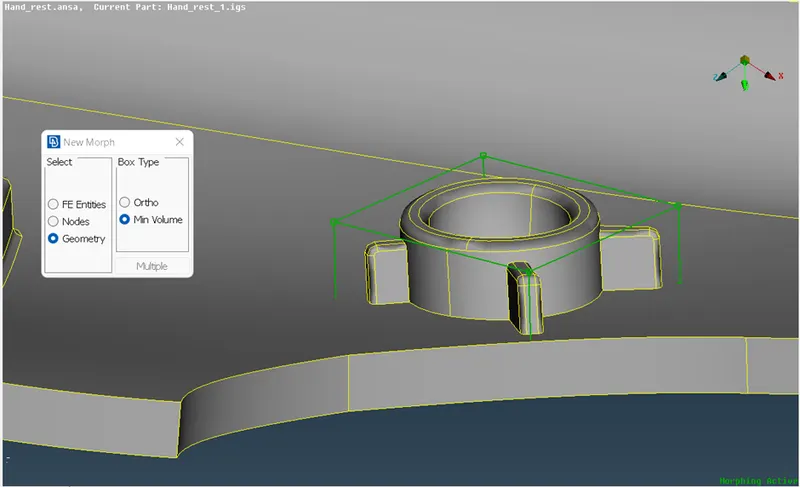
- We start morphing by selecting the particular doghouse region.
- We highlight the doghouse and ribs region using Box>New >Ortho.Since this is not a mesh, the geometry option is selected. After selecting the doghouse, we middle click and the morph box is formed as shown in the image below.
- We use the Min Volume Box type for the doghouse and ribs to get a better result.
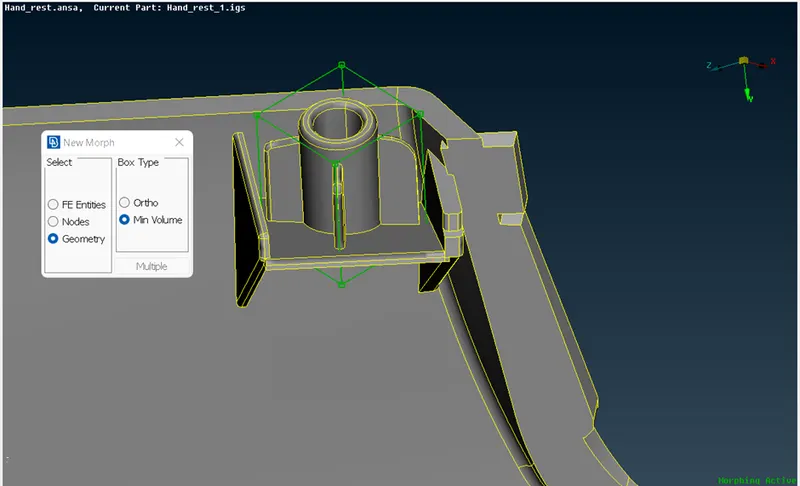
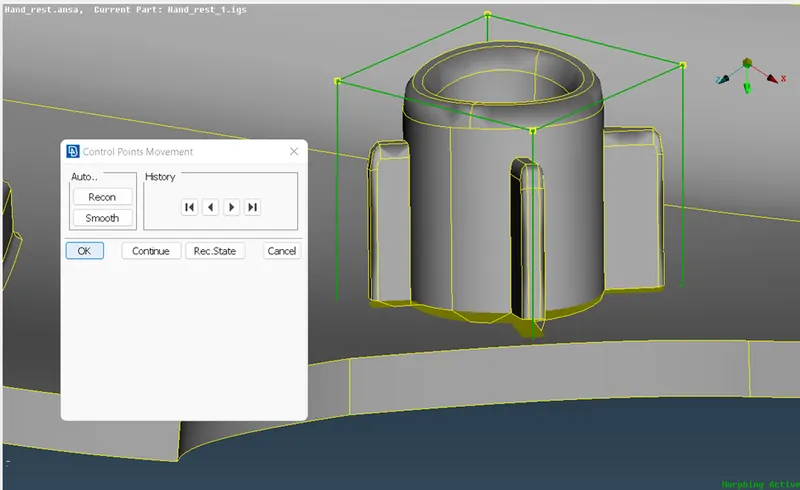
- After that we use the command Box Morphing>Move to move the control grids in the horizontal direction. We select the respective control points and move the doghouse according to the selected coordinates and then we simply middle click and click on Ok to apply the morph.
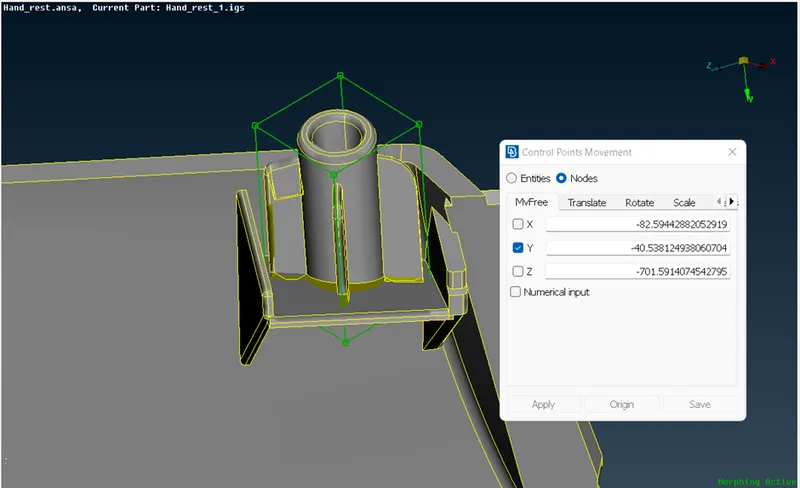
- We do the same process for all the doghouses.
- We also do the same process for all the ribs as well.
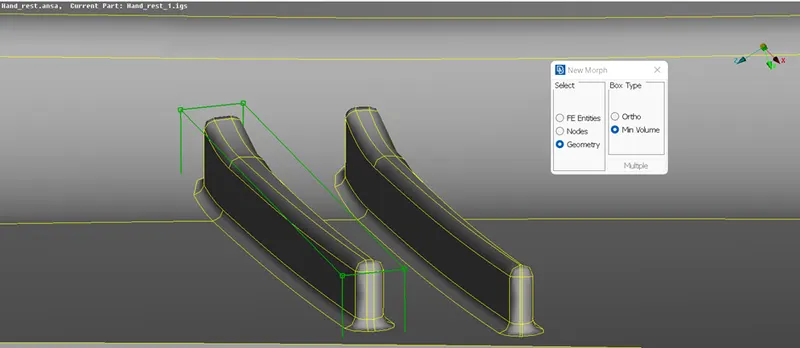
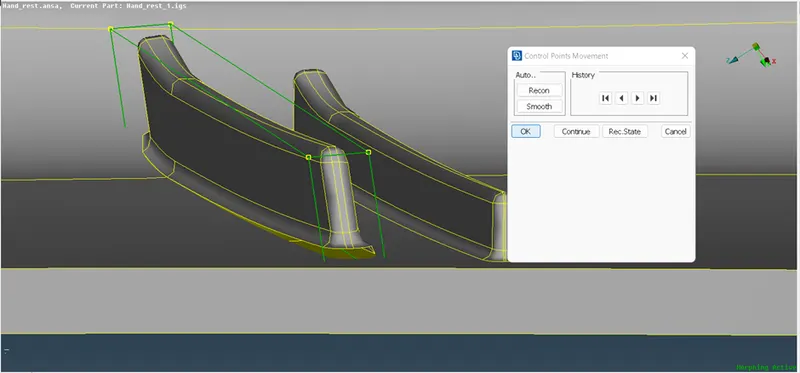
- We can also select two ribs at the same time to save time.
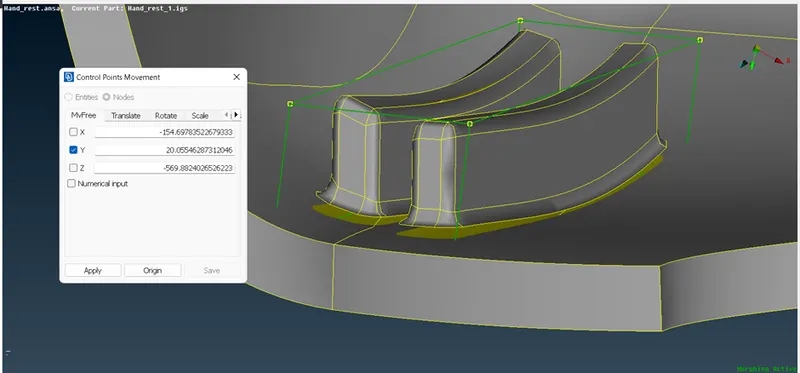
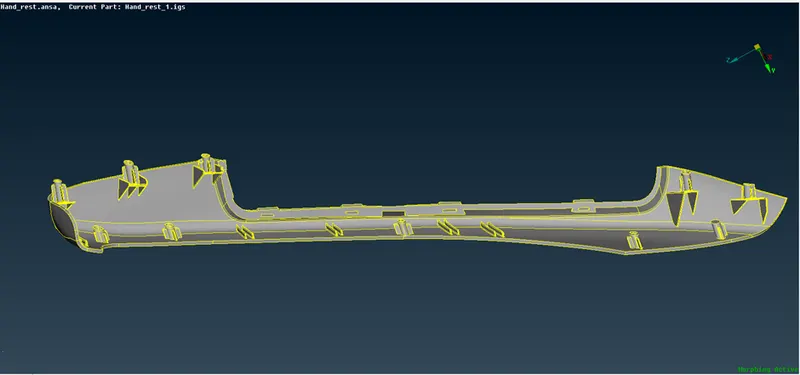
- After morphing all the doghouses and ribs, we get our final model
- This is the image of the final model.
3) Morphing-
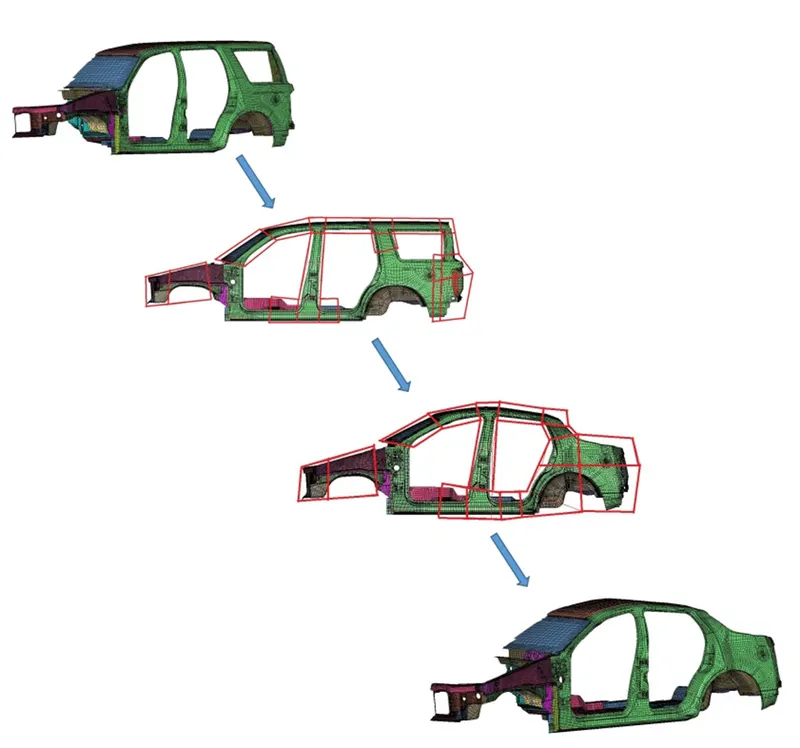
- Morphing is the process which is used in ANSA, which enables the user to morph or change the shape of the model.
- Morphing is primarily utilized in the automotive industry where it is typically used to match styling, morphing sedan to station wagon or SUV etc.
4) LEARNING OUTCOMES-
- Learned how to perform on morphing on a model by using the morph tools in the morph deck.
- Learned the concept of morphing and the applications of morphing.
5) Conclusion-
- Both the given models were morphed as per requirements. The first model was morphed as per the Week 8 video on morphing and in the second model the height of ribs and doghouses were increased by using morphing.