Week - 8 - Morphing
objective:
- Here we have to do the challenge on morphing techniques discussed in week 8 video in model 1.
- In model 2, do morph techniques to increase the height of dog houses and ribs.
Procedure:
- At first of all, We have to know about what is morphing process and what are the applications to know more about morphing.
Applications of Morphing:
The Morphing is a transformational feature of MeshWorks which provides users the ability to efficiently modify any existing CAD or FE data of a product directly to new shapes.For example we can do hatchback verison car into sedan type by using morph tool.
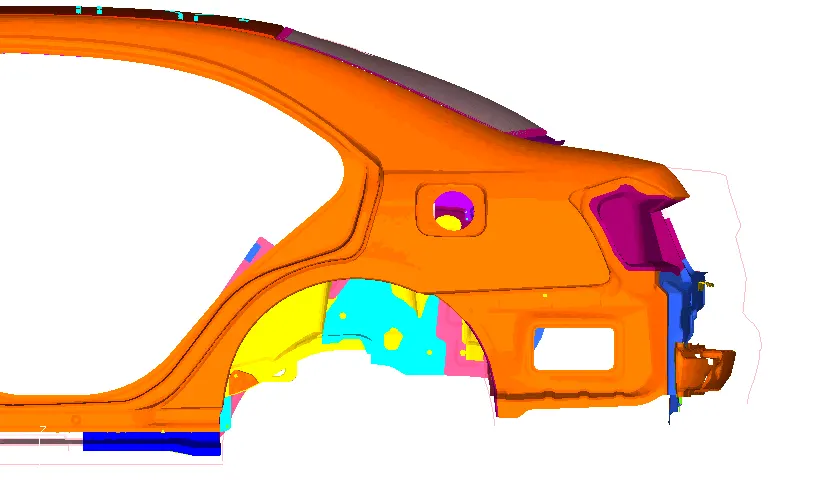
- Rapidly Develop new vehicle derivative of existing platform.
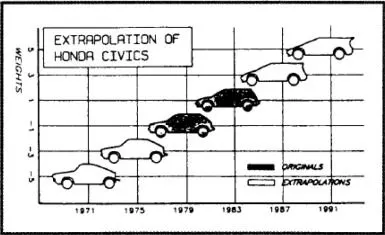
- Maximize carry over part and process.
- Confirm performance compliance at design stage.
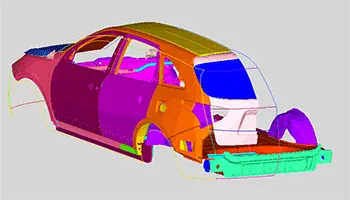
- Provide complete new CAD reference data.
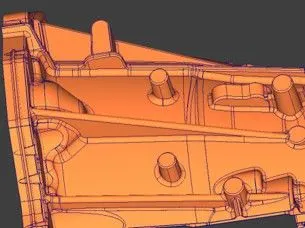
baseline CAD
optimized CAD
- Ultimately, saving a huge time in Product Development.
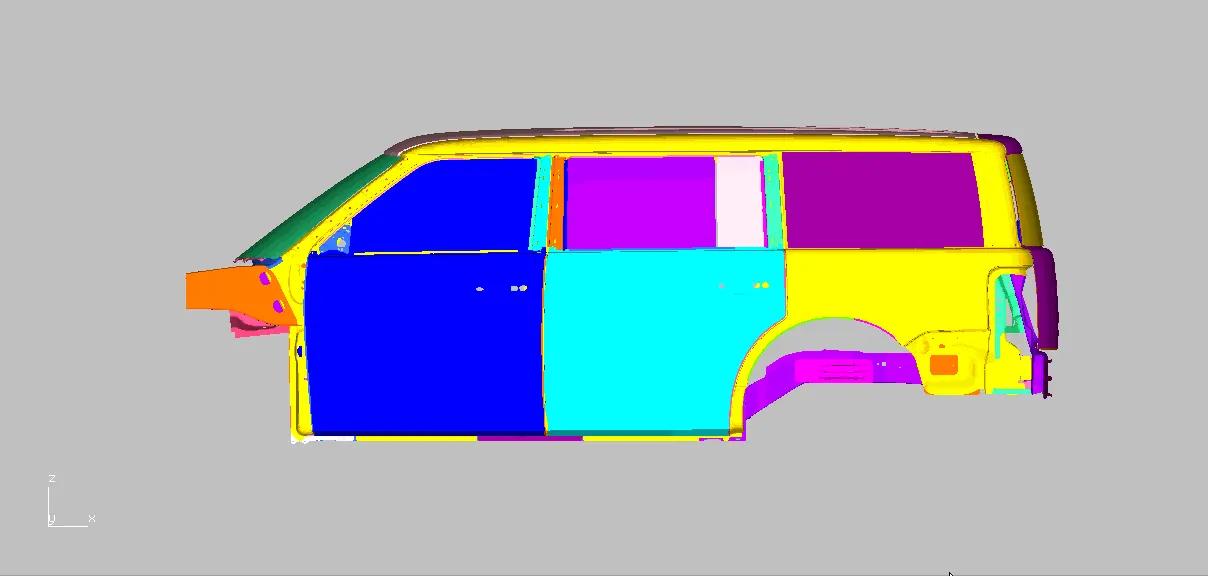
Model-1.
- At first, import geometry. now do topo on the model topo>faces>topo. after that fix the geometry errors using checks>geometry>(right click all) fix. Now orient the model as visible on one side faces>orient>visible.
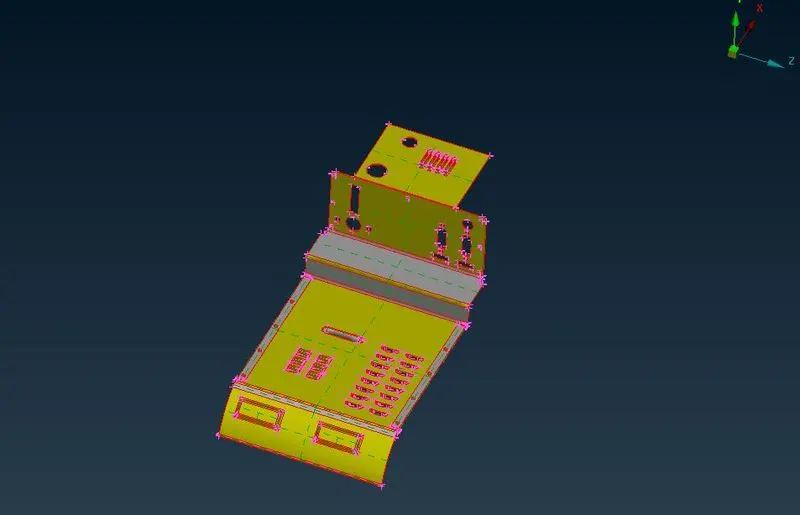
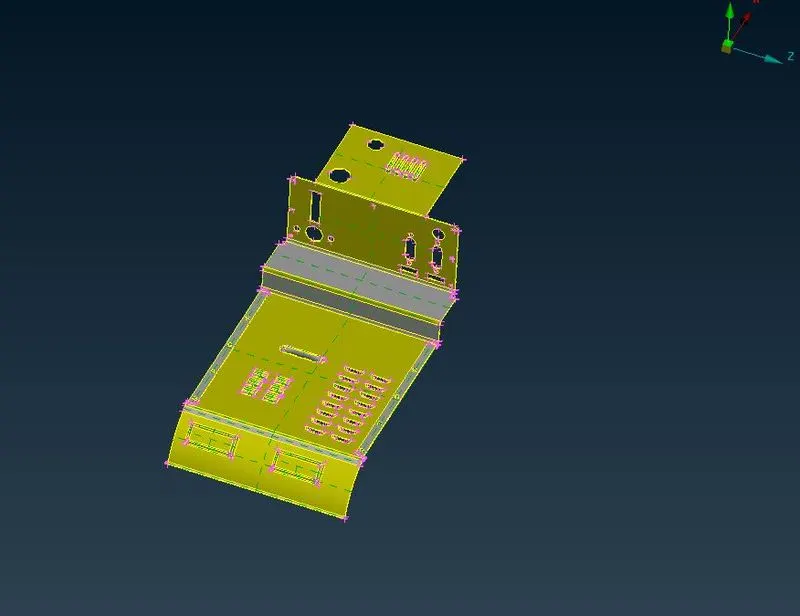
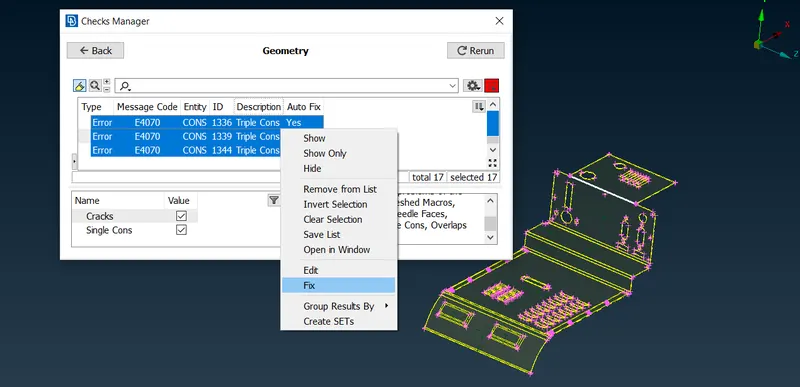
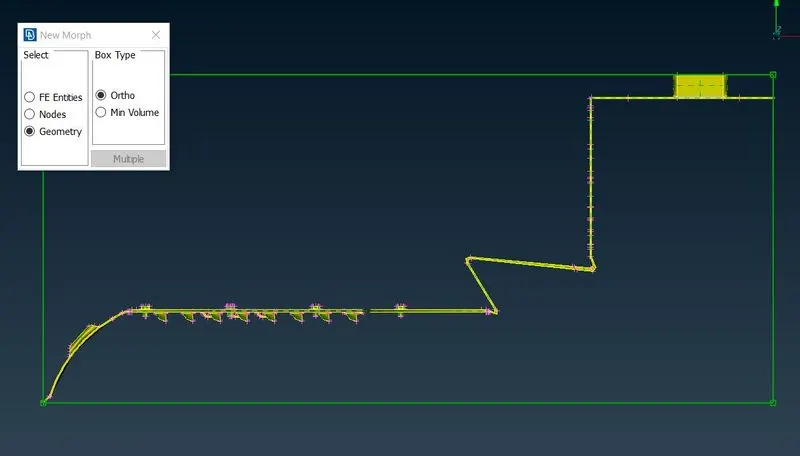
- After the geometry cleanup had been carried out. now do the morph process on specific places which taught on week 8 video. now do the morphing process on protrusions area in top face.We can morph both FE and cad geometry as same way but here we have both as cad model.
- First go to morph deck select New morph>boxes>new>ortho. After this select the protrusions area. select middle button the morph box will be created.
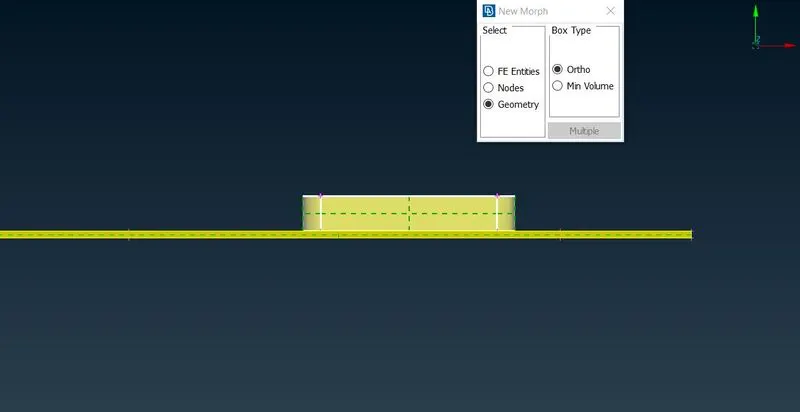
- Here we use morph boxes to do the process on the model. Now select move tool Box morphing>move. select the top four handles to move the morph box vertically to increase the height of the protrusions.
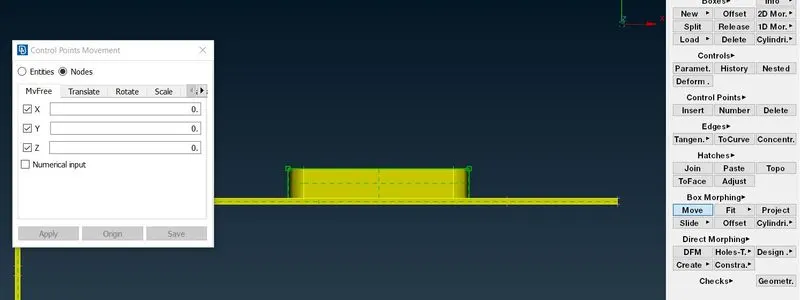
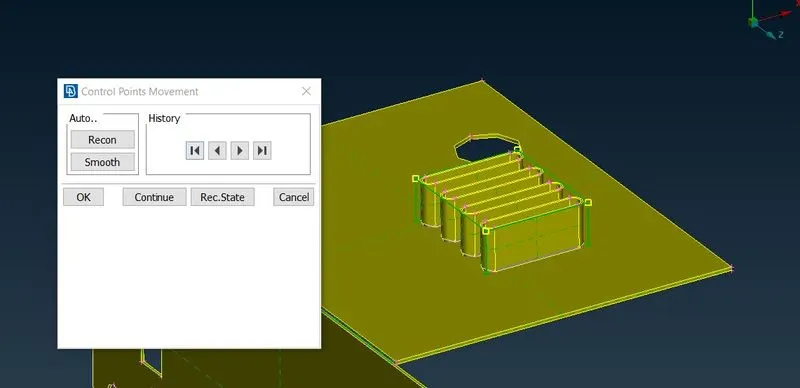
- Next do the same process on next area. select the next area that had been highlighted below. After creating morph box, move the handles that taught on the video.
- now repeat the same process for all other area highlighted below.
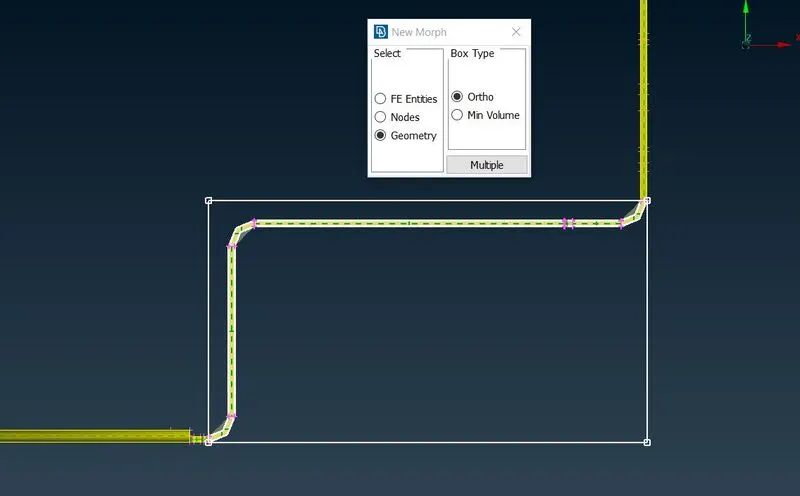
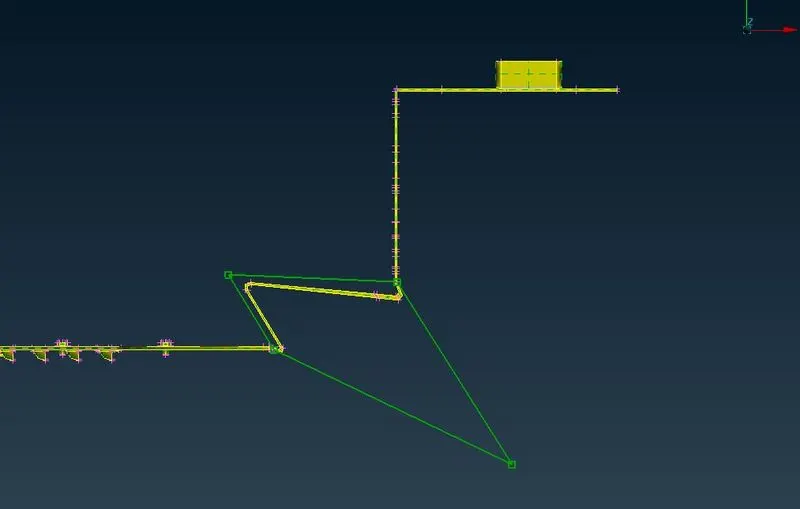
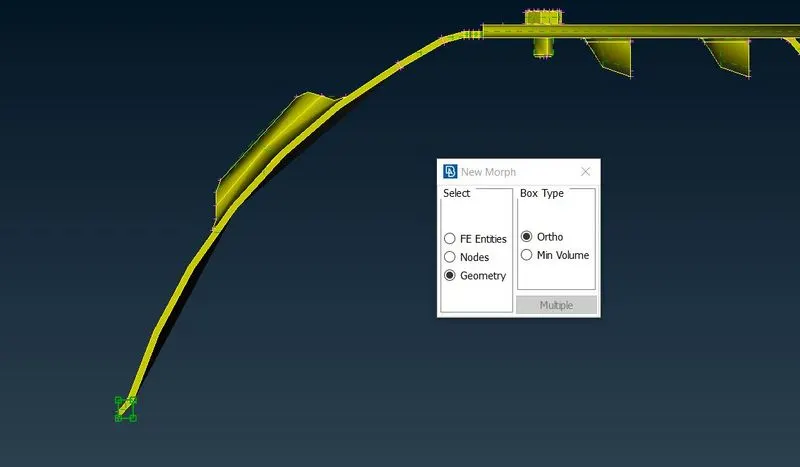
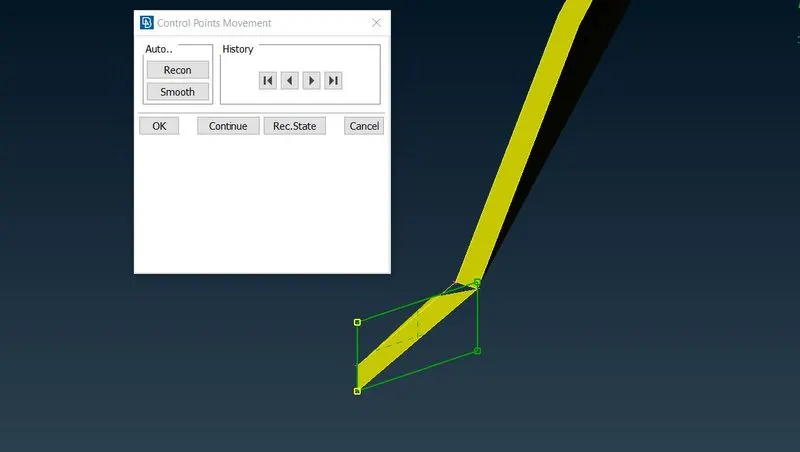
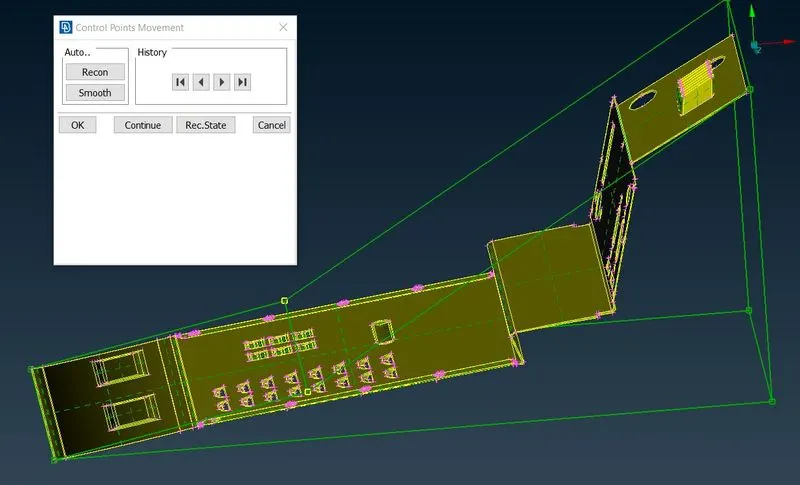
After all delete the morph boxes by using delete tool Boxes>delete.
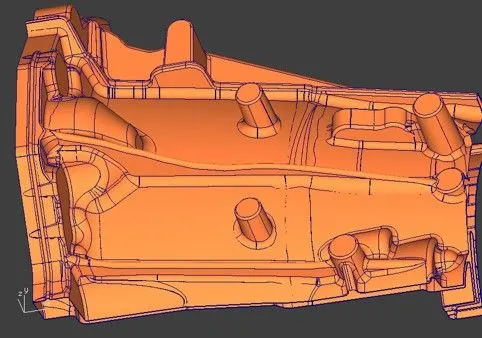
Model-2
- This model has to increase the height of the dog houses and ribs that highlighted on the image below.
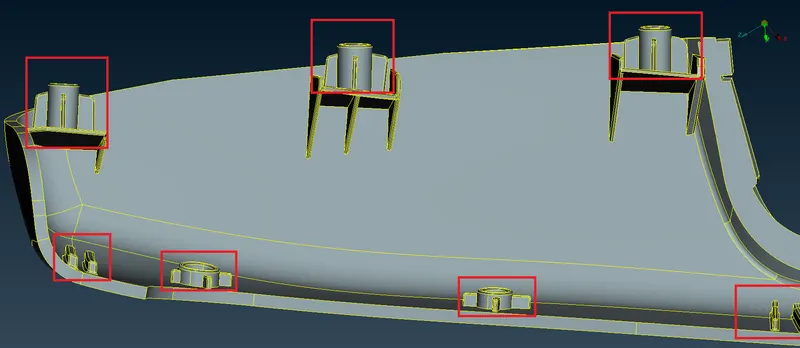
- As we had shown the procedure to create the morph boxes follow the same procedure. Select Boxes>new>ortho and Highlight the dog house and create the new morph boxes.
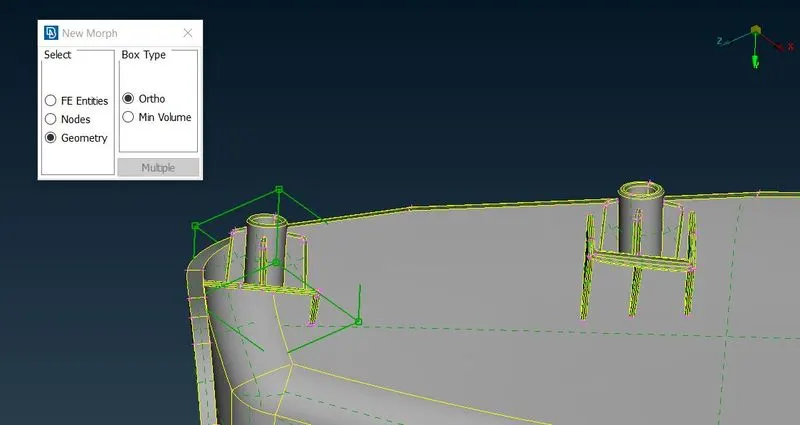
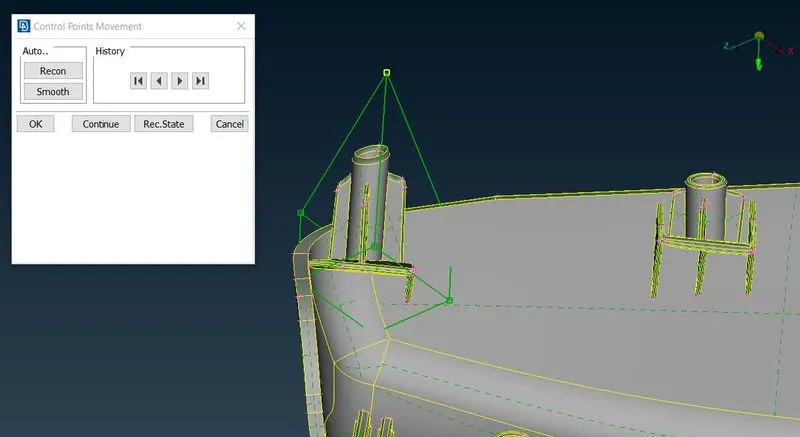
- Select the top handle and move the handle to increase the height of dog house and rin using move tool Box morphing>move. Click middle button to execute the algorithm.
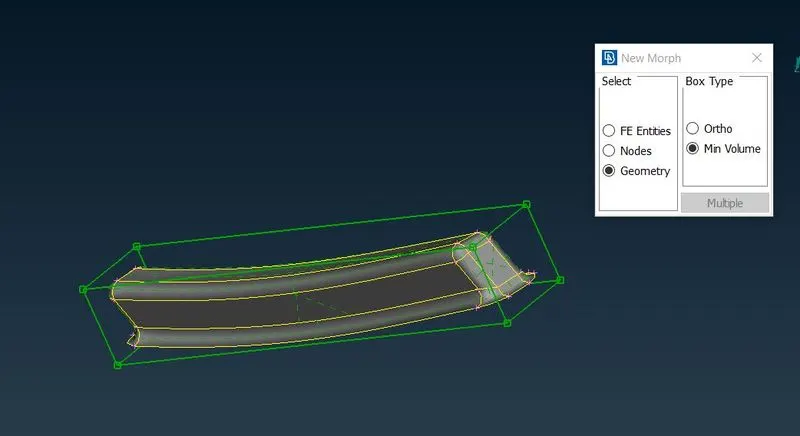
- In next case, we have to increase the height of rib. In this case, we have issue while move the handles because some radius were there to distract the CAD so we do some small change on morph boxes using minimum volume and split tool. select the rib and the new morph box window appear and select min volume check box Boxes>new>min volume and click middle button to create the morph box.
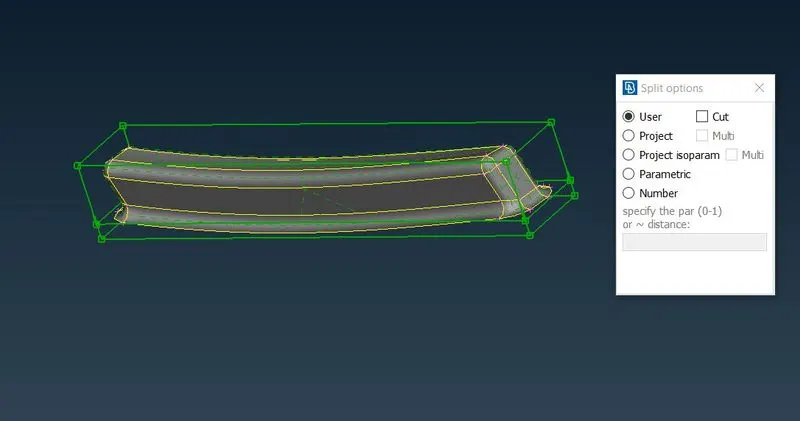
- After creating morph box, Select split to split the morph box on radius area of the rib boxes>split.
- After this now we can move the handles without any disortion on bottom side on rib. Select box morphing>move. select the top handle move vertically to increase the height of rib.
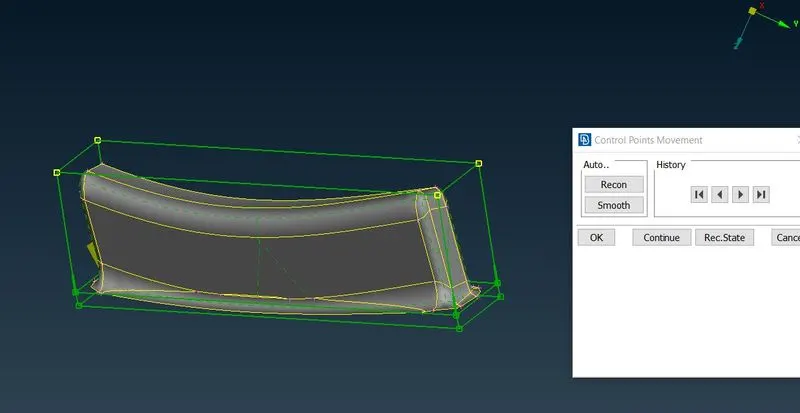
- Now the Dog houses and the rib were increased in the height. Atlast delete the boxes by Boxes>delete.
Final model images:
model-1
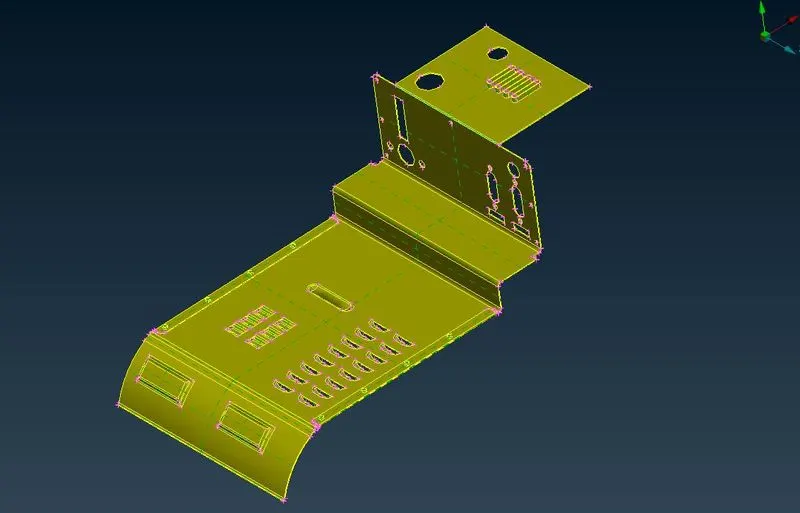
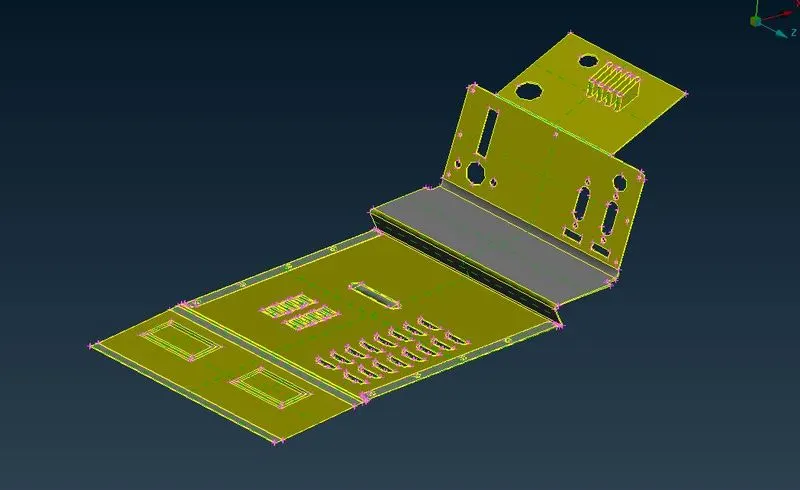
model-2
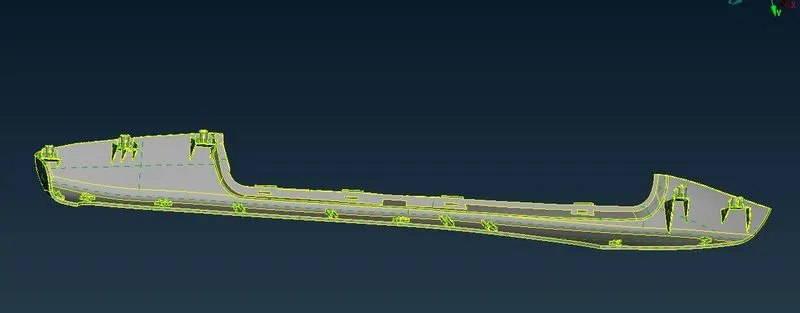
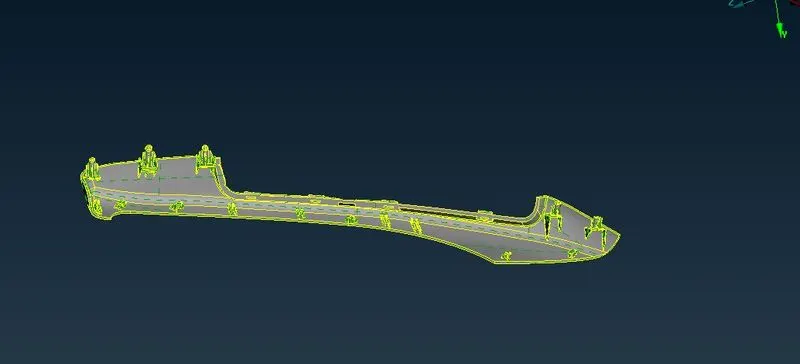
Learning outcomes:
- Learnt the cocenpt of morphing and knew more about the tools were involved to make morphing model and learnt to use it wisely.
Conclusion:
- The Model-1 was morphed as per the week 8 video taught and the morphing was done wisely.
- The Model-2 was morphed to increase the height of the dog houses and ribs as highlighted on the given image.