Week - 8 - Morphing
REPORT
Aim: -
The main aim of this challenge is to carry out morphing on the given models
Procedure: -
- The models was imported/opened in ANSA.
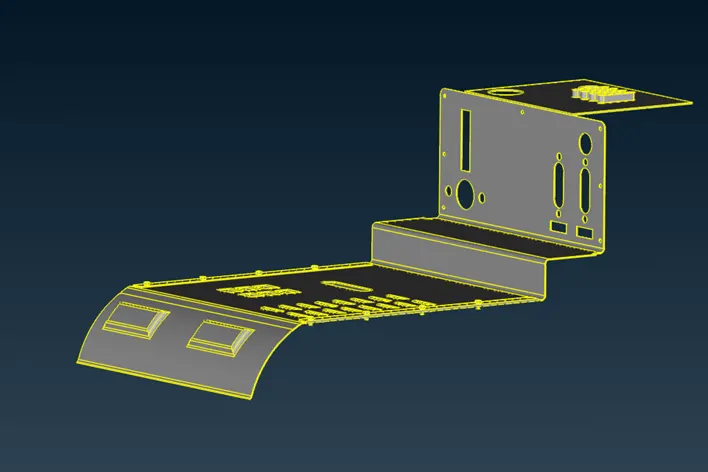
Model 1
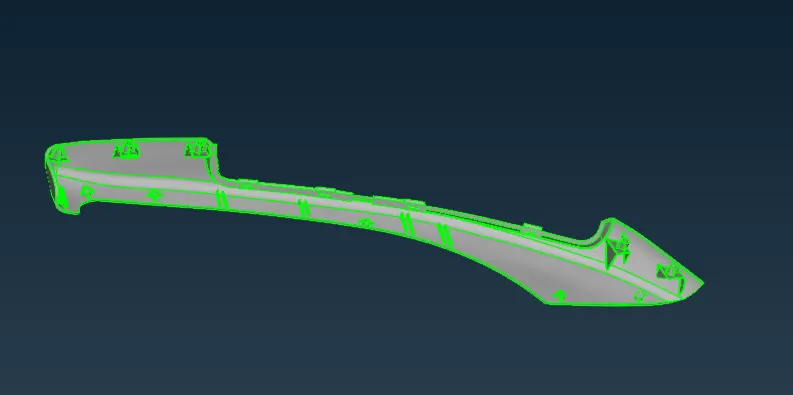
Model 2- Hand Rest
- The first step after importing is to apply cons resolution.
- Then it is followed by the cons check-up
- Then we proceed with the single cons, which is done by hiding the single and double cons.
- Then we have to check for the orientation.
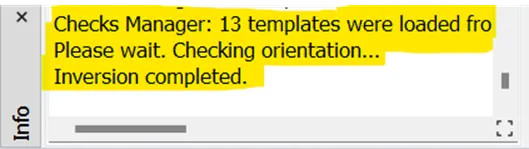
Checks Manager
4. After that we can proceed to the geometry check-up which is done by check manager >geometry >check single cons and other parameters >execute
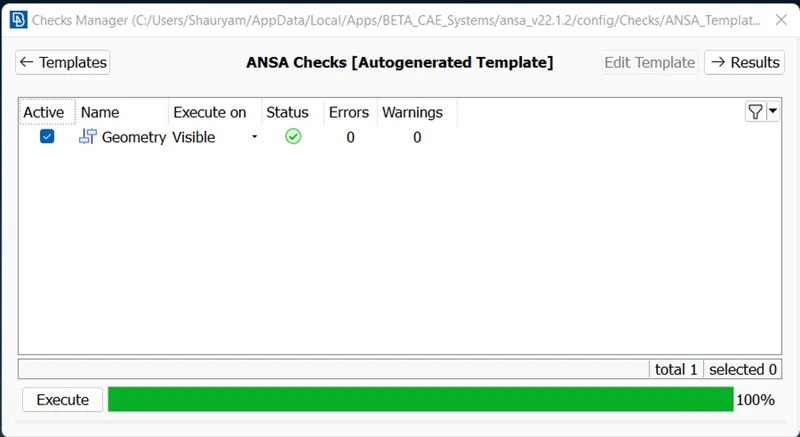
5. If there are any single cons errors or any others that prevail even after auto fix, we fix it manually.
6.For Morphing, we move on to the next steps, first, we go into the morphing panel and after that, we go to Morph > boxes > New > Ortho
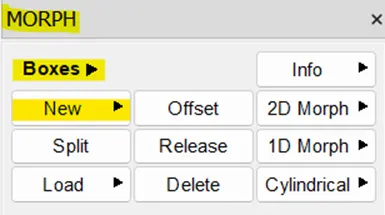
Morph Panel
7. Next, we go onto the options in new morph and select orientation > Min. volume > OK. Ortho mode can also be chosen.
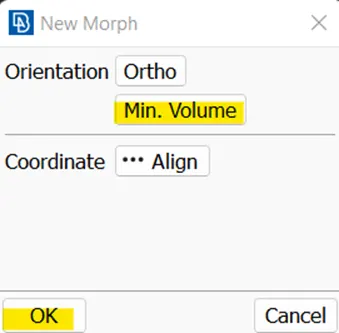
New Morph
8. Now with this option, we create a box around the component where we want to carry out morphing.
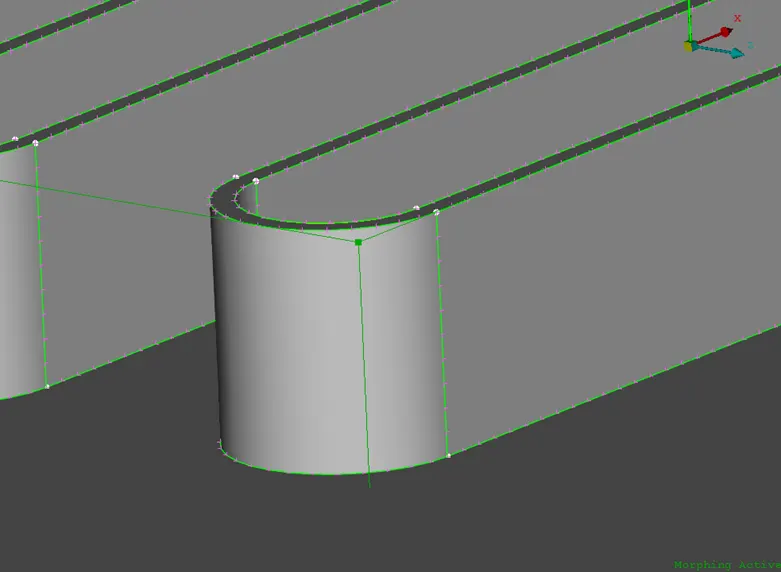
Morphing Box
9. Now we go to box morphing > Move and move the entities or nodes where we want to morph. We can choose either one and give the axes values where we want morphing. We choose nodes or entities to morph. For model 2, mostly nodes options have been chosen.
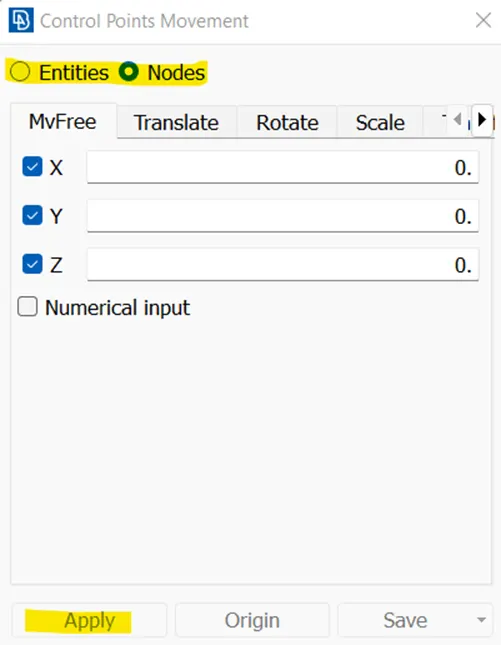
Control Points Movement
10. Now we move to morph the select components. For model 2, similar steps have been followed to increase the height of the ribs and dog houses whose images have been depicted below.
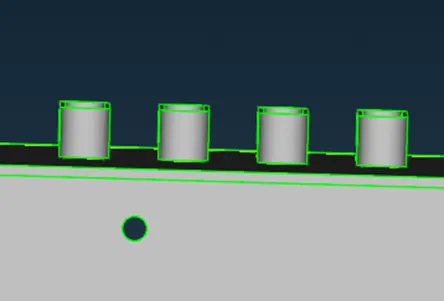
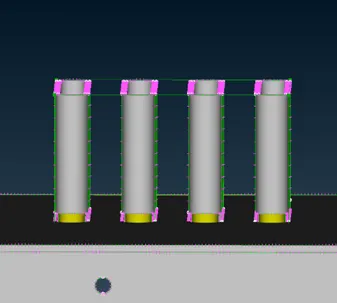
Before Morph After Morph
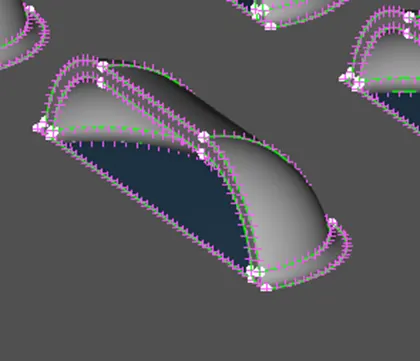
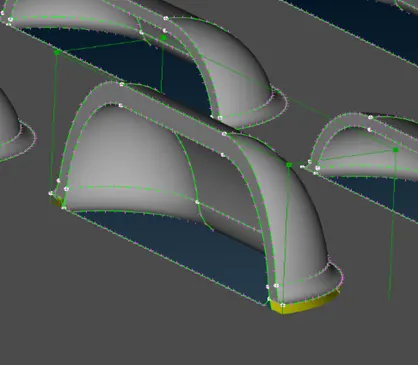
Before Morph After Morph
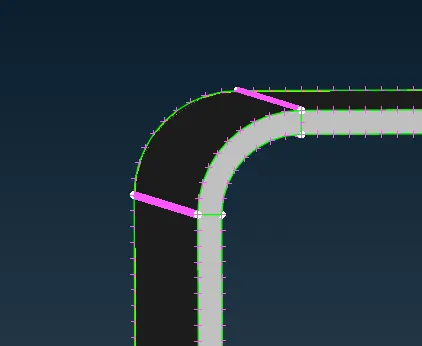
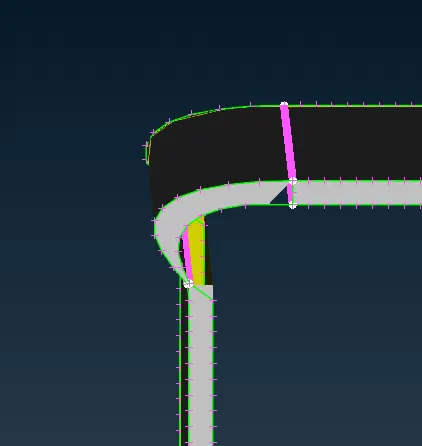
Before Morph After Morph
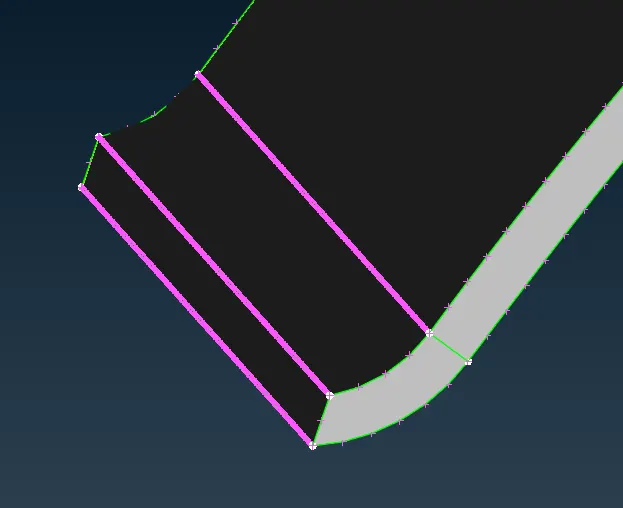
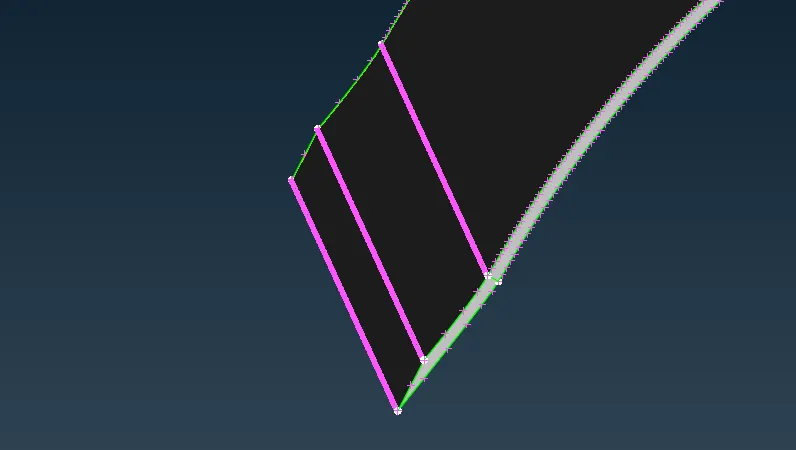
Before Morph After Morph
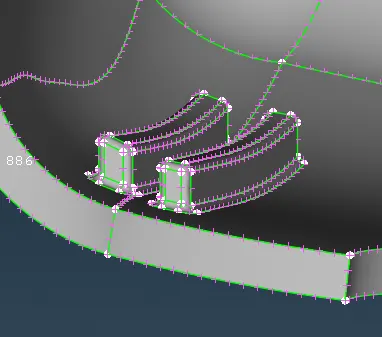
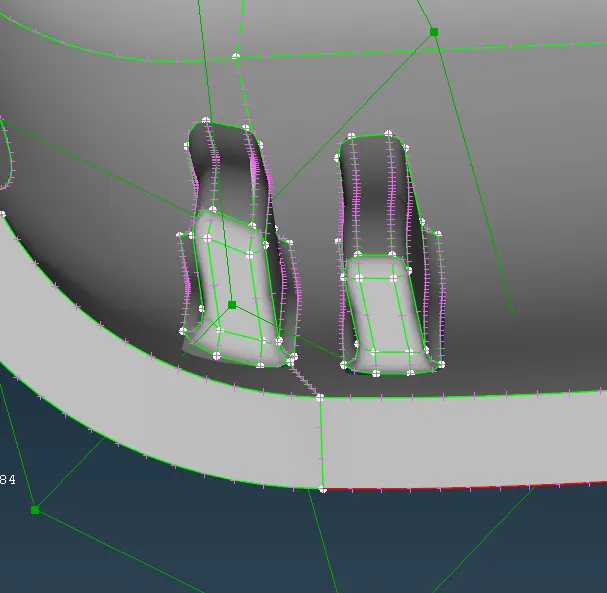
Before Morph - Model 2 After Morph- Increased height
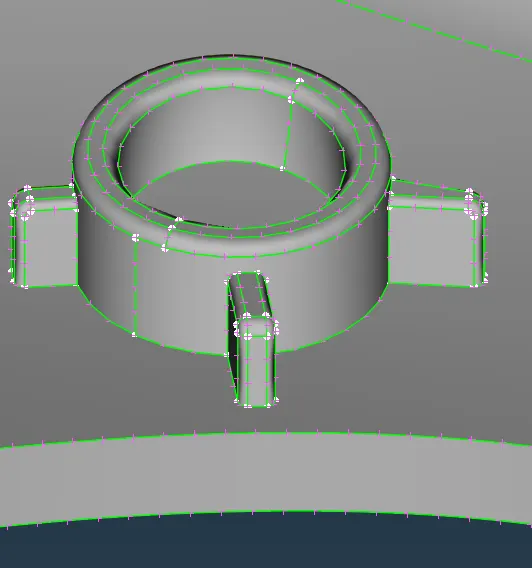
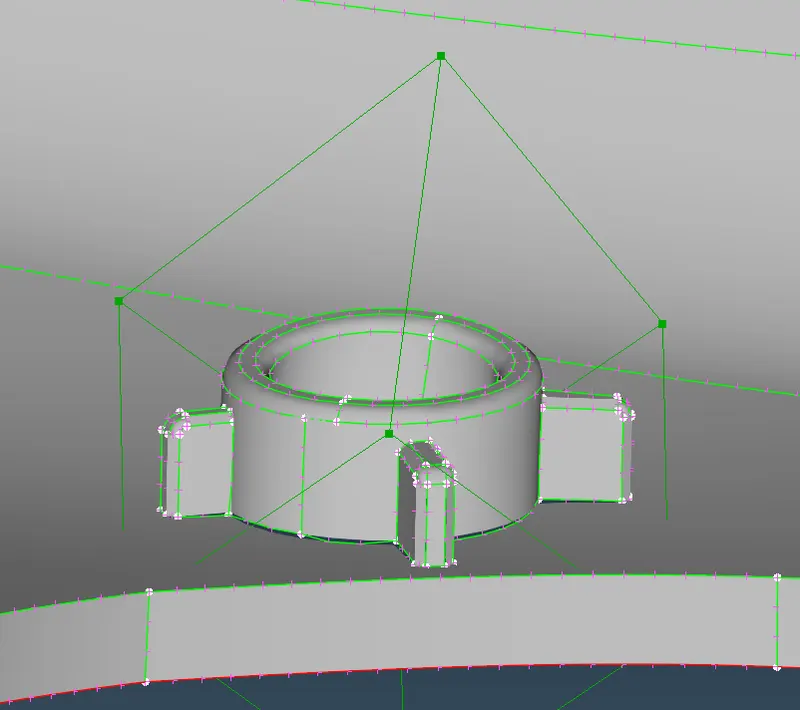
Before Morphing- Model 2 After Morphing- Increased height
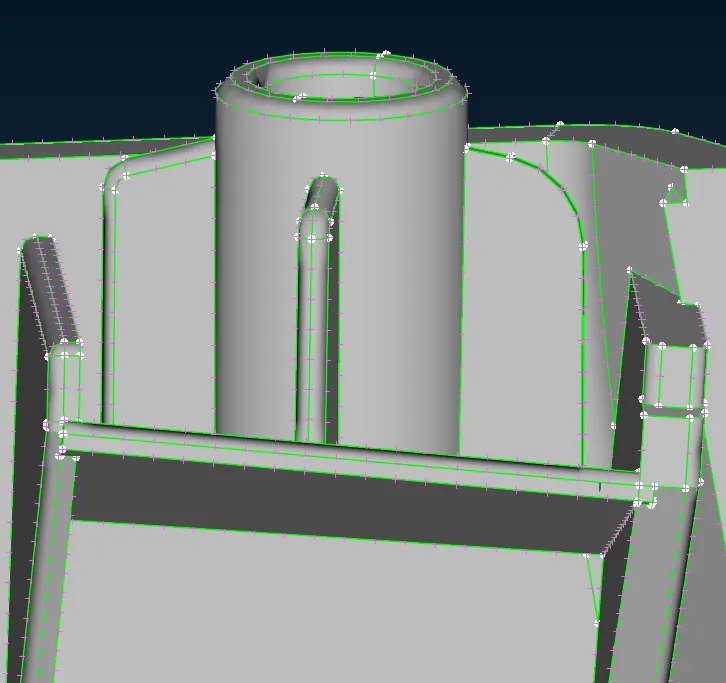
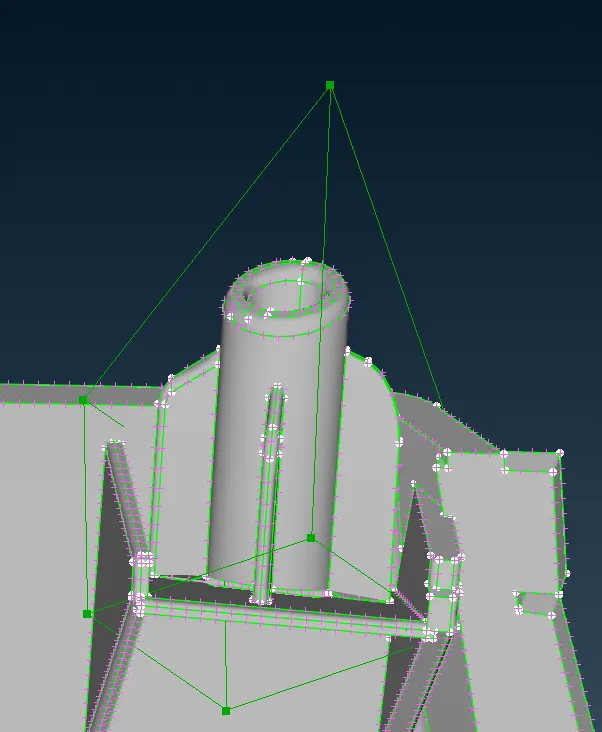
Before morphing dog house After morphing Dog house- Increased height
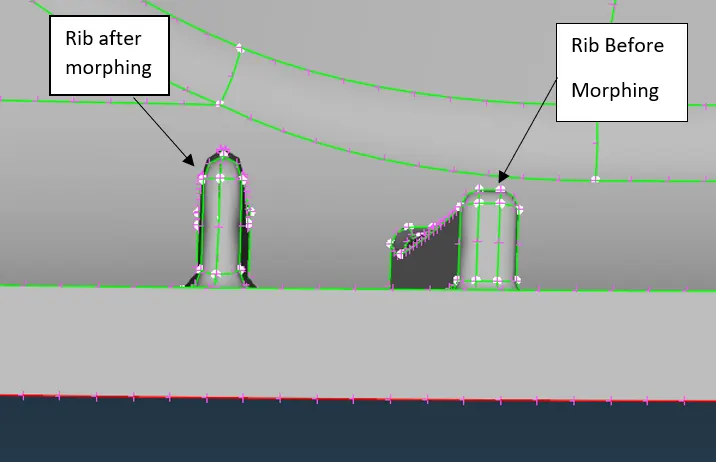
Ribs before and after morphing
Learning Outcomes: -
- Learned about morphing
- Learned about tools used in morphing
Industrial Applications: -
- Used carefully to extend/enlarge the shape of hatchback vehicles to sedans in automotive industries.
- Example - Honda Brio to Honda Amaze, Maruti swift to swift dzire
Conclusion: -
It can be concluded that each and every step is very crucial for morphing and the usage of morph tools should be done precisely.