Week 8 - Challenge 6 - Core & Cavity Design
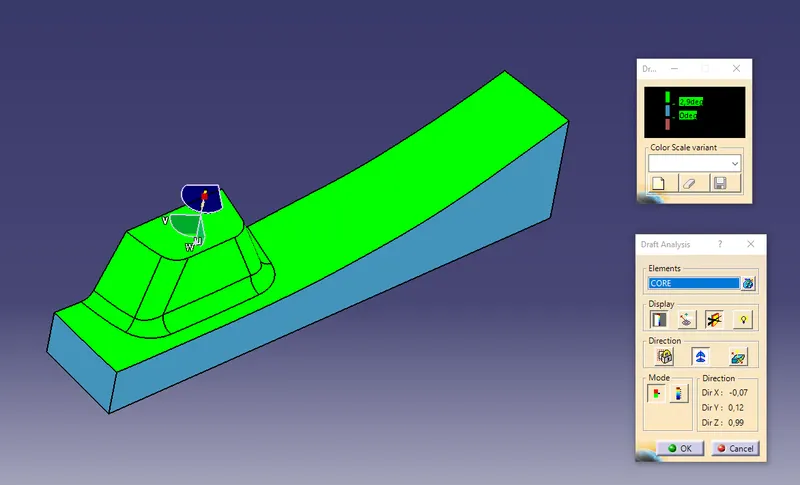
Preliminary Draft Analisys on Class-A surface
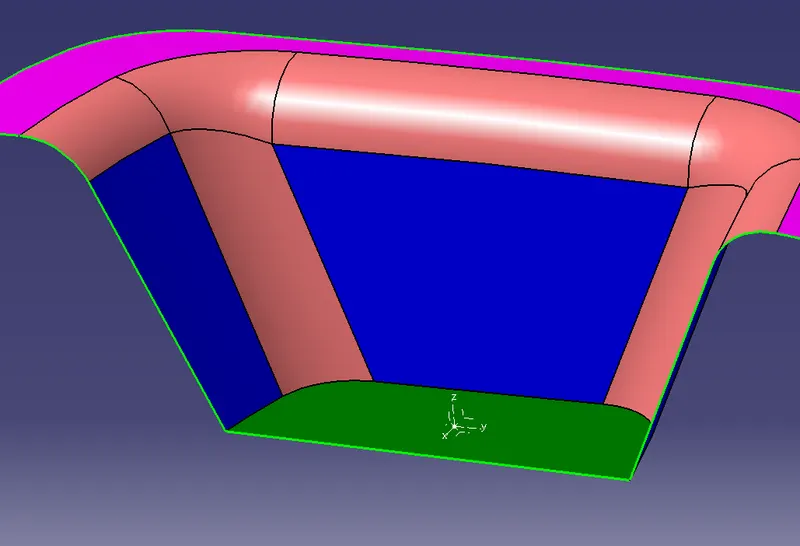
- First of all place an axis in the middle point of the pocket's bottom. This axis sys allows to create two intersection (in two perpendicular planes), and thus two bisecting lines, respectively.
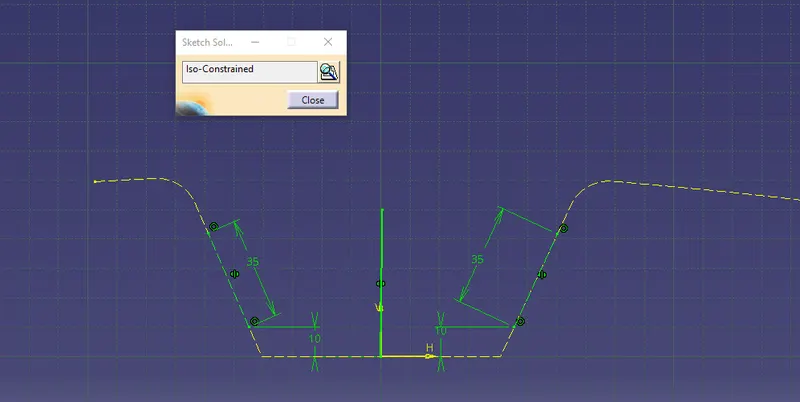
- Sketch 1: considering the critical walls of the first intersection, create a line tangent to each. Then the first bisecting line can be created.
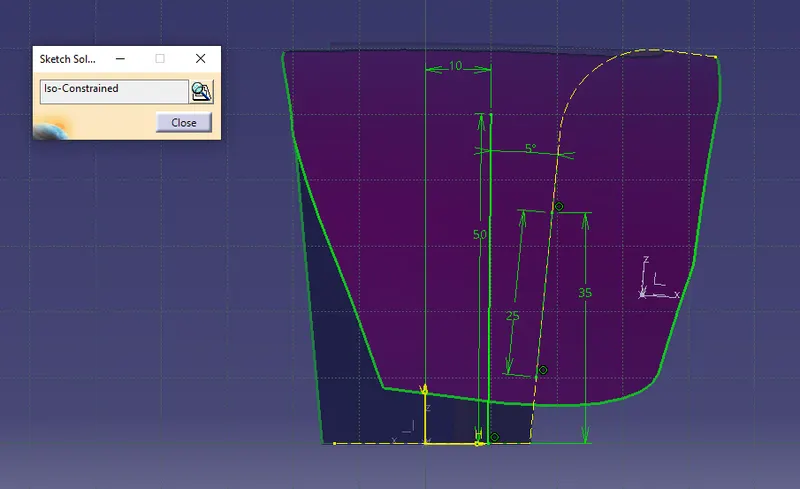
- Skecth 2: considering the single wall of the other intersection, create another line with a specific angle. To start I will use 4°, as 3° wasn't enough in the class video.
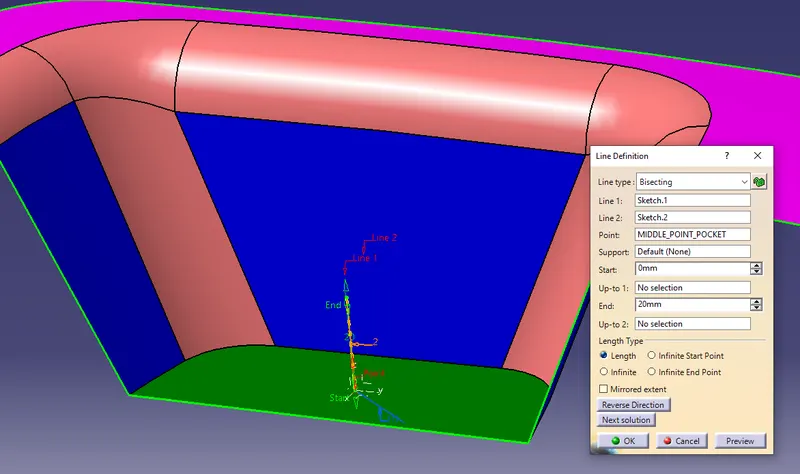
- The real tooling axis will be the resulting bisecting line between Sketch.1 and Sketch.2.
Axis System
Sketch 1
Sketch 2
Resulting Tooling Axis: the bisecting line of Sketch.1 and Sketch.2
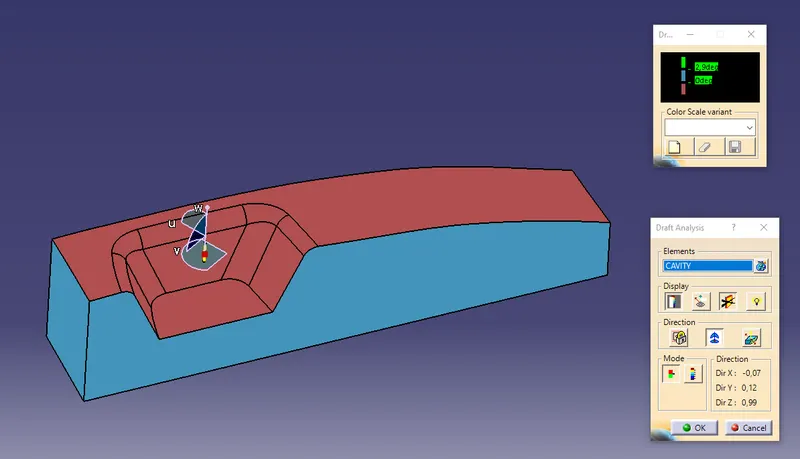
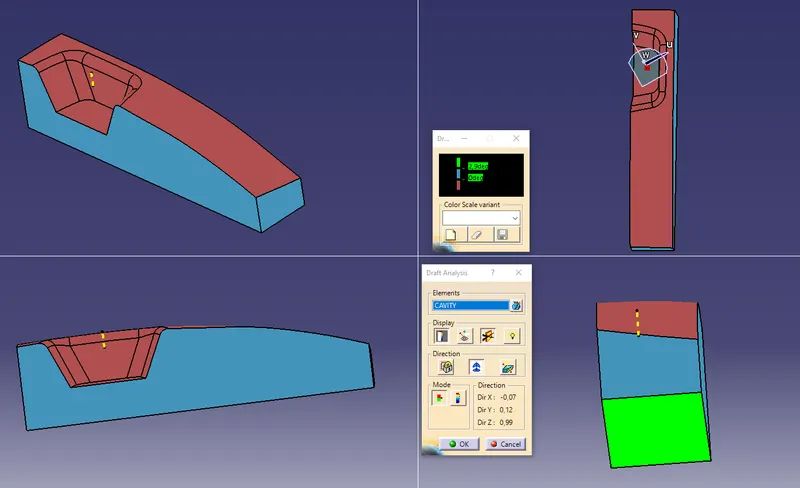
- The first attempt of Draft Analisys on Class-A surface with the use of the Tooling Axis can now be done.
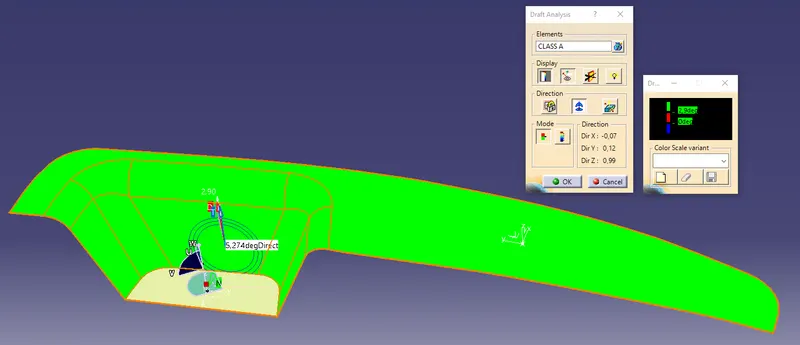
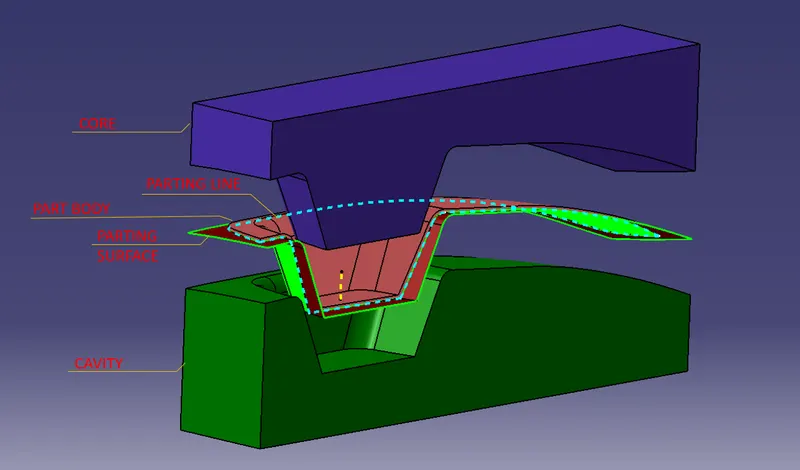
Creation of the Parting Line
- Intersect C-Surface with B-Surface. This is the easiest way to create the Parting Line. It can be made of multiple results, as there might also be many details such as holes which add more areas to subdivide between core and cavity.
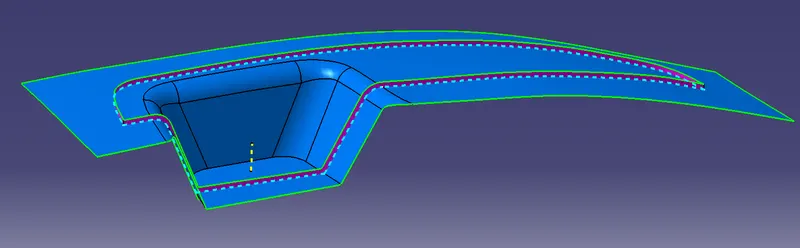
Creation of the Core and Cavity
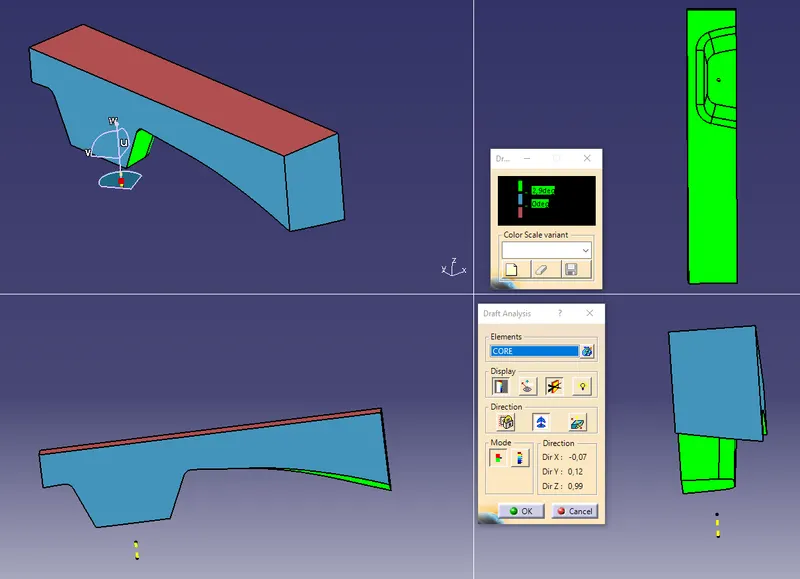
- CORE: Pick the B-Surface and trim a block with it, keeping the portion at one side of the parting line. In this case choose to keep the portion at the Class-A side. Then, use the close body feature to transform it in the Core Body.
- CAVITY: Again, pick the B-Surface and trim a block with it, this time keeping the portion at the other side of the parting line.
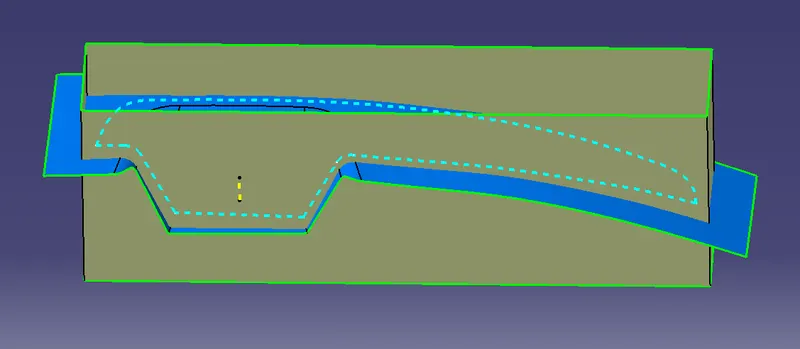
Core
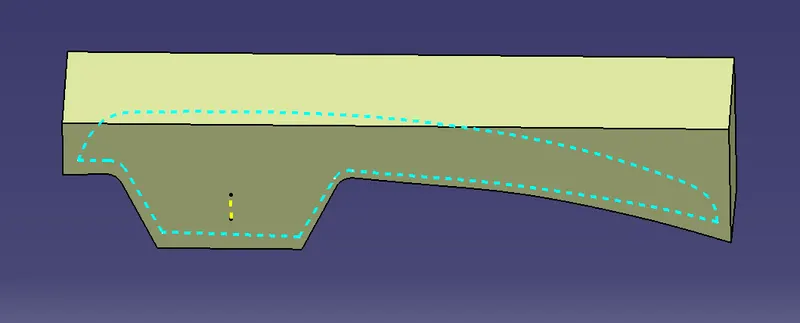
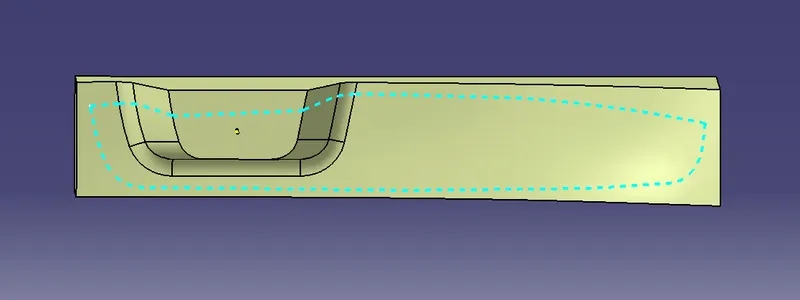
Cavity
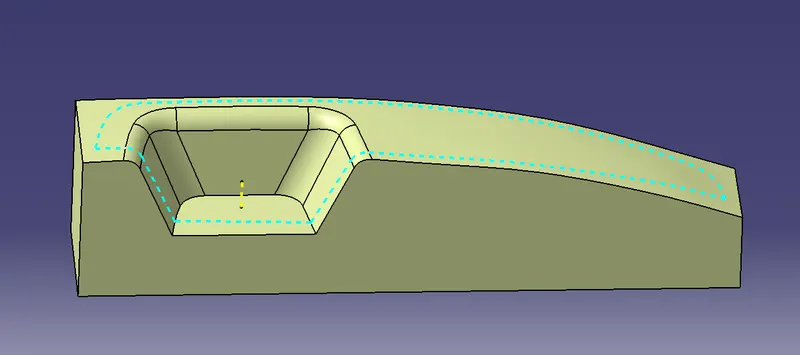
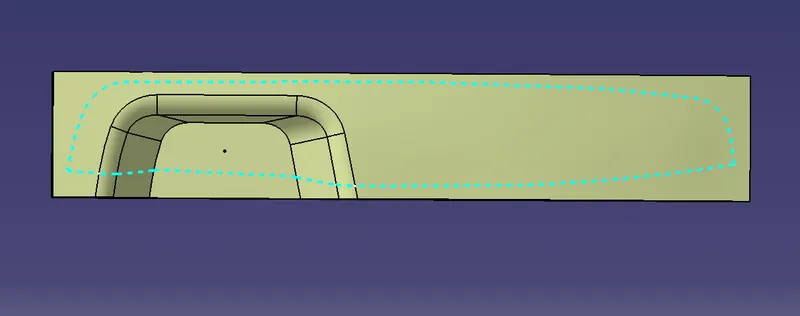
Cavity Draft Analisys
Core Draft Analisys