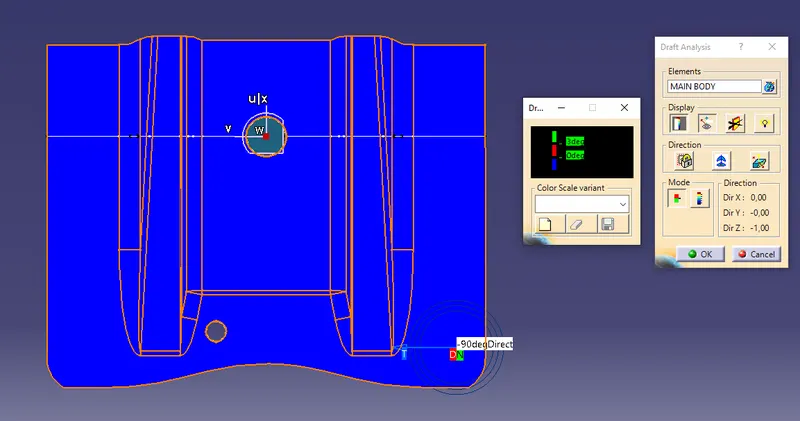
Week 8 - Challenge 1 - Base Bracket Design
- Create an Axis System on a representative point (as the center of the hole situated in the middle).
- With the aid of this new axis system, create the first intersection which will allow then to get references (usually the edges of the most critical walls of the object).
- Inside a Sketch create a first attempt of finding the Tooling Axis, which is at the first stage a bisecting line of the referenced lines.
INTERSECTION
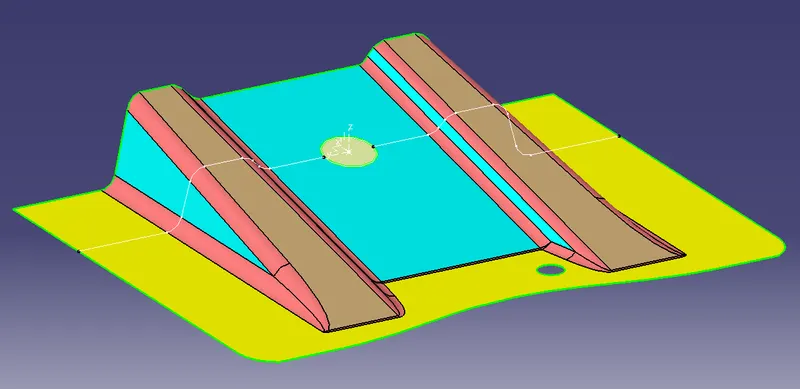
Sketch 1 - step A
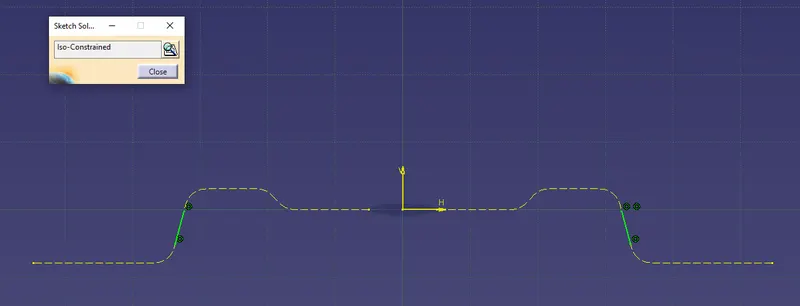
Sketch 1 - step B
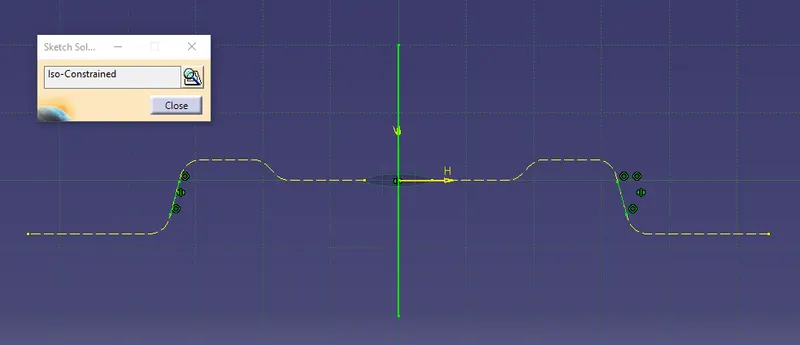
Tooling Axis - first result
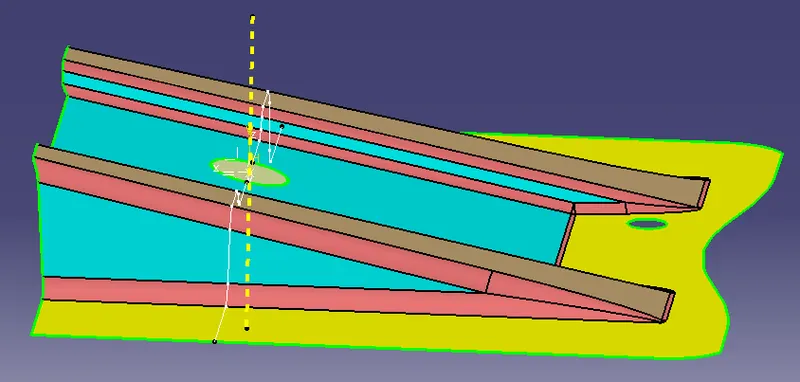
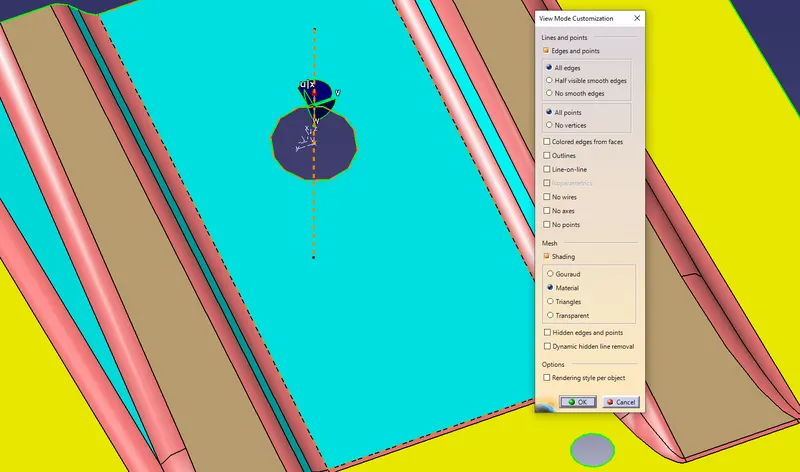
- The Draft Analisys can now be done nn the Class-A surface. It is necessary to Set the View Mode in "Material" and to place the Manipulator along the Tooling Axis to access the command Draft Analisys.
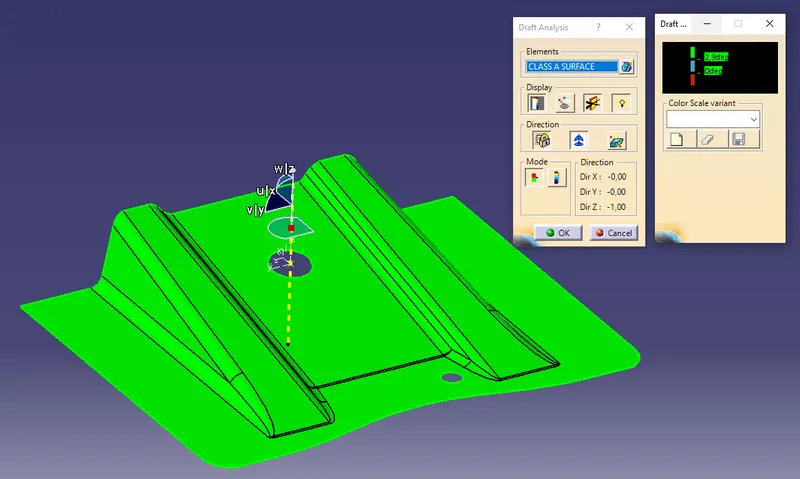
- The command has to be tuned according to the project requirement.
For istance, in this case the color coding must look at the minimum draft angle of 3° or a 0.1° less.
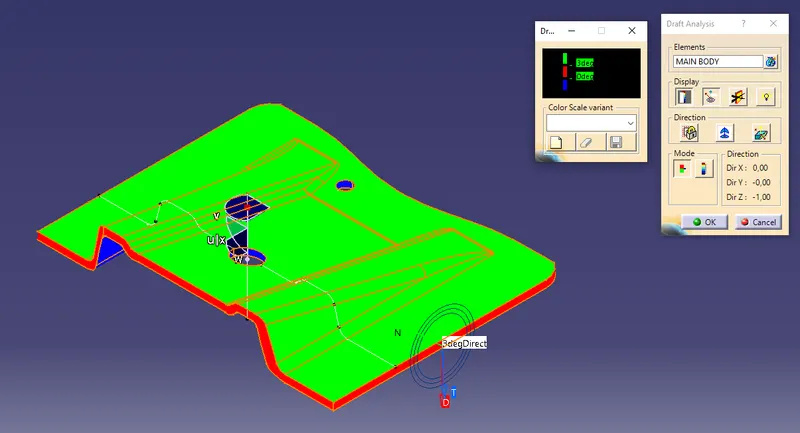
- The result is completely green, meaning that the surface at this stage of design can be cleared along the selected tooling axis.
- Using the close surface command inside a Body to finish the part.
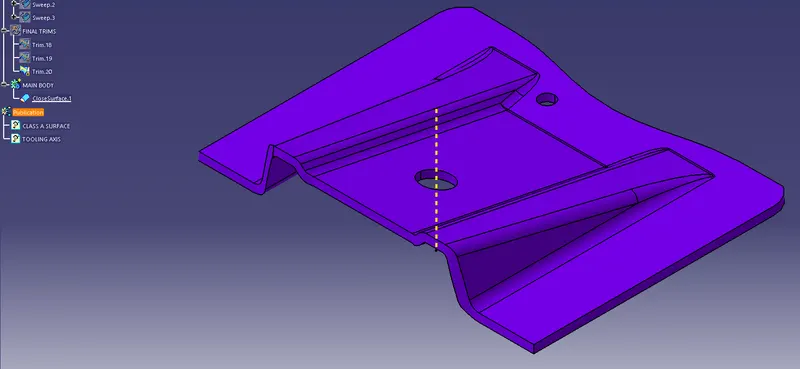
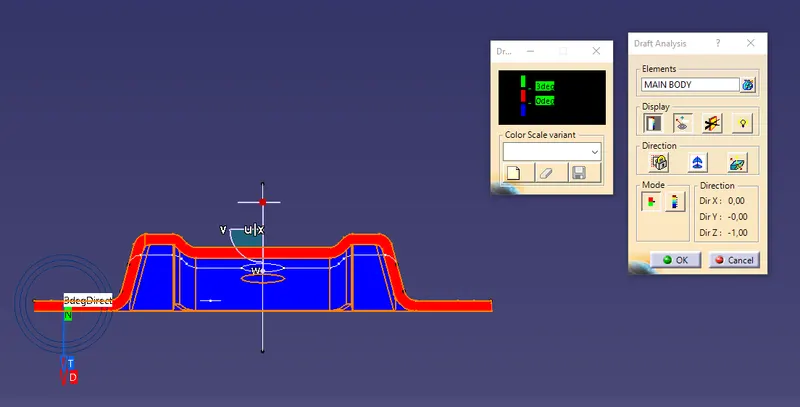
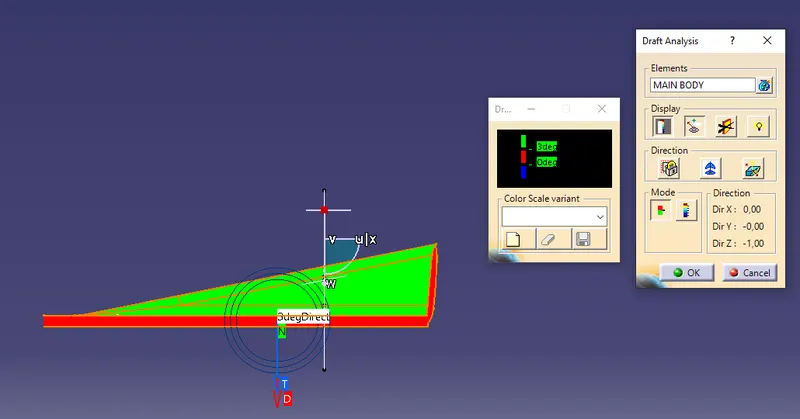
- Final Draft Analisys on the Body with main points of view.
ISO VIEW
FRONT VIEW
SIDE VIEW
TOP VIEW
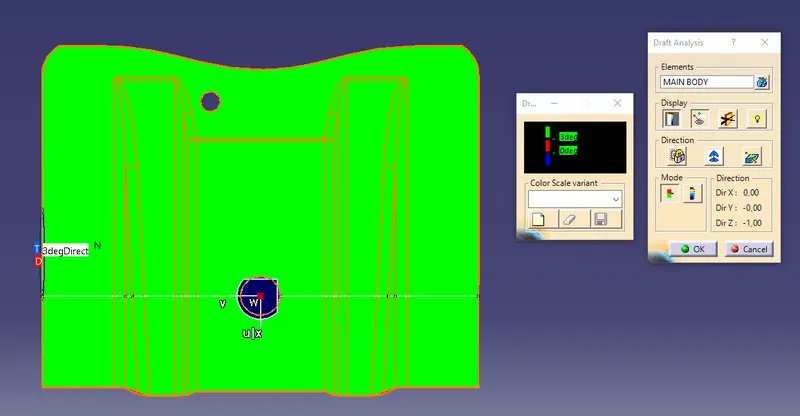
BOTTOM VIEW