Week 8 - Challenge 6 - Core & Cavity Design
Aim:
To create the Core and cavity blocks for the switch bezel designed in the earlier challenge.
Solution:
First lets mark the core and cavity side by chaning the color. For the core its given as blue and for cavity pink color.
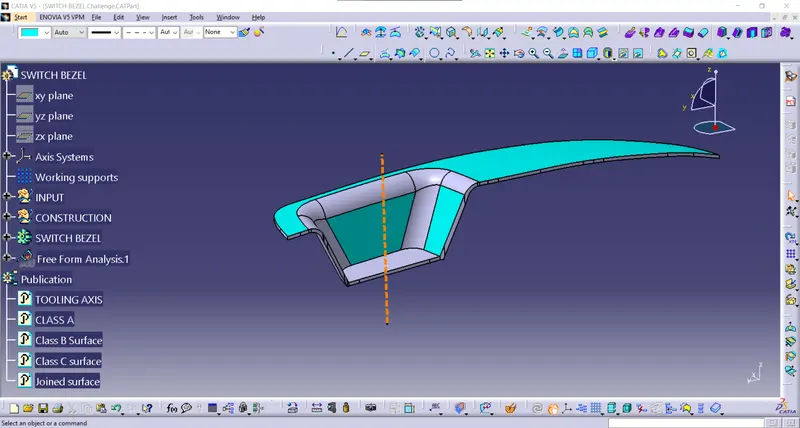
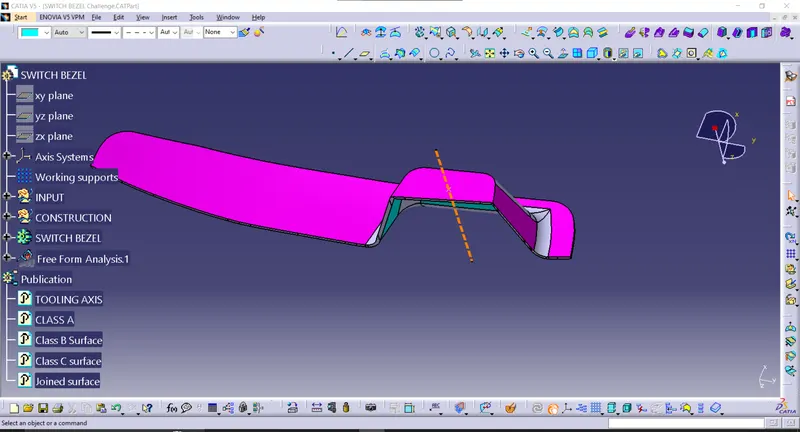
By extrapolating the class A and unhiding the class C surface we trim the two surface and we get the faces cleared by core side of the component.
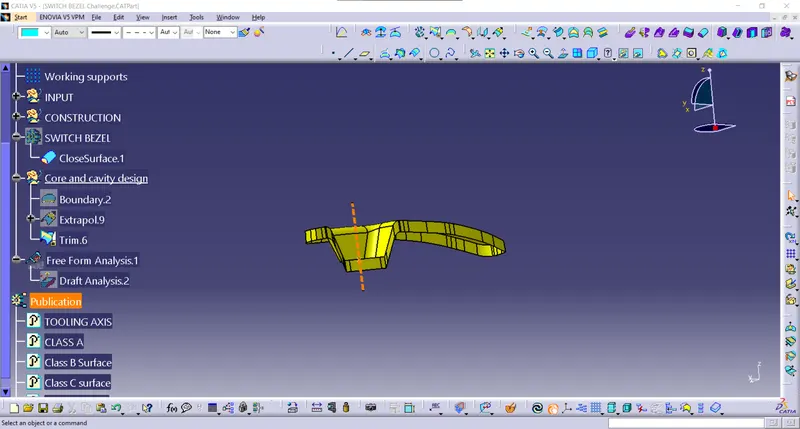
Core Design:
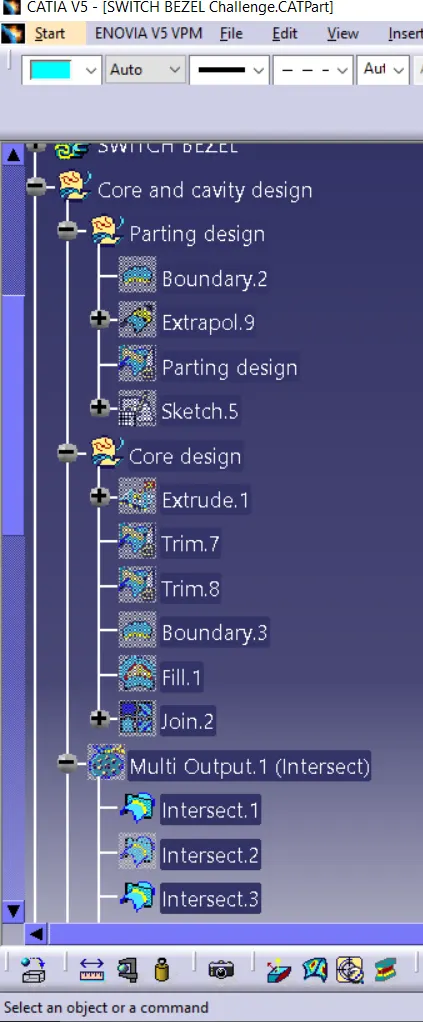
The cored design is achieved by triming the surfaces and extrapolating the A surface .We draw A sketch and exrterude the sketch and we use the trim option on parting design and the sketch we get a design like shown in the below image.We use the fill command to fill the surface on thee top and then we join the trim and fill to make a single surface
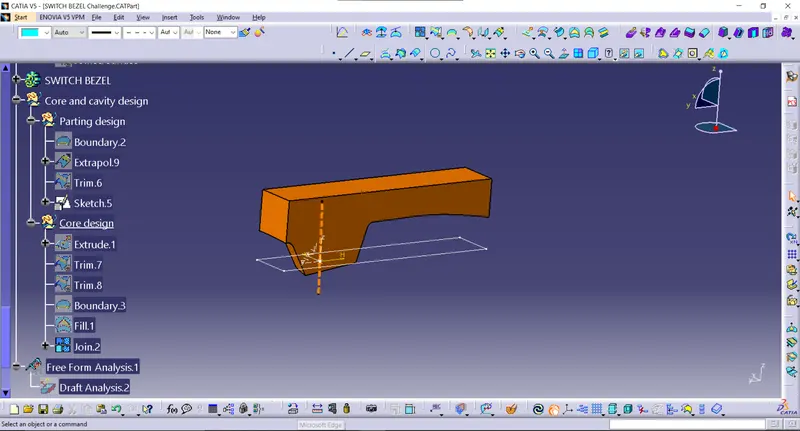
Solid Model:
Insert Body shift to part design then use closed surface option to convert the solid model.
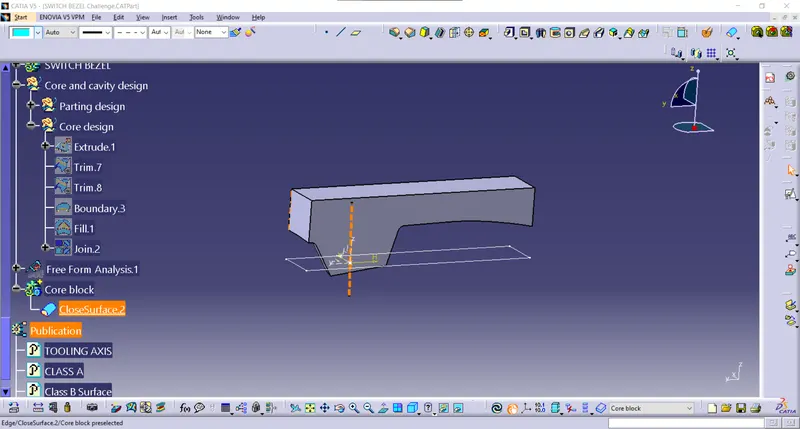
Intecsection of Core Switch bezel and parting line is taken
Cavity Design:
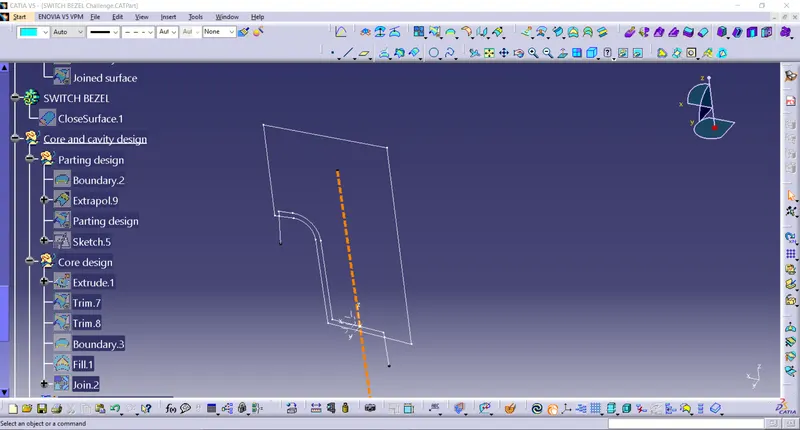
The cavity design is been achieved by using the same sketch and extrude is been done by tooling axis direction. The extrude surface and B surface is trimmed in opposite direction and cavity is been achieved
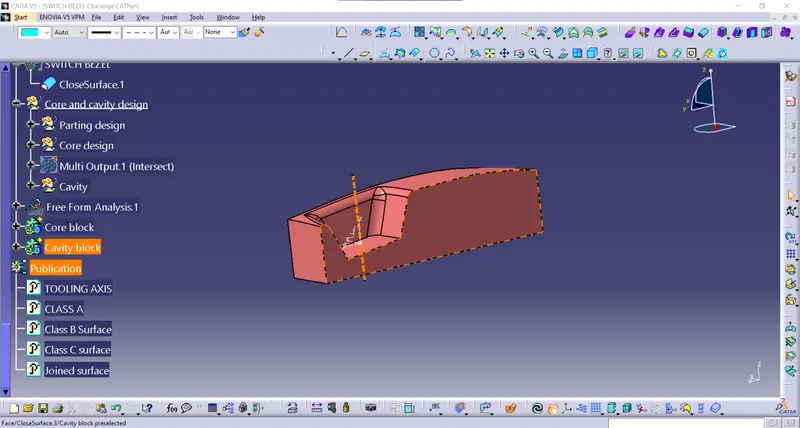
Solid Model of cavity:
Insert Body shift to part design then use closed surface option to convert the solid model.
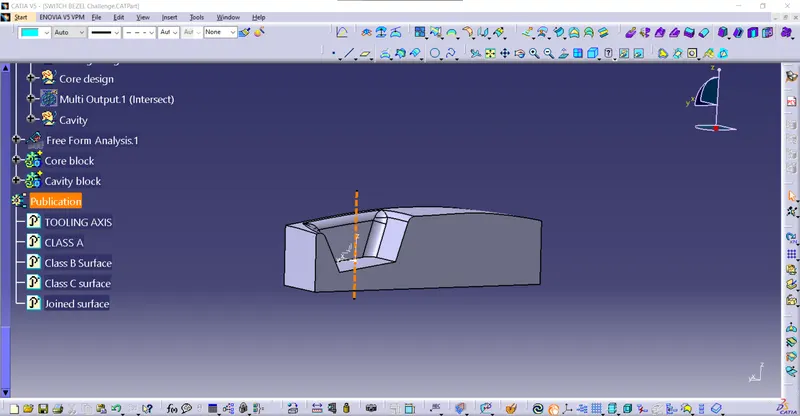
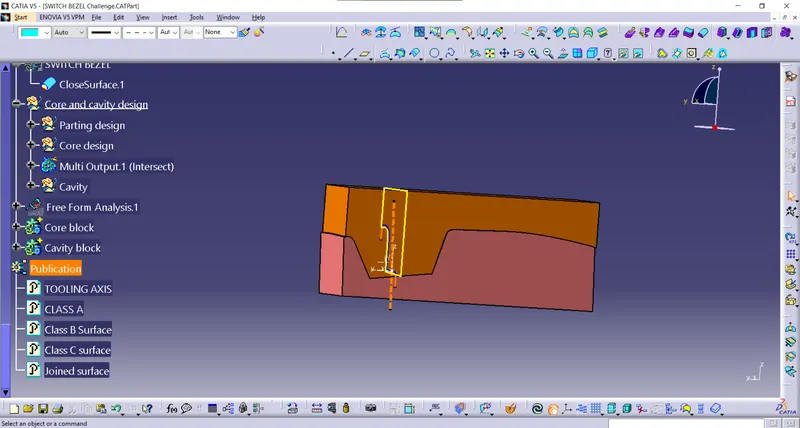
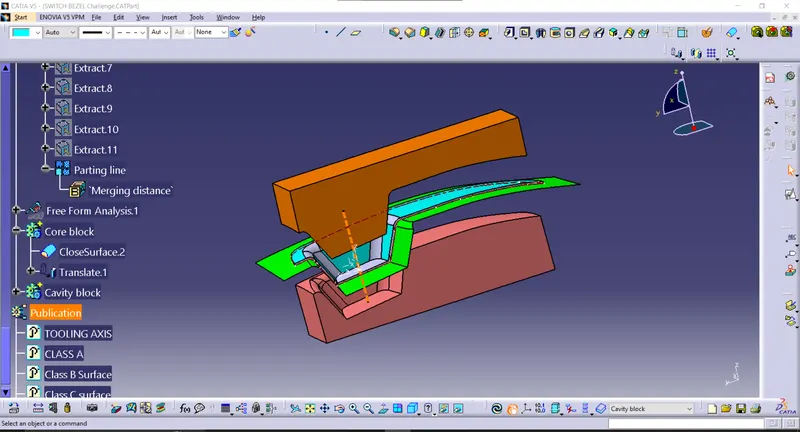
Core and cavity
Parting line :
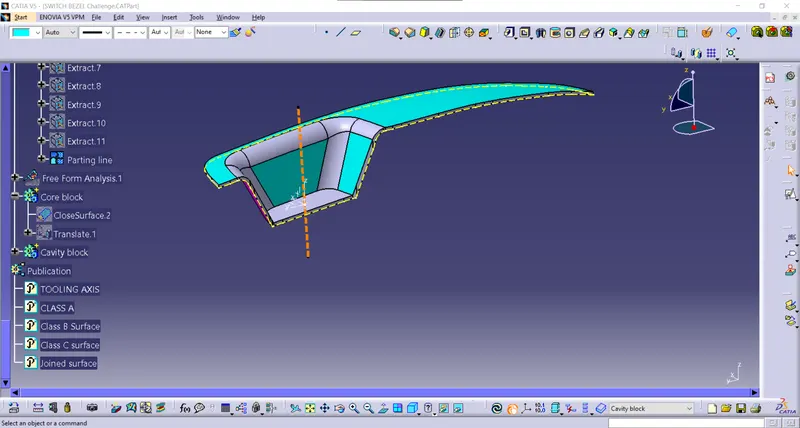
Its achieved by intersection of Class B and Solid model of switch bezel.The dotted lines show the parting lines.
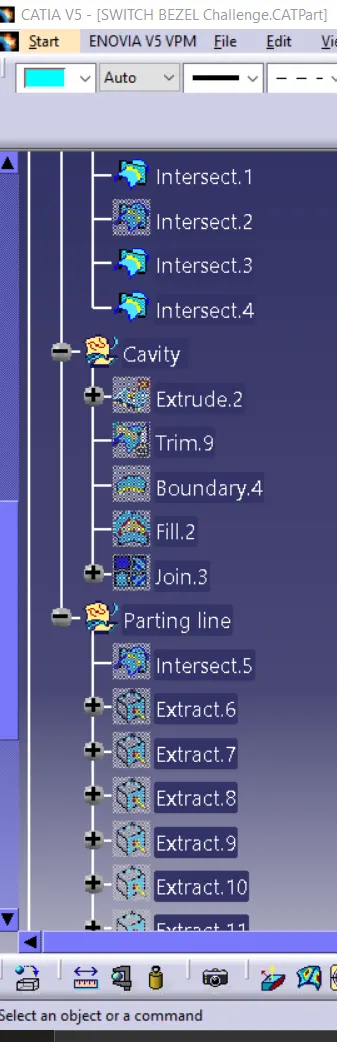
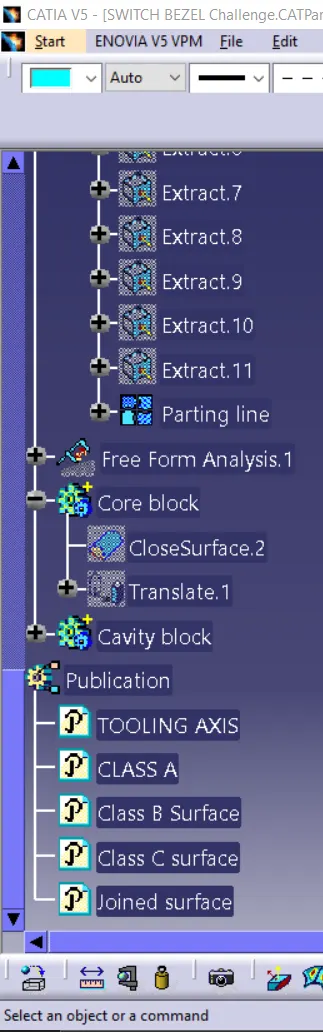
Design Tree Structure:
Conclusion:
The Core and cavity blocks for the switch bezel is been designed and converted to solid model.