Week 8 - Challenge 5 - Core & Cavity Design
CORE & CAVITY DESIGN
AIM- Creating core and cavity block for switch bezel design.
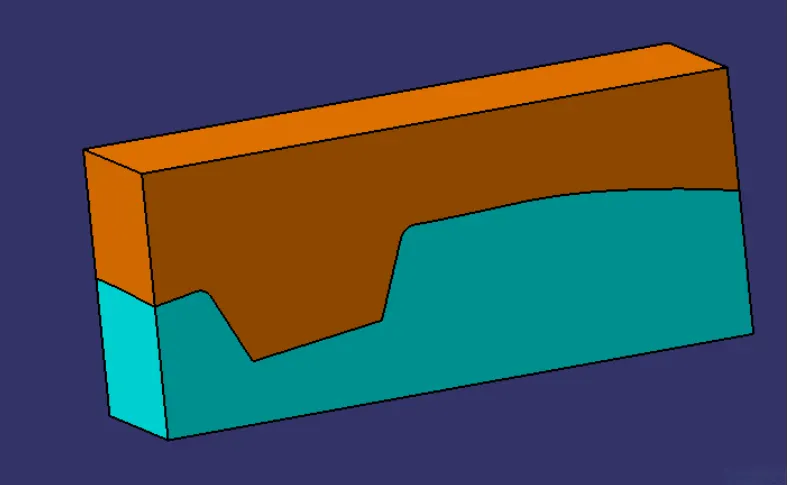
TOOLING AXIS
It Is the axis in which direction core and cavity open. This is very important for production of plastic component. Most of the defect will done improper tooling axis creation by plastic designer. There are so many methods for creating the tooling axis. Intersect is the one method for creating the tooling axis.
BY SECTING METHOD
For creating this we should find out the best tooling direction, for doing that rotate the part and see all the direction which gives the proper view.
Component view from the Z direction gives the proper view for the tool. To create the tooling axis from Z direction -
- Extract the base of the switch bezel using multiple extract command. create a point using point on surface option.
- Insert Axis system at that point and create the positioned sketch YZ plane
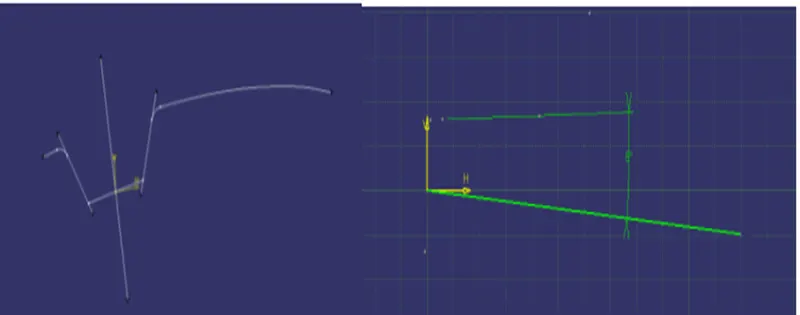
- Make intersection on it draw two inclined lines on the intersection.
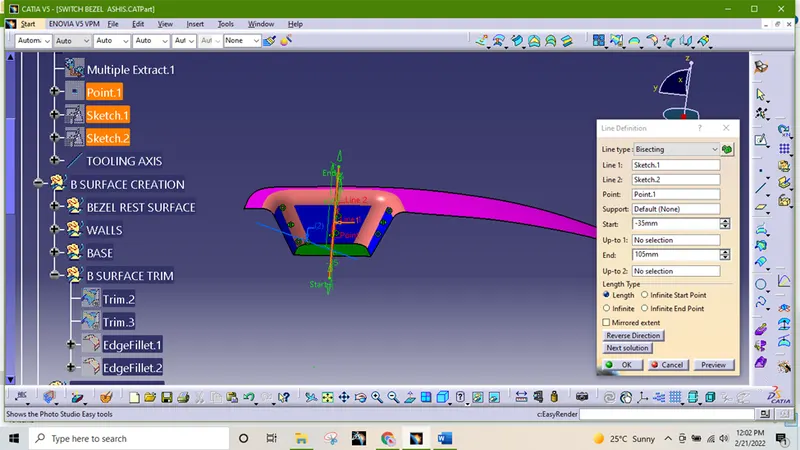
- Using the bisecting line option by selecting the two line and help of the point create the line which is tooling axis Y
- By using same procedure create a sketch on ZX plane make intersection on it. Draw line on the intersection and draw another line which is 3-6 degree from the first line which is tooling axis X.
- Create a bisecting line using X &Y Tooling axis we get the tooling axis and publish it.
DRAFT ANALYSIS: -
Draft analysis is based on the color range identifying zones on the analyzes element where the deviation of the draft direction at any point of the corresponding specified values. Draft is required on all parts of mold movement in order to allow parts to release or eject from the property.
Draft is the angle in which the part is tapered to allow it to release. At the part cools it tends to want to shrink to the core side of the mold. The draft is allowing the part to release or eject without creating any friction between the surface of component and core and cavity plates.
Minimum draft angle is required 3degree (draft angle is 0.5 is given ideally to the features inside the plastic part) Draft angle vary 1 to 5 degrees but 3-degree draft angle widely accepted. But for automotive sheet metal part the draft angle 7degree or more. Minimum possible draft angle is given for ribs screw holes, stiffener due to critical nature.
- Final plastic parts are the nominal draft angle is 3 degrees but even 7degree is allowed for the subassemblies like ribs and slots.
- Insert< Analysis< Feature draft analysis
- First the compass is moved to the part which used to define the tooling axis new current draft direction then lock the draft direction using the lock icon.
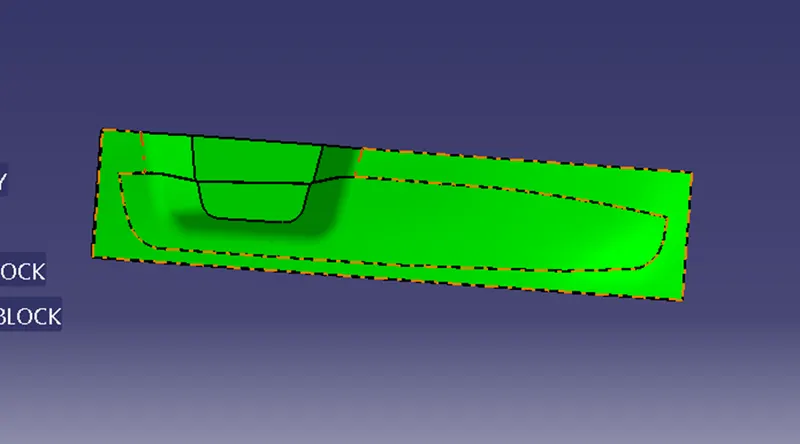
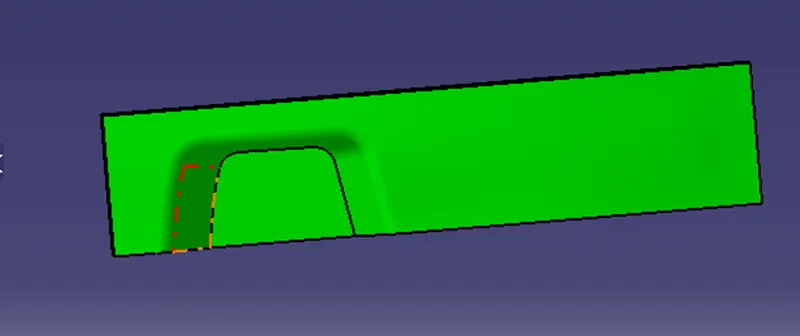
- The color of the chart indicates the draft if the color is indicated that means the part passes and used for further operation.
- By using the analysis under the running point icon, we can check draft angle at the various surface of the component.
- If the surface satisfied the draft angle, then it shows the green color if not appears in red color.
CORE & CAVITY DESIGN
The Mould core and cavity are the shaped sections in either half of the mould tool which give the plastic product its final shape.
The hot molten metal material is injected into core and cavity and then sets hard into shape. The design of the core and cavity is essential in the correct formation of the product. The sequence of events during the injection mould of a plastic part is called the injection molding cycle. The cycle begins when the mould closes followed by the injection of the polymer into the mould cavity.
A core is usually made of the best quality sand is placed into the desired position in the mould cavity. Core points are added to both sides of the pattern to create impressions that allow the core to be supported and held at both sides.
PROCEDURE FOR CREATING CORE
STEP 1- Extract boundary from Class A.
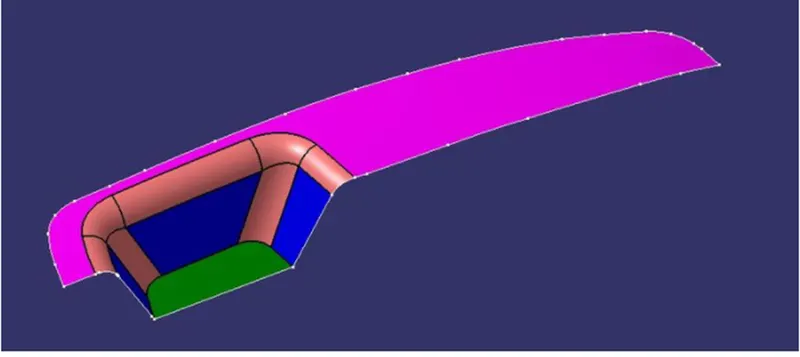
STEP 2- Extrapolate the surface
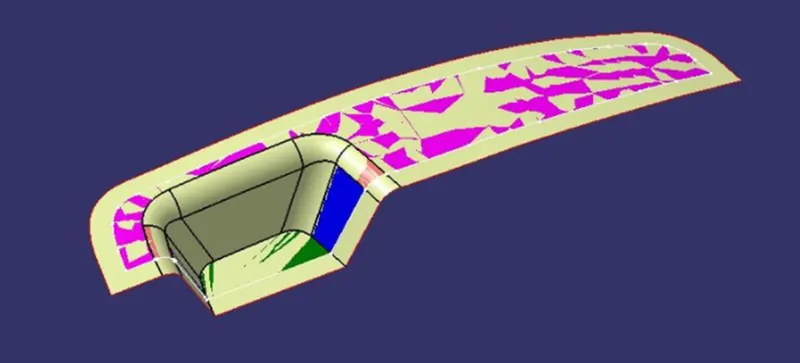
STEP 3- Unhide the surface and trim the surface with class c surface
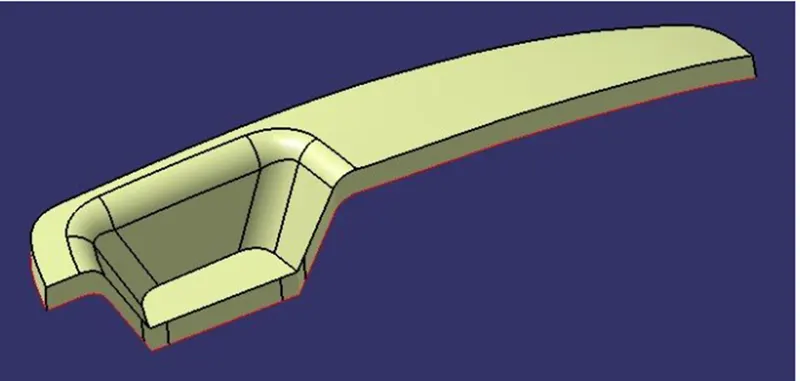
STEP 4- Unhide the class B surface. Trim the last trim with class B surface.
This is called parting line
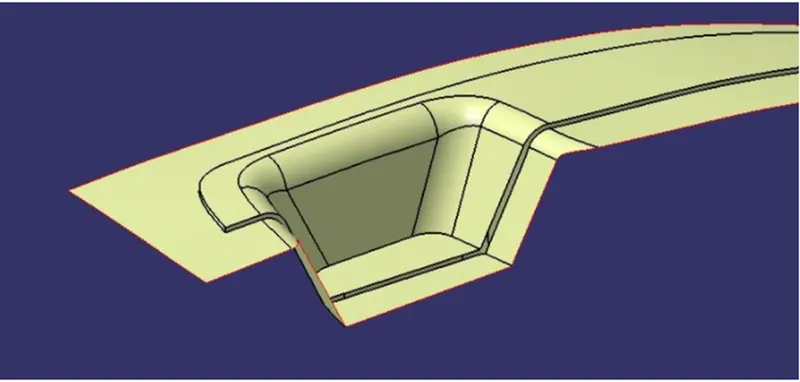
STEP 5- Sketch a rectangular inside the surface and it will be the dimension of the core.
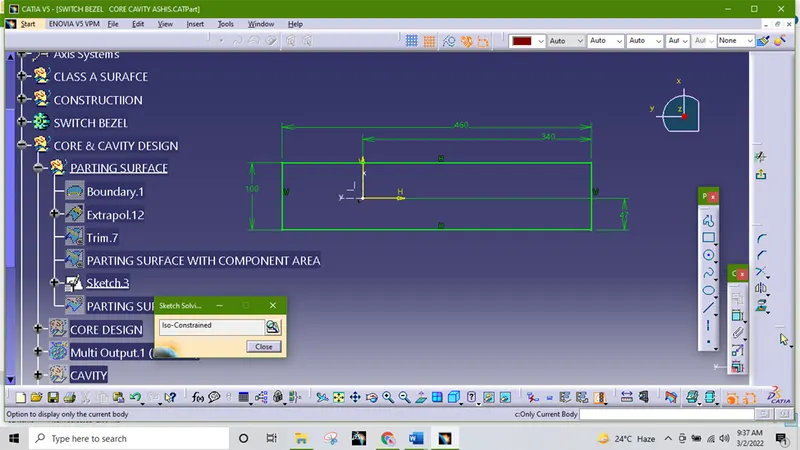
STEP 6- Extruded the sketch from both direction
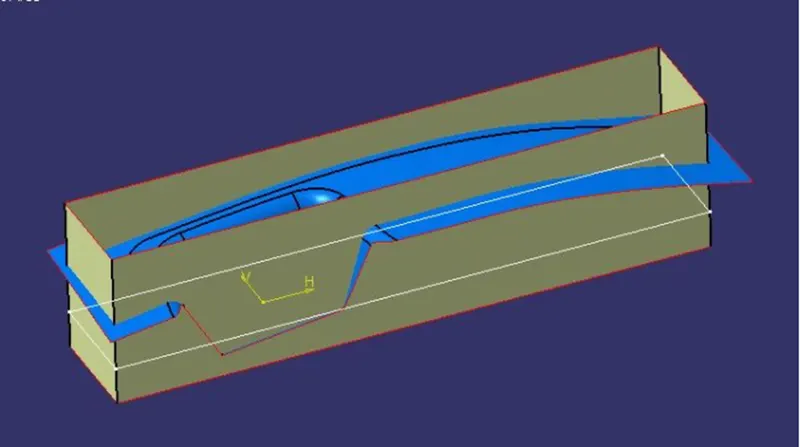
STEP 7 -Trim the extruded with parting surface and fill it.
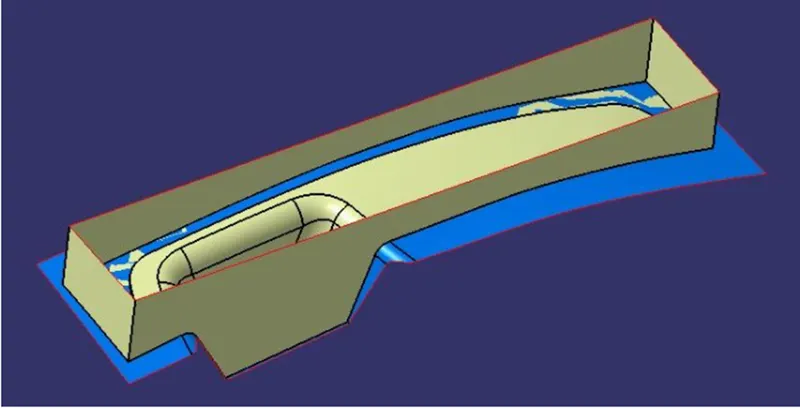
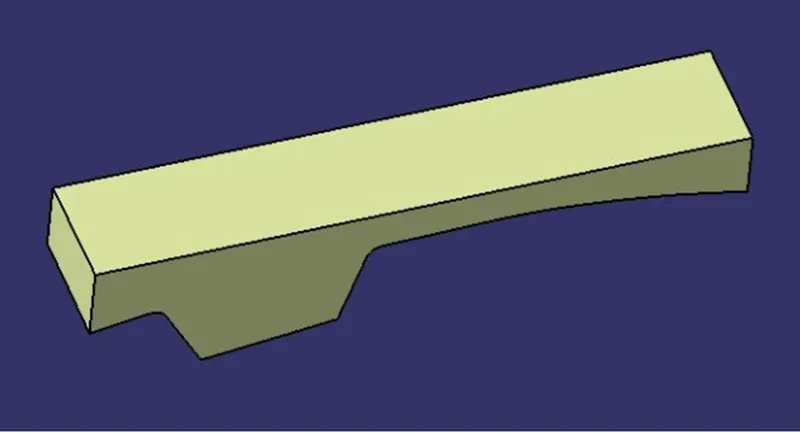
STEP 8- go to part design workbench. define the part body to make core solid component.
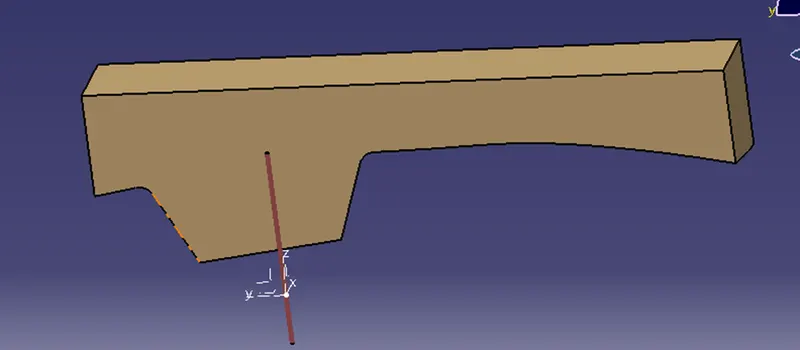
PROCEDURE FOR CRAVITY DESIGN
STEP 1- Unhide class B surface and rectangular extrude. Trim class B surface with rectangular extrude to make cavity.
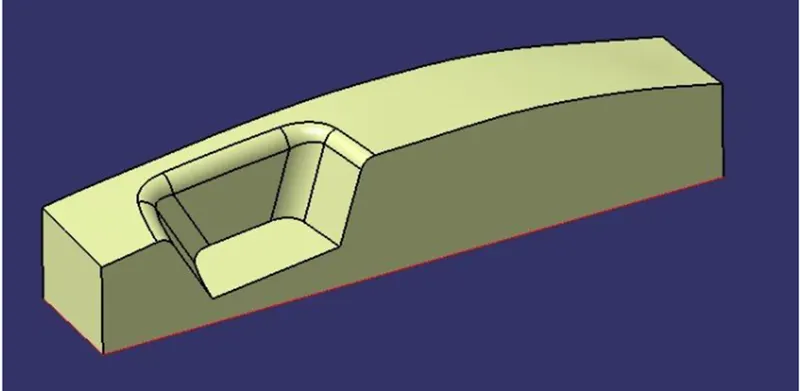
STEP 2- Fill the remaining surface and join the two surfaces.
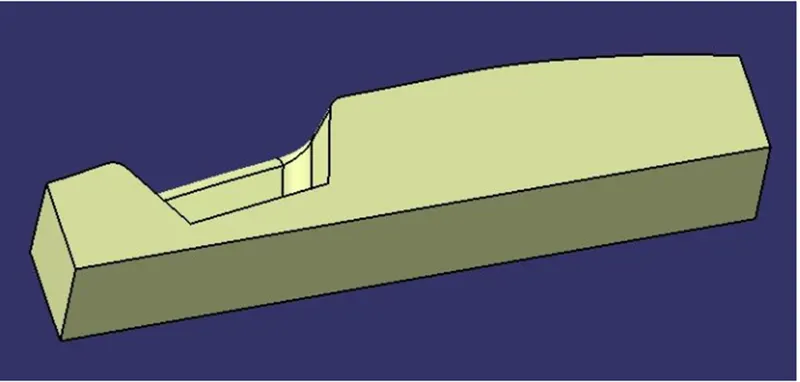
STEP 3- Go to part design workbench and make it solid.
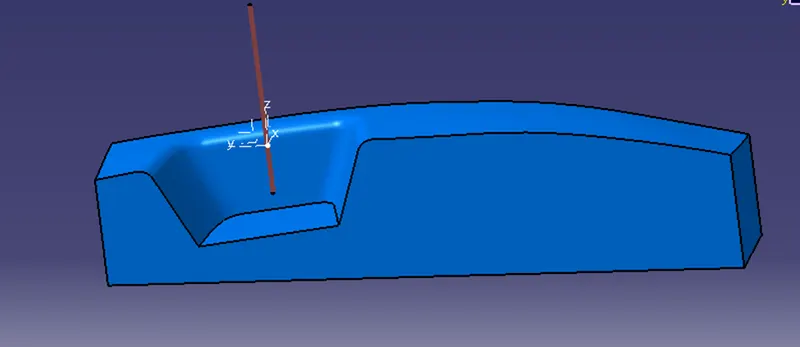
FINAL CORE AND CAVITY BLOCK
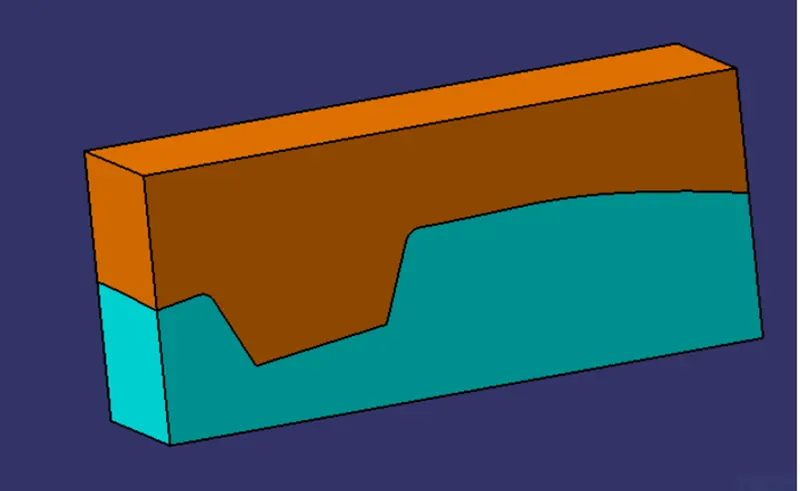
THEORY
- We can see the section view of core and cavity which has the area where the molded plastic filled.
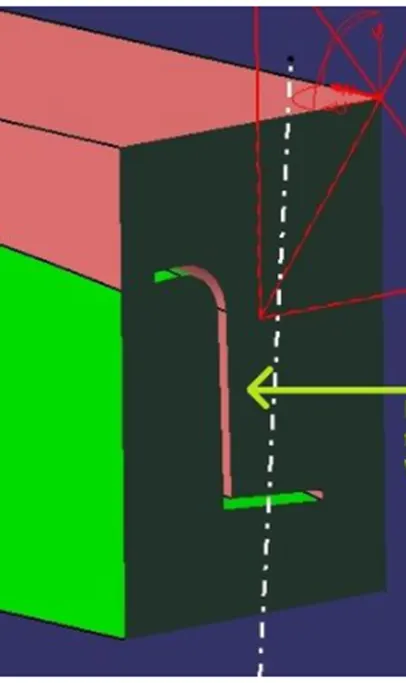
- Intersection view of ZX plane with core cavity, component and parting surface.
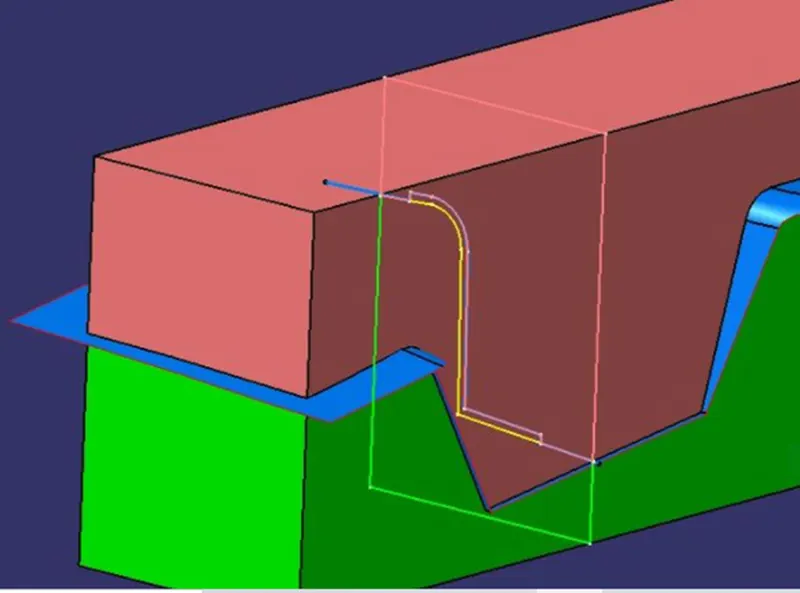
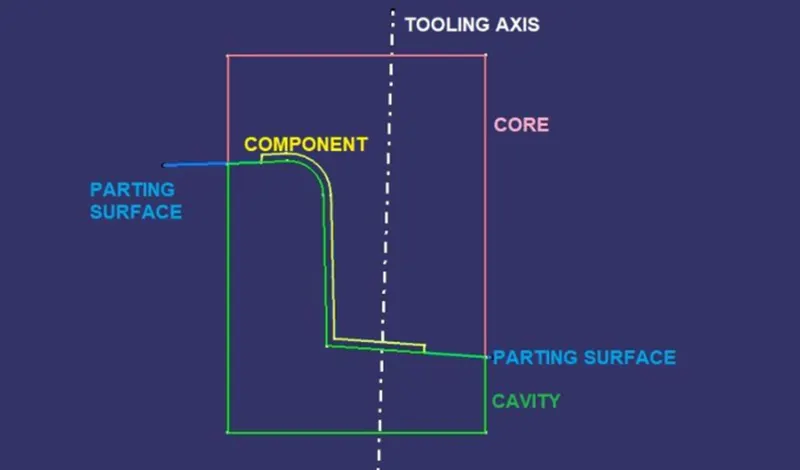
- To get a parting line we can intersect class C surface with class B surface.
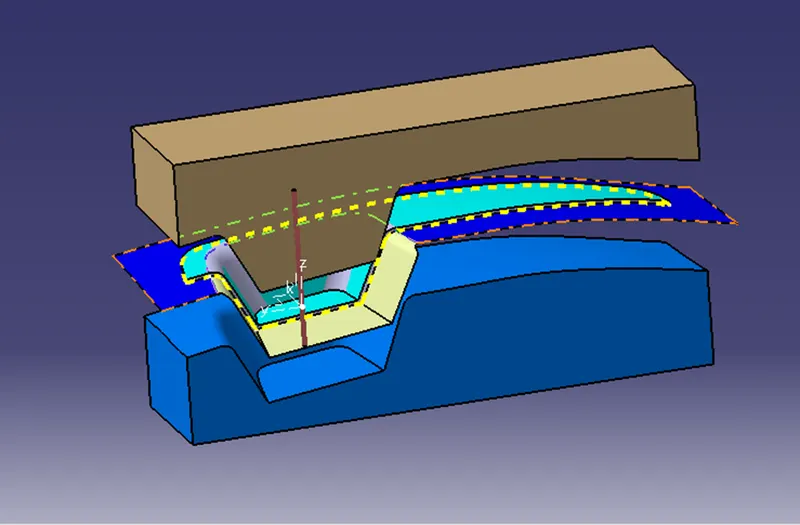
DRAFT ANALYSIS OF CORE AND CAVITY
TRANSLATED VIEW OF MODEL
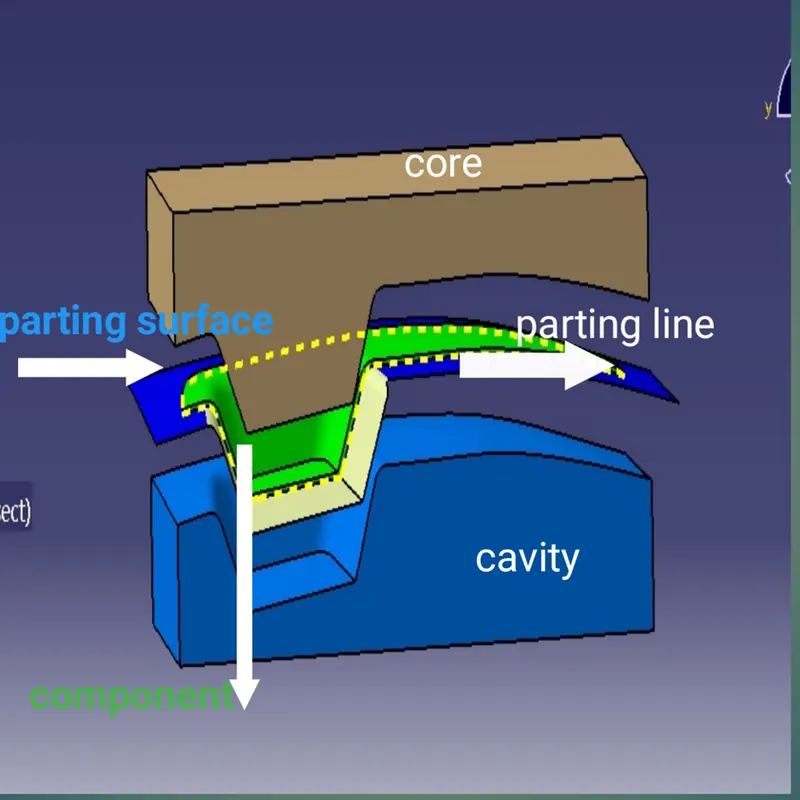
CORE- The core is movable part which forms internal shape of the molding. The upper half of the mold where the plastic part is injected is called core.
CAVITY- Cavity is the female part that forms the external shape of the mould. Cavity is the part where the injector and filling of the molten plastic happens.
PARTING LINE- The parting line of a die cast component represents where the two different sides of the mold come together. This line often (but not always) marks the border between the inside and outside of the part. The location of the parting line indicates which side of the die is the cover and which is considered the ejector.
PARTING SURFACE- A parting surface is a surface in the model that you designate to split a workpiece, die block, or another volume. It is designed for the removal of the plastic product and the cold slug. The parting surface is where the core meets the cavity and is usually located at the largest section of a product.
Design view
ISOMETRIC VIEW
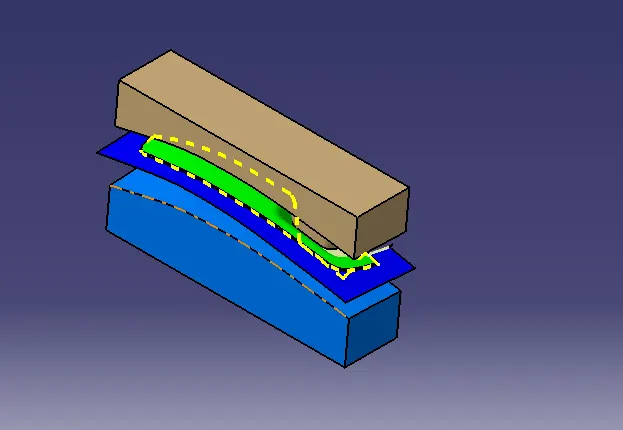
FRONT VIEW
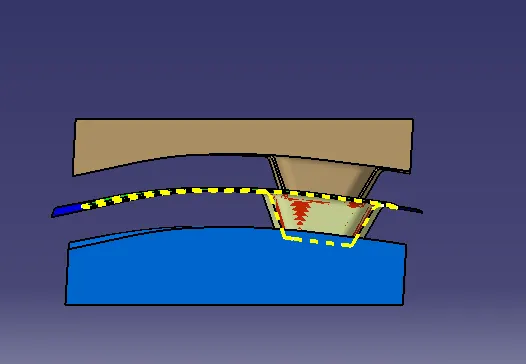
RIGHT SIDE VIEW
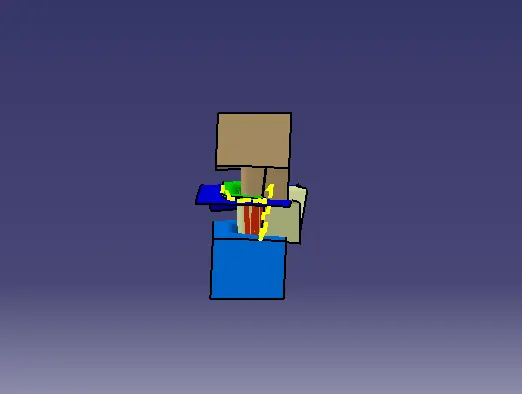
TOP VIEW
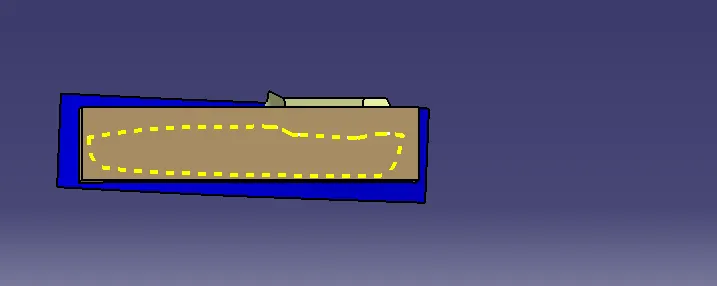
FEATURE TREE
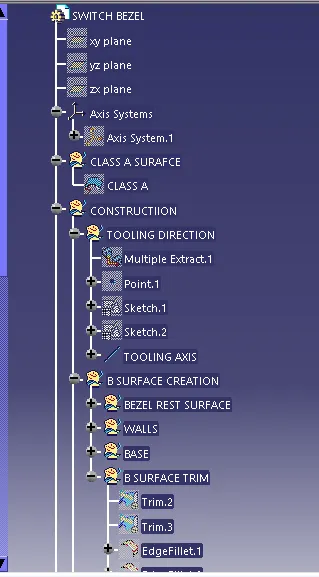
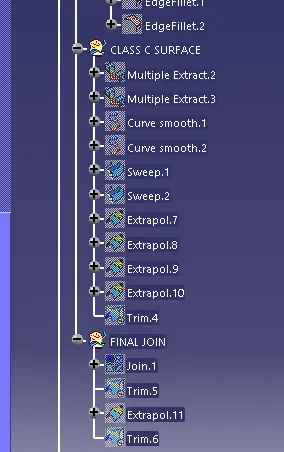
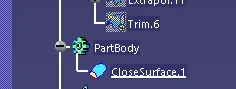
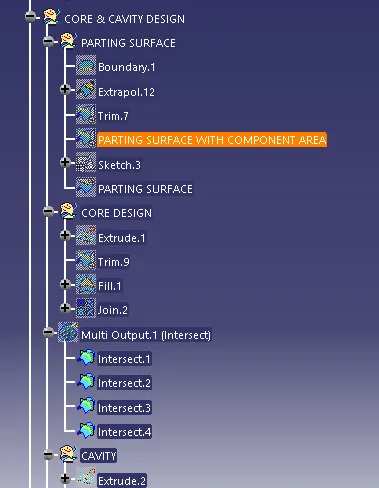
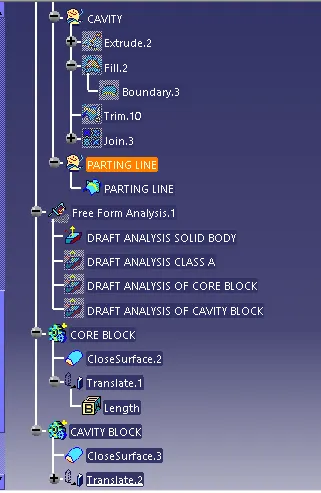
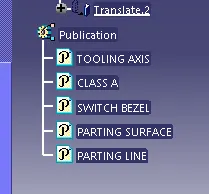
CONCLUSION- Core and cavity block for the switch bezel created as per the given part profile along tooling direction.