Week 8 - Challenge 4 - Bumper
DESIGN AND DRAFT ANALYSIS OF BUMPER
AIM
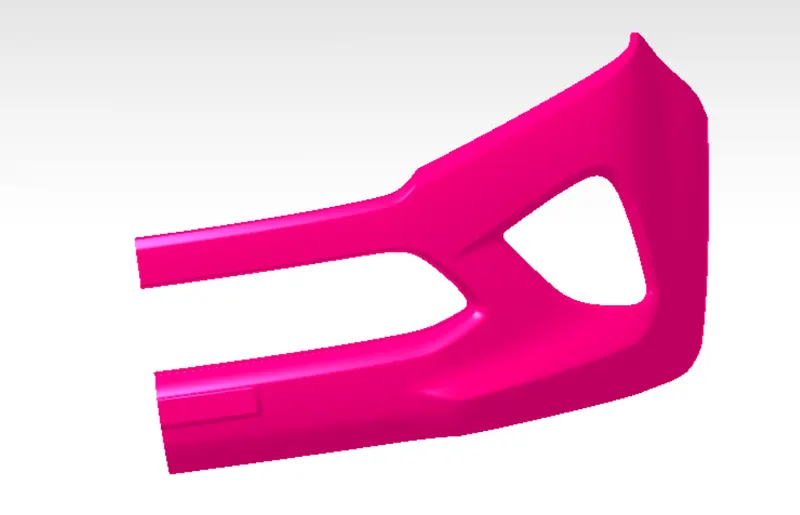
Create the Bumper Plastic component through the given Class-A surface. To begin with, the tooling axis for the given Class-A Surface should be created meeting the requirements of the draft angle and at the end perform the Draft analysis on the model.
Take the Thickness of the component to be 3 mm
REPORT
BUMPER
A bumper is a structure attached to or integrated with the front and rear ends of a motor vehicle, to absorb impact in a minor collision, ideally minimizing repair costs.Stiff metal bumpers appeared on automobiles as early as 1904 that had a mainly ornamental function. Numerous developments, improvements in materials and technologies, as well as greater focus on functionality for protecting vehicle components and improving safety have changed bumpers over the years. Bumpers ideally minimize height mismatches between vehicles and protect pedestrian frominjury. Regulatory measures have been enacted to reduce vehicle repair costs and, more recently, impact on pedestrians.
Introduction and Consideration for creation of the final part :
CLASS-A SURFACE: the class-A surface is used in the automotive design industry. it describes the final production surface data for the aesthetic parts.
CLASS-B SURFACE: the class-B surface is the second surface that has a specific thickness from the class-A surface. this surface contains engineering aspects of a model. These must be smooth and "error-free" as well but are not held to the standards that class A surfaces are.
CLASS-C SURFACE: The Class C finish allows more imperfections than Class A or B. Class C is often specified for interior surfaces not readily visible, surfaces that will be covered by another part when assembled, or surfaces.
DESIGNING METHODOLOGY:-
- INPUT CLASS A :-
- QUALITY OF THE CLASS A (BY SEEING THE CONTINUITY
- CHECH FOR THE DRAFT DIRECTIONS WETHER THE MODEL REACHES THE ENSURING DESIGNING STANDARDS ( I.E... 3 degree minimum draft )
- MAIN TOOING AXIS
- START CREATION FOR THE CLASS B SURFACE :- (WITH THE MEETING REQUIREMENTS)
- USE THE CLASS_A BOUNDARY AND CREATE FORE CLAASS_C SURFACE CREATE THE CLASS_C SURFACE USING SURFACE SWEEP
- BY JOINING BOTH CLASS_A & CLASS_C SURFACE DO THE FAINAL TRIM WITH THE CLASSS_B SURFA
- FAINAL PRODUCT SURFACE
- DRAFT ANALYSE FOR FINAL PART (CLOSED )
- INPUT CLASS A :-
In automotive design, a class A surface is any of a set of free form surfaces of high efficiency and quality. It gives the aesthetic look of the component which is created by the styling team and gives to the part design engineer to create the part with all engineering aspects.
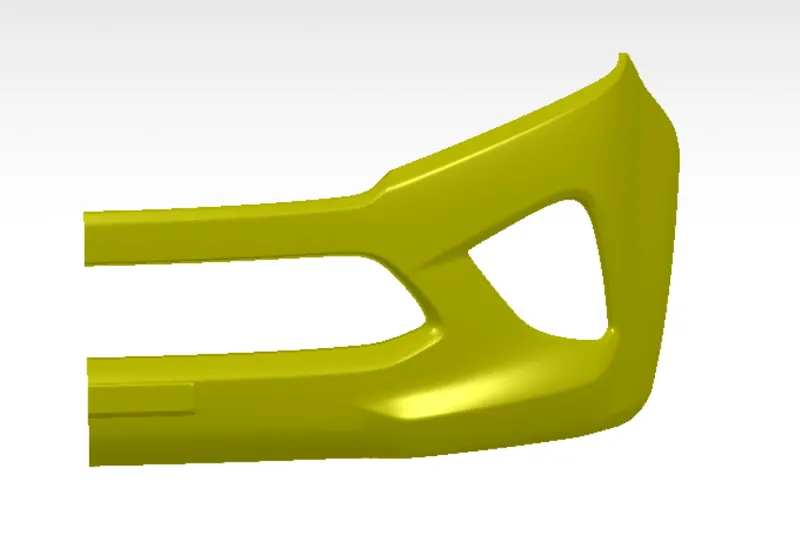
- QUALITY OF THE CLASS A (BY SEEING THE CONTINUITY
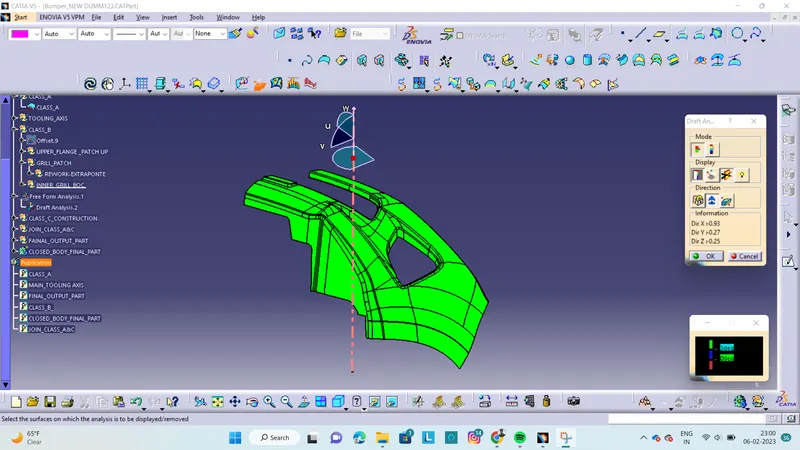
- CHECH FOR THE DRAFT DIRECTIONS WETHER THE MODEL REACHES THE REQUIRED STANDARDS ( I.E... 3 degree minimum draft )
When developing parts for plastic injection molding, applying a draft (or a taper) to the faces of the part is critical to improving the moldability of your part. Without it, parts run the risk of poor cosmetic finishes and may bend, break, or warp due to molding stresses caused by plastic cooling. Equally important, an absence of draft may prevent parts from ejecting from the mold, damaging not only the parts but possibly the mold itself—a costly and time-consuming detour.
PROCEDURE FALLOWED :-
DRAFT ANALYSIS OF CLASS A SURFACE
Change the view to material mode for draft anlysis
DRAFT ANALYSIS OF CLASS A SURFACE
Change the view to material mode for draft anlysis
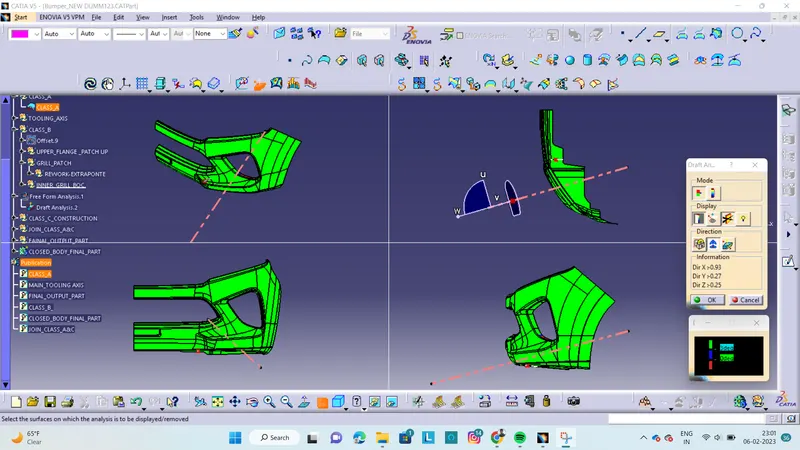
- TOOING AXIS creation
DUMMY TOOLING AXIS
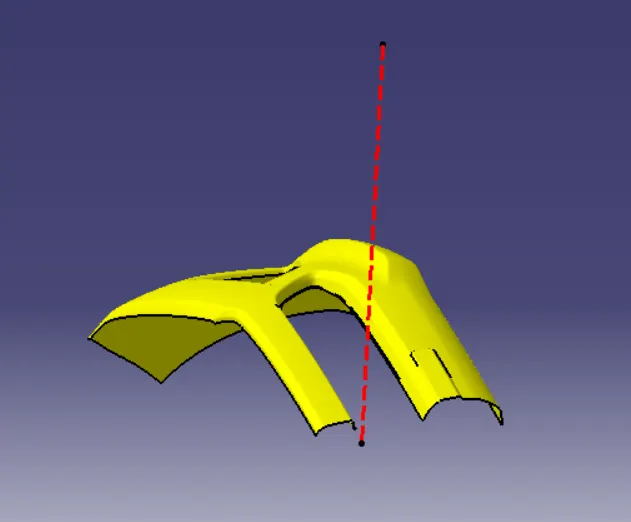
TOOLING CLEARING IN X
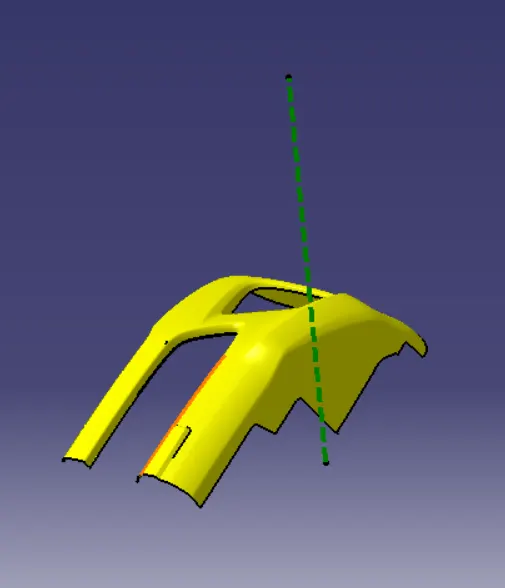
TOOLING CLEARANCE IN Y
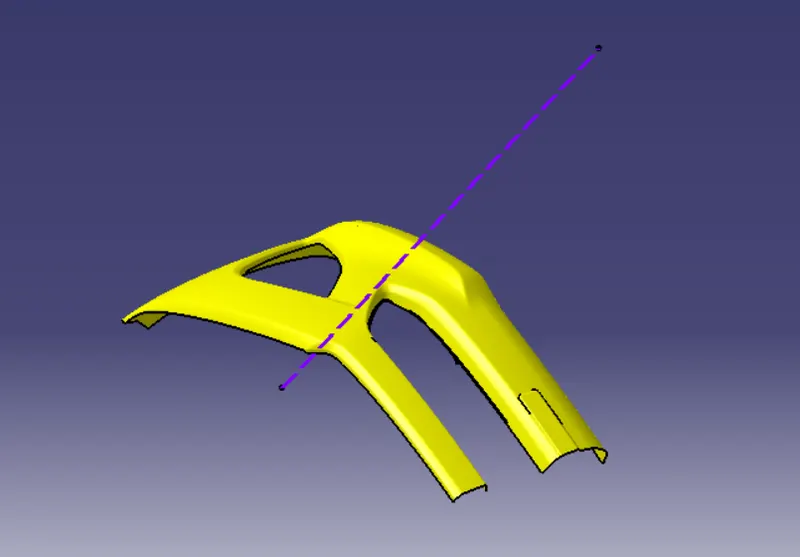
MAIN TOOLING AXIS
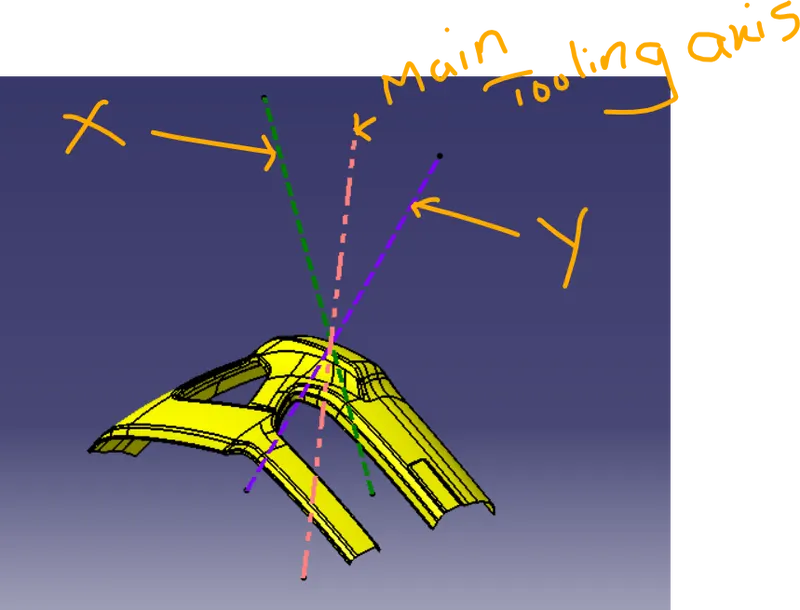
The direction in which the mold or core and cavity opens is the tooling axis.
By checking the all three axis the best tooling direction is determined. flat surface or bin area is choosen for creating dummy tooling axis
created point on extracted base surface and a perpendicular line is drawn and Dummy tooling axis created
Procedure followed :-
To create the tooling axis first we have to check the best suitable direction for tooling by using the compass. the x direction is suitable for creating the tolling axis because in the x direction most of the surfaces are clearing while performing draft analysis. Generally tooling axis is created using bisecting line method but here A line normal to the surface is created in the x direction and considered the tooling axis.
- START CREATION FOR THE CLASS B SURFACE :- (WITH THE MEETING REQUIREMENTS)
CLASS B SURFACE
Class-B surface means the thickness of a part it is not visible and is inside part. In other words, the Class-B surface is a surface below a certain thickness from the class-A surface. This is the surface that contains engineering aspects of a model.The Class B finish is a quality finish with only minimal imperfections. A Class B finish is the most common finish for exterior surfaces. It is normally specified on surfaces such as external covers, panels, and parts that are fairly prominent.
Procedure followed :-
B SURFACE is created by Offseting the class-A surface to 3mm inward direction.
patches are created while offsetting the surface. Rework on the patches using the features like extract, multi-extract, sweep, multi-section surfaces, extrapolate.
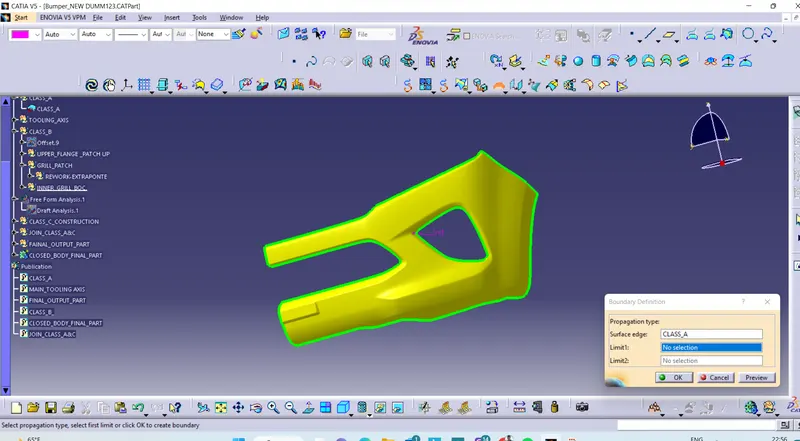
the boundary command is used to identify and highlight the patches
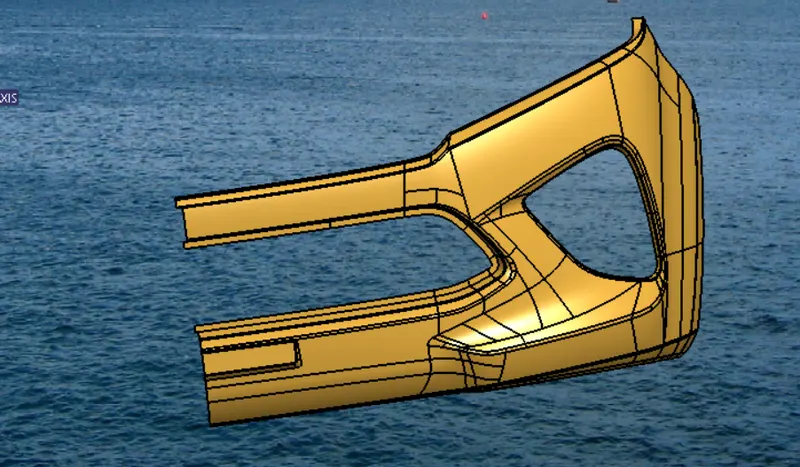
- USE THE CLASS_A BOUNDARY AND CREATE FORE CLAASS_C SURFACE CREATE THE CLASS_C SURFACE USING SURFACE SWEEP
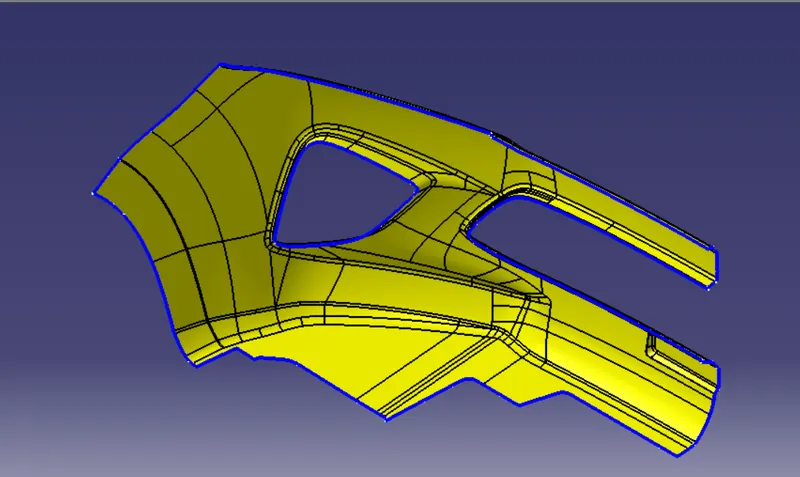
SWEPT SURFACE :-
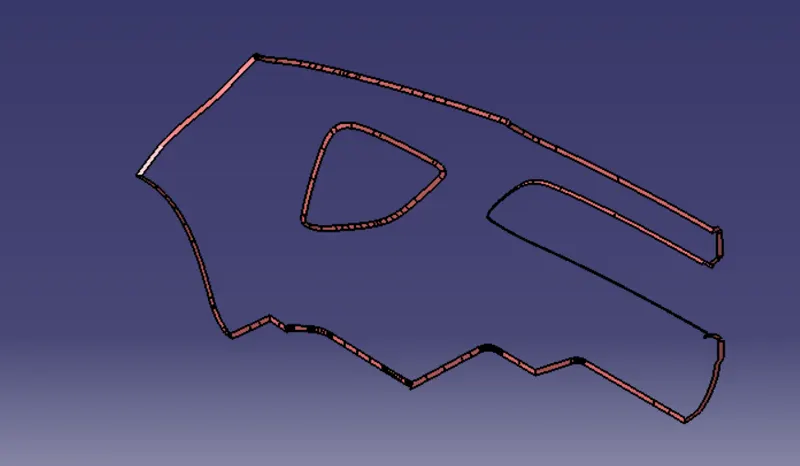
- BY JOINING BOTH CLASS_A & CLASS_C SURFACE DO THE FAINAL TRIM WITH THE CLASSS_B SURFA
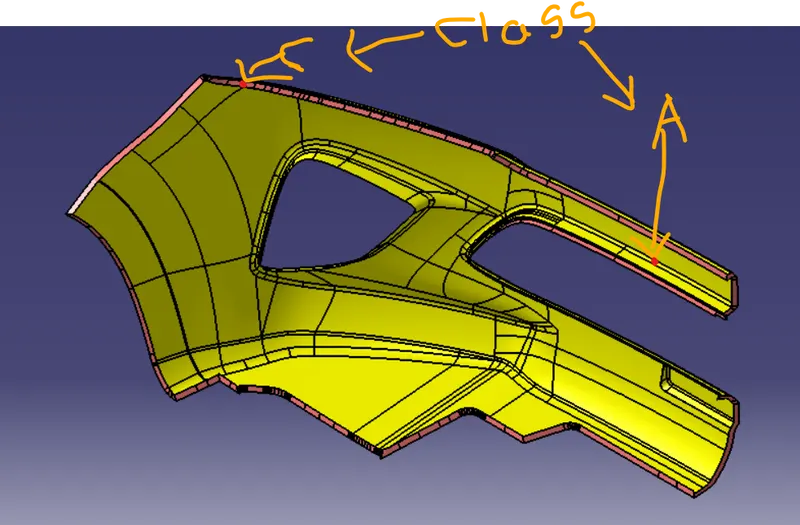
JOIN CLASS_A & CLASS_C :-
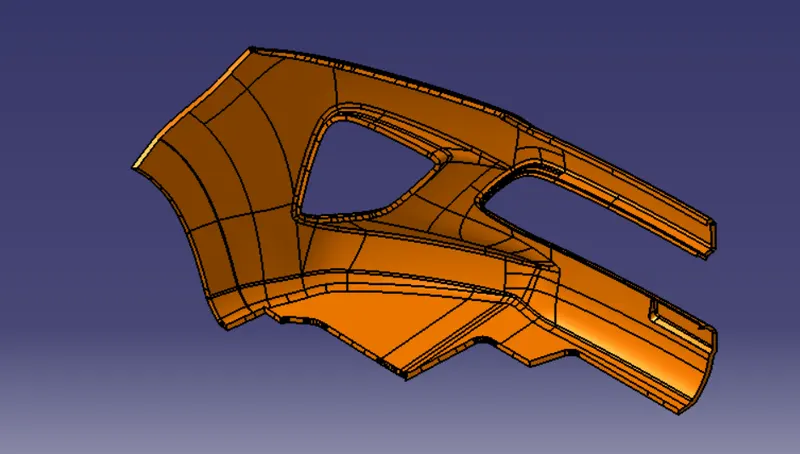
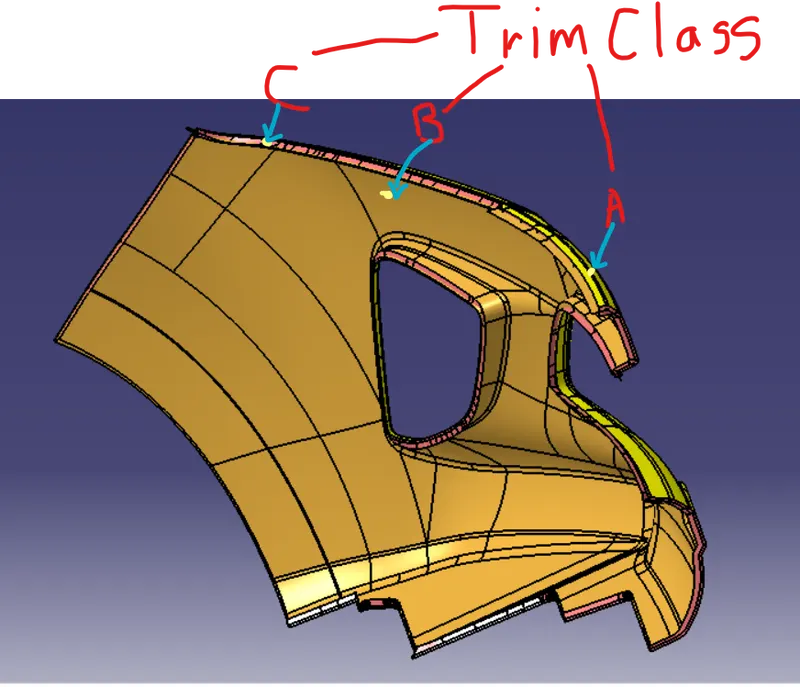
The surface that joins class-A and class-B surfaces are class-C surfaces. Class C is often specified for interior surfaces not readily visible, surfaces that will be covered by another part when assembledThe Class C finish allows more imperfections than Class A or B. Class C is often specified for interior surfaces not readily visible, surfaces that will be covered by another part when assembled, or surfaces which the Customer feels do not need to meet a high cosmetic finish.
- We first extract the edges from the Class A surface with the help of the multi extract or boundary command which we create the path for a sweep for class C
- like this, we have to create all separate sweeps and join them together. once all the sweeps are joined together we created a class c surface.
- FAINAL PRODUCT SURFACE
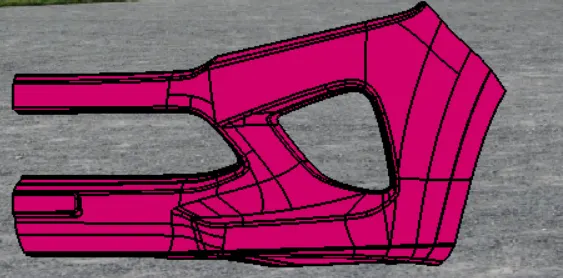
DIFFERENT VIEWS :-
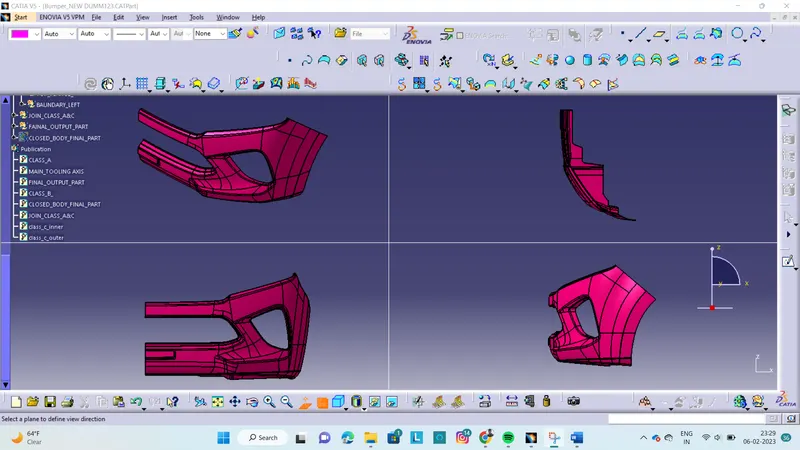
- DRAFT ANALYSE FOR FINAL PART
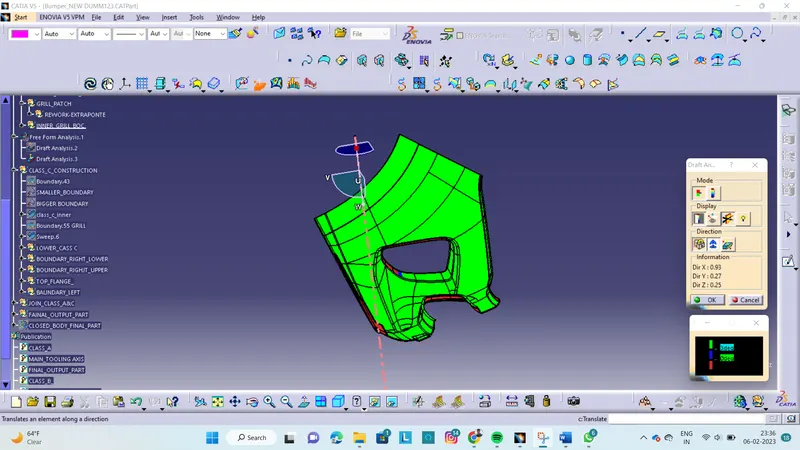
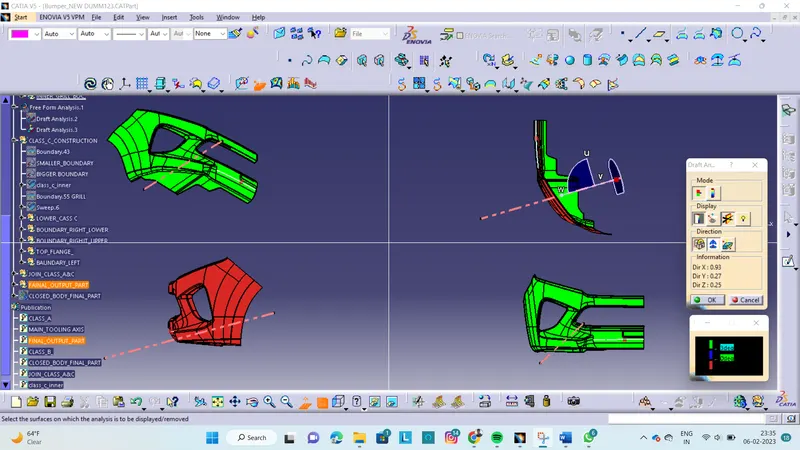
COMPLEATED CLOCED SURFACE :-
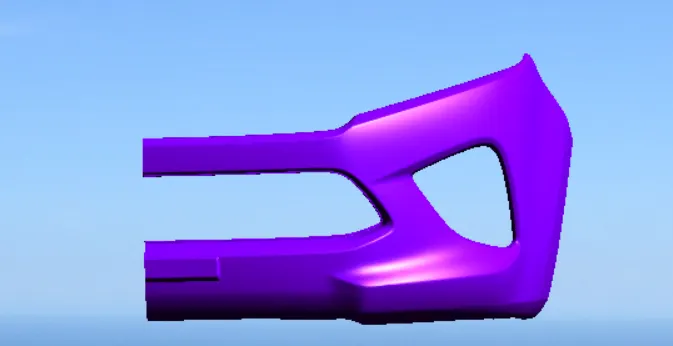
DIFFERENT VIEWS
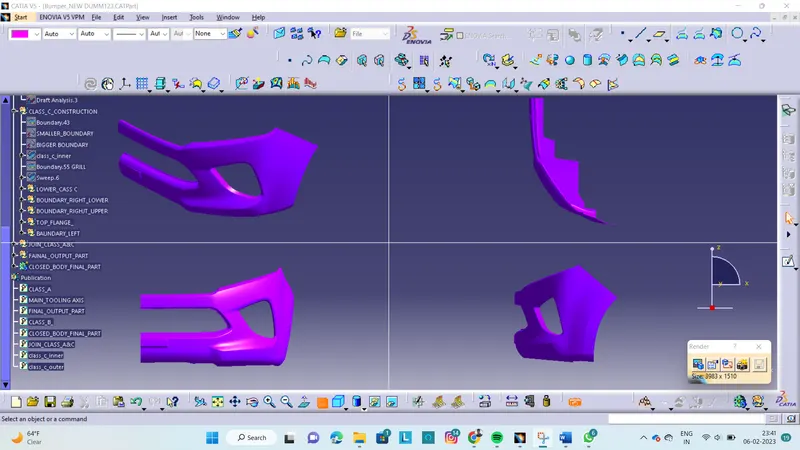
CLASS A
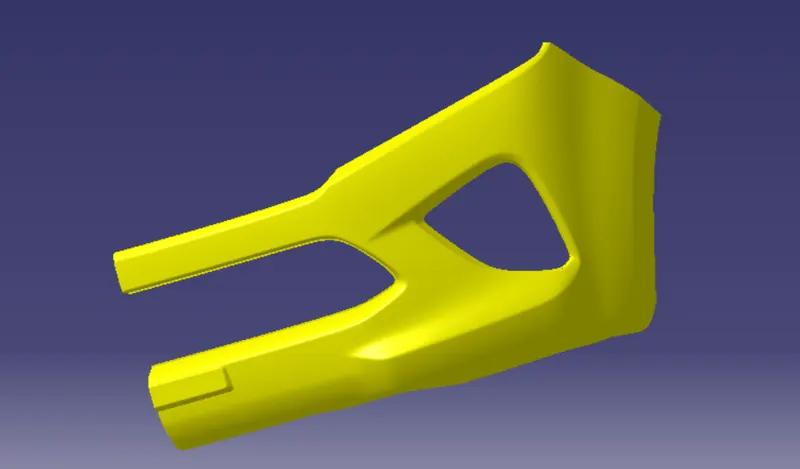
CLASS B
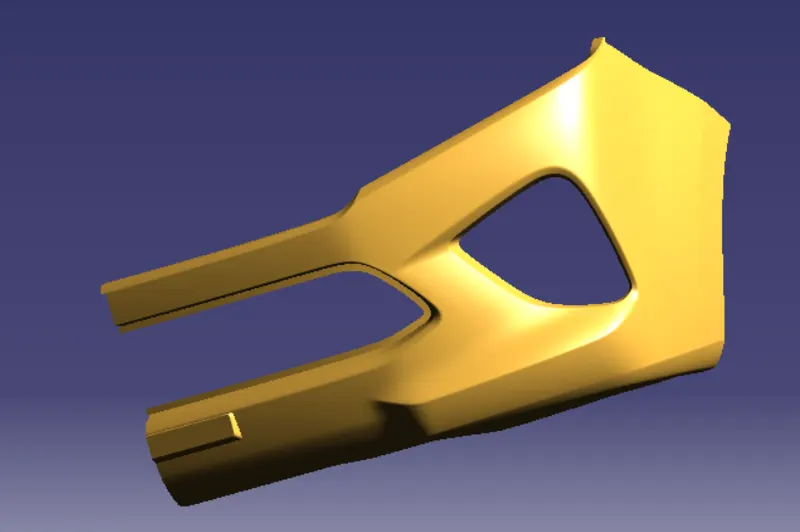
CLASS C
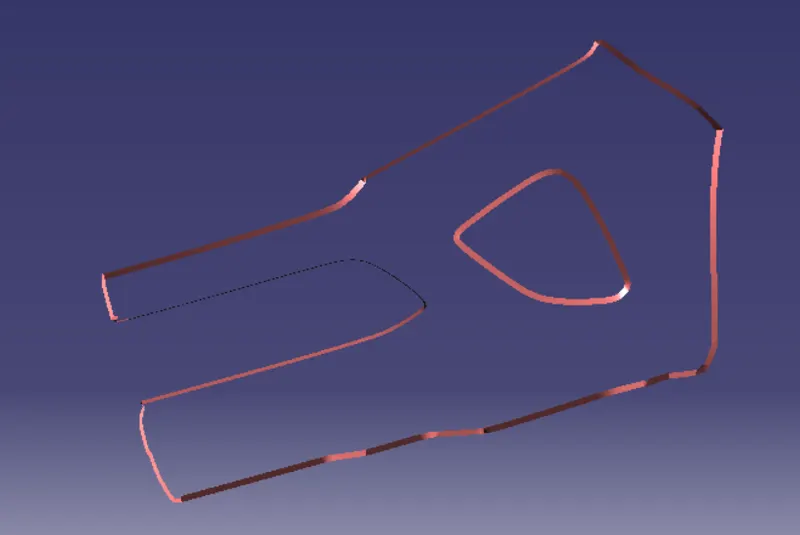
FINAL TRIM OUTPUT
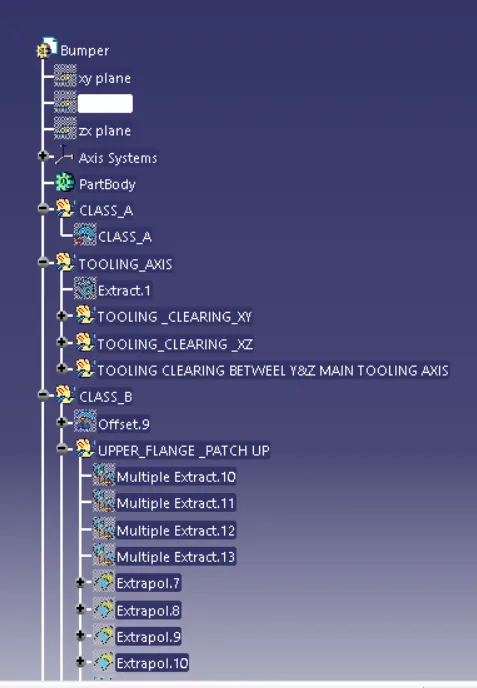
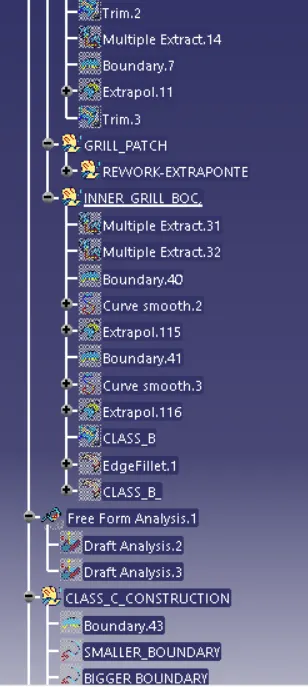
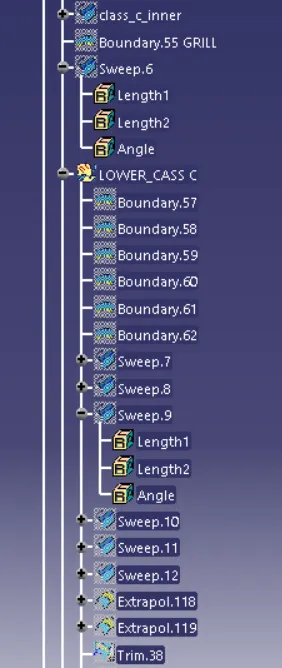
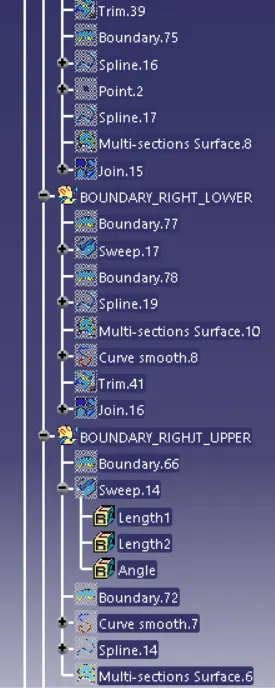
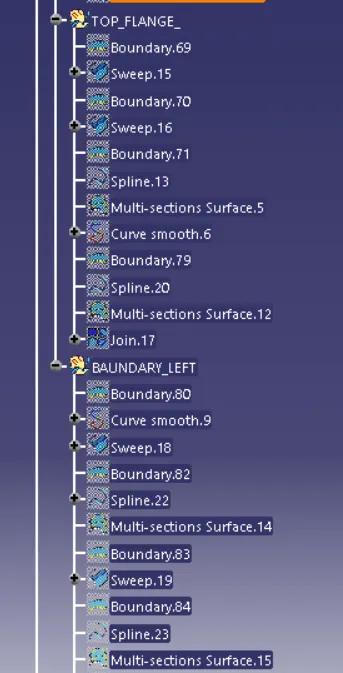
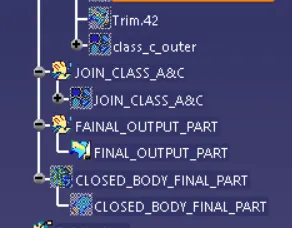
TREE STRUCTURE
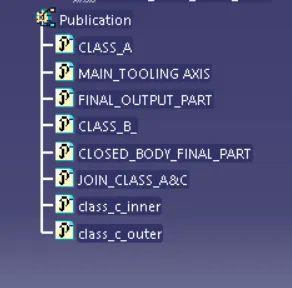
PUBILCATIONS