Week 8 - Challenge 4 - Bumper
BUMPER DESIGN
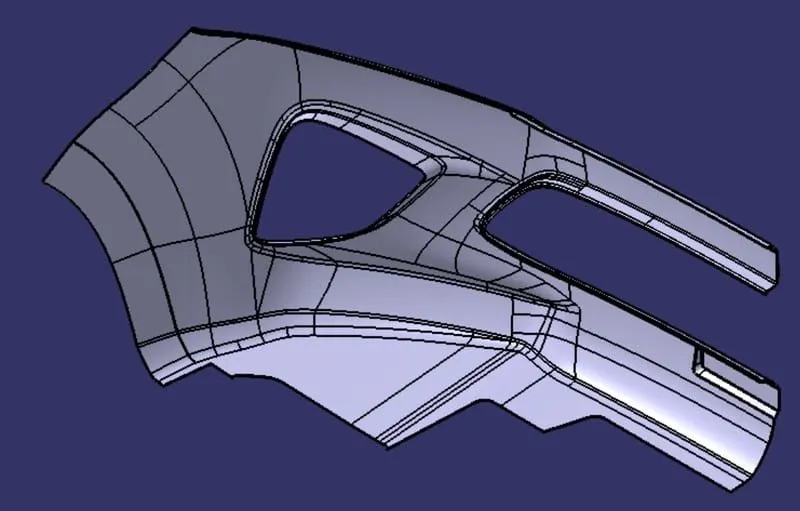
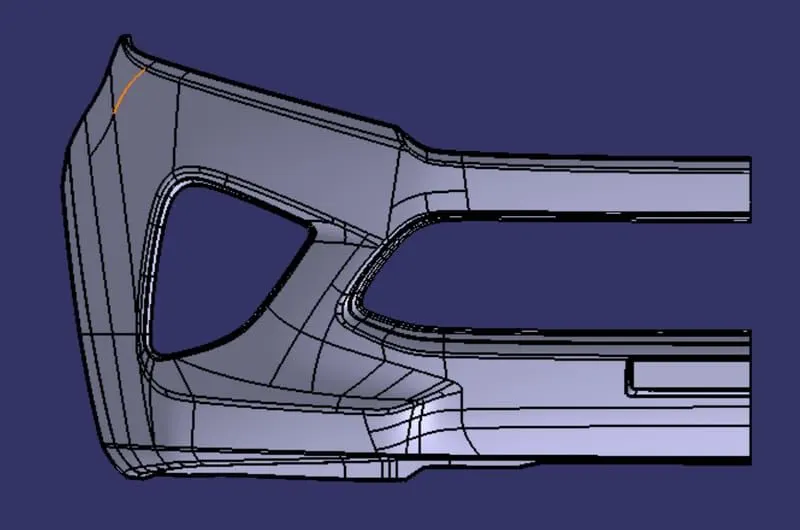
To design bumper through the given class A surface.
Design approach:
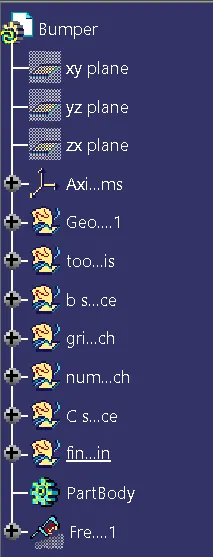
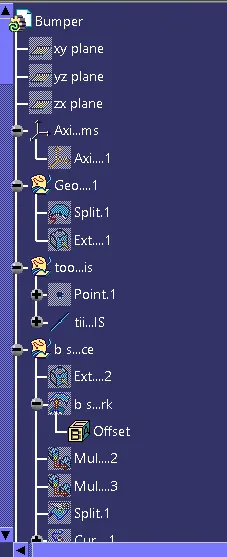
Creating tooling axis
Perform draft analysis on Class A surface
Design B surface using offset
Design class C. Join A&C and trim it with B
Tooling axis:
Tooling axis represents opening and clossing of mold core and cavity during the manfacturing of components. Best direction for the tooling axis should be choosen to reduce the production cost.
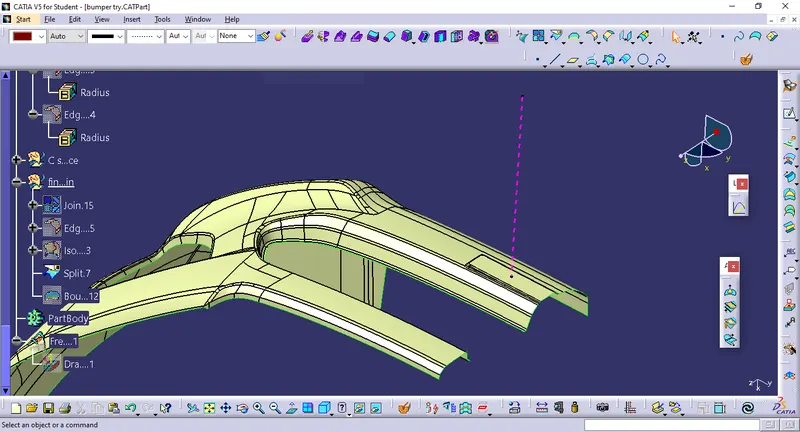
Select a surface after analysisng the class A, create a point on the surface and give a axis system at the point.
draw a line from the point normal to surface . Now this the tooling axis.
Draft analysis for given class A surface:
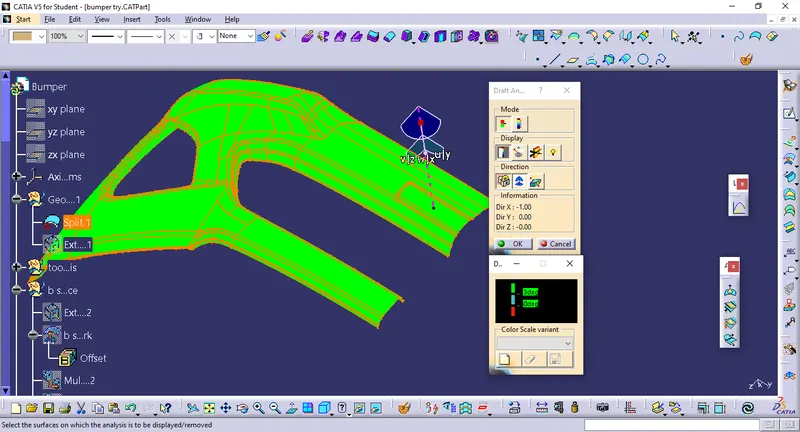
Draft analysis is to check if the part is drafted or not, so that i could be easily removed from the mold, Draft analysis is done after selecting the tooling axis check for mimimum of 3 degree of draft. Procedure of performing draft analysis, select the mode to material mode open the comand feature draft analysis, select compass, set the compass to the tooling axis lock it and then click on the surface to check.
Designing B surface:
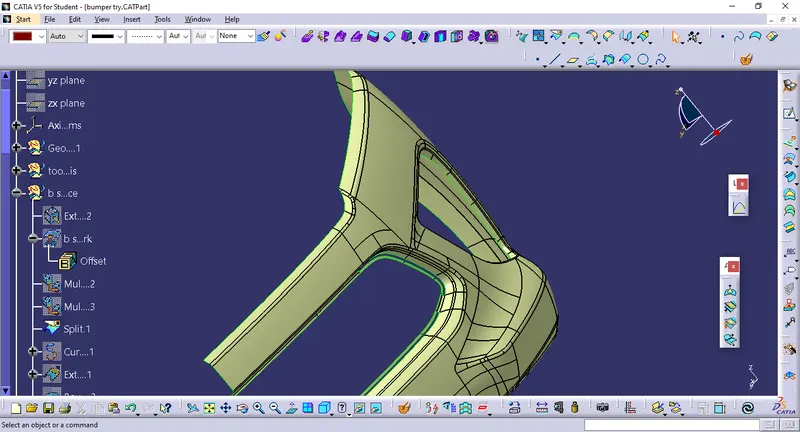
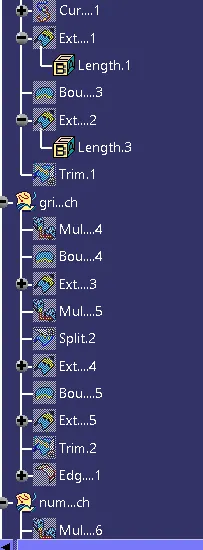
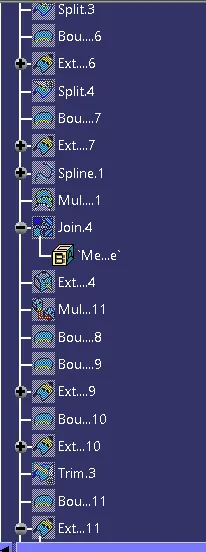
This method is called main offset method, here offset to 3 mm is taken inwards from the given class A, However Catia could not offset entire class A, As fillets create main trouble, Few patches are created on the surface. fill the pactes using this method,
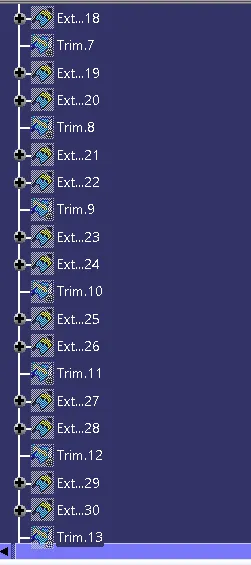
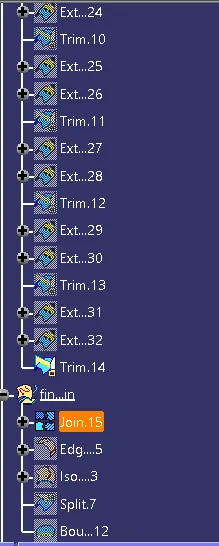
trim the entire fillet which is creating trouble to offset. Extract the required areas using multiple extracts using surfaace trim we trim it with the main B surface. Give fillet using edge fillet, same procedure is repeated for the other patches also.
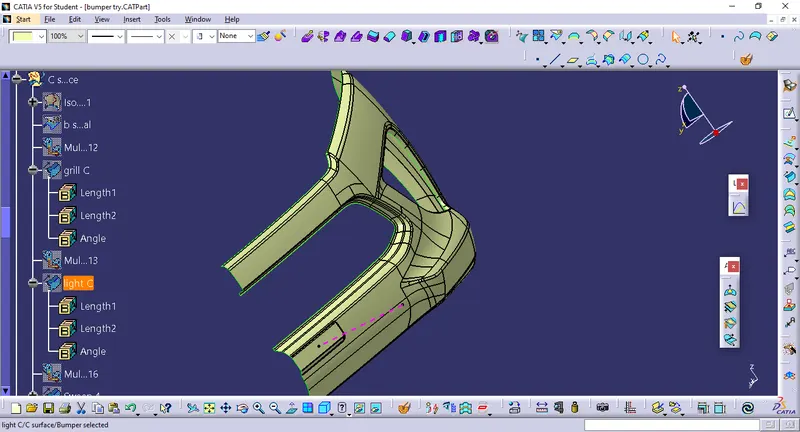
Creating C surface:
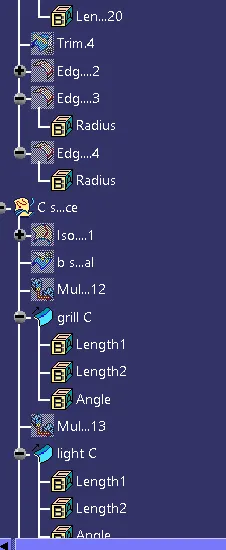
This surface joins A & B, Class C is often specefied for interior surfaces which are not readily visible surface that is covered by another parts in assembly.
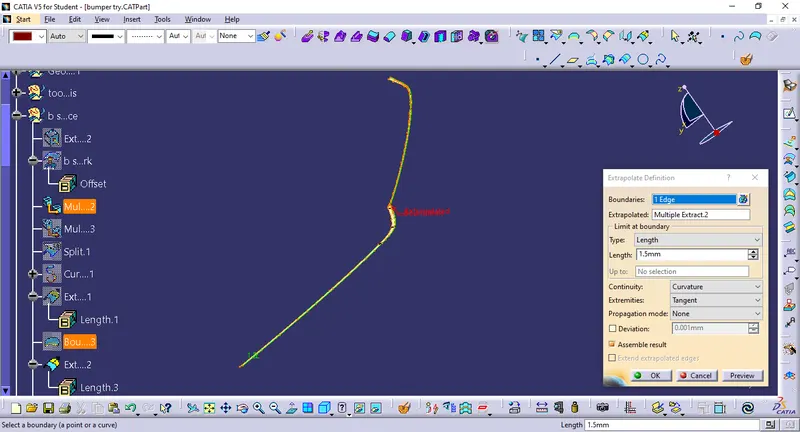
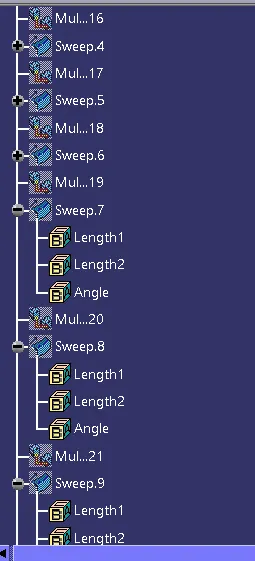
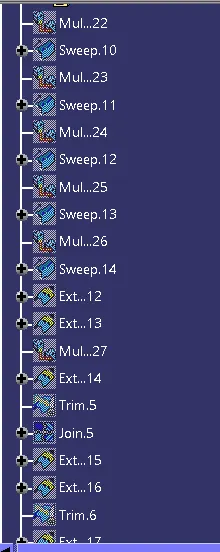
As about this design it is not easy to create C surface in a single go as the shape of the component is a complex and create lots of vertices and sharp edges while extracting a boundary.
so break down into steps create the C surface one after the another using surface sweep, select referance to surface and keep the angle to 90 degrees.
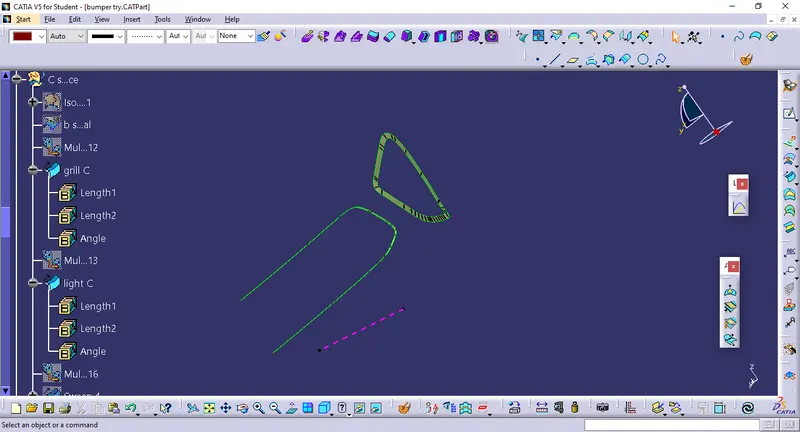
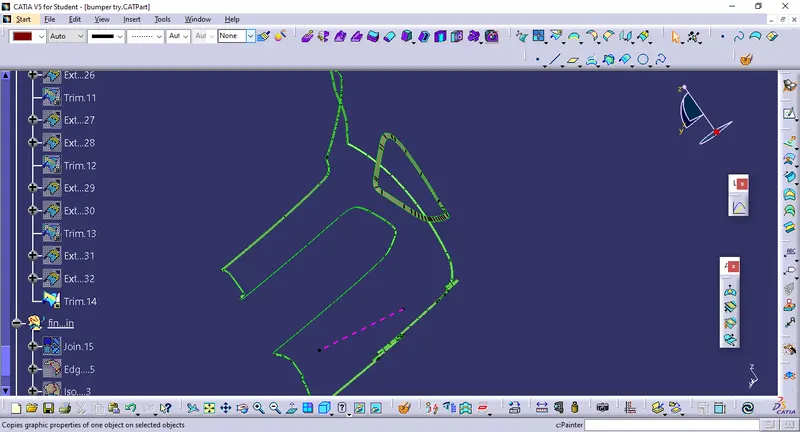
join Class C to Class A surface.
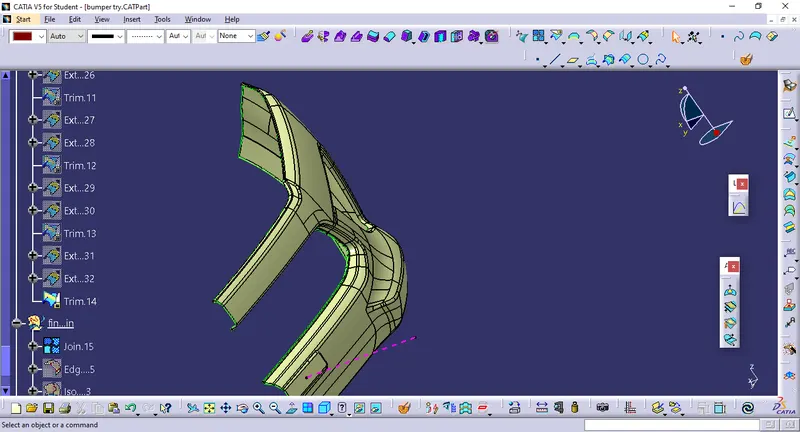
changing part body workbench create a solid part.
Thank you