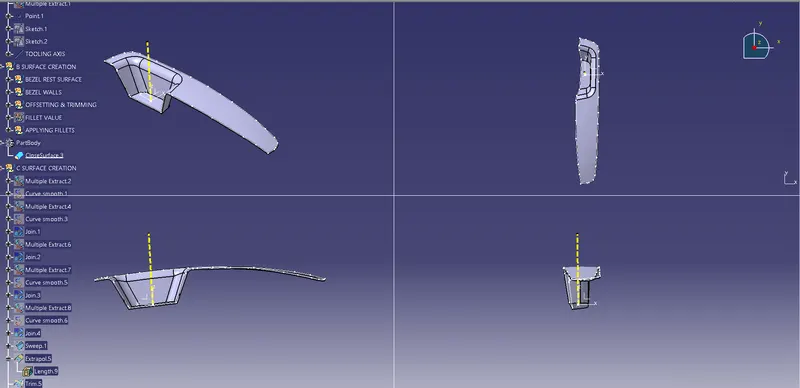
Week 8 - Challenge 3 - Switch Bezel Design
Objective: To create the Switch Bezel Plastic component through the given Class-A surface and to perform the Draft analysis on the model.
Steps:
1. Creation of tooling axis for the given model
- Extract the base surface. Create a point on the base surface. Insert the axis system on the point created. Go to Sketcher by selecting suitable reference plane (YZ plane to get tooling direction along Y-axis and XZ plane to get tooling direction along X-axis)
- Take the intersection of class A with reference plane
- Draw two lines on the intersected line as shown below. Then use the Bisecting line command to get the bisecting line of these two lines. This line is the tooling direction in Y-direction.
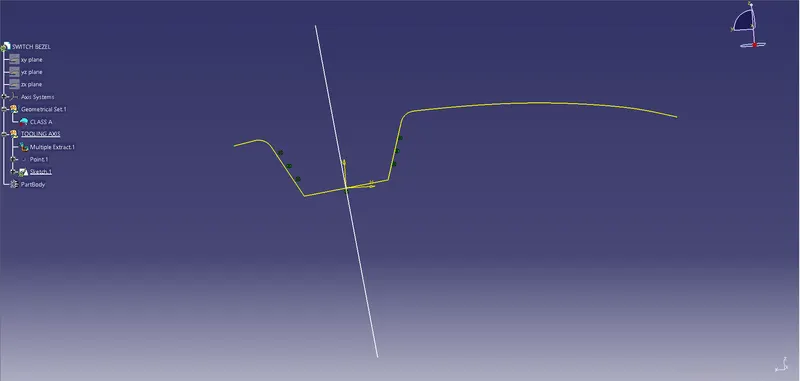
- Take the intersection of class A with XZ plane. Draw a line on intersection line of class A. Since we do not have another surface to draw the line, draw a line passing through projection point, making an angle 3 deg with reference plane as shown below
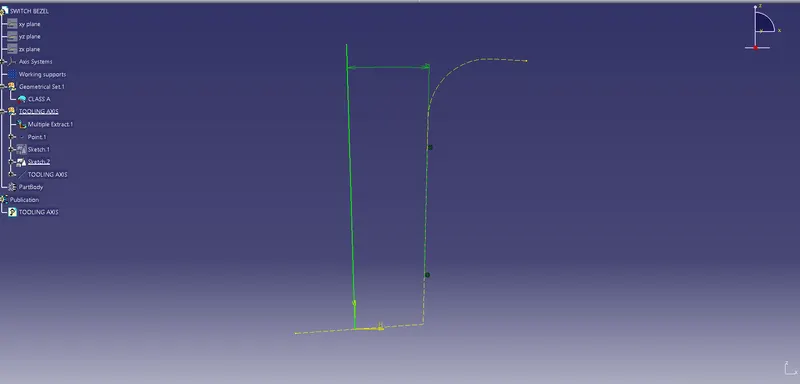
- Bisect these two lines to get the tooling axis. Publish this line as tooling axis
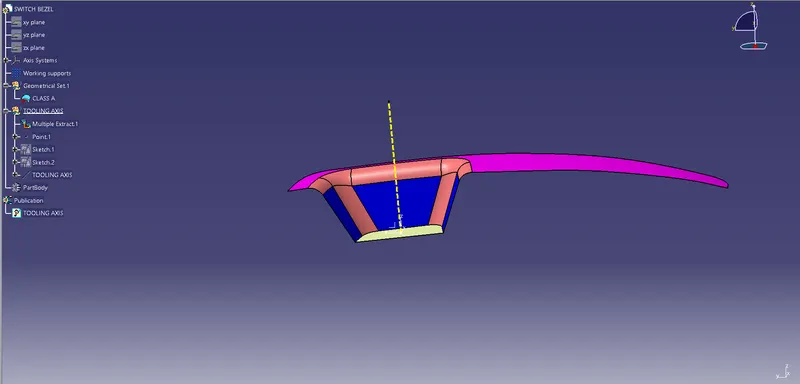
2. Performing draft analysis
- Go to Insert-analysis-feature draft analysis. Before that customize view parameter mode to material.
- Click on the compass icon and align it with the tooling axis and click on the surface, we will get our results.
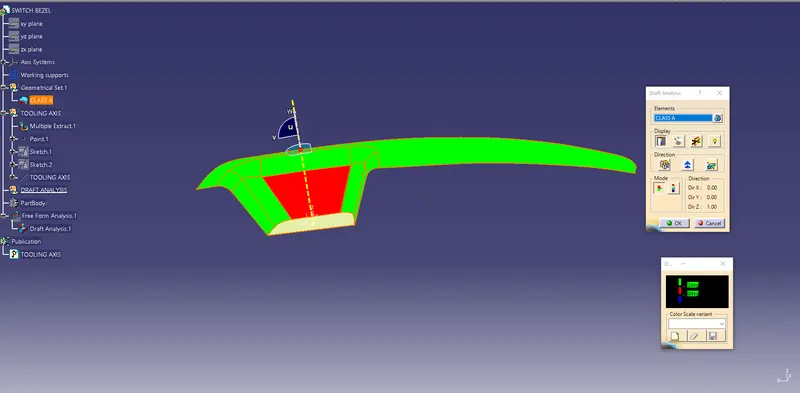
- From the above figure it is seen that the surface in green colour has greater than 3 degree draft which is most required for tooling feasibility. Red colour shows the draft angle range between 0 to 3 deg.
- Below image shows full drafft analysis
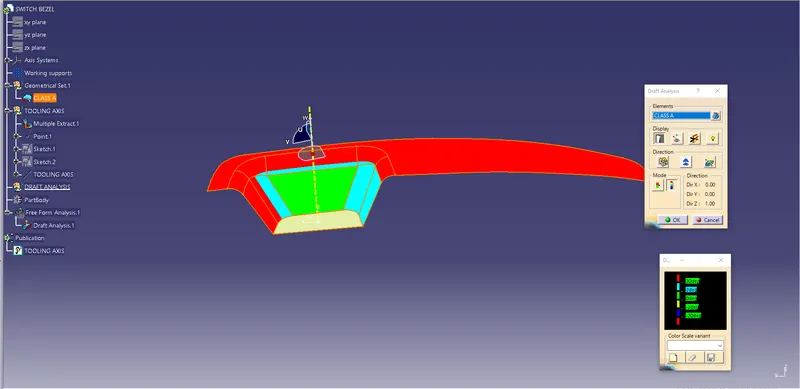
- We also check the draft angle of running point on surface
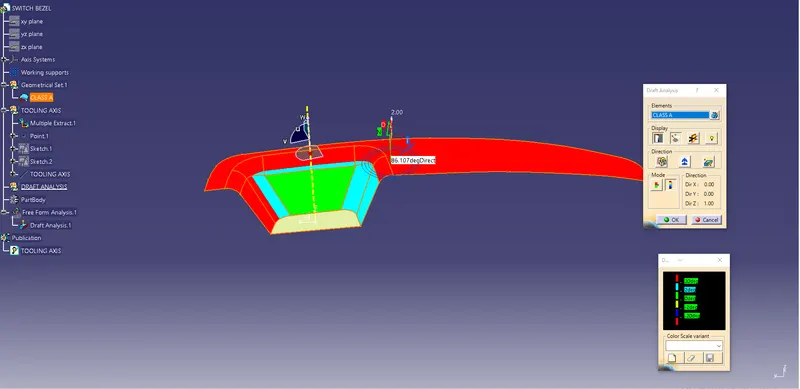
- Image of the mode in various orientations
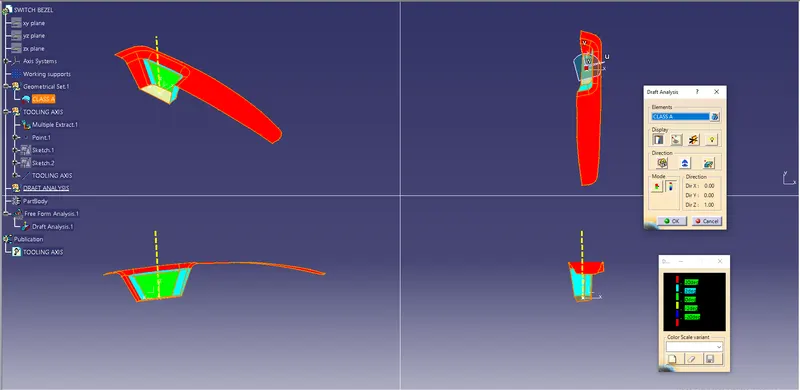
3. B-surface creation
- Extract the top surface and untrim the surface
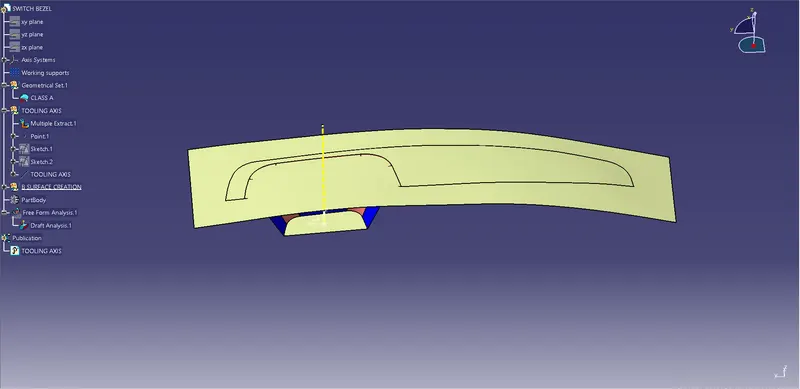
- Extract the bezel walls and untrim the walls
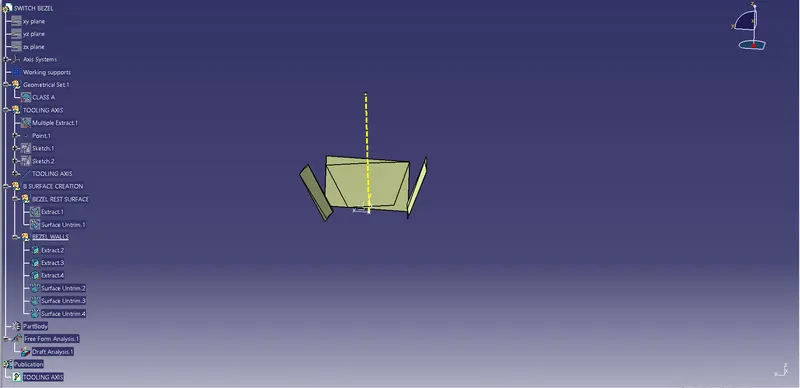
- Extrapolate the surfaces. Use continuity as curvature and propagation mode as point continuity.
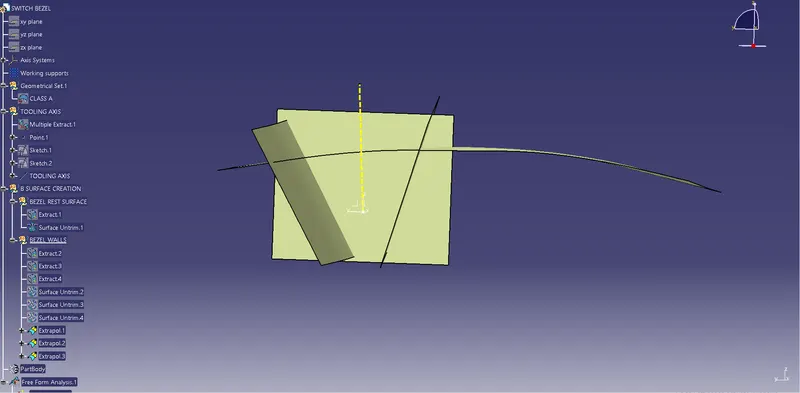
- Trim the surfaces and offset the surfaces
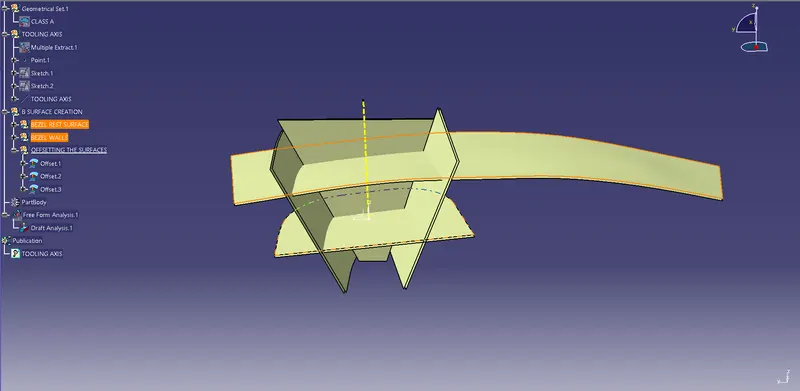
- After final trim and applying proper fillets value, we get the B-surface
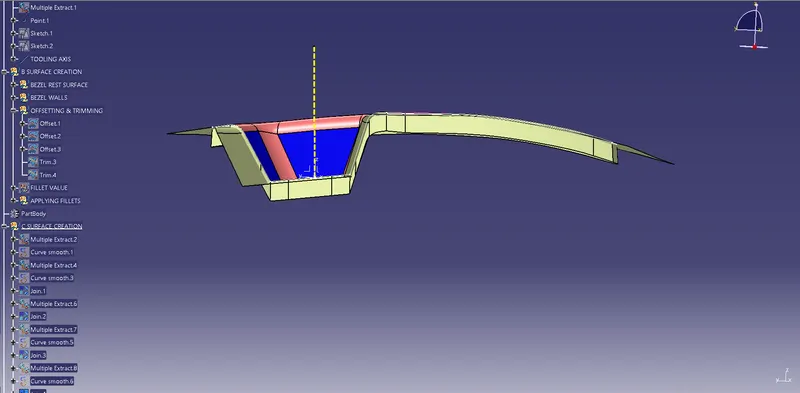
4. C-surface creation
- Extract the outer boundary of class A surface using multiple extract command
- Perform curve smoothening and join the outer boundary.
- Use sweep command to create the C surface as shown in above image
- Extrapolate the C surface and trim the extra edges to get the final surface model
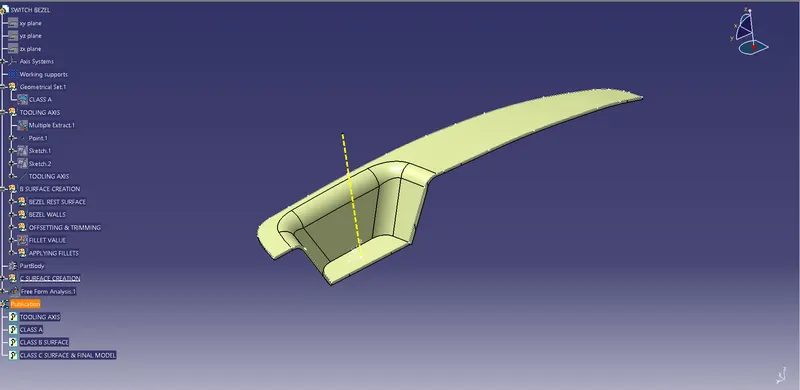
5. Making the closed body
- Use close surface command in part design workbench to make the solid body
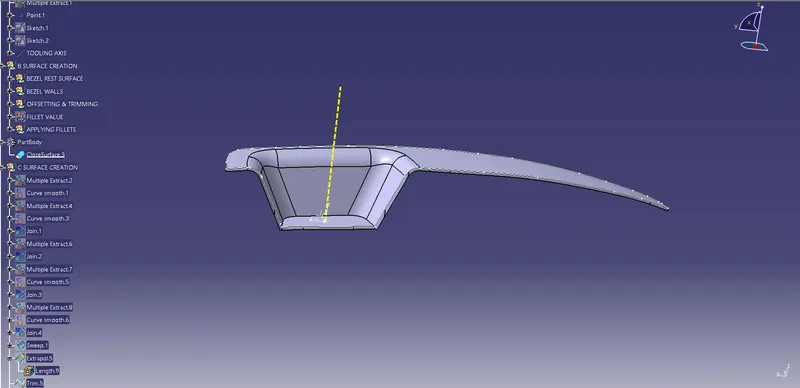
- Image showing model in various orientations