Week 8 - Challenge 3 - Switch Bezel Design
AIM:- Create the Switch Bezel Plastic component through the given Class-A surface. To begin with, the tooling axis for the given Class-A Surface should be created meeting the requirements of the draft angle and at the end perform the Draft analysis on the model.
OBJECTIVE:-
- Create Tooling Axis
- Perform a draft analysis on Class-A surface
- Creation of Class-B and Class-C surface
- Creation of the proper tree structure
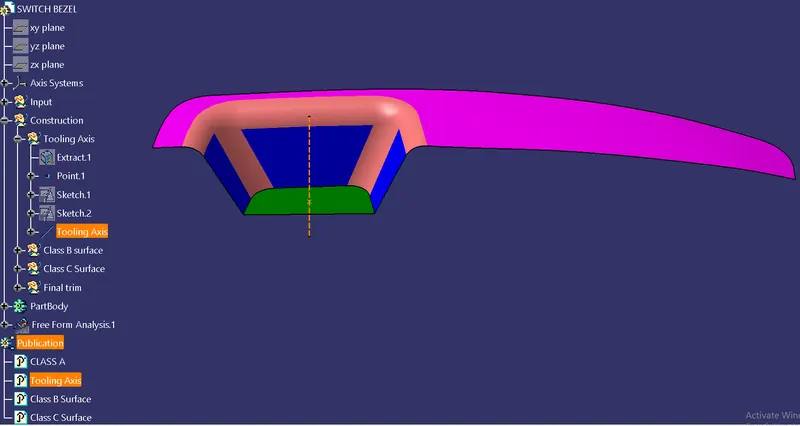
- Publishing the Tooling Axis and Class A, B, and c surface.
CONSTRUCTION:-
-
First, check the connectivity of the Class-A surface by using the boundary condition.
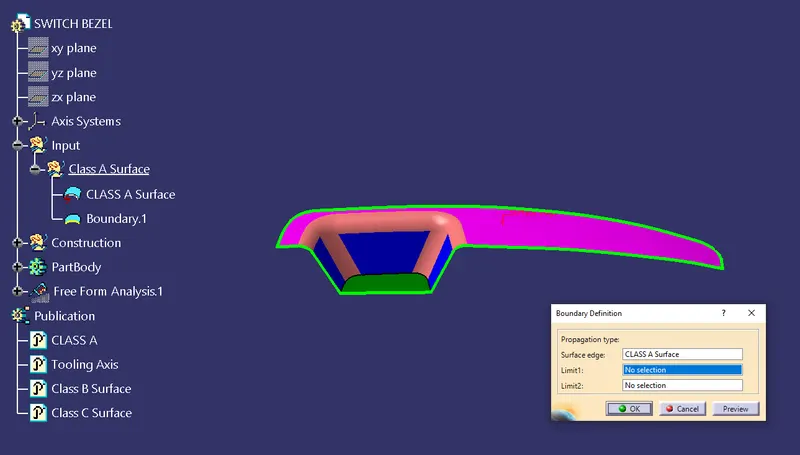
Creation of Tooling Axis:-
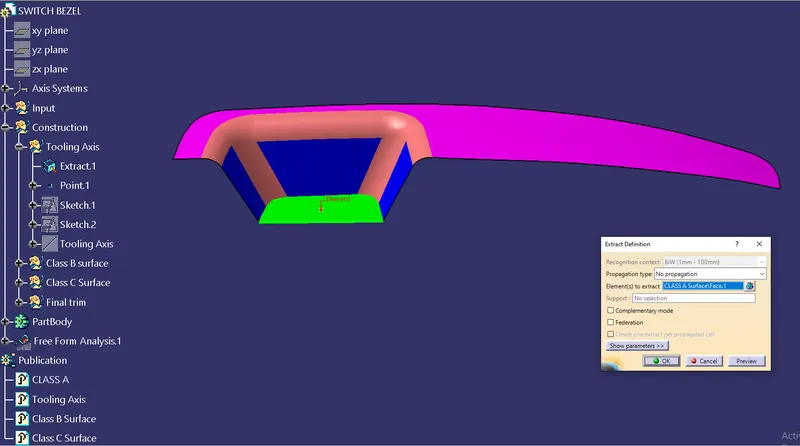
- First, extract the surface and create a point on the center of the surface.
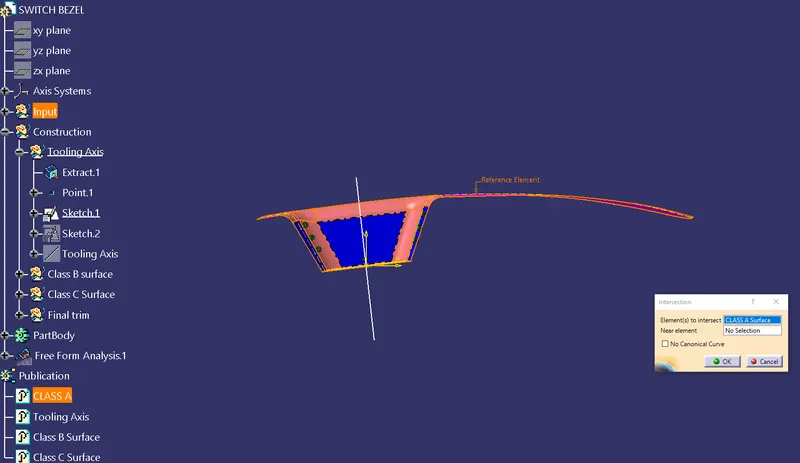
- Select intersection and select element to intersect as Class-A surface.
- Create 2 lines at the intersection of the surface and bisect both the line on the point.
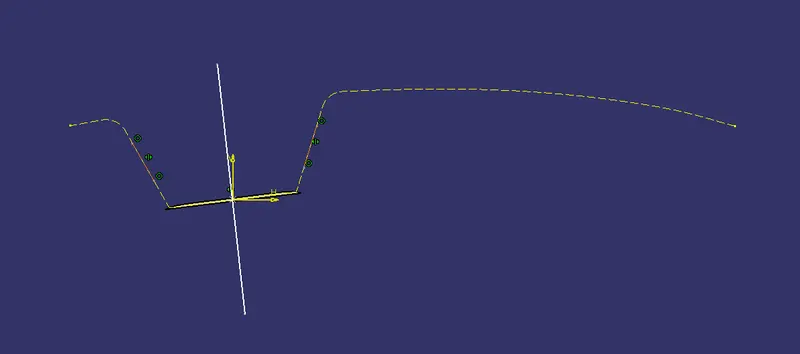
- In zx plane create another line intersect the line.
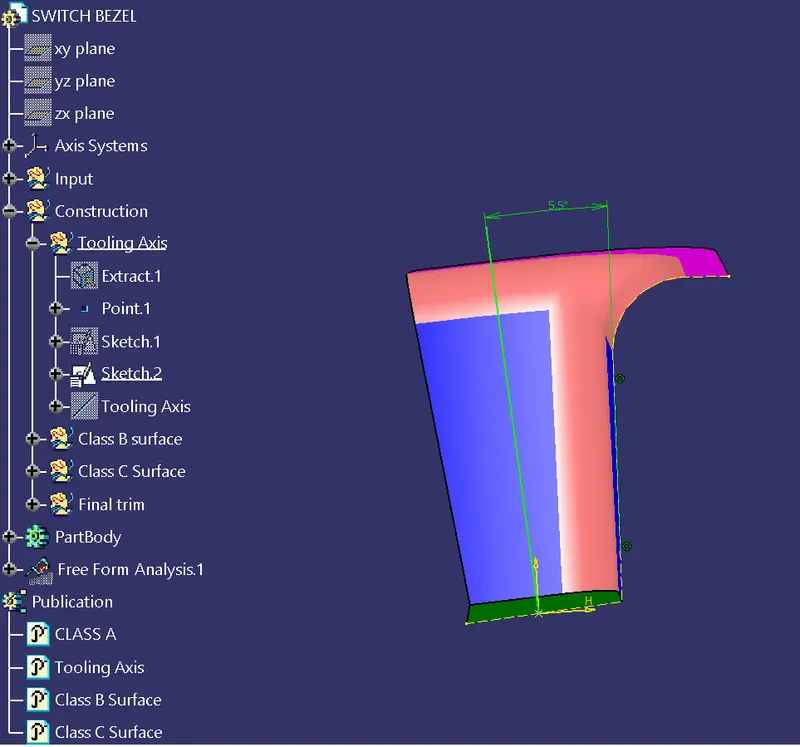
- Create a bisecting line of both the line.
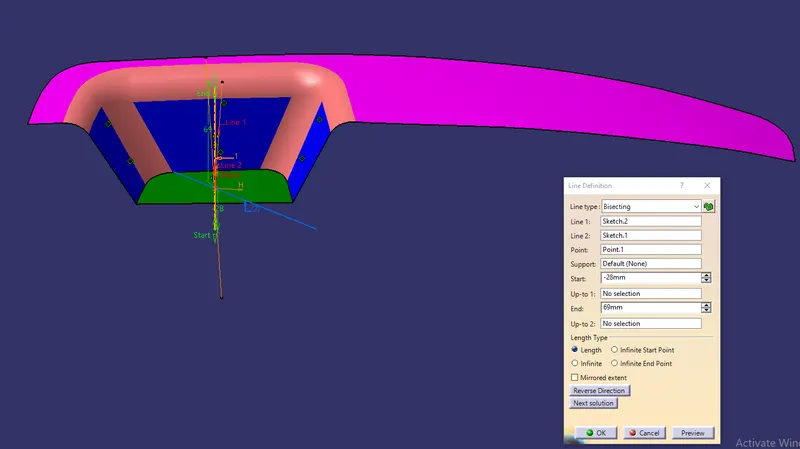
- The below image shows the tolling axis.
Creation of Class-B Surface:-
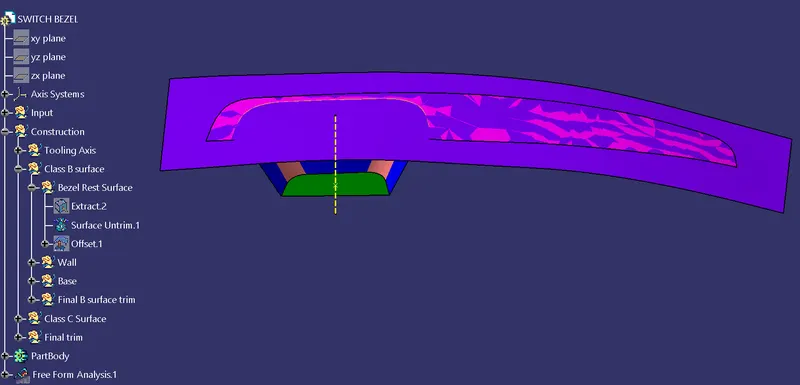
- Extract and untrim the bezel rest surface.
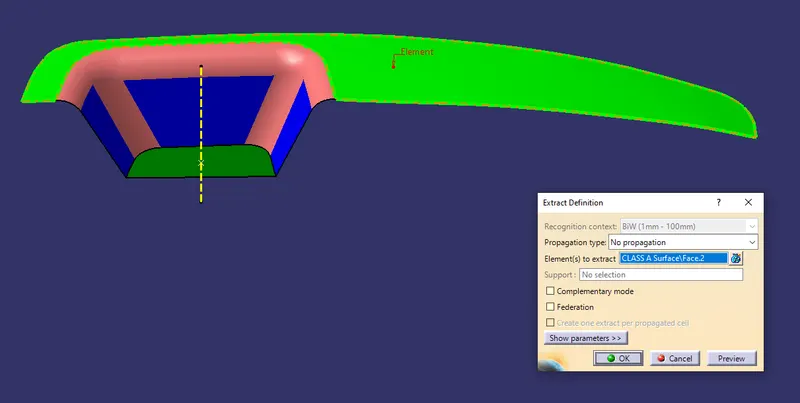
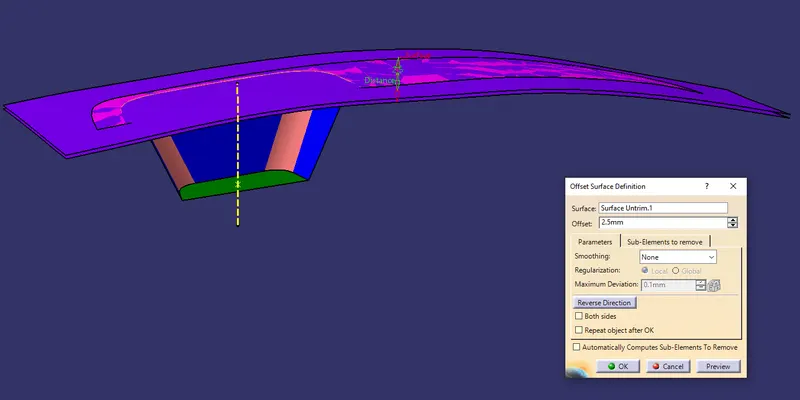
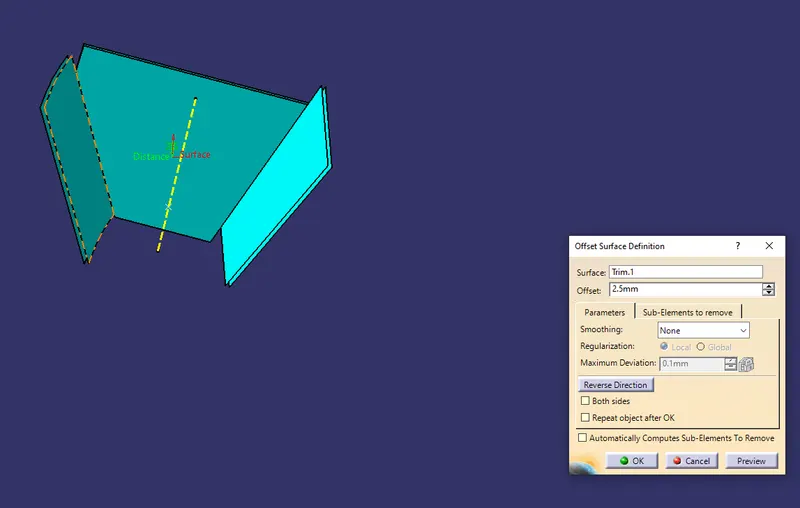
- Offset the surface at a distance of 2.5.
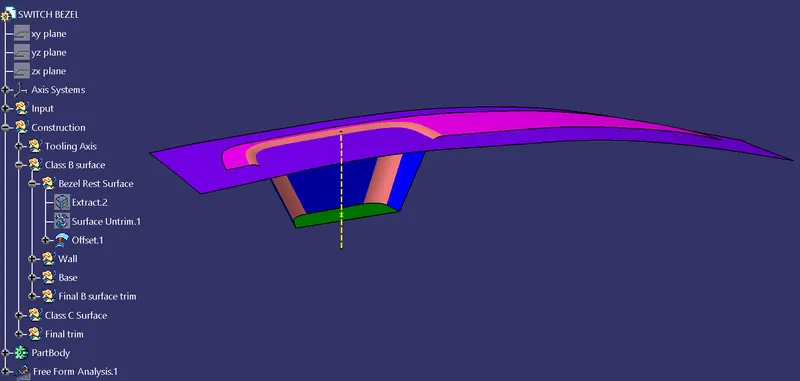
- Extract the wall.
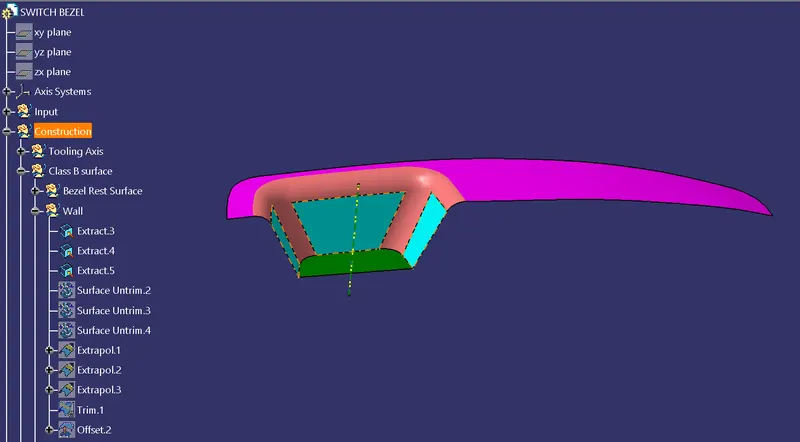
- Surface untrim and extrapolate the wall.
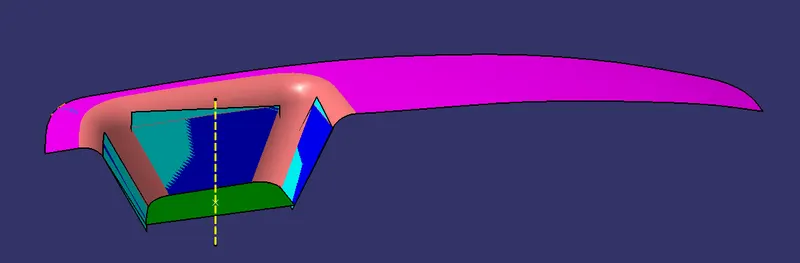
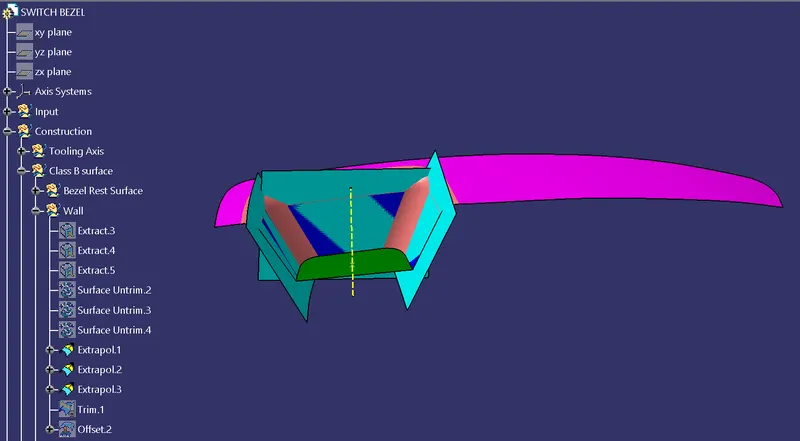
- Trim all three surfaces.
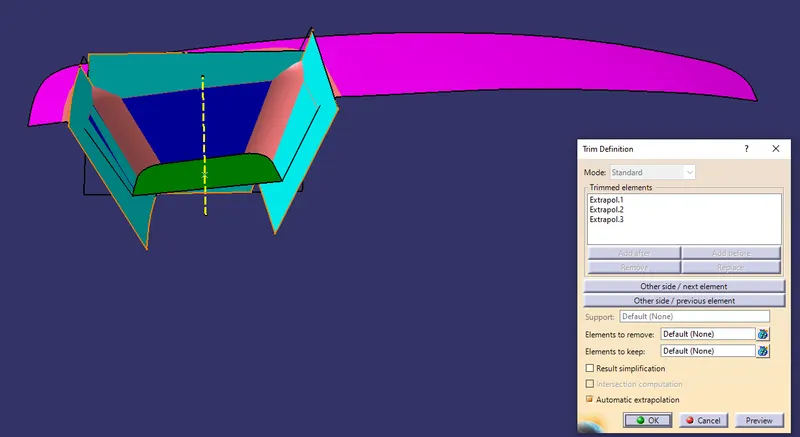
- Offset the wall at a distance of 2.5.
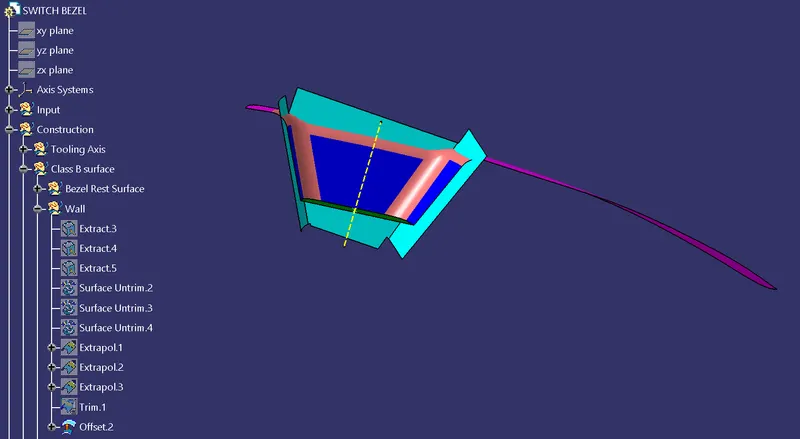
- Extract, untrim, and extrapolate the base surface.
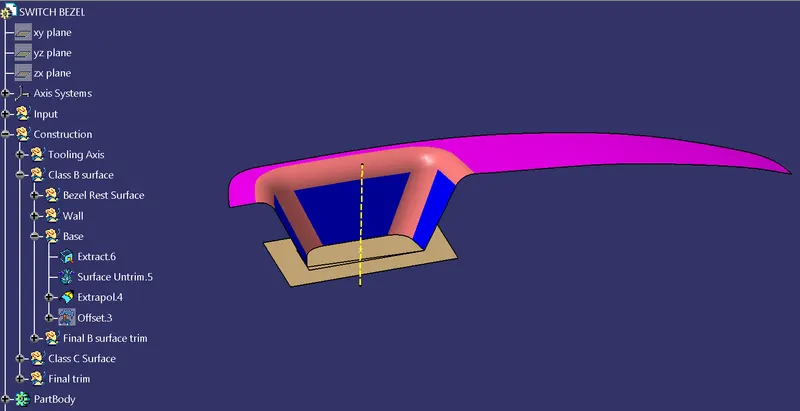
- Offset The base surface at a distance of 2.5.
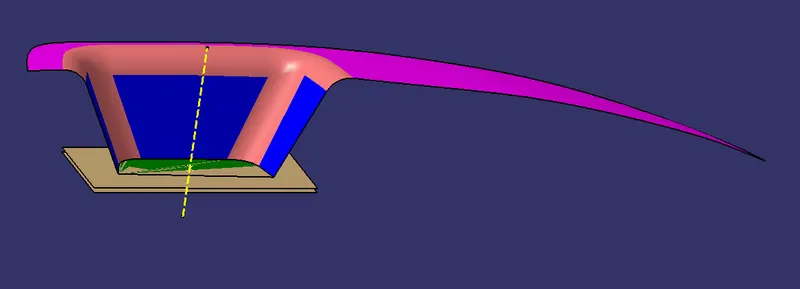
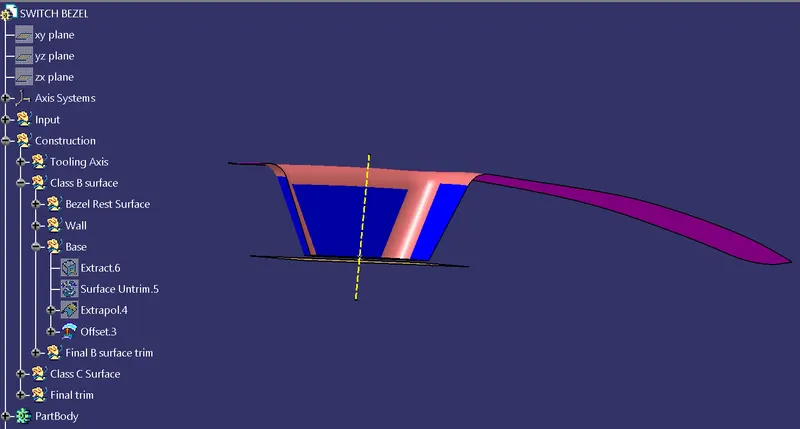
- Trim the bezel rest surface, wall, and base.
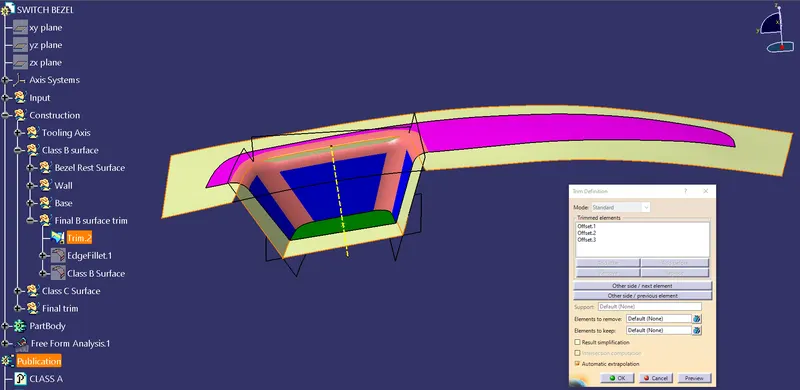
- Give the edge fillet value and then the final Class-B surface is created.
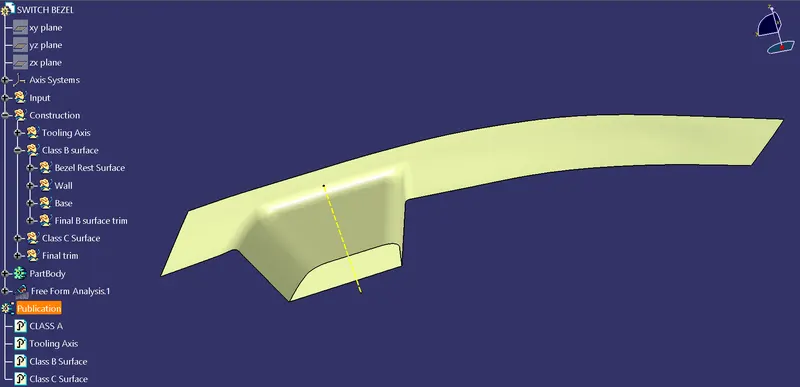
Creation of Class-C Surface:-
- First, create the boundary and smooth the curve
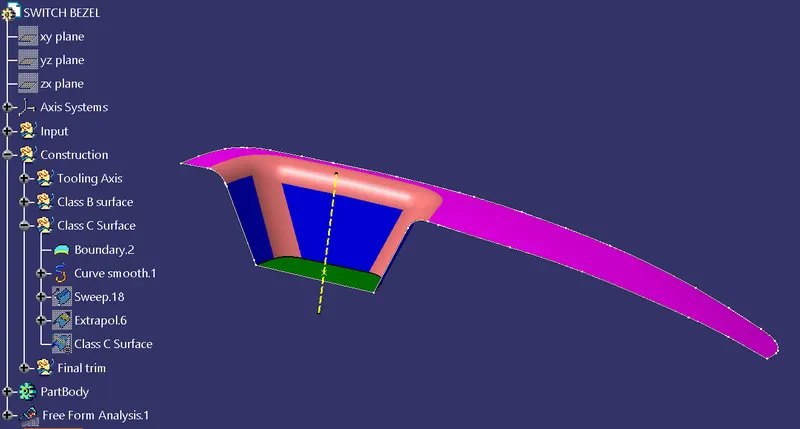
- In sweep surface definition select line in profile type and subtype as with draft direction.
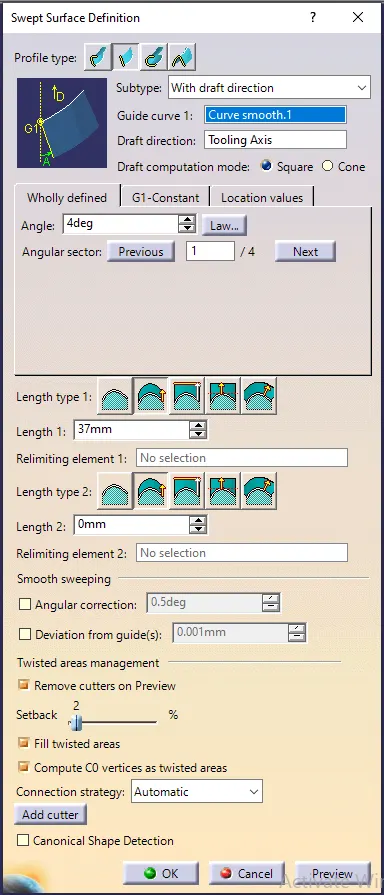
- Select the guide curve as the boundary and draft direction as the tooling axis.
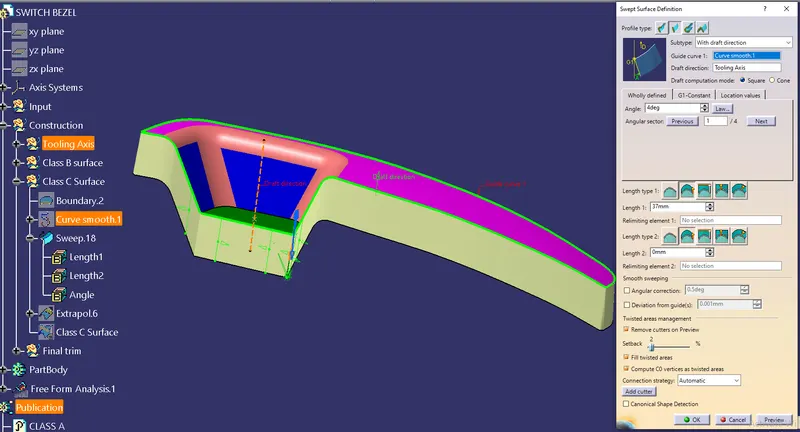
- Extrapolate the sweep surface.
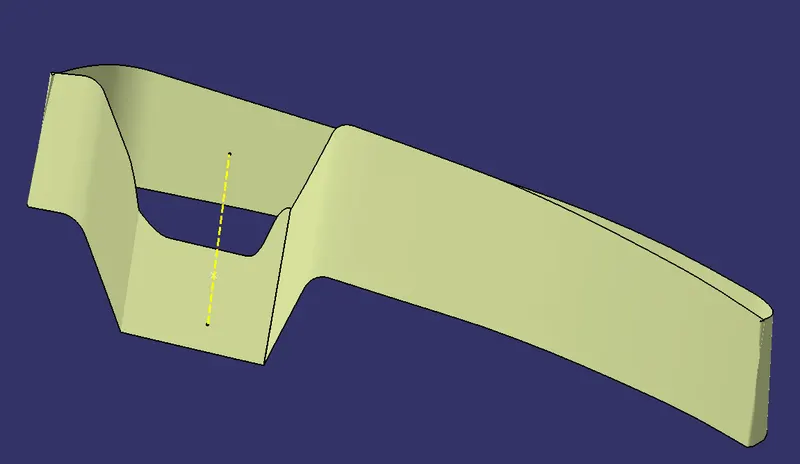
- Then Trim the surface with Class-A surface.
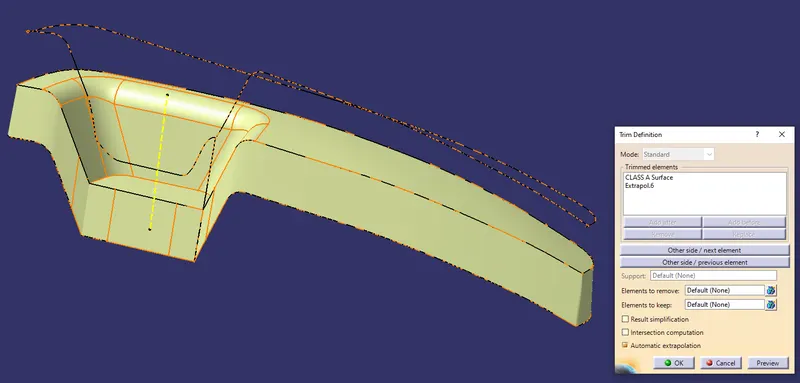
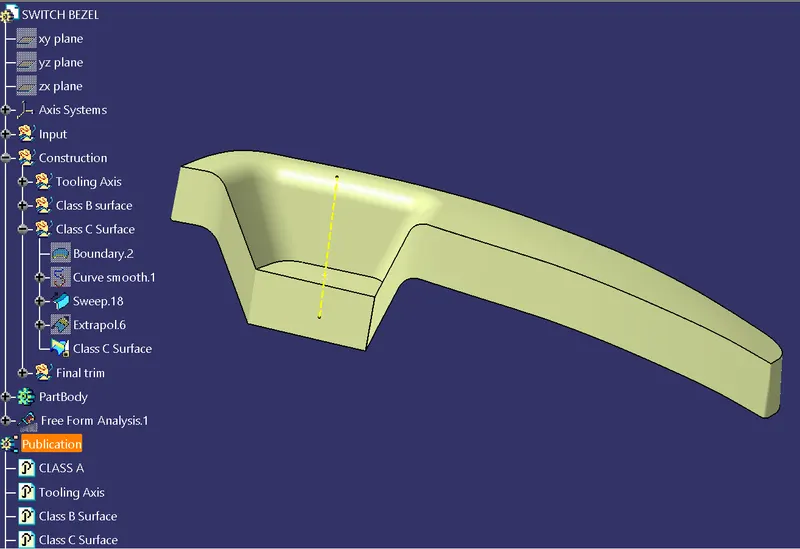
- Finally, trim the Class B-surface with a Class-C surface.
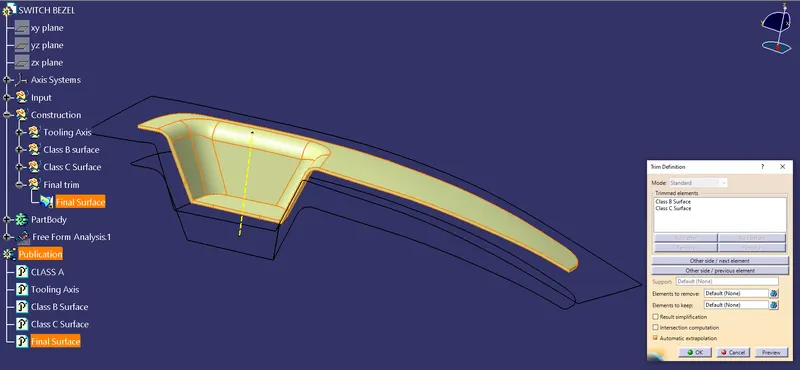
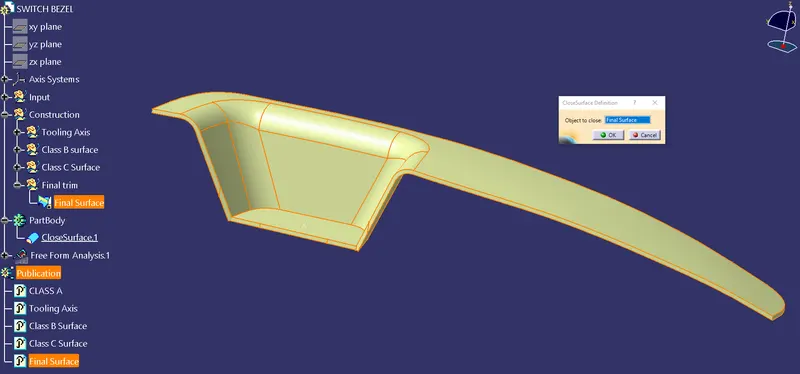
- Create the close surface of the final surface.
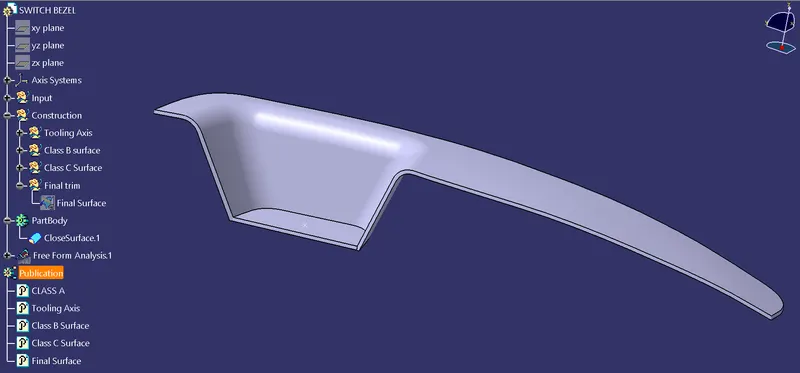
Publication of Tooling axis, Class-A surface, Class-B surface, Class-C surface, and Final surface:-
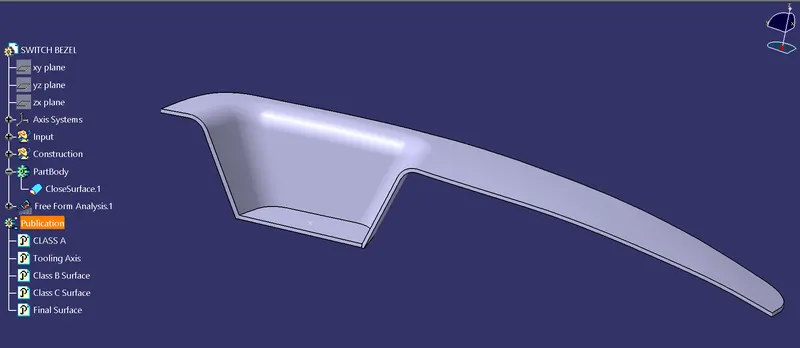
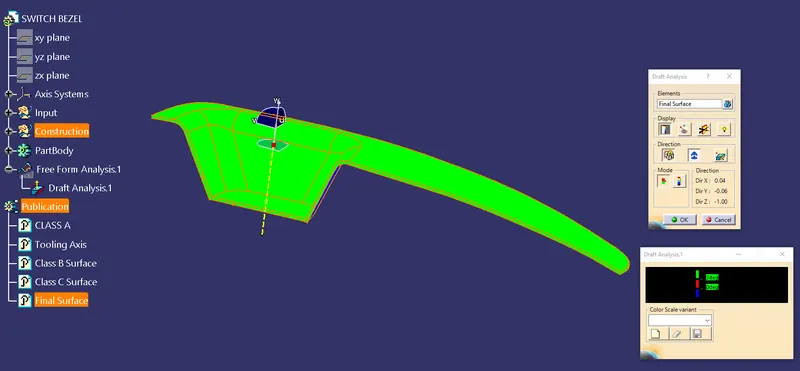
Draft Analysis:-
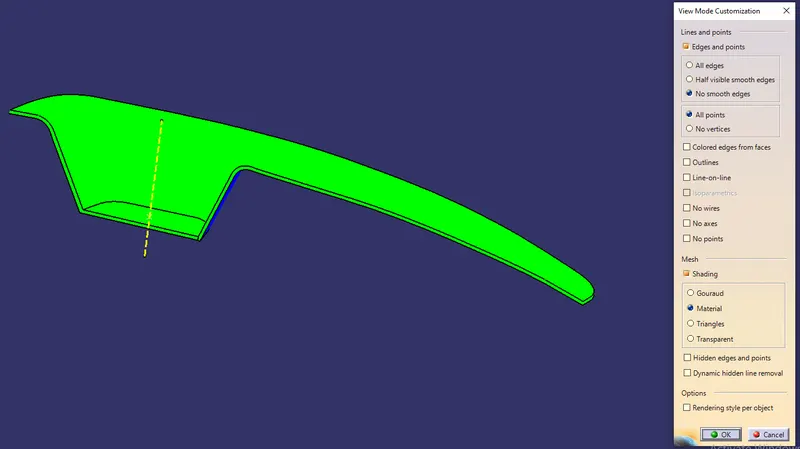
- To start the draft analysis first go to material view mode customization and select material.
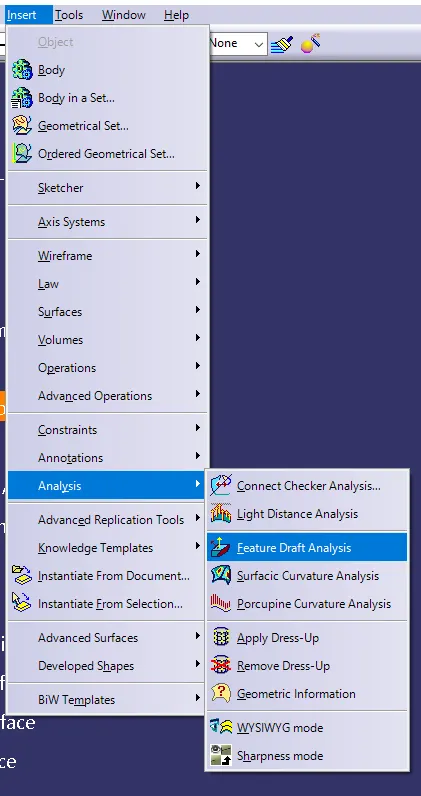
- Go to "Insert>Analysis>Draft analysis"
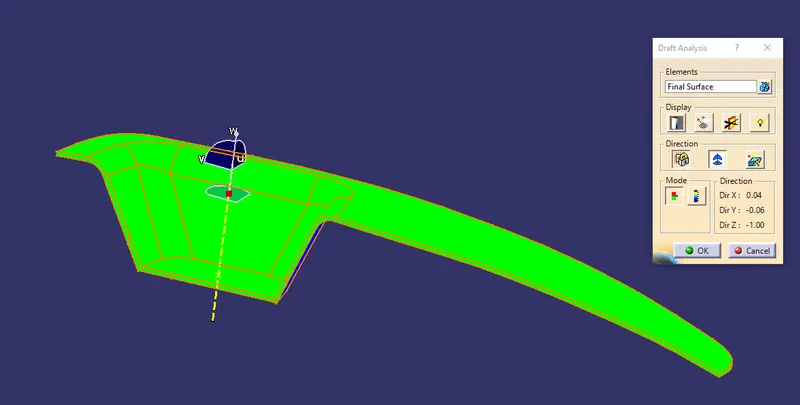
- Fix the compass in the tooling axis by dragging the compass to the tooling axis.
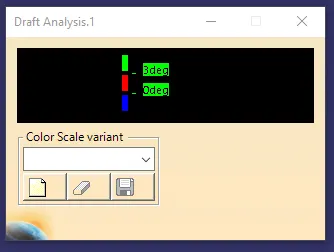
- Select a show or hide the color scale option under the display.
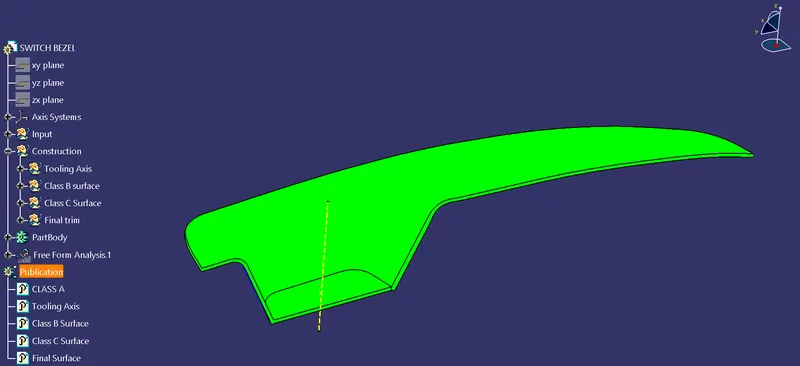
VARIOUS ORIENTATION(ISOMETRIC, FRONT, SIDE AND, TOP VIEW):-
- Isometric View
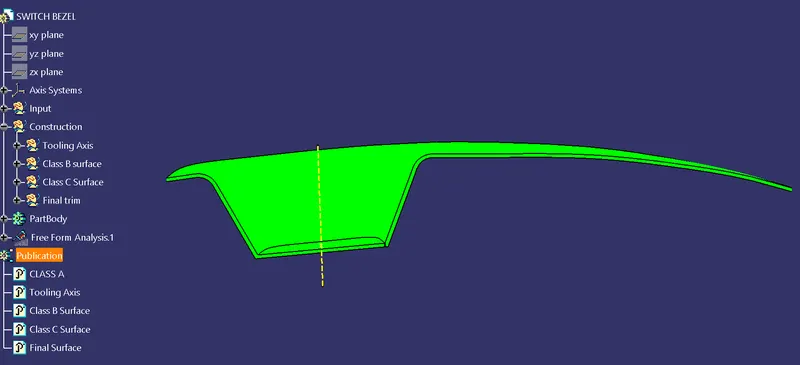
- Front View
- Side View
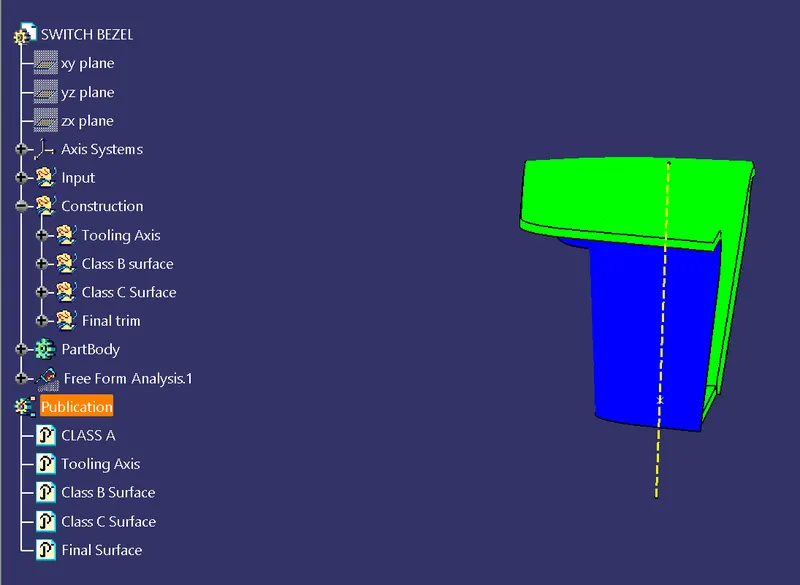
- Top view:-
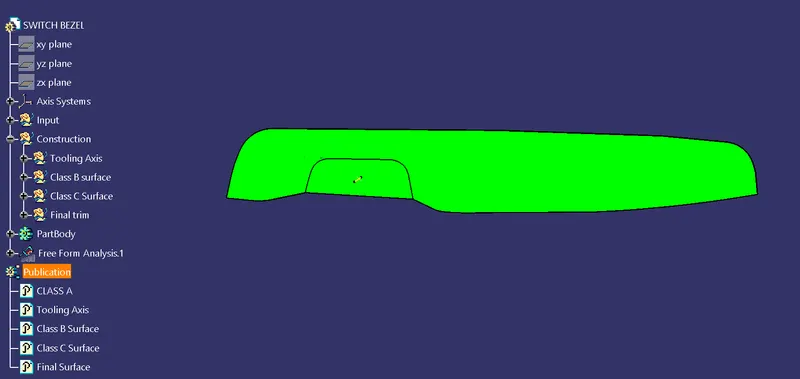
- Multi-View
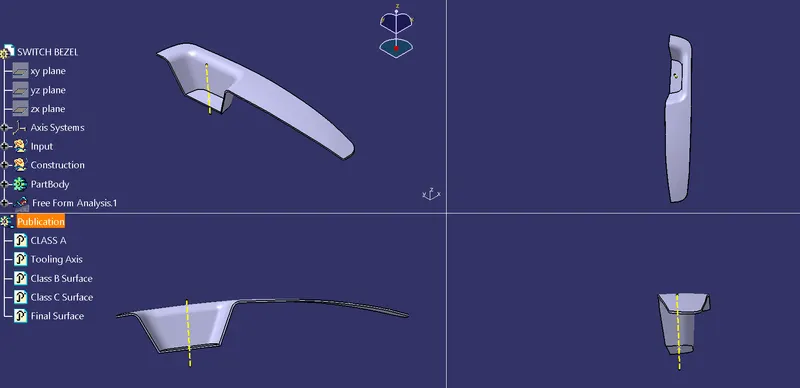
The Switch Bezel component is created using Class-A surface and draft analysis has been performed.