Week 8 - Challenge 3 - Switch Bezel Design
*Creating Class-B & Class-C Surfaces using Class-A Surface and Performing Draft Analysis on it.
Given Class-A Surface:
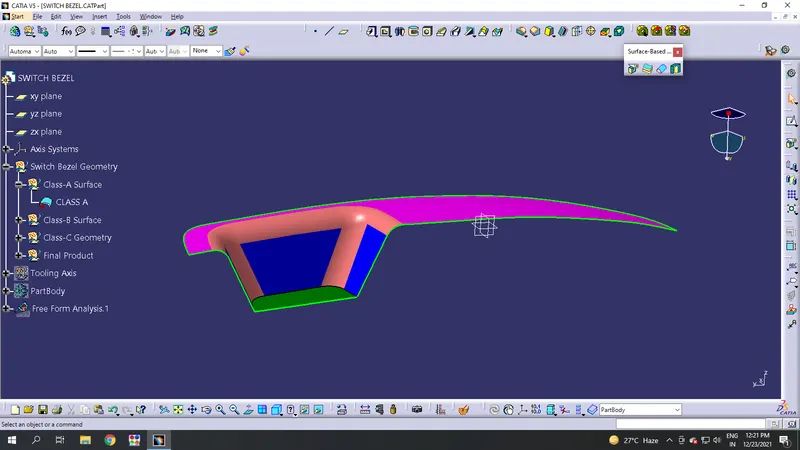
Step-1:
- Step 1 is to make a tooling axis for your model unless it doesn't exist.
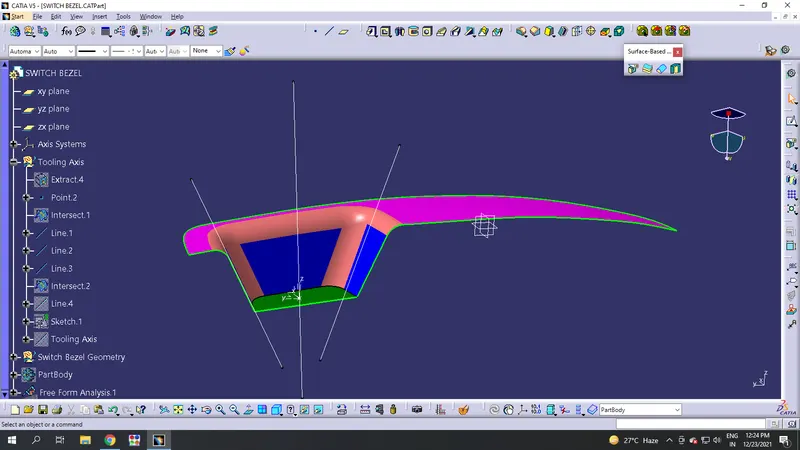
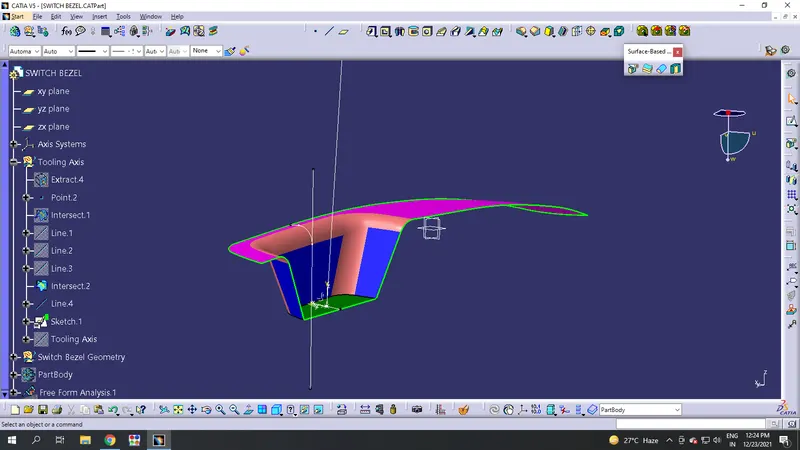
- Tooling axis should be considered parallel where many surfaces are present. So make a point to midest region and work bisecting lines from one direction.
- And make same to the other direction too.
Along X-Direction:
Along Y-Direction:
Step-2:
- From both the bisecting lines, take a main bisecting line which meets all the draft angles and make it it as main tooling axis.
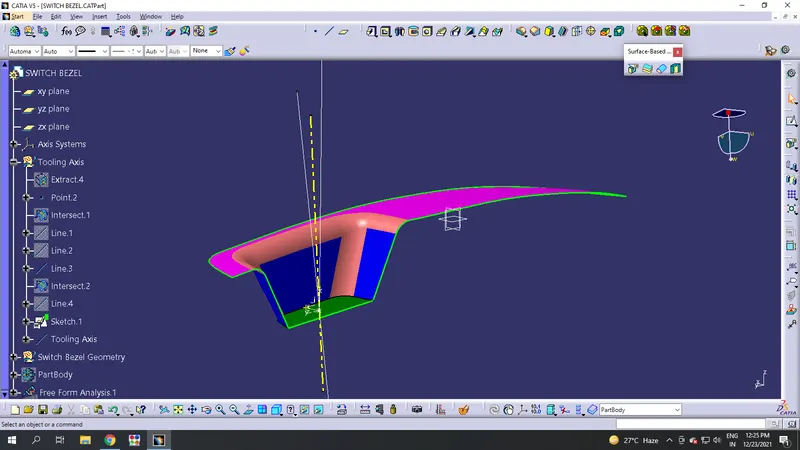
Step-3:
- Next step is to resolve the Class-A surfaces into simpler geometry to make it as Class-B surface.
- Make a different geometry as 'Class-B Surface' and divide it into 'pocket' and 'upper surface', and make them as children geometry to 'Class-B Surface'.
- Then Extract the pocket surfaces and untrim it to trim it as single component.
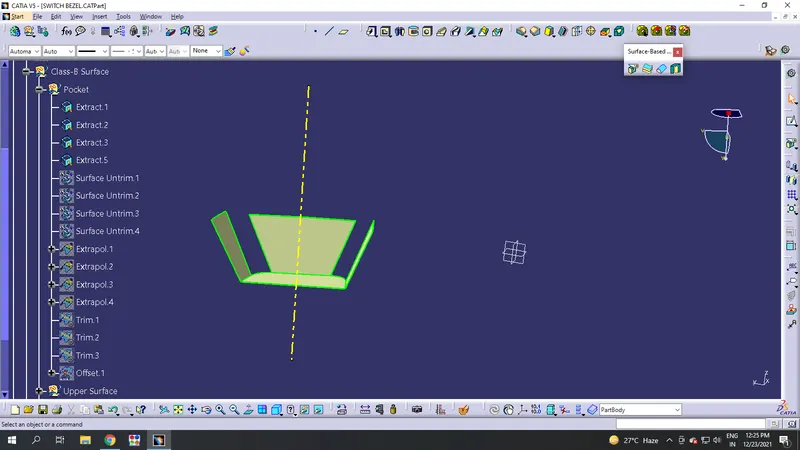
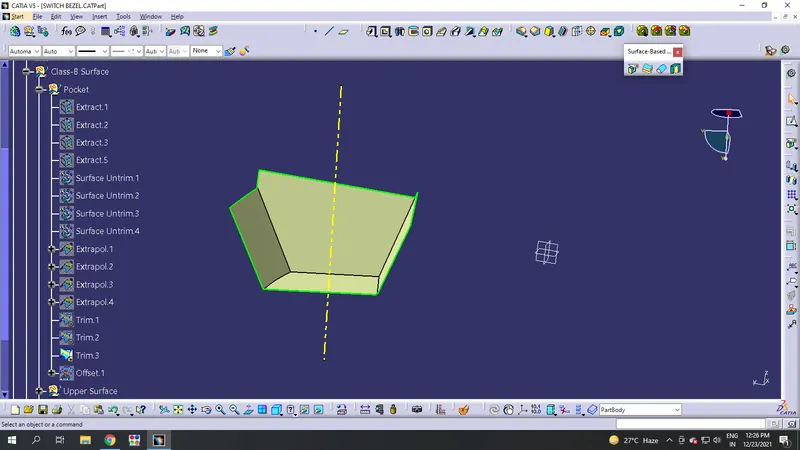
Step-4:
- Now make an offset outwards to that component to form it as Class-B Surface.
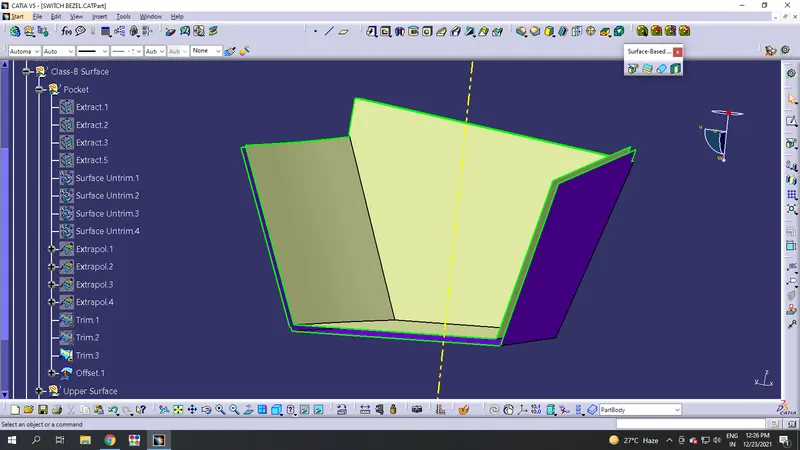
Step-5:
- Do the same process for upper surface and offset it downwards to meet the Class-B Surface.
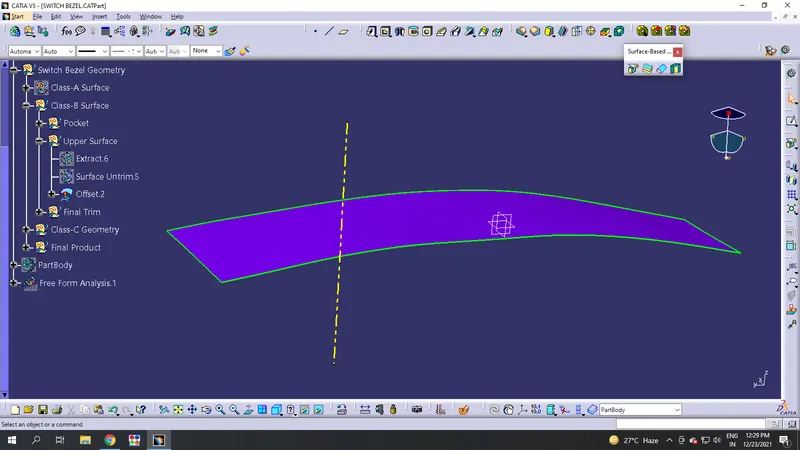
Step-6:
- Now trim both the Pocket surface and Upper surface as make it as a single component.
- Next step is to make fillets to your Class-B to meet the Class-A Surface.
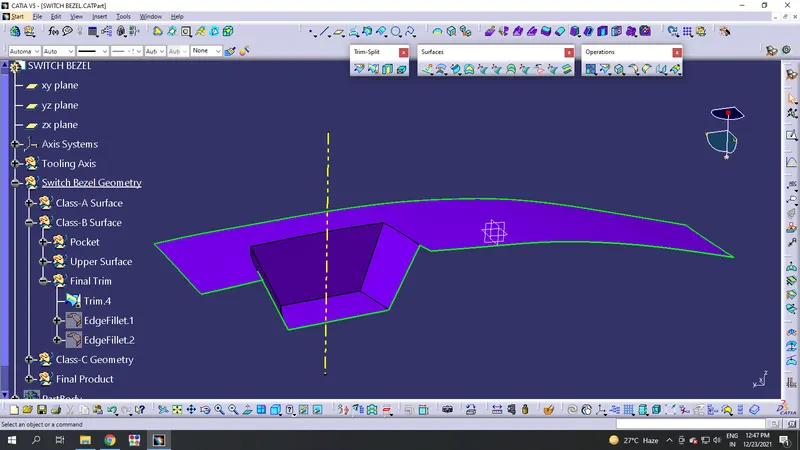
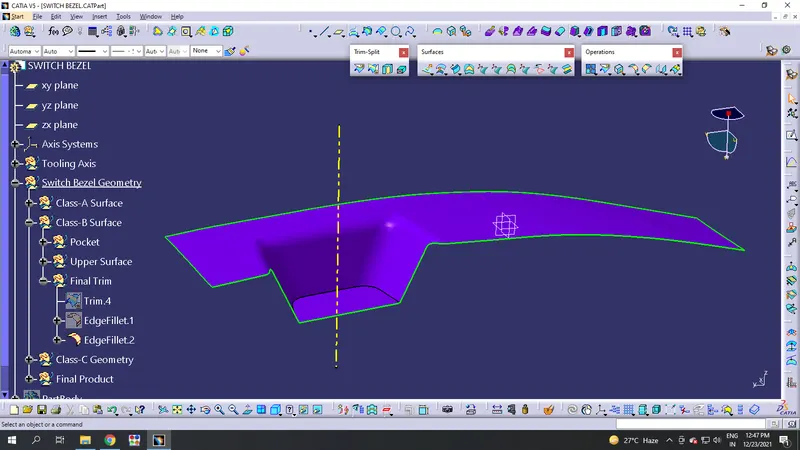
Step-7:
- Insert a Geometrical Set and name it as 'Class-C Surface' and work from there.
- Take the boundary of the Class-A and sweep inwards along draft direction to make a Class-C surface.
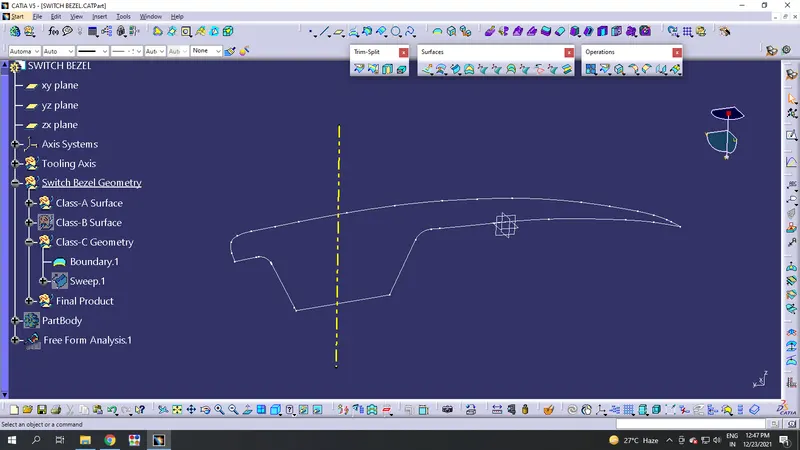
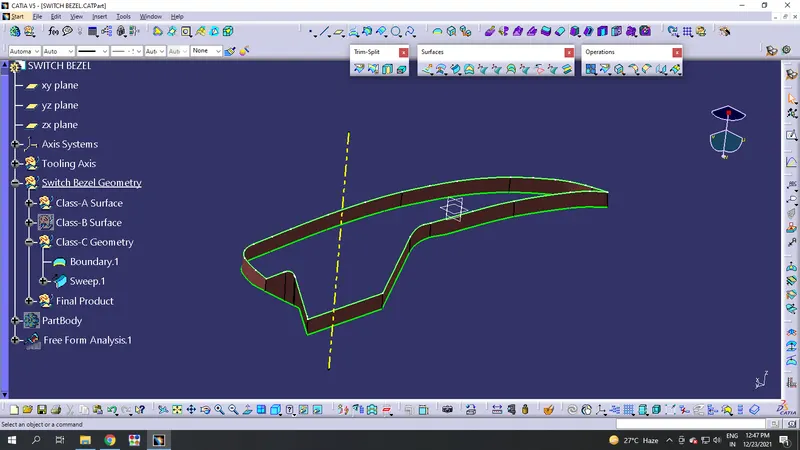
Step-8:
- Now Trim the Class-B and Class-C surfaces to make as a single component.
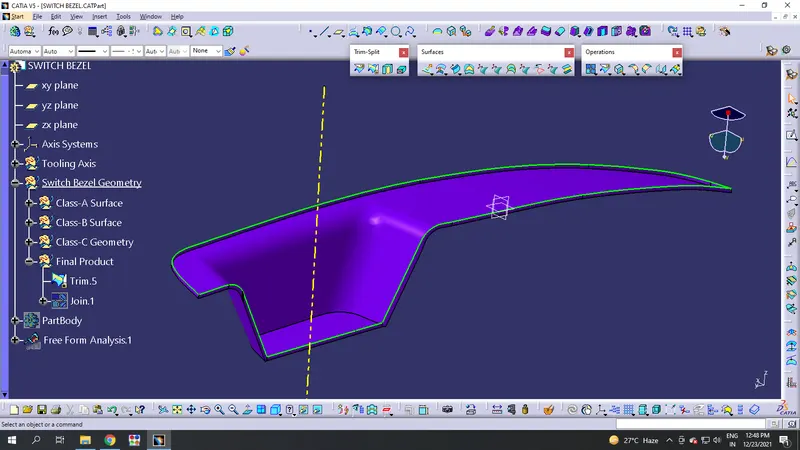
Step-9:
- Join the final trim to your Class-A surface and make as a single surface.
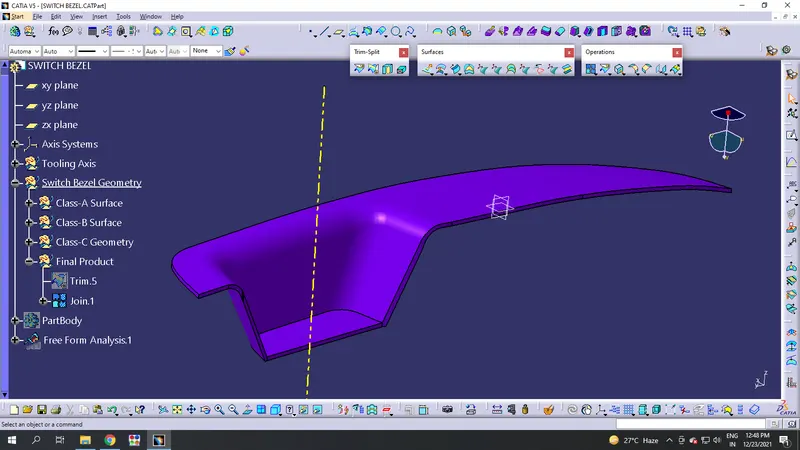
Step-10:
- Go to PartWorkbench and make it it as a solid body by doing 'CloseSurface' to your PartBody.
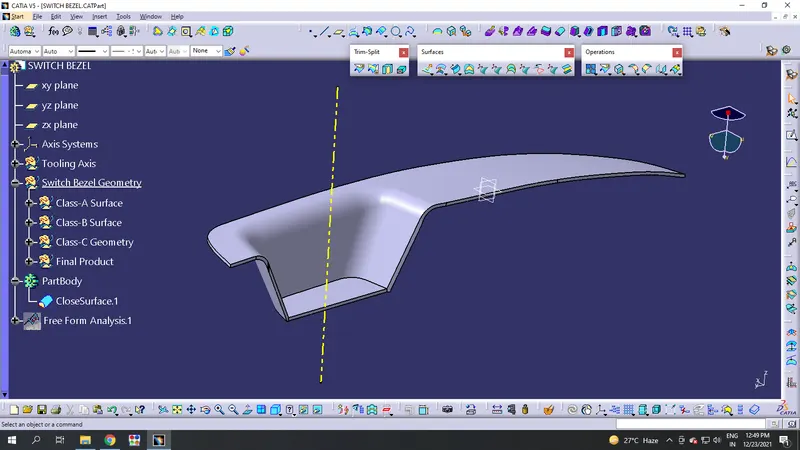
Step-11:
- Now go to Insert>Analysis>Draft Analysis and perform draft analysis to your PartBody.
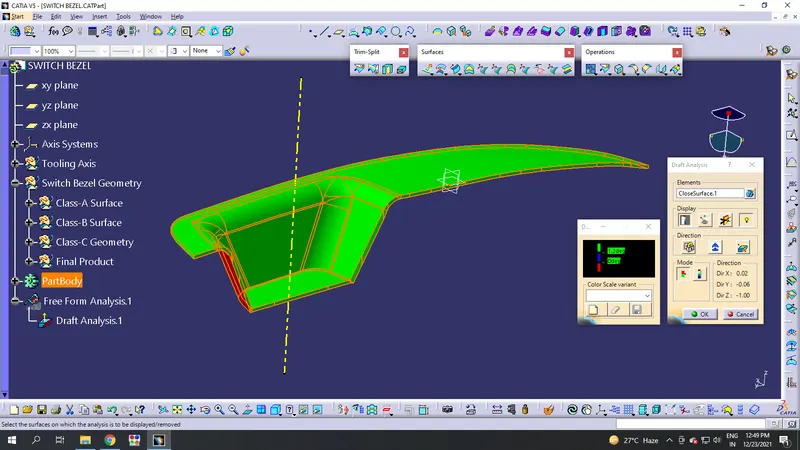
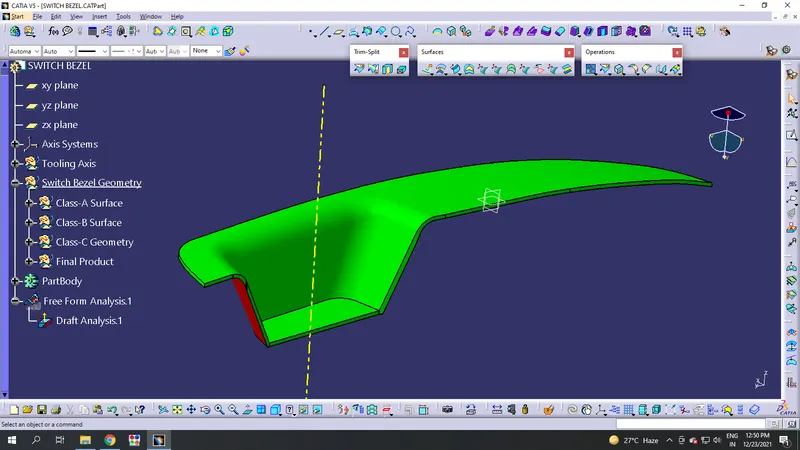
*Thus your component meets draft angle and manufacturing.