Week 8 - Challenge 3 - Coin Holder Design
A detailed report should be done explaining the draft analysis and the tooling axis creation.
Aim:- To create tooling axis and analyse component with draft analysis.
Introduction:-
- Tooling axis:- It is axis about which component is being manufacturer. Core moves along with this axis. It gives the direction of ejection of component.
- Draft analysis:- It ensures sufficient inclination to be provided to surfaces of part. Sufficient draft ensures easy removal of part from core and cavity. This has to be carried out before part is send to CAE.
Procedure:-
- Tooling axis creation:- Following are the steps involved in tooling axis creation
- Check for continuity of given class-A
- Visual check for tooling axis and create dummy tooling axis
- Intersect class-A with one one the plane parallel to dummy tooling axis
- By observing, it is found that one of the side is perpendicular to base
- No draft is provided for class-A surface
- So it is necessary to report styling engineer
- Hence tolling axis is created perpendicular to base
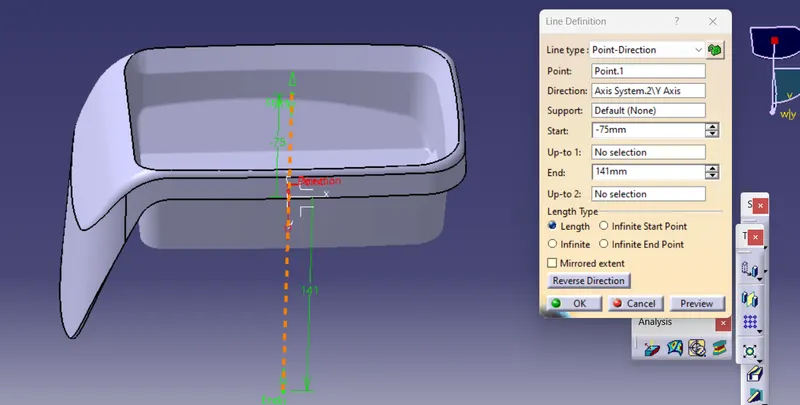
b. Draft analysis:- Following steps has to be follow for draft analysis
- First of all we need to activate material from customize view parameter section
- Using draft analysis tool, we need to alined co-ordinate system with tooling axis and lock it
- Then by clicking on surface of part we can see colour shading
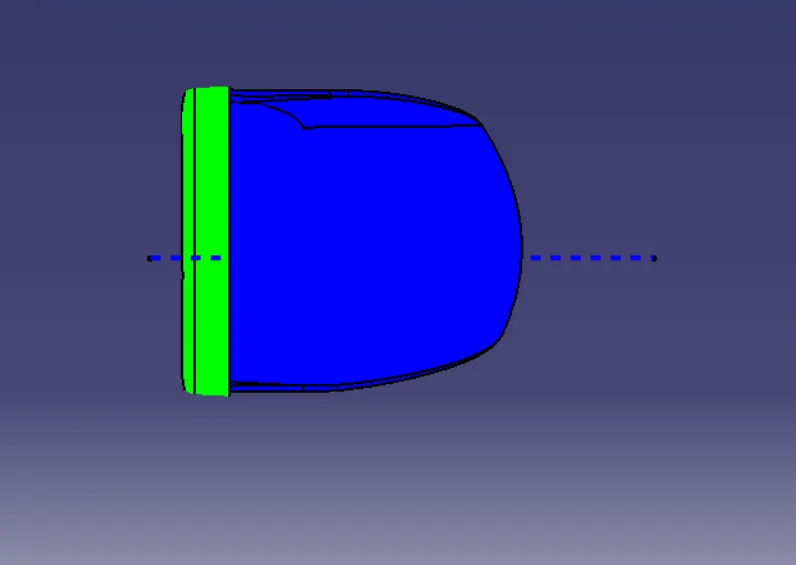
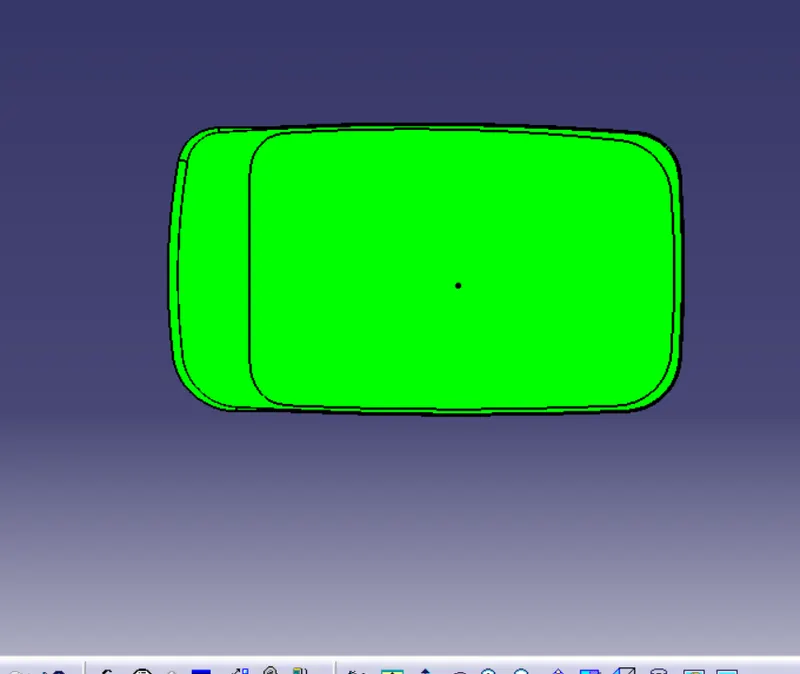
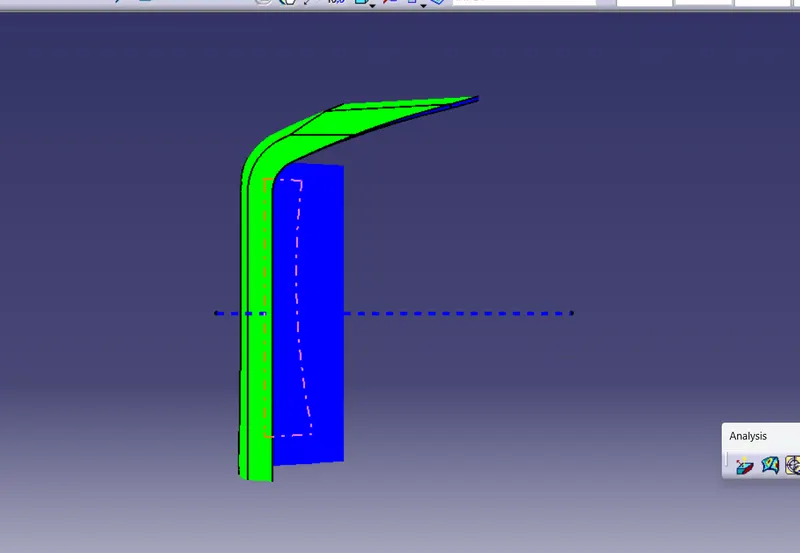
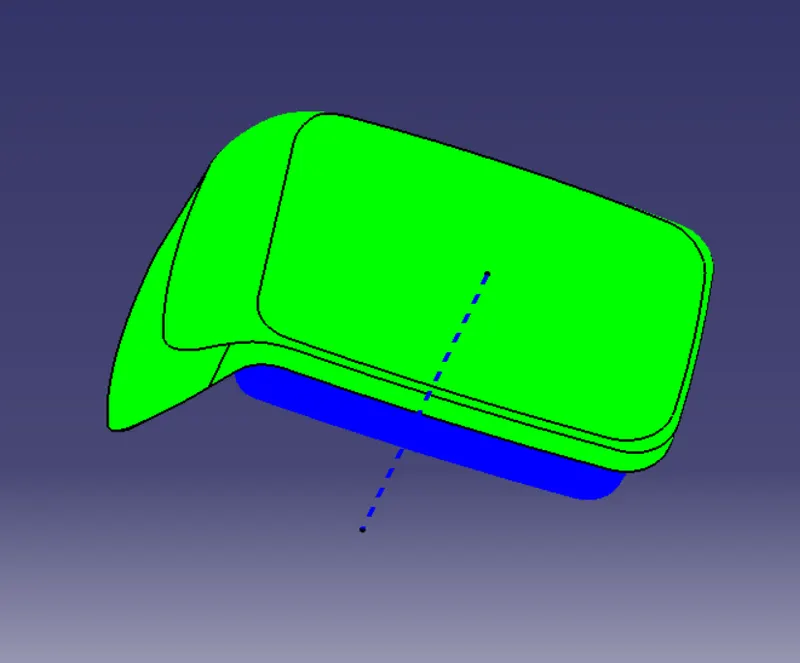
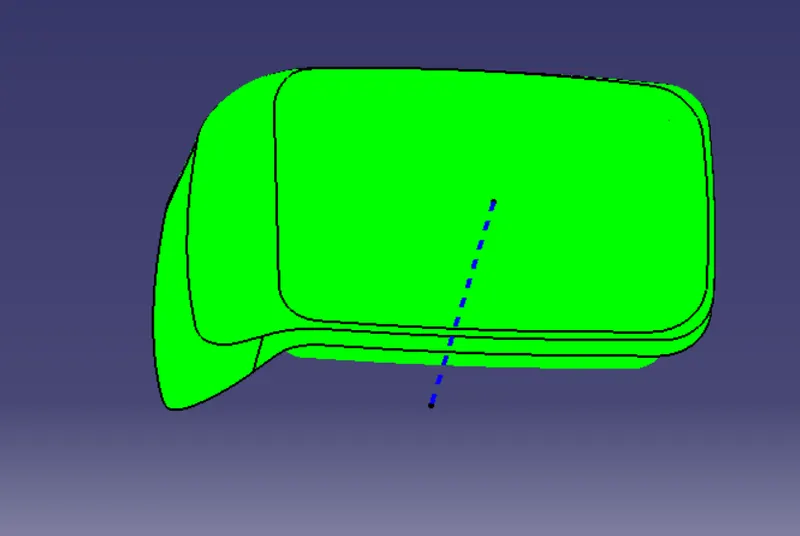
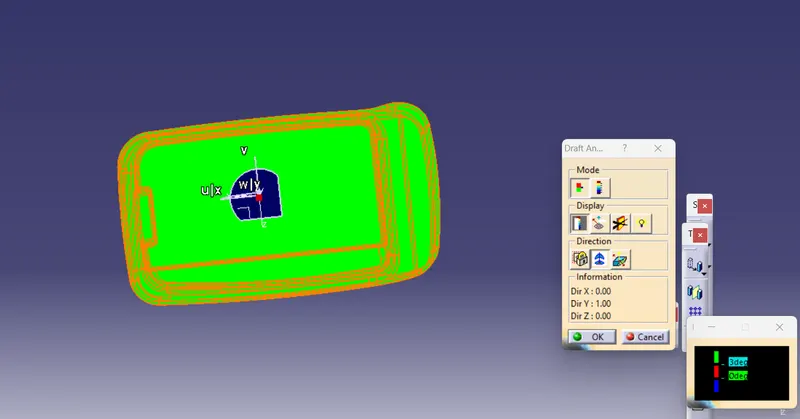
- Green colour tells us passing of surfaces in draft analysis, that is they have minimum draft angle needed
- Red colour shows rejected surfaces
- While blue colour shows passing of minimum draft angle but in reverse tooling axis
- Provided class-A gives green colour in direction of tooling axis, so it passes the draft analysis
- As well created solid body also passes draft analysis, hence it has minimum 3 degree of draft on each side
Conclusion:- In this way tooling axis is created and draft analysis is carried out with respect to tooling axis.
- Screenshots of the Draft analysis report for both the given Class-A surface and the final plastic component
Class-A:-
Plastic component:-
back
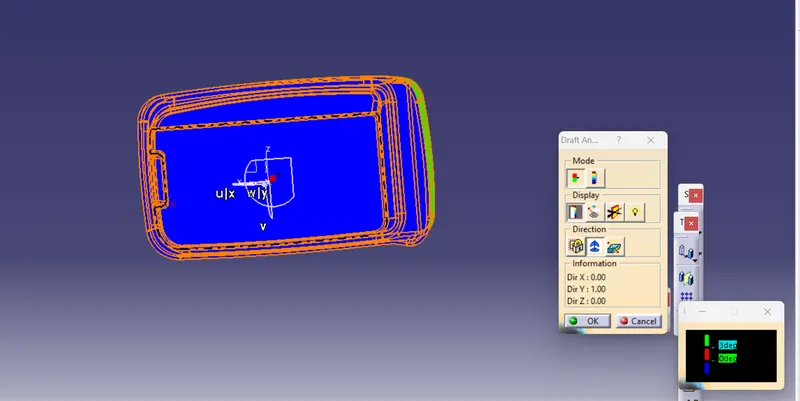
- Screenshots of the solid model with the proper color code of the draft angle in various orientations (Isometric, Front, Side, and Top View)