Week 8 - Challenge 2 - Switch Bezel Design
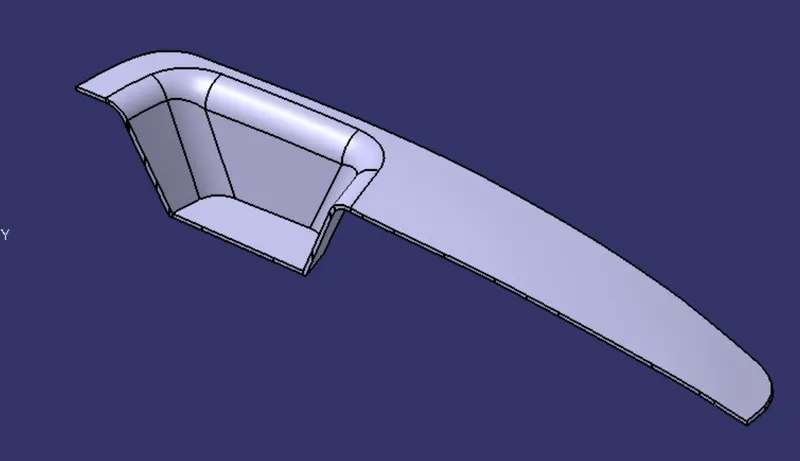
SWITCH BEZEL
TREE STRUCTURE
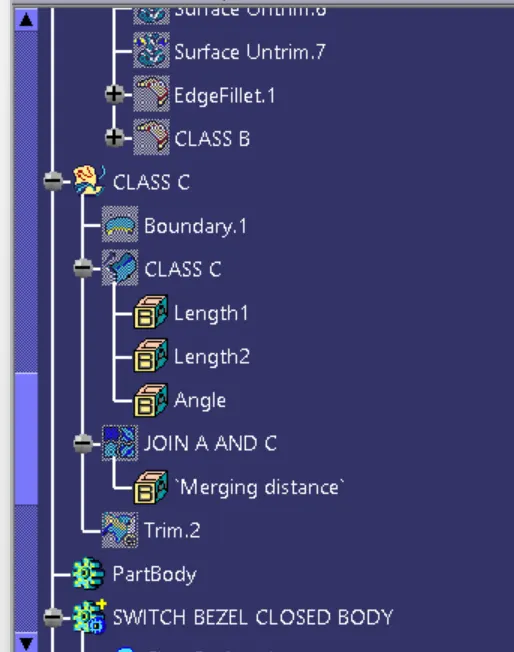
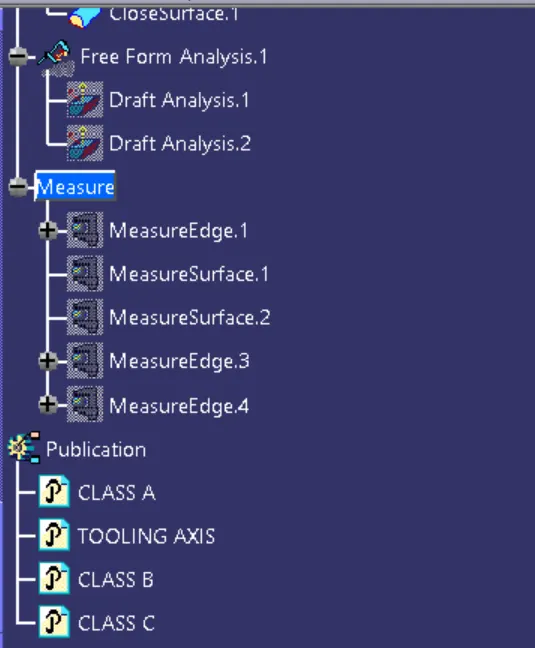
STEPS TO MAKE SWITCH BEZEL
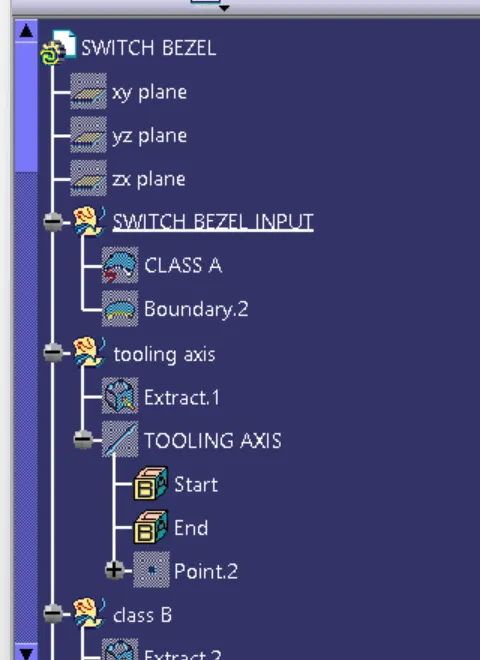
1. SWITCH BEZEL INPUT AS ClassA : this surface design in ALIAS SOFTWARE
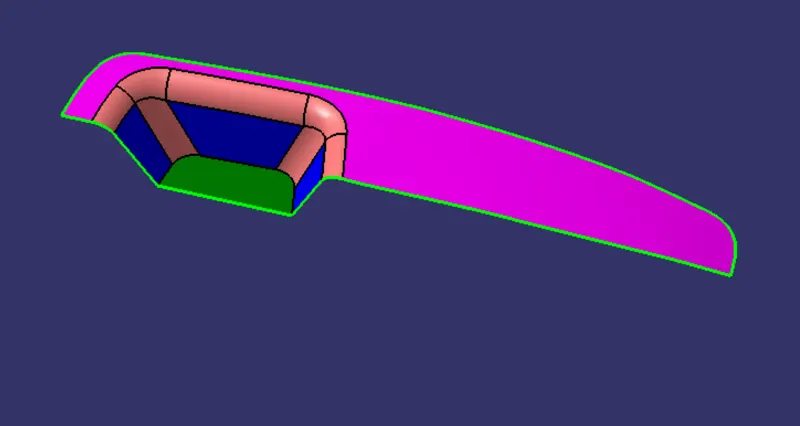
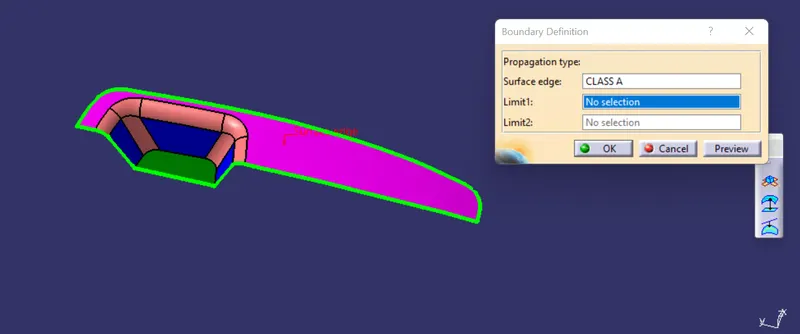
IN THE CLASS A , WE HAVE TO CHECK FOR THE BOUNDARY , AS it has open boundary in the input or not.
we have found it has only outside boundaries. SO NO WORRIES
2. TOOLING DIRECTION :
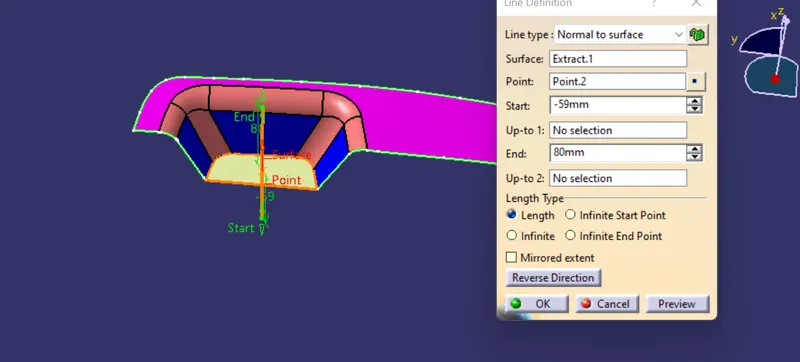
Here in switch bezel , i have drawn normal to surface by extracting lower surafce so as to clear the part.
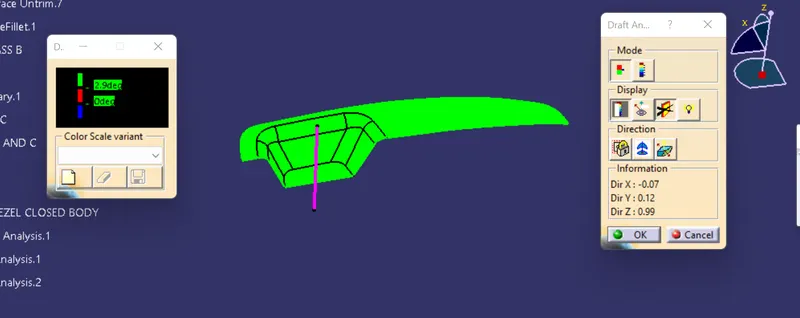
Draft analysis : It is done so that our product will able to manufacture properly without daminng our product.
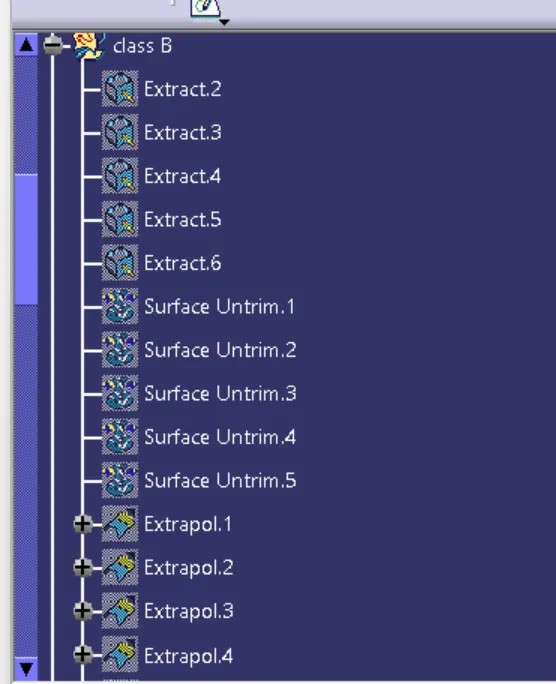
2. class B surafce: It is done by taking offset of 2.5 mm from class A.
This surface will below the class A SURFACE .
steps to create b surface
1. extract the flat surface
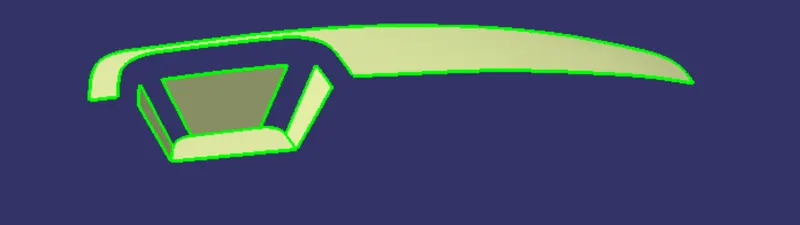
2. untrim the surface
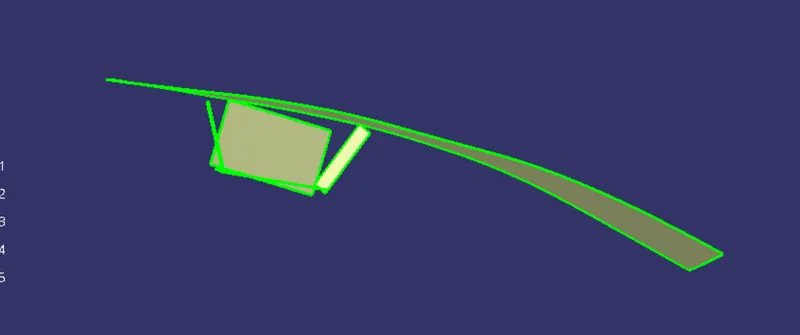
3. extrapolate the surface : so that they intersect properly to each other
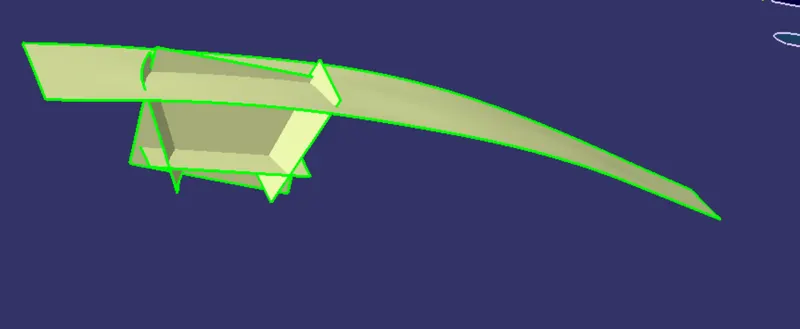
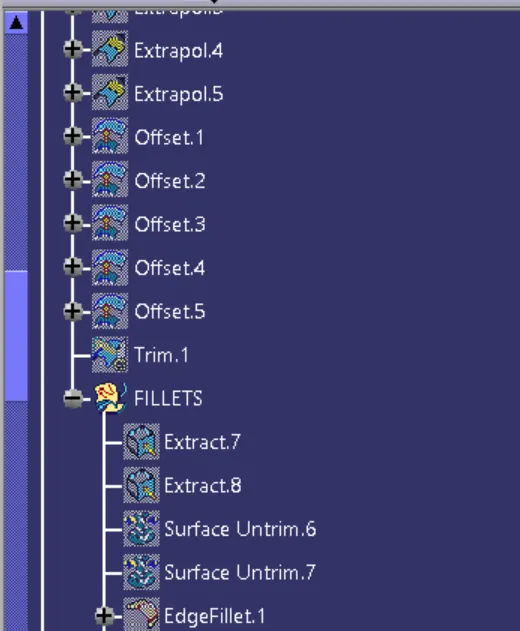
4. offset by 2.5 mm
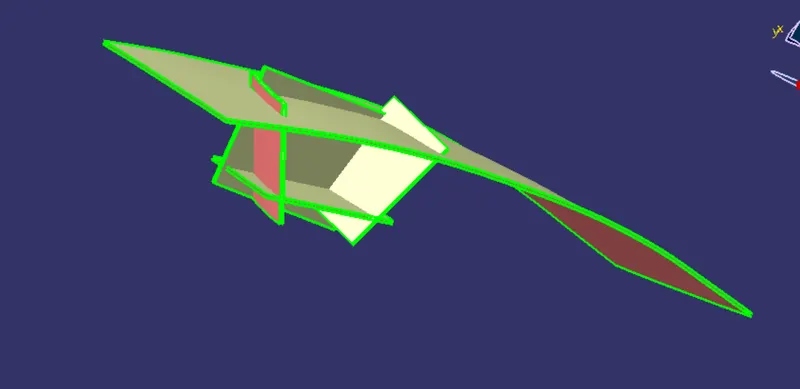
5. trim to get desired output
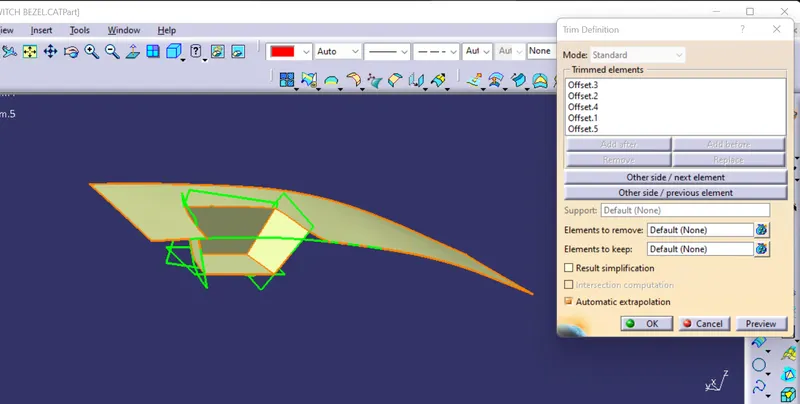
After trimming
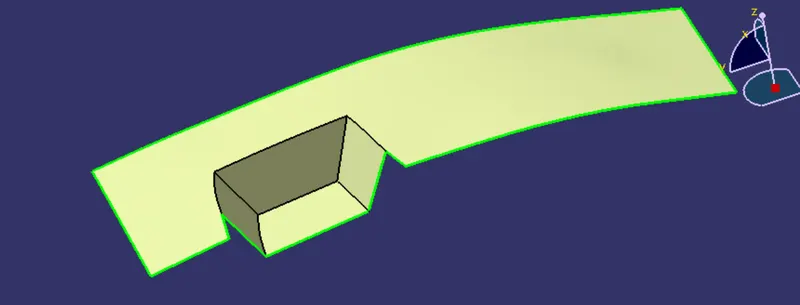
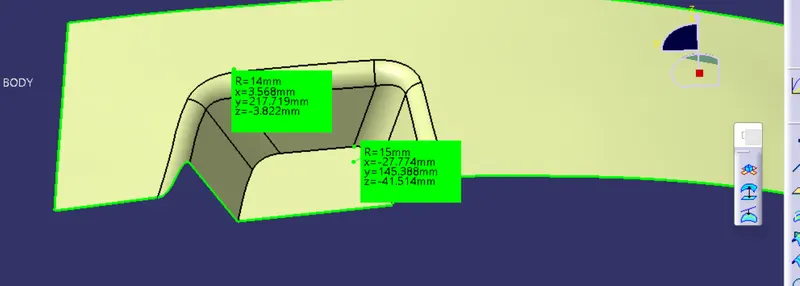
6. FILLET MANUALLY : WE WILL MEASURE THE CLASS A FILLET BY VERNIER CALLIPER AND GIVE THE FILLET NAUALLY
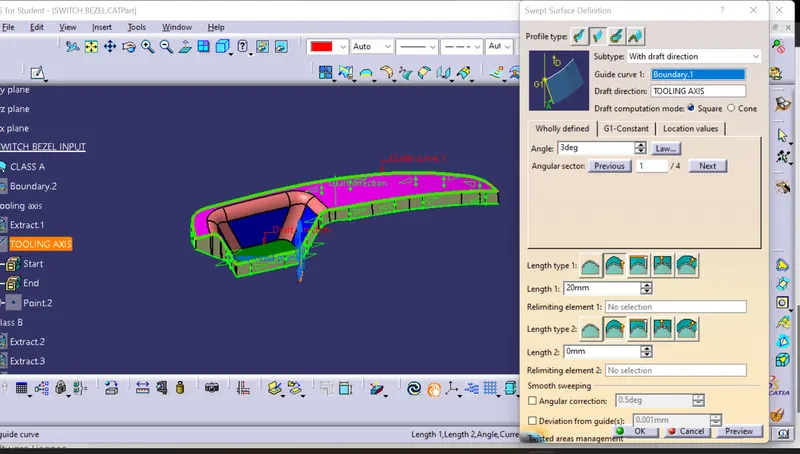
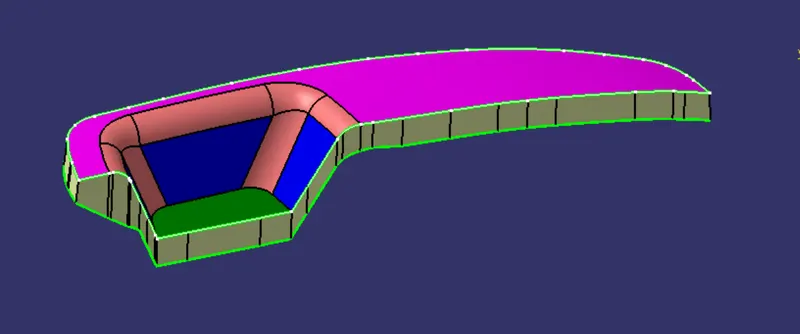
class C surafce : it joins the CLASS A AND CLASS B SURFACE.
HERE I HAVE TAKEN THE BOUNDARY OF CLASS A AND SWEEP WITH DRAFT DIRECTION WITH 3 DEGREE OUTWARD
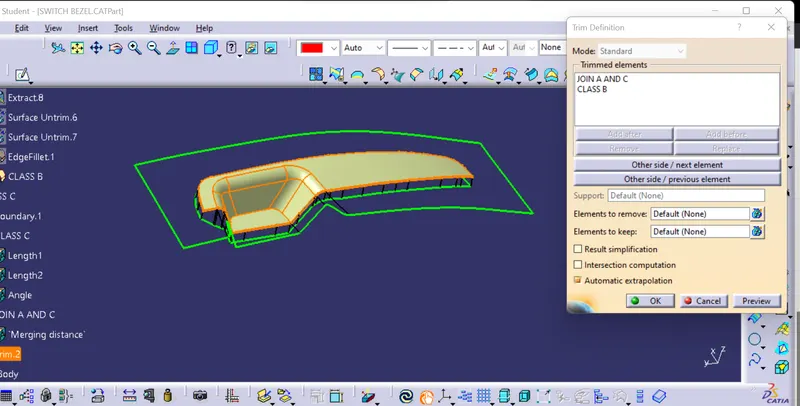
JOIN A AND C
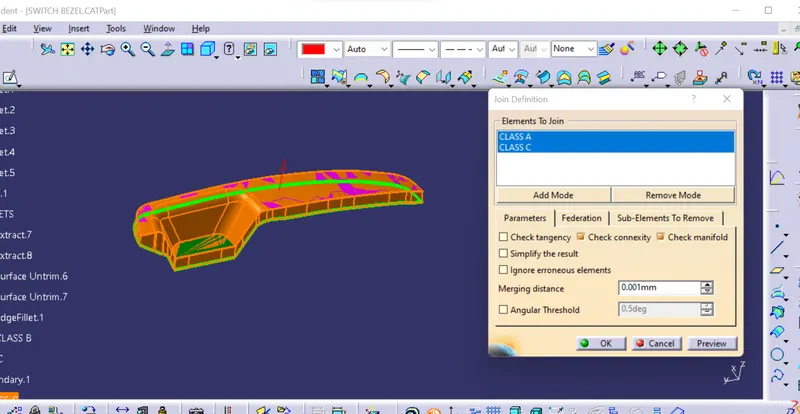
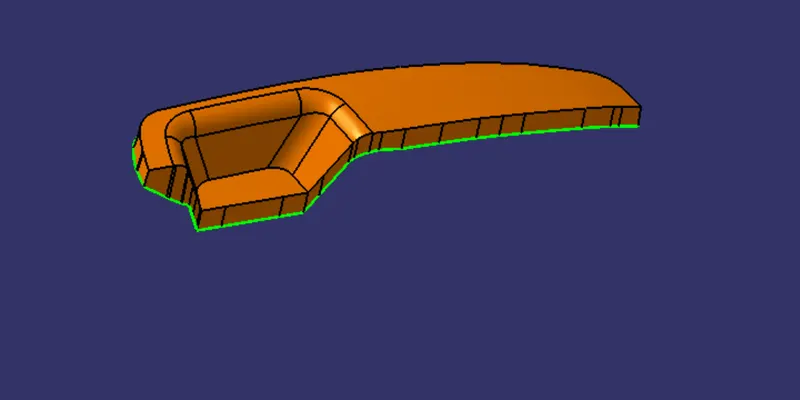
TO GET CLOSE SURAFACE, TRIM CLOSE A AND C WITH B SURAFACE
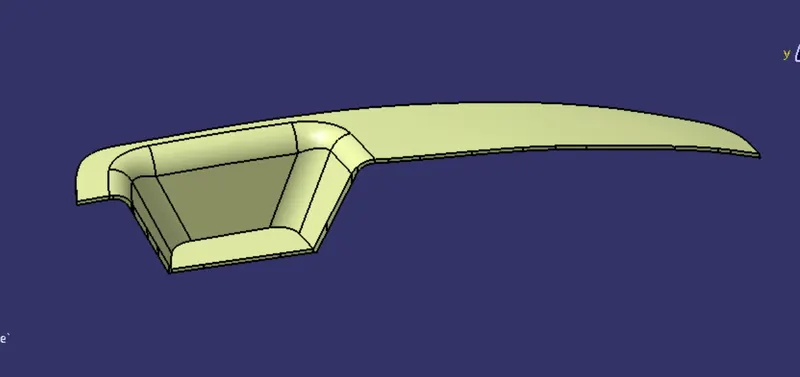
CLOSED BODY : BY PROVIDING MATERIAL TO THEM BY CLOSE SURFACE
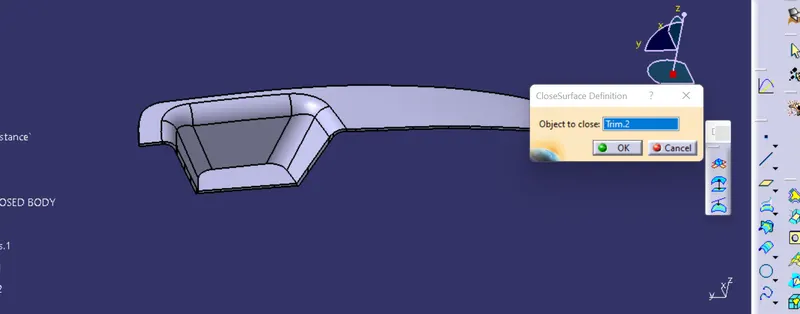
DRAFT ANALYSIS OF CLOSED BODY
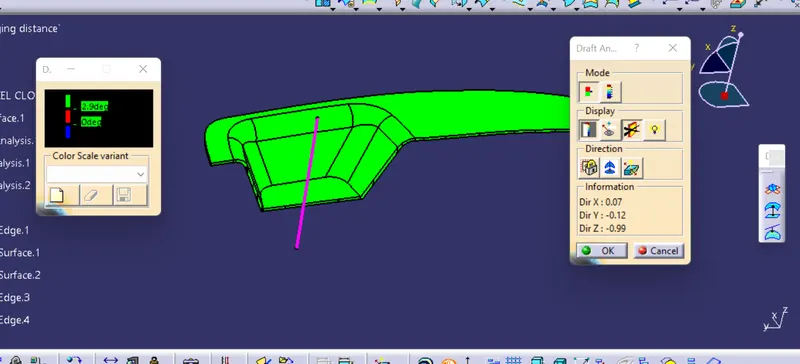
HERE It is showing that all the green colur indicates it has above 2.9 degree draft has given
VIEWS
ISOMETRIC VIEWS
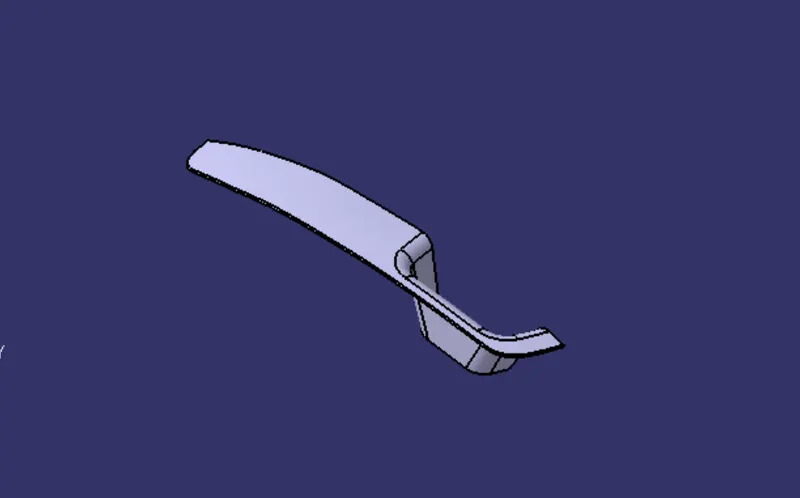
FRONT VIEWS
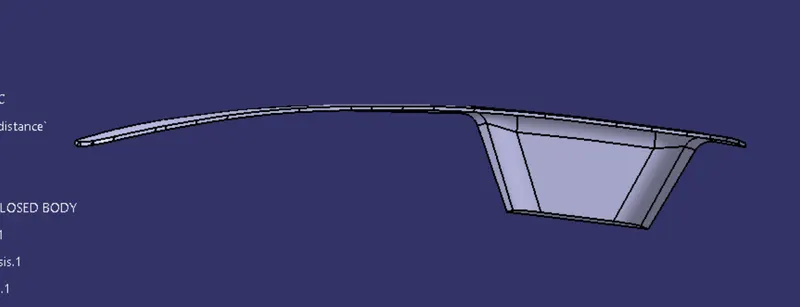
SIDE VIEW
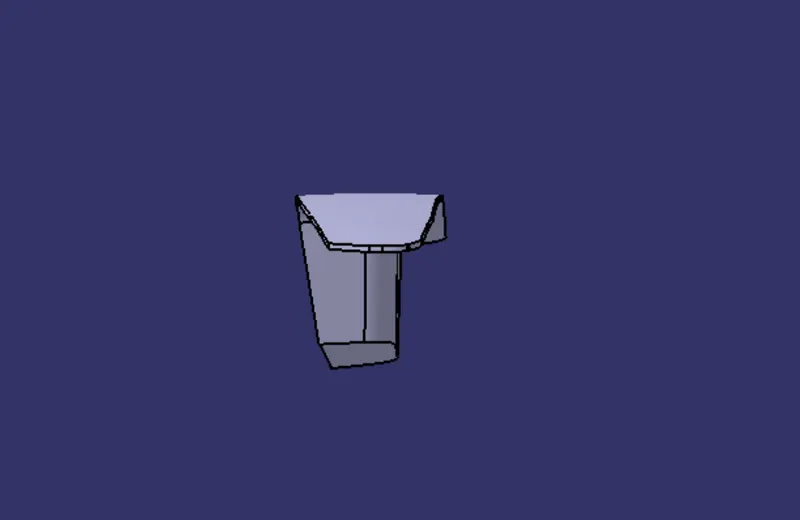
TOP VIEW
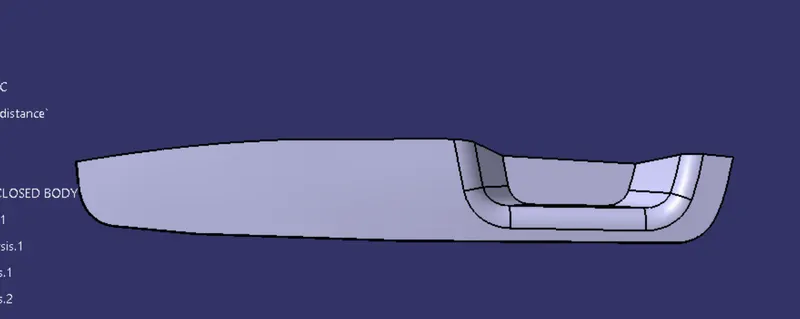
CONCLUSION :
I HAVE MADE THE SWITCH BEZEL WITH 3 DEGREE DRAFT WITH CLOSED BODY