Week 8 - Challenge 2 - Switch Bezel Design
Creation of Tooling Axis:
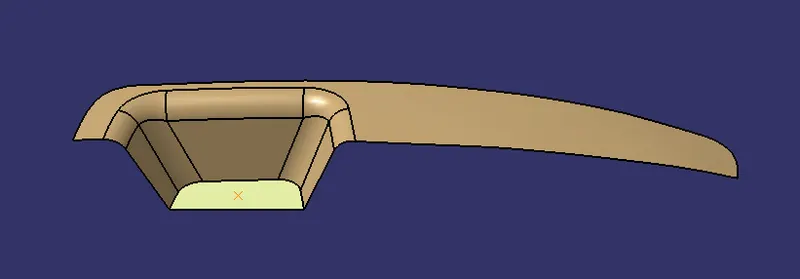
1. Extract the flat surface .
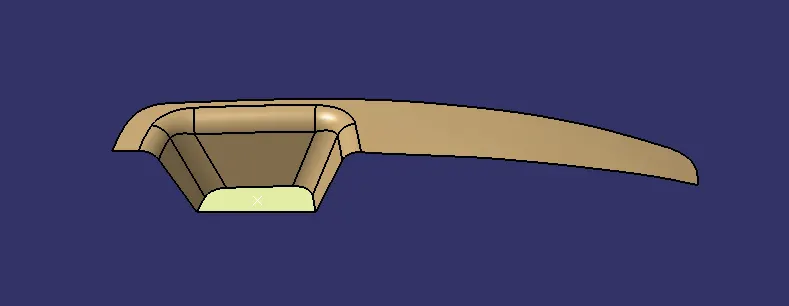
2. Place point on the centre of the surface.
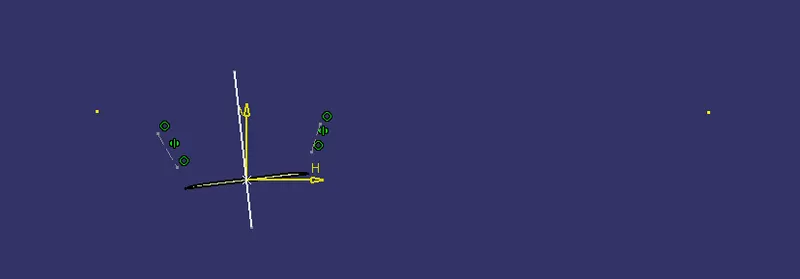
3. Intersect the 3D element on the Y-plane and draw the line on the inclined intersection line. Then draw the bisecting line with the two lines and the point in the middle.
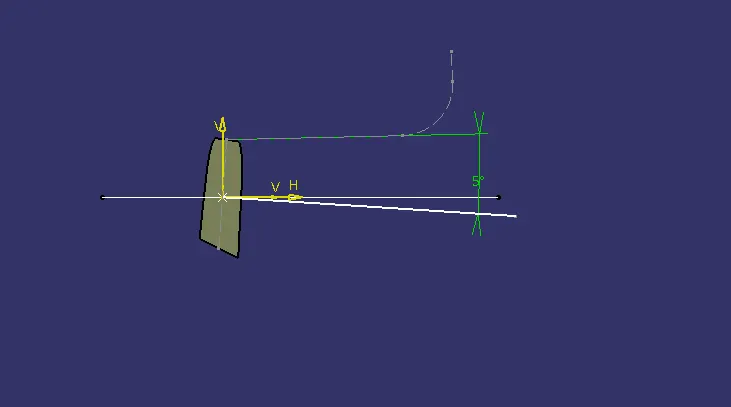
4. Intersect the 3D element on the X-plane and draw the line on the inclined intersection line. Draw the line and then constrain the normal line and line on the inclined intersection line to make the draft angle.
5. Then draw the bisecting line between the two line to create the tooling axis.
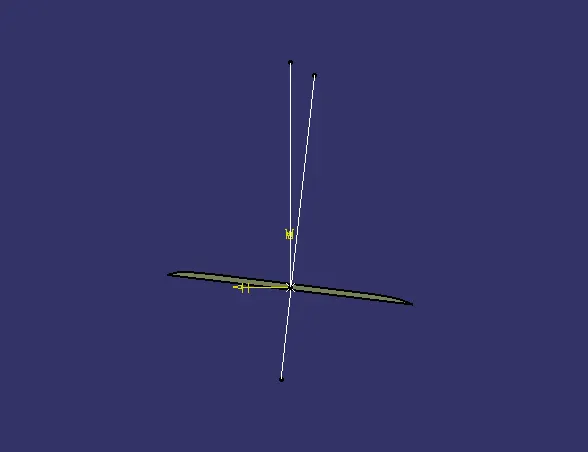
6. After creating the tooling axis then make the line thick and dark to make that more visible.
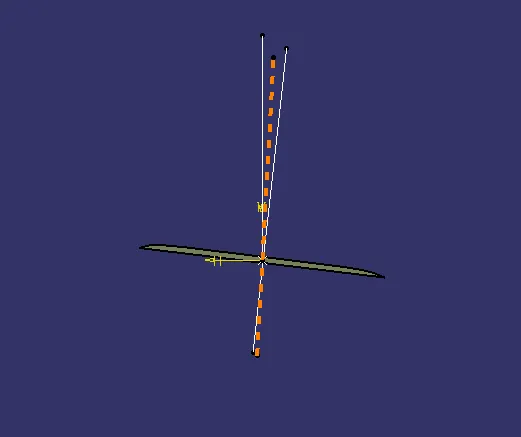
Draft Analysis:
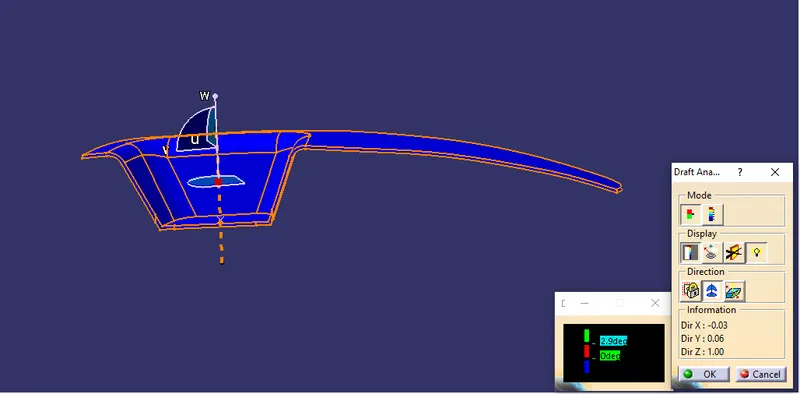
1. Change the material mode suitable for the draft analysis.
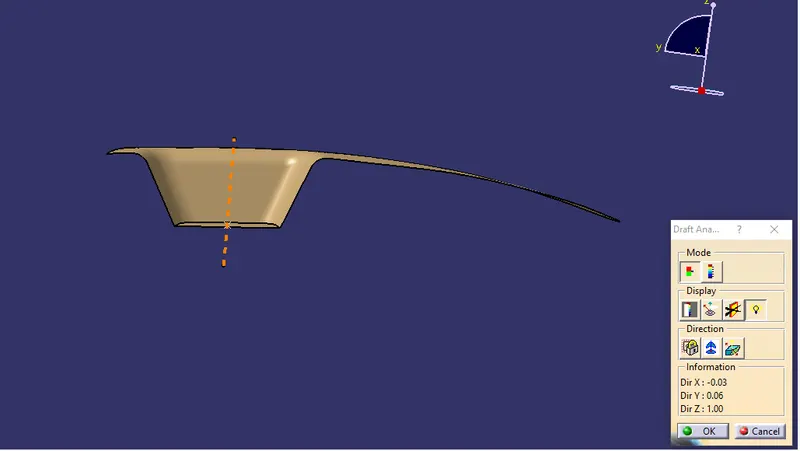
2. Draw the compass on the tooling axis.
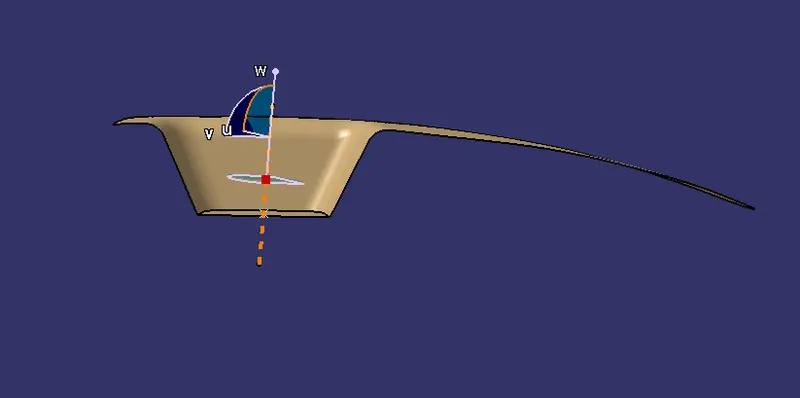
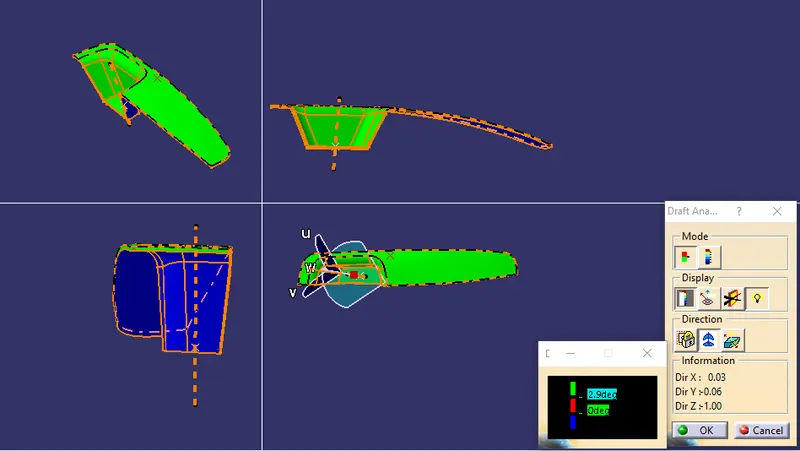
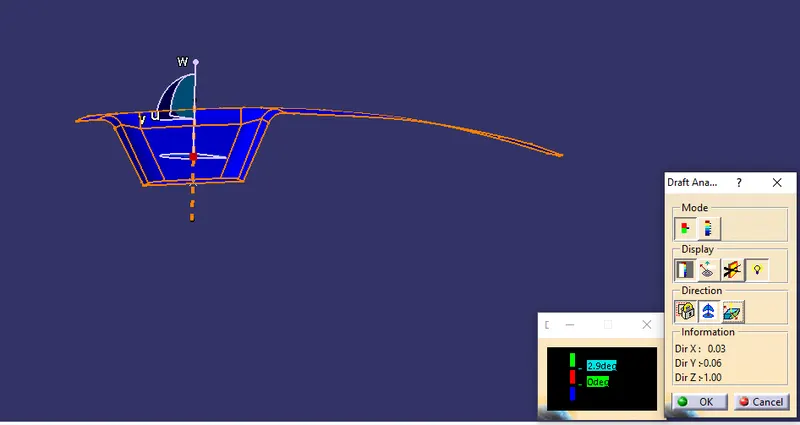
3. Click on the surface to start the draft analysis GREEN color shoes that the surface is more than 3 degree.
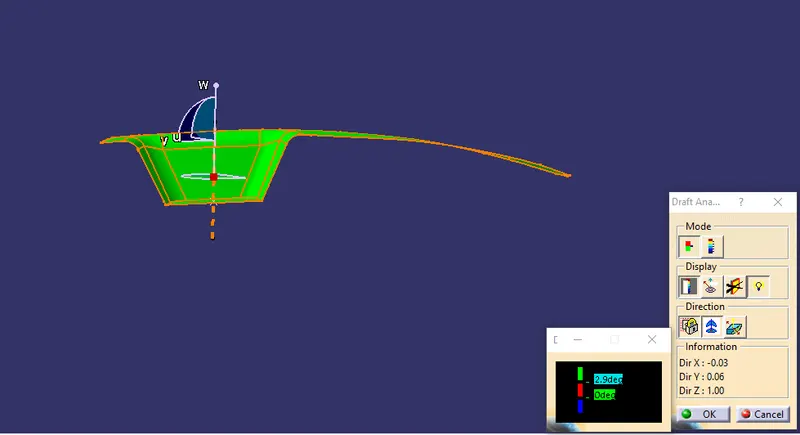
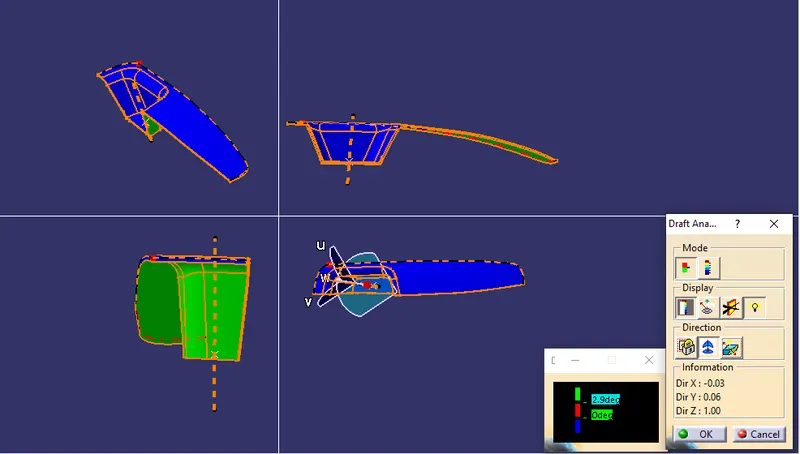
4. Click on the inverse draft surface to check another surface here the BLUE color shows that the surface is less than 0 degree.
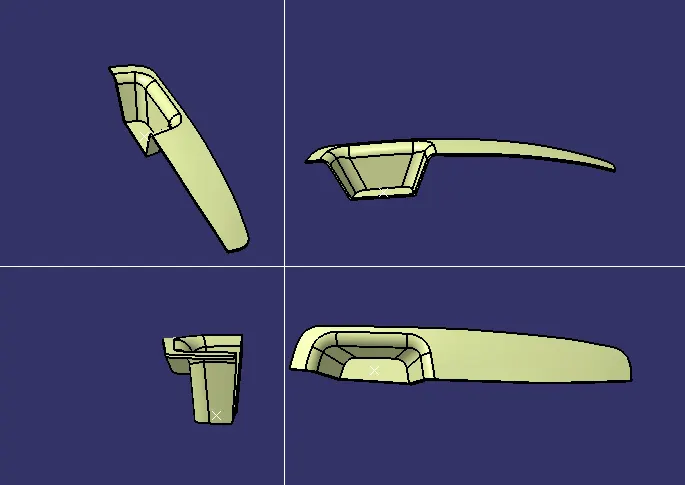
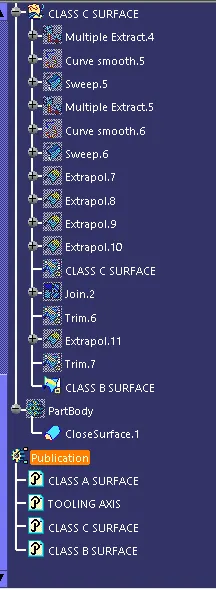
Multi Section View of The Final Plastic Product:
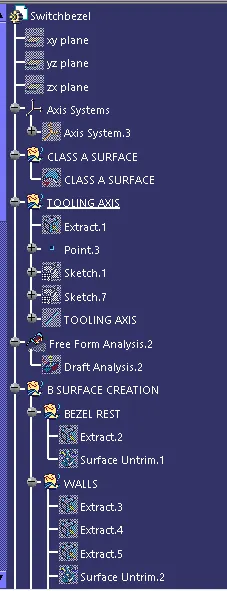
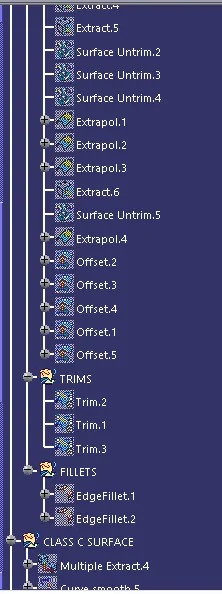
Draft Analysis of Plastic Product:
1. Place the compass on the tooling axis. Click on the surface to start the draft analysis GREEN color shows that the surface is more than 3 degree.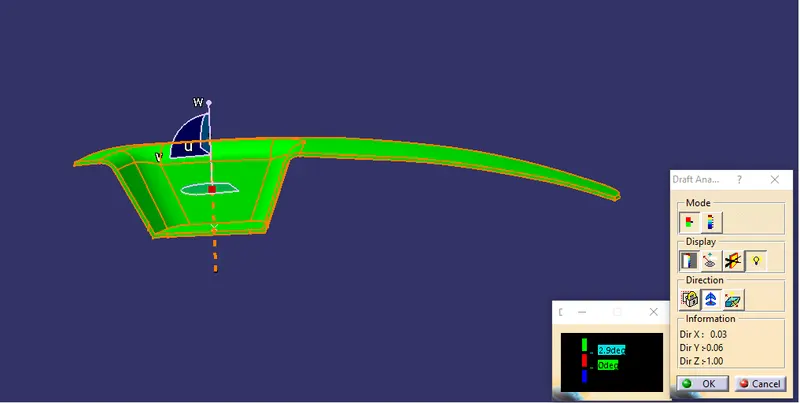
2. BLUE color shows the surface is less than 0 degree if we switch the surface.