Week 8 - Challenge 1 - Base Bracket Design
Creation of Tooling Axis
1. Create the point on the surface in which we can clear all the faces. eg- holes, flat face, wide flat face.
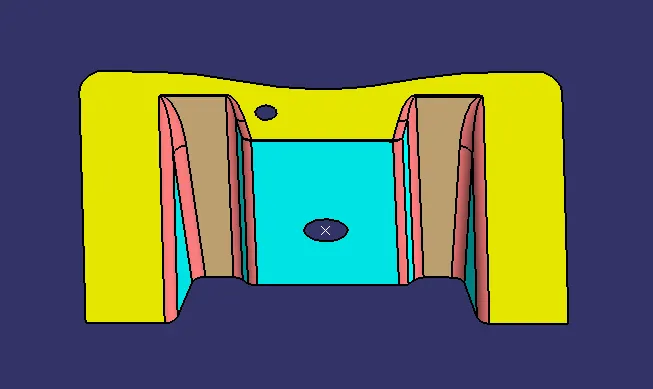
2. Creating dummy tooling axis in the point.
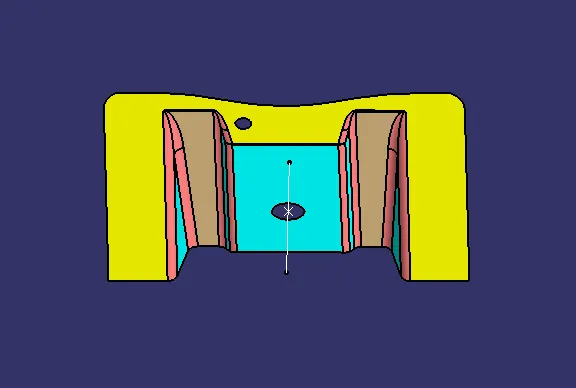
3. To create the intersection we required the plane.
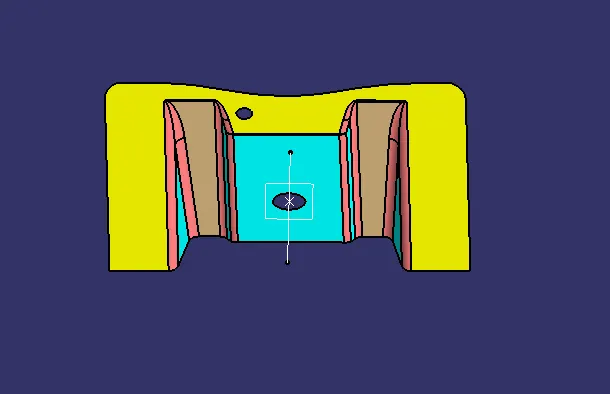
4. This is the intersection created with the plane.
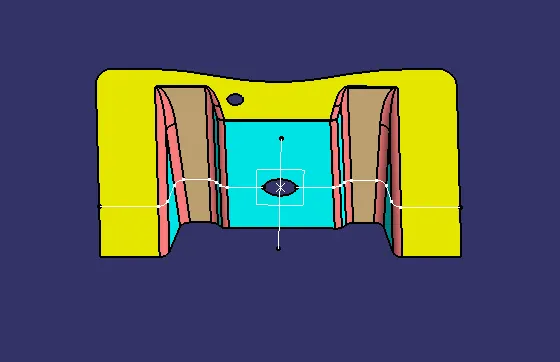
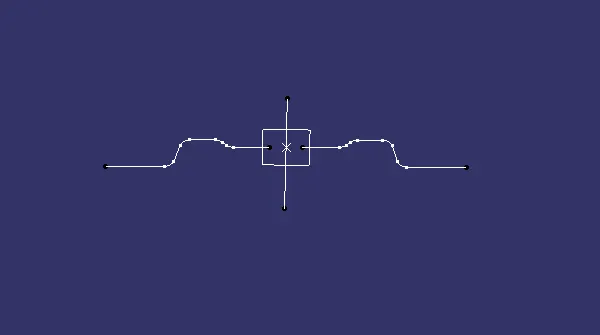
Bisecting Method:
5. After creating the intersection then draw the lines on the inclined lines on the intersection to create the bisection line.
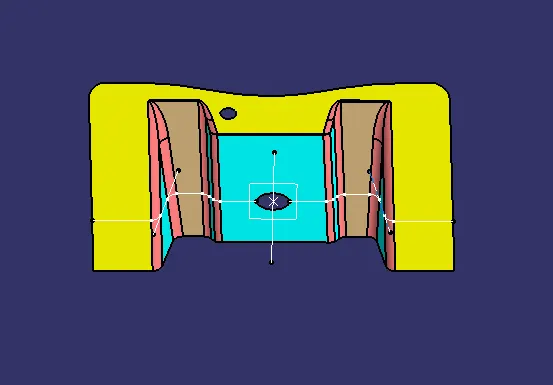
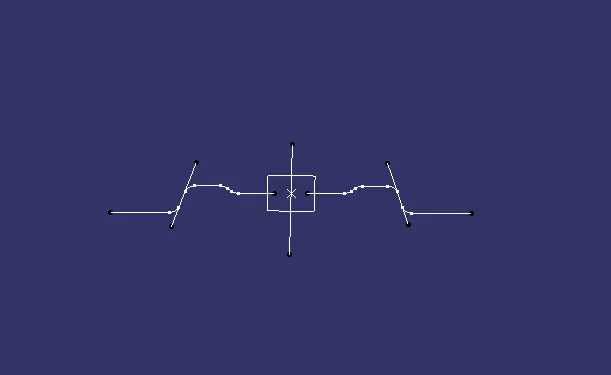
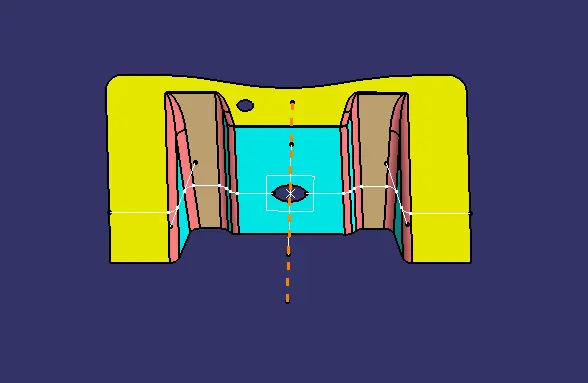
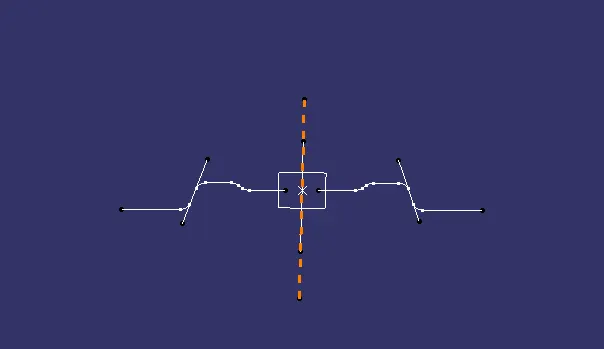
6. After creating the lines on inclined surface then create the bisecting line with the created inclined line and the point in the axis system. Then the Bisecting line is created then for the easy accessibility make the line thicker and change the bright color.
Drafting Analysis:
1. First is to zoom out to check where the compass.
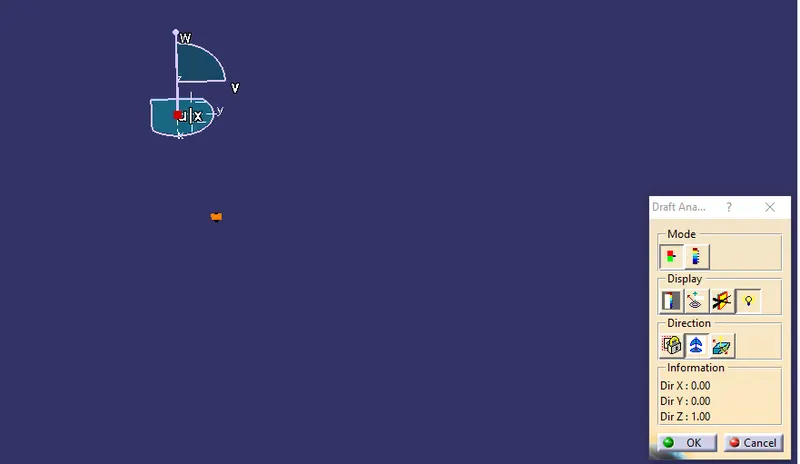
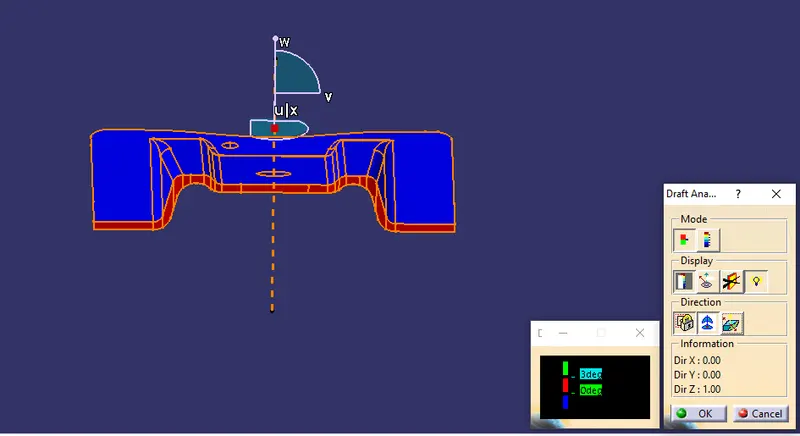
2. Then click and drag the compass on the tooling axis by clicking the 2nd button on the direction in draft analysis dialogue box.
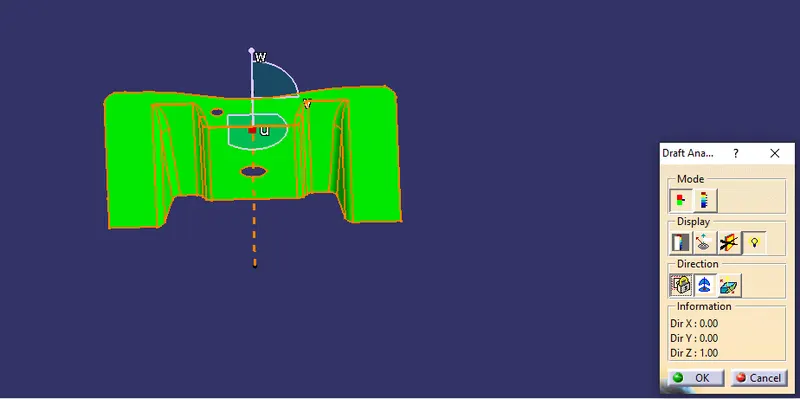
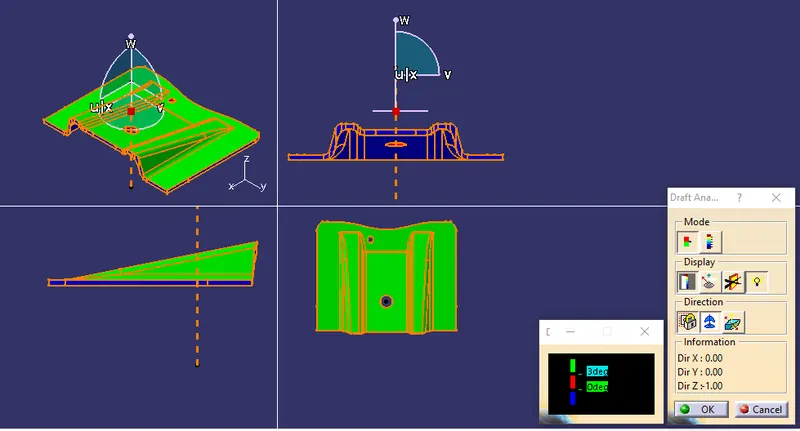
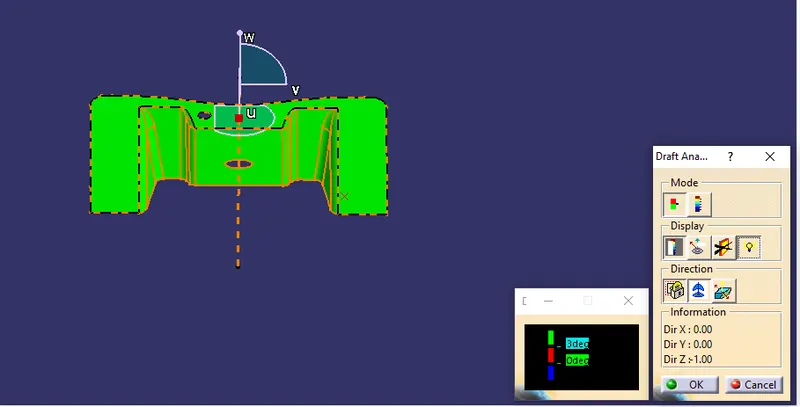
3. Click on the surface of the product to initiate the draft analysis. Click on the 1st button in display to bring the draft analysis chart in this it shows GREEN color shows the surface is more than 3 degree.
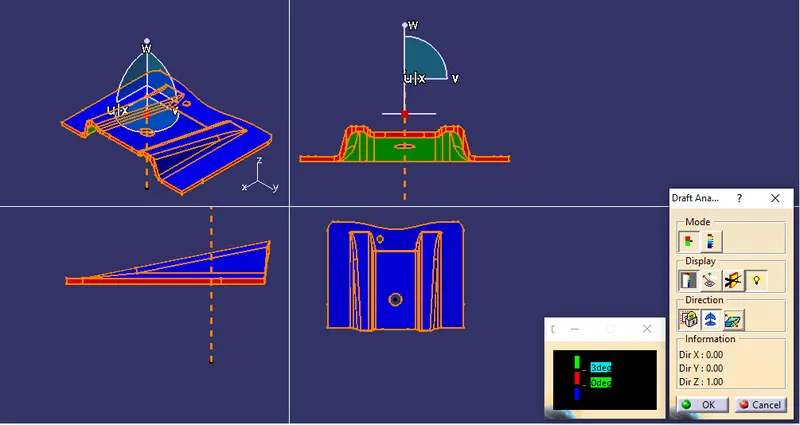
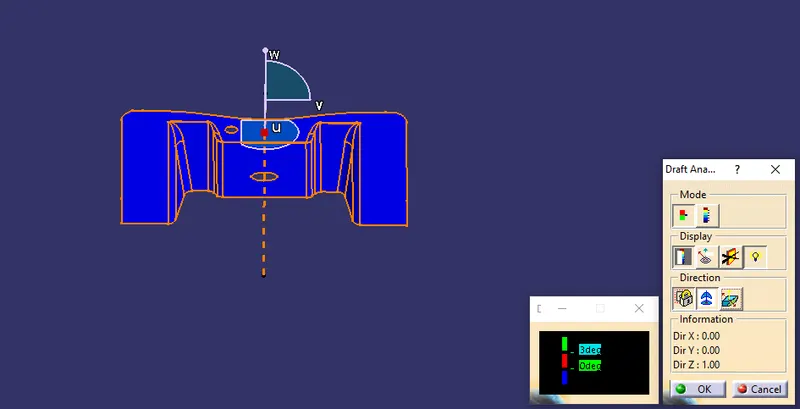
4. Then we can switch the draft surface. Here the BLUE color shows the surface is less than 0 degree.
Multi-Section view of Plastic Product:
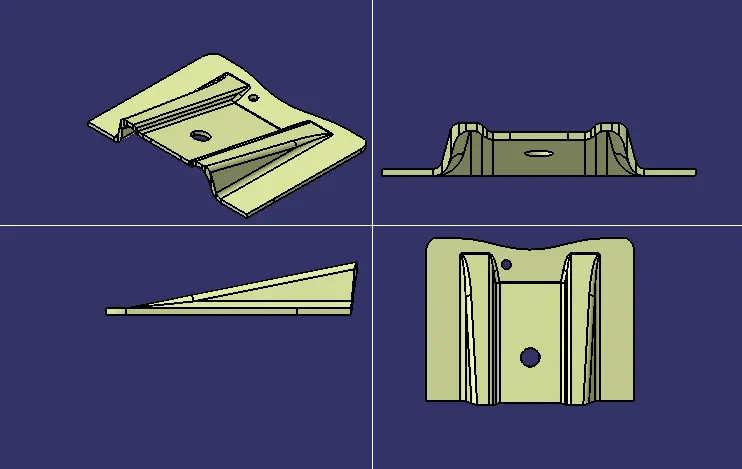
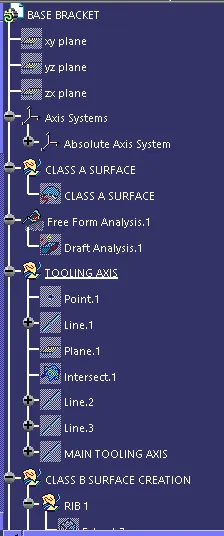
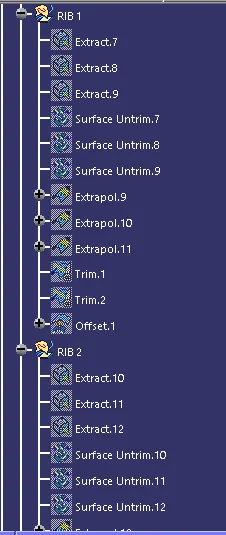
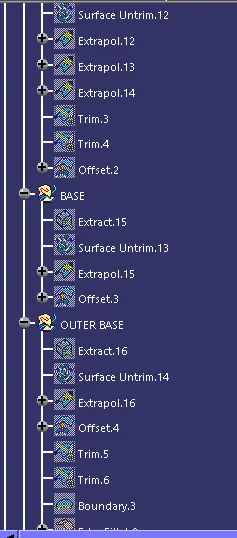
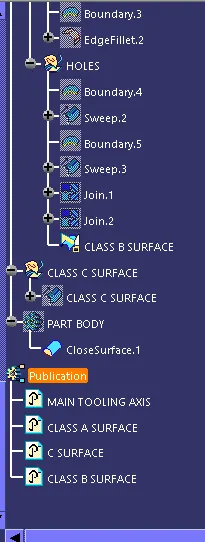
Draft Analysis on Plastic Product:
1. Bring the compass on the tooling axis.
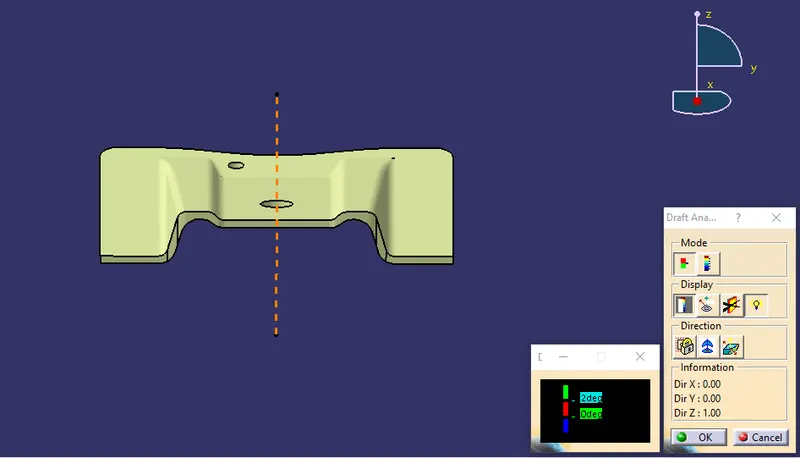
2. Click on the surface to start draft analysis. Here the GREEN color shows the surface is more than 3 degree, RED color is between 3-0 degree, BLUE color is less than 0 degree.
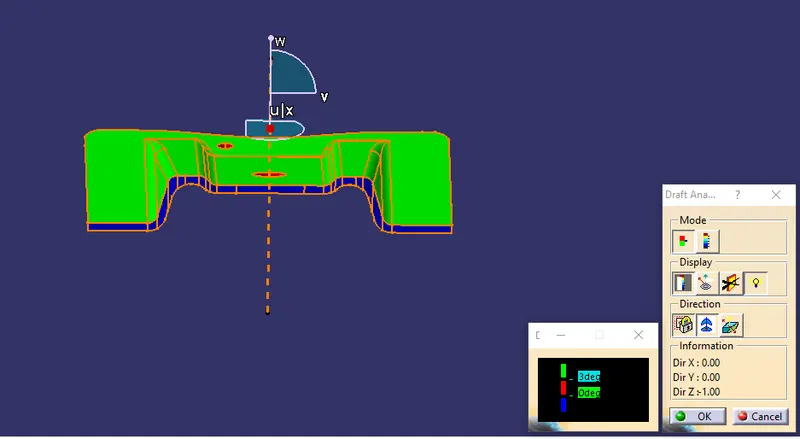
3. Inverse the draft direction to check the other side of the surface.