Week 8 - Challenge 2 - Switch Bezel Design
Objective:
*To design switch bezel.
*Creation of B class and C class and tooling axis.
*Provide the thickness of 2.5 mm by converting close surface into solid inside in part workbench.
*Performing draft analysis to verify the creation of the tooling axis and C Class surface.
THE GIVEN CLASS A SURFACE:
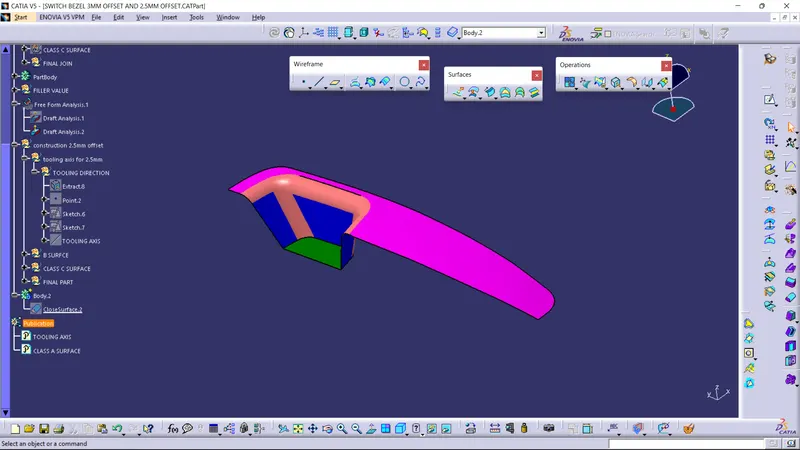
INTRODUCTION:
The draft allows the part 2 easily is it in the mold the draft angle is to reduce friction between the core cavity and part and it also at the damages the minimum draft angle is 0.5 degree and the most commonly used in the plastic design is 3 degree.
Catia the draft analysis is performed based on colour ranges identifying zones on the light element where the deviation from the draft direction at any point correspondence to specified value.
Direction is the main element in that to be considered while designing a plastic component.
In moulding machine the arrangement is given to open the mould along the direction it is the direction in is the core and cavity opens.
Design methodology with images....
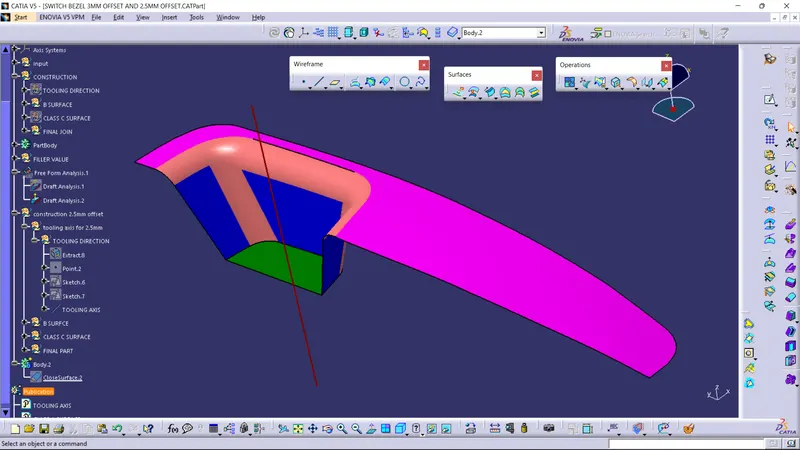
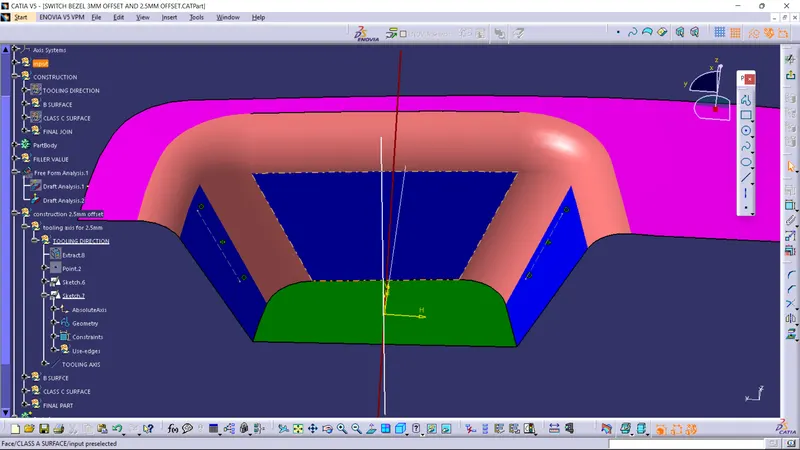
How to create tooling axis....
*Reference point is created along the surface zero and new Axis system
*The X direction along the class A and Y direction along the class a where used to create tooling direction.
*Finally the tooling access is created by bisecting the two lines and it is published class A surface as input using surface operation commands class B is developed.
*The tooling axis determines the direction of class C boundary swept in draft direction.
How to create class B surface...
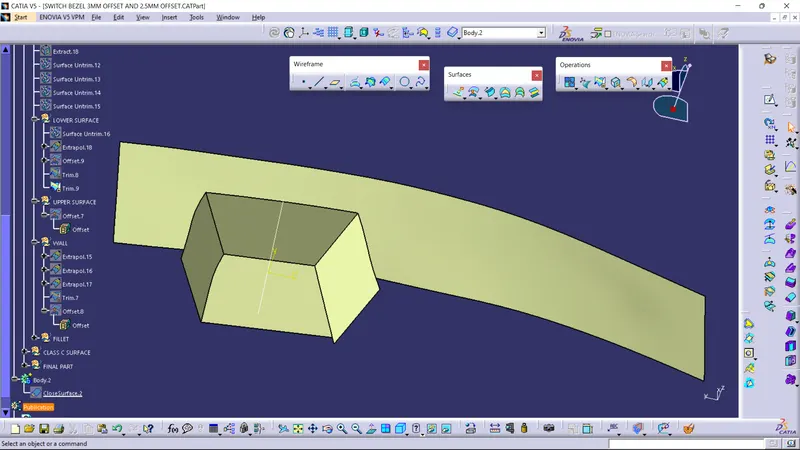
*The B surface creation is performed using the class a surface with dimensional proportional to the thickness of the part.
*Extract the flat surface by using the class a surface.
*Untrim the flat surface by using untrim command.
*Extrapolate that surface by 50 mm by using extrapolate command from all the direction of that surface.
*Take an offset of those surfaces by 2.5 mm to give the thickness of 2.5 mm.
*Trim those surfaces as same as class A surfaces.
*We get class B surface.
*B surface is an extrapolated surface compared to a surface and forms the bottom skin of the part.
BY GIVING SOME FILLET BASIS ON THE CLASS A SURFACE:
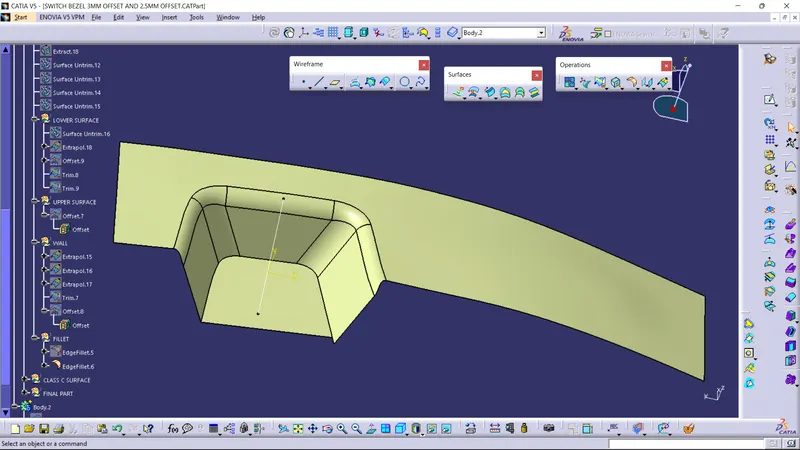
How to create class C surface....
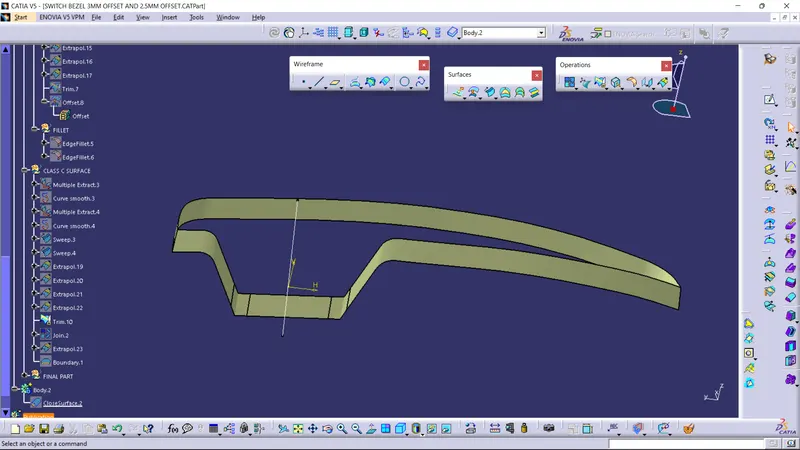
*The next step is to form the C surface which is an intermediate surface between A and B and is used to give the closed surface appearance to design.
*The C surface is sweept using the profile as boundary line of class A which is the guide curve with the subtype along draft direction.
*The direction of this sweep is the tooling direction formed earlier.
*The C surface is refined using smooth curve option to remove the complexity and patches along the swept surface.
*Finally the class A and class C surfaces are joined together and connecxity of surfaces should be less than 0.003 mm and the surface are merged.
How to make closed solid body....
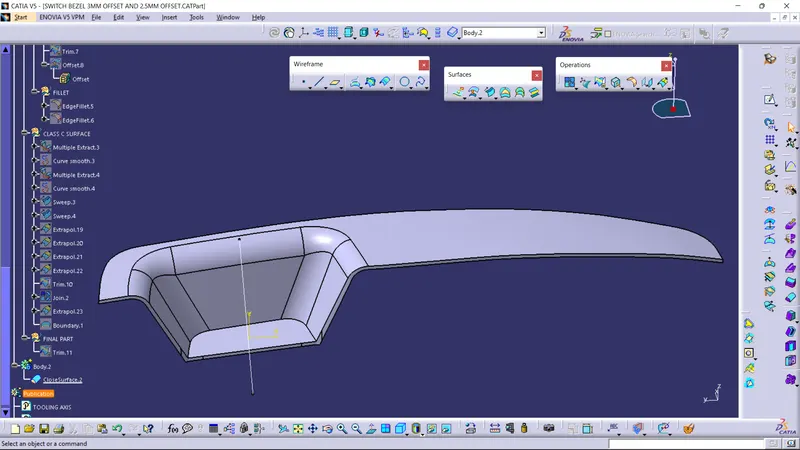
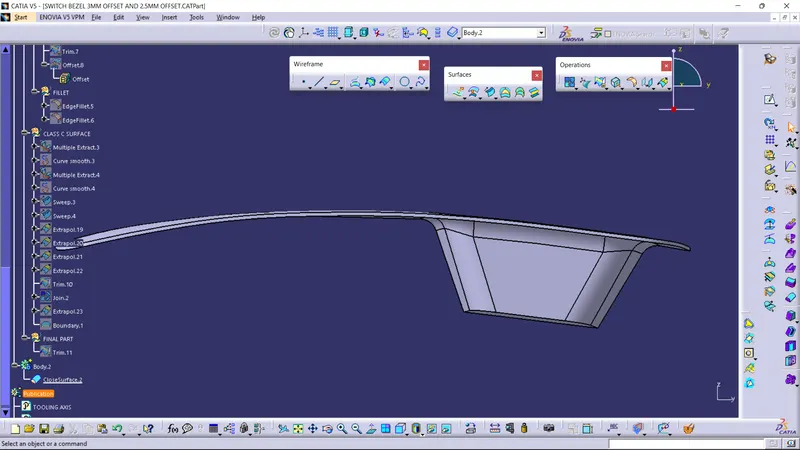
*Now trim the class A, class B and Class C surfaces to make those surfaces as a closed body.
*The closed surfaces is then validated to find the irregularities along the Surfaces and in perfections along the Axis where then corrected using operation like extrapolate and surface trim.
*Now you can go to the a part workbench and make the close surface by using close command and then make it to a solid body.
Procedure of draft analysis
*The part created has to be changed to material mode in display frame.
*Then By enabling compass definition the axis system is pan along the direction of the part and align in the line with the tooling direction.
*more dialogue boxes formed by snapping at point on the part.
*The colour codes are classified and draft angle are applied.
*Then the running point analysis is used to have around the part to analyse the permissible draft angles and the analysis is saved.
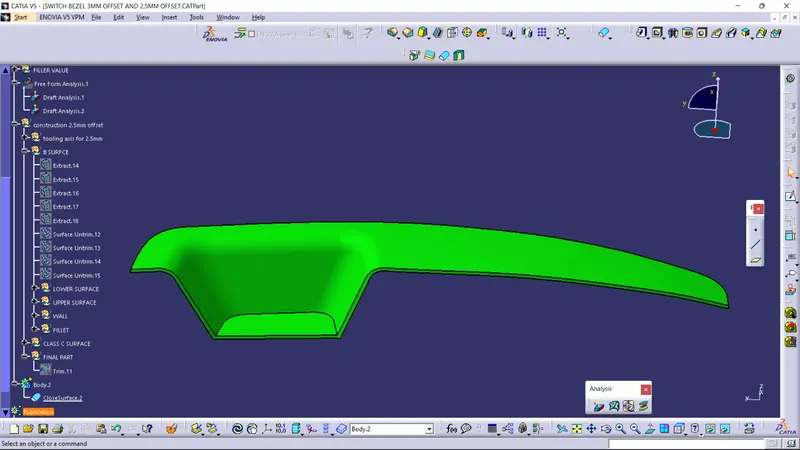
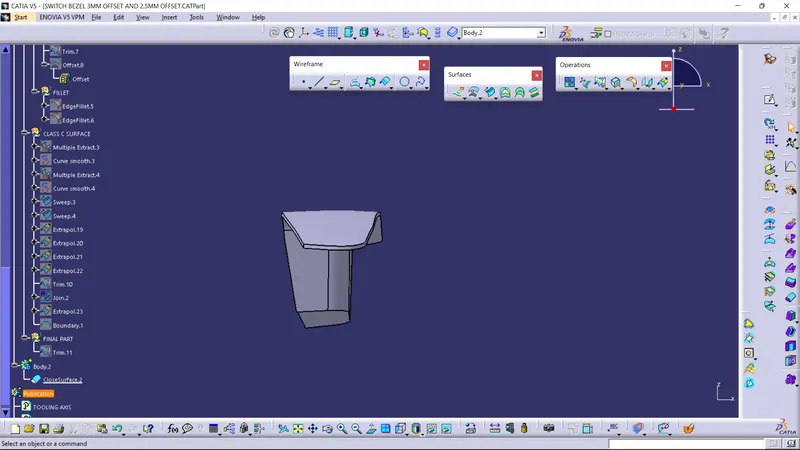
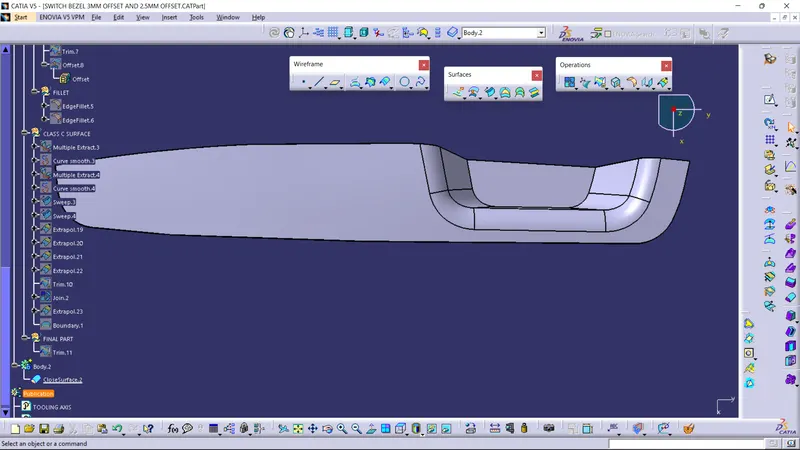
FRONT VIEW, BACK VIEW, TOP VIEW, ISO VIEW ARE GIVEN BELOW:
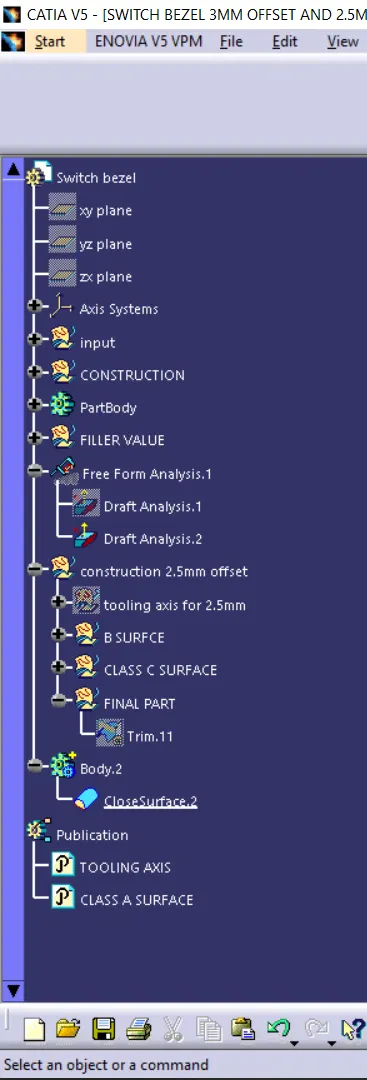
tree of the model....
THANKYOU.....
00