Week 8 - Challenge 2 - Switch Bezel Design
Create the Switch Bezel Plastic component through the given Class-A surface. To begin with, the tooling axis for the given Class-A Surface should be created meeting the requirements of the draft angle and at the end perform the Draft analysis on the model.
Take the Thickness of the component to be 2.5 mm
CLASS- A SURAFCE
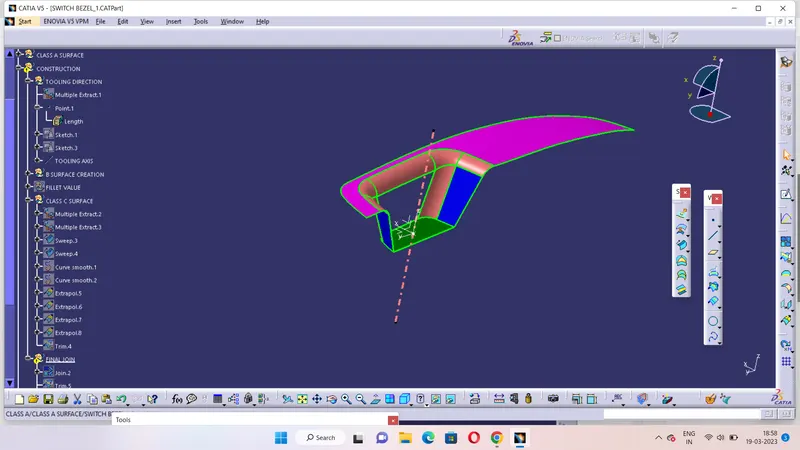
The objective of the project is to design the switch bezel and to do a draft analysis for it by creating the required tooling direction with the help of Bisecting method
GENERATING TOOLING AXIS
1. considering the ejection from the cavity of the mound after manufacturing the interior trim(switch bezel must have the nominal 3- degree draft angle
2. Hence the tooling direction is created by considering the above factor and bisecting method is used.
3. The base surface of the class - A was extracted and a point at the centre is created and an axis system was inserted to the point with the current feature is disabled.
4. Then,usingproject intersection along yz plane is created and the two inclined lines were drawn inside the positioned sketch.
5. Then bisecting lines with the two inclined lines were drawn
6. Now thw same procedures is done along the xz plane but on one side we don't have iclined lines so the centre point is used to extrude a line along the z- direction and gave a measurement of 6 degree
7. With these two lines frm sketches 1 and 2, the bisecting line is created and published as tooling axis( tooling direction)
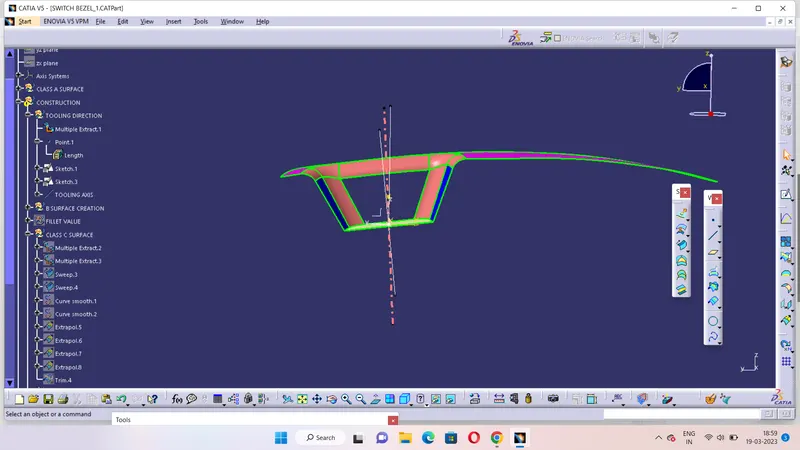
BASE BRACKET DESIGN PROCEDURE
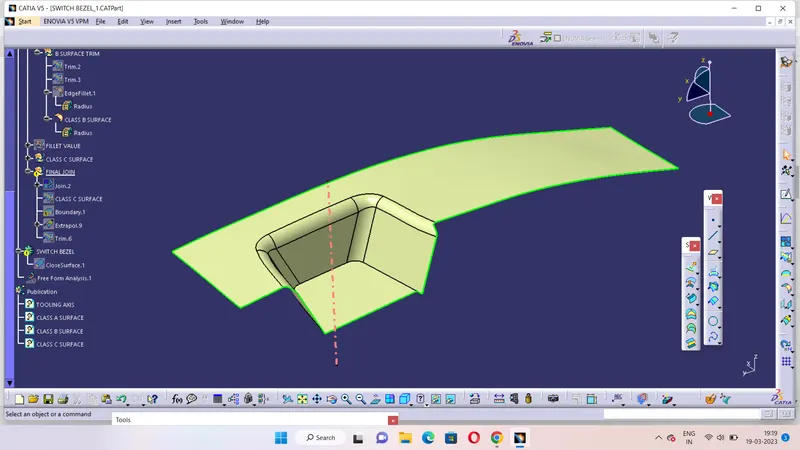
CLASS-B SURFACE
1. For creating the class - B surfcae the required surface except the offset surface have been extracted and then untrimmed all the surface.
2. Then all the surfaces have been extrapolated to get intersections between them.
3. Since the thickness of the Switch bezel is 2.5 mm the B- Surface was offset to 2.5mm and the required trim operations must be carried out.
4. For fillets the value should be value of the fillet subtraced with the thickness. ( 15mm-2.5mm / 14mm-2.5mm).
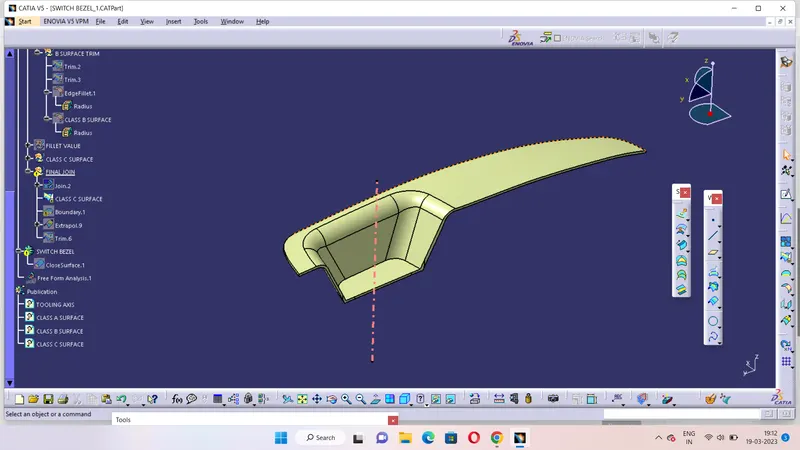
CLASS-C SURFACE
1. The requred outer edges of the A- surface were extracted using Multiple Extraxt. Then for avoiding the patches the curve is smoothened using the curve smooth option.
2. Then by using the sweep command the surface was created with 3 degree angle.
3. Then by using extrapolate command the edges were intersected between the surface corners. Then eases with the trimming operation
4. Now the requred portion of the c - surface were trimmed out.
PUBLICATION
Publish class-A surface, Tooling axis, class-B surface & lass-C surface.
PART BODY
Go to the part design workbench and create a closed surface.
CLASS- B SURFACE
CLASS- C SURFACE
PART BODY
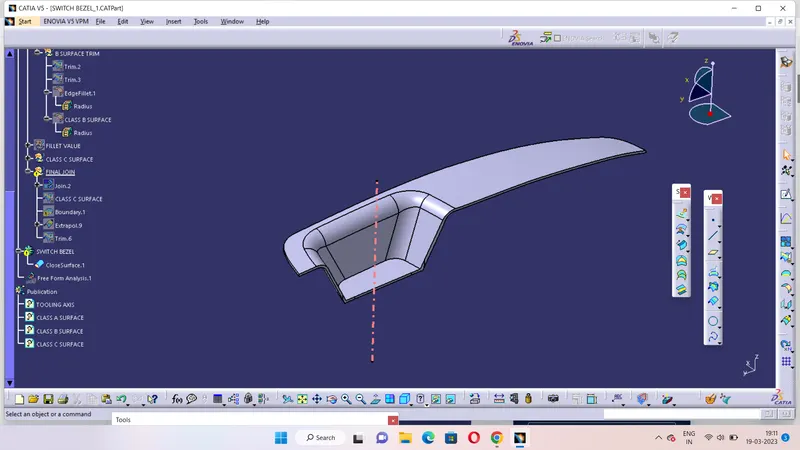
ISOMETRIC VIEW
FRONT VIEW
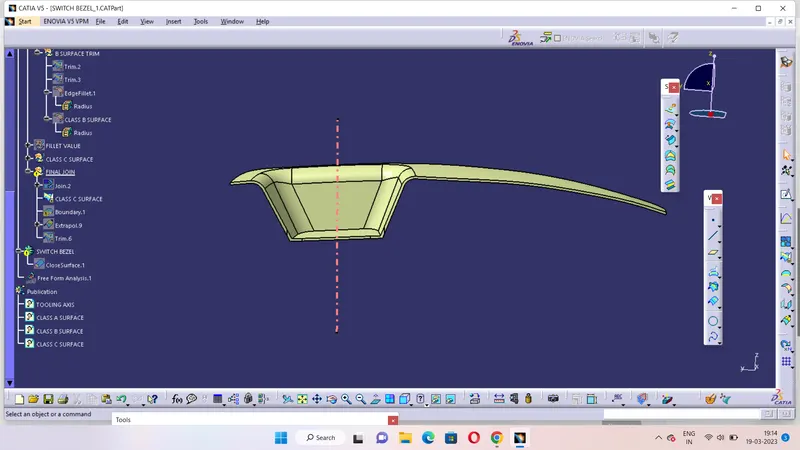
TOP VIEW
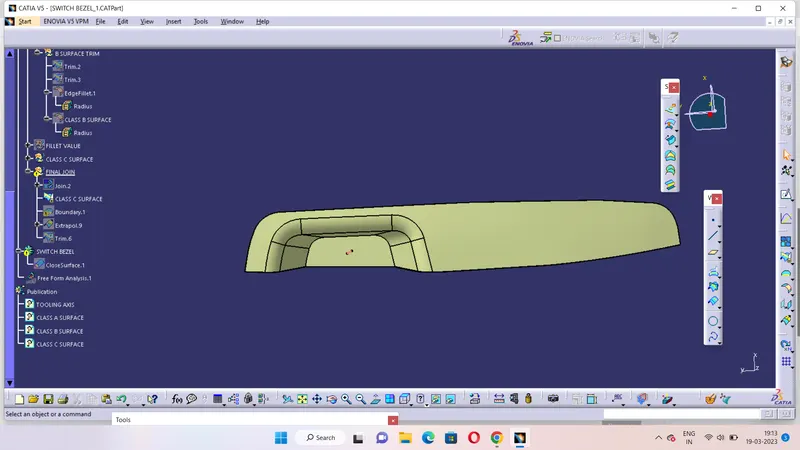
RIGHT SIDE VIEW
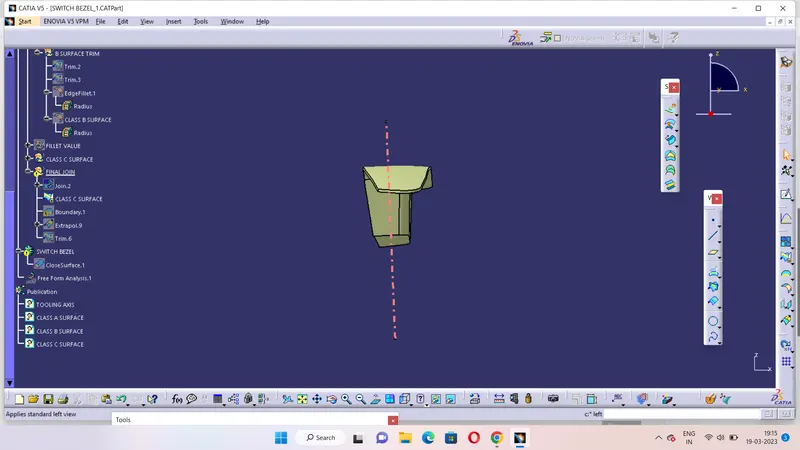
LEFT SIDE VIEW
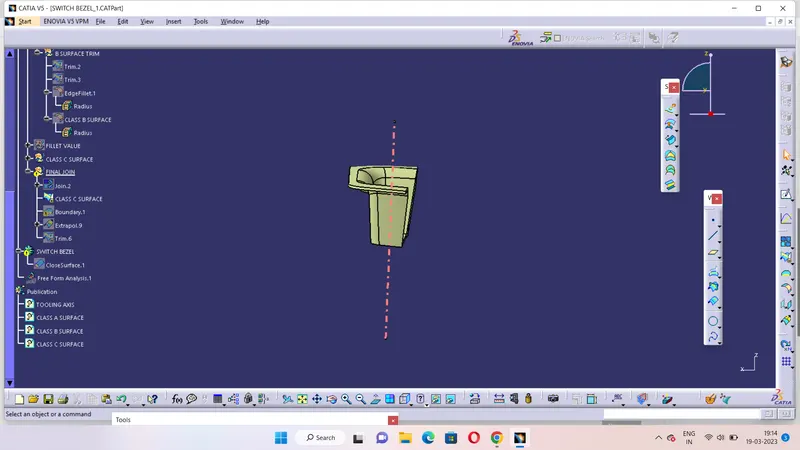
DRAFT ANALYSIS
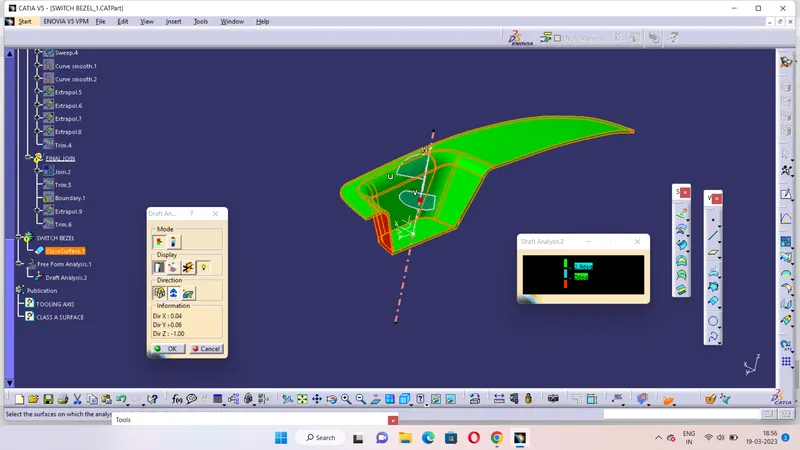
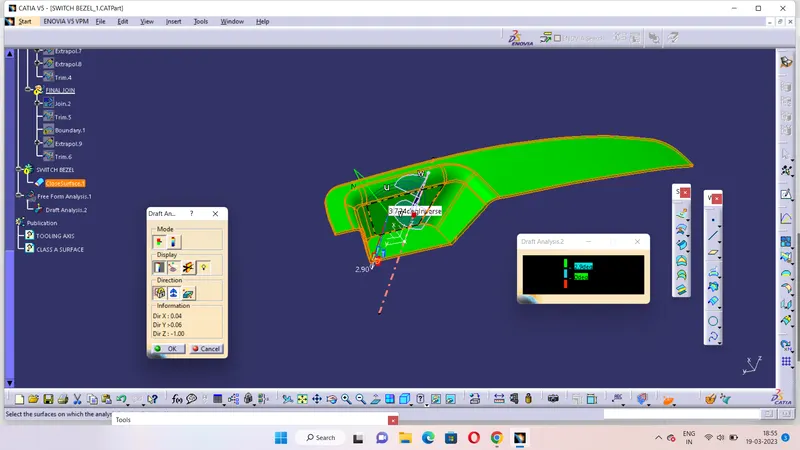
The Draft Analysis command enables you to detect if the part you drafted will be easily removed. This type of analysis is performed based on color ranges identifying zones on the analyzed element where the deviation from the draft direction at any point, corresponds to specified values.
All the top and side surfaceds are in green colour. This shows the draft angle is above 2.9 degree
The bottom side are in red colour.
CONCLUSION
Hence the plastic component is created from class-A surface and draft analysis is done.