Week 8 - Challenge 2 - Switch Bezel Design
SWITCH BEZEL DESIGN
OBJECTIVE:
To create the Plastic component of Switch Bezel through the given Class-A surface. To begin with, the tooling axis for the given Class-A Surface should be created meeting the requirements of the draft angle and at the end perform the Draft analysis on the model.
TOOL USED: CATIA V5
GIVEN:
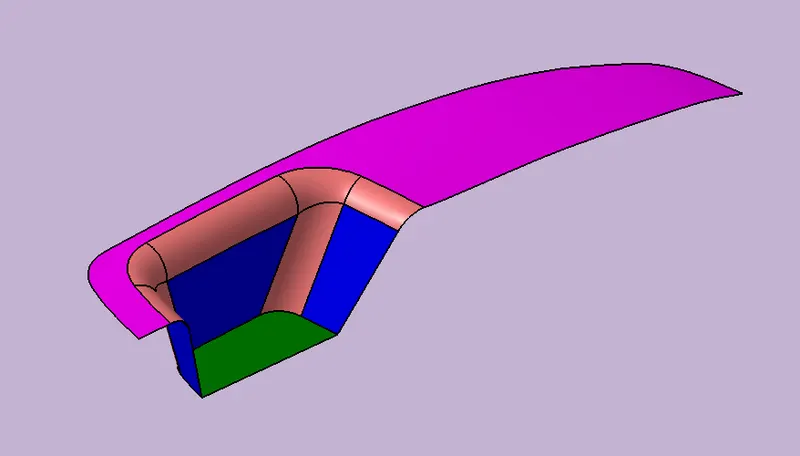
Thus the following Class-A surface as the inuput and the thickness of the plastic component is 2.5 mm.
STAGE_1: CREATING TOOLING AXIS & DRAFT ANALYSIS FOR CLASS-A
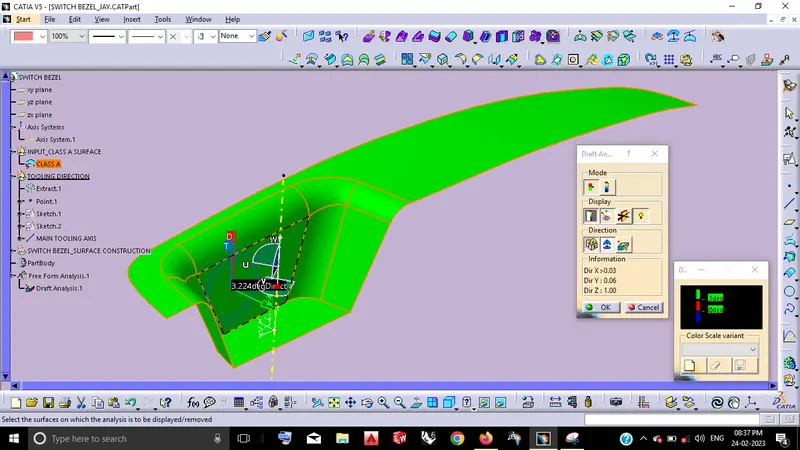
Tooling direction is main consideration for plastic part and the mold parts because it defines the movement of the mold part and possibility of plastic part come out from the mold part.
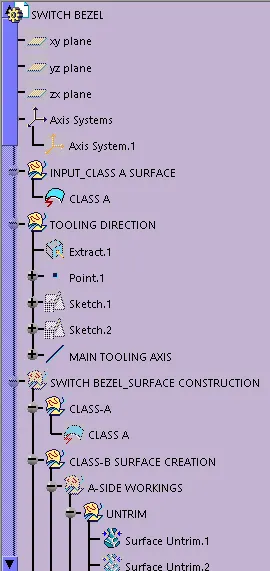
Initially,from the given Class-A the flat surface region base surface has considered to create the tooling direction. Then we can define the tooling axis of this Class-A solved as followings are,
By defining base surface from the Class-A using Extract definition.
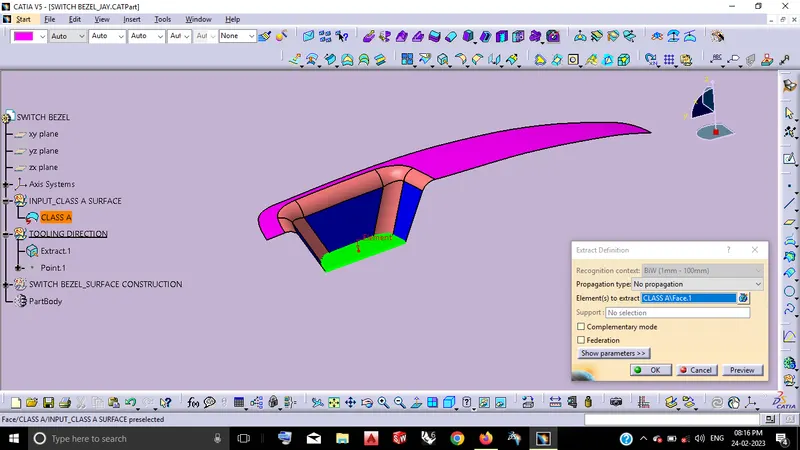
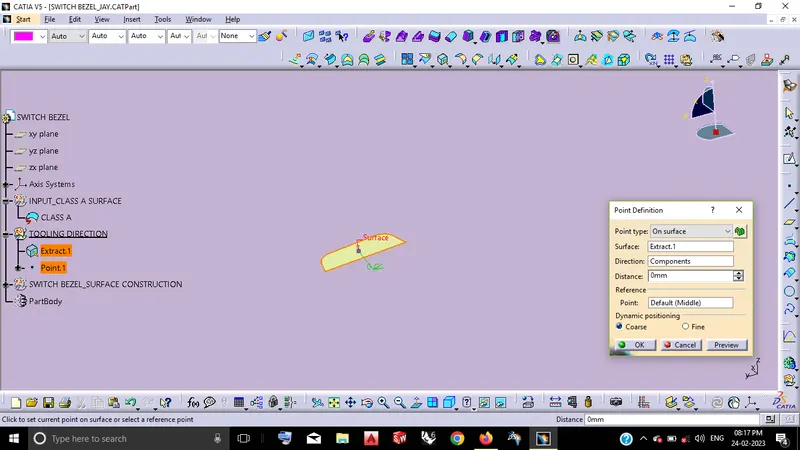
By using of point definition.
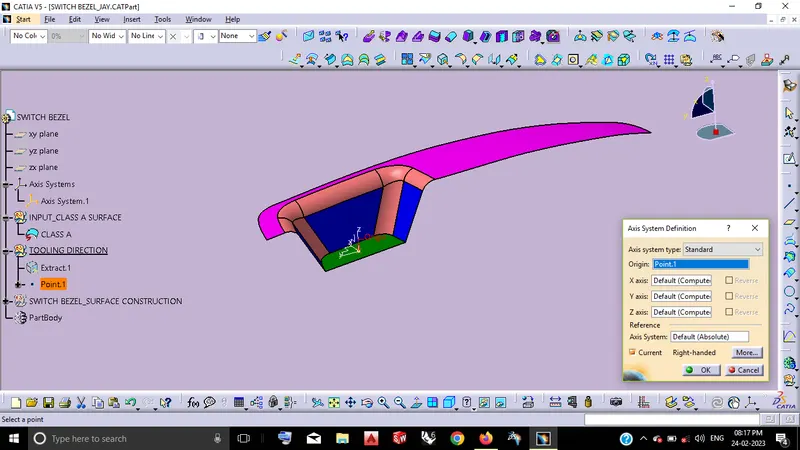
Creating Axis System by Defining the point as Orgin by using of Axis System definition.
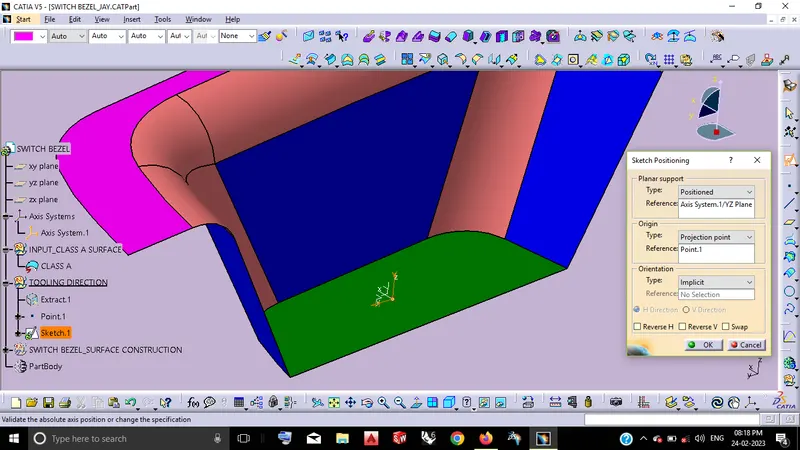
Defining to Create sketches with the Positioned Sketch.
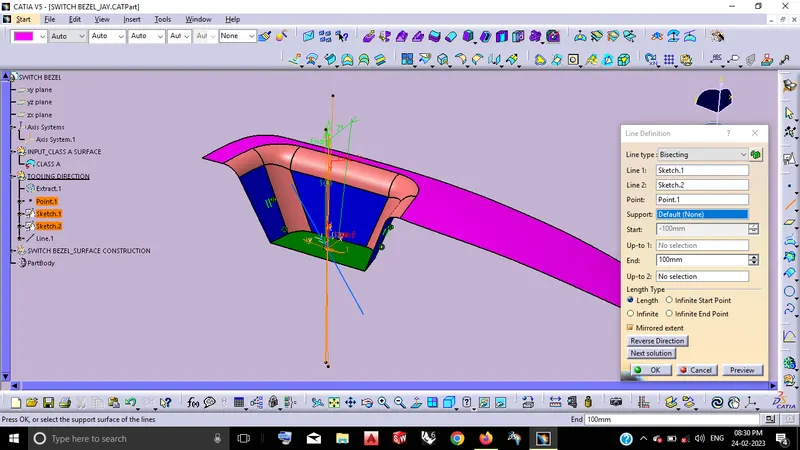
By using of Bisectin-Line definition.
STAGE_2: DRAFT ANALYSIS OF (SWITCH BEZEL) CLASS-A
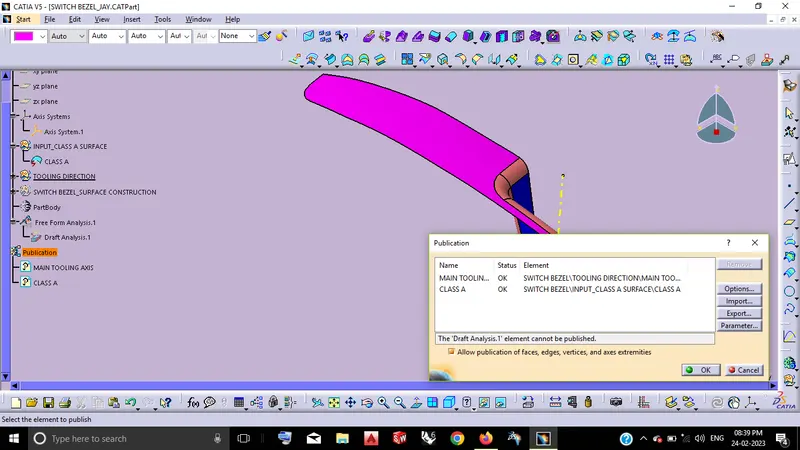
By using of Publication.
STAGE_3: SURFACE MODELING_SWITCH BEZEL & ITS DRAFT ANALYSIS
STEP_1: CLASS B SURFACE CREATION
From the given inupt of the plastic component is 2.5 mm. So that we go to get the B-side of the Class-A from the following thickness and its sketch solvings are,
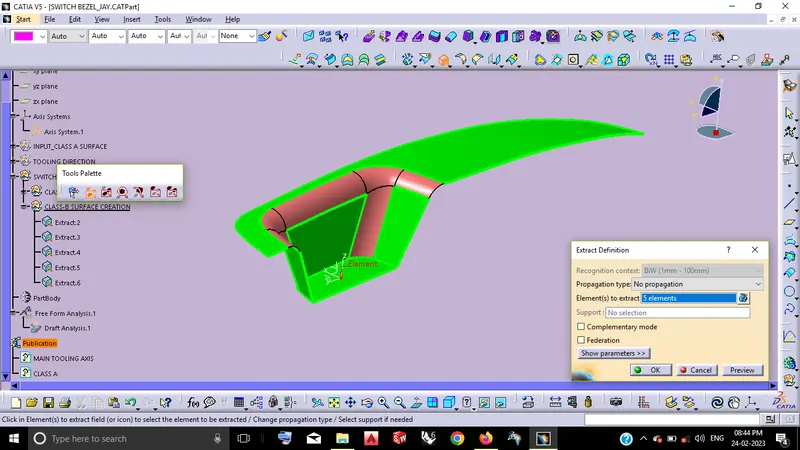
By using of Extract Definition.
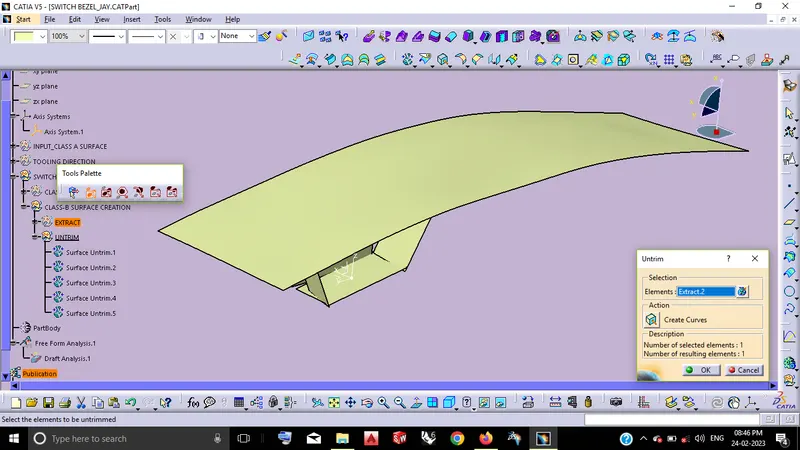
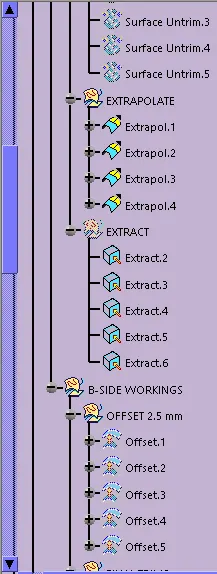
By using of Untrim Definition.
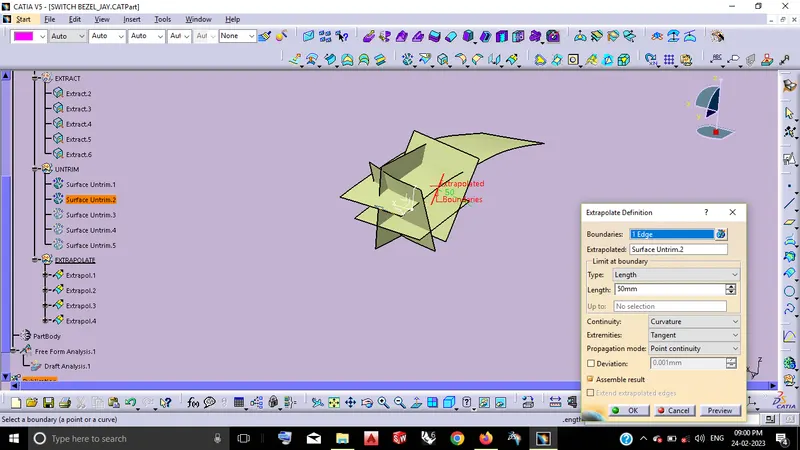
By using of Extrapolate definition.
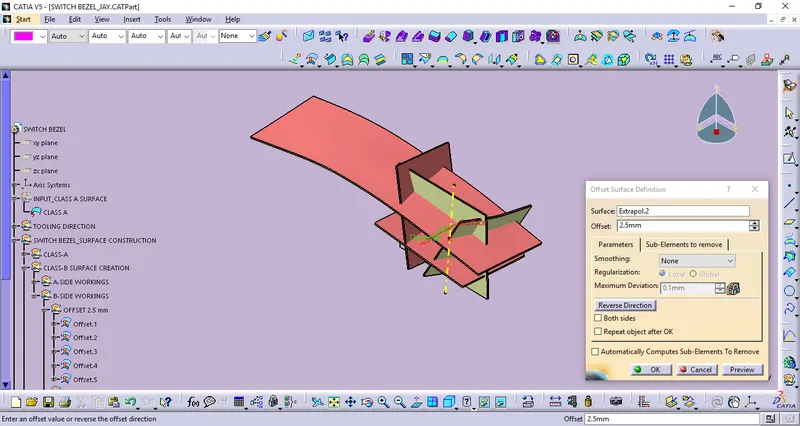
By using of Offset surface definition.
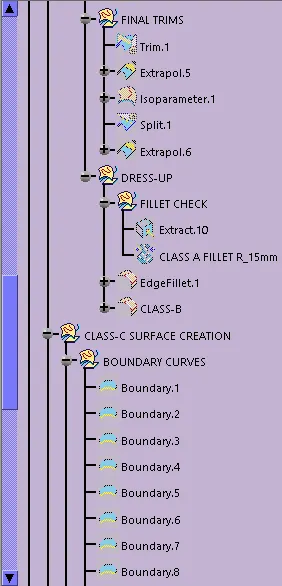
By using of Trim definition thus the B-side of the component obtained.
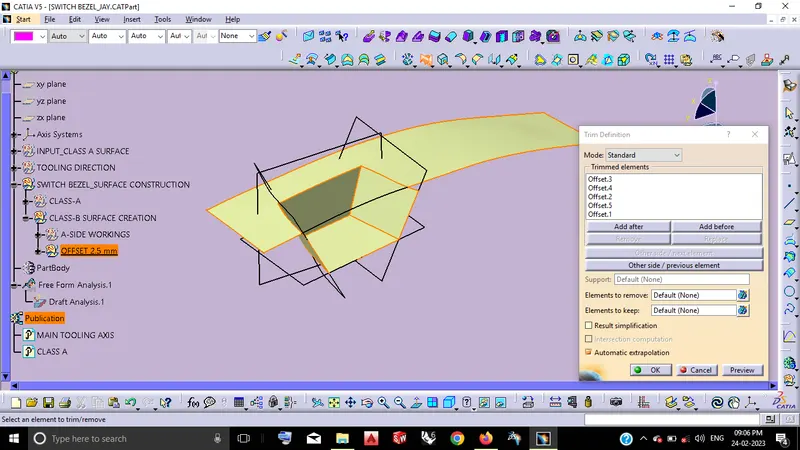
By using of Isoparmetric curve.
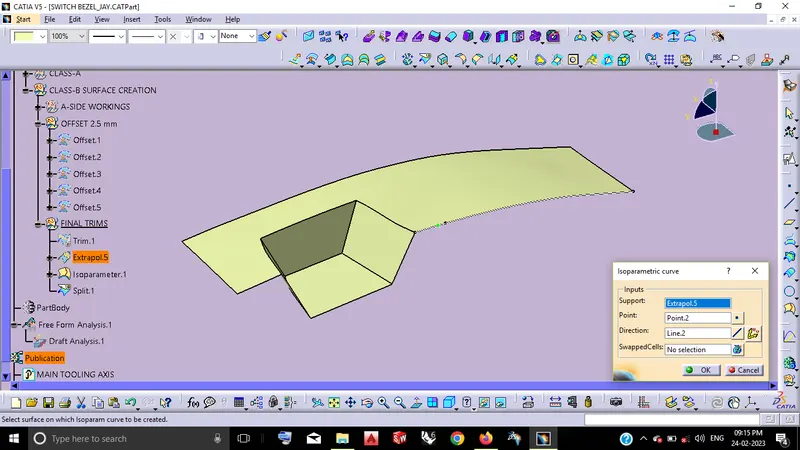
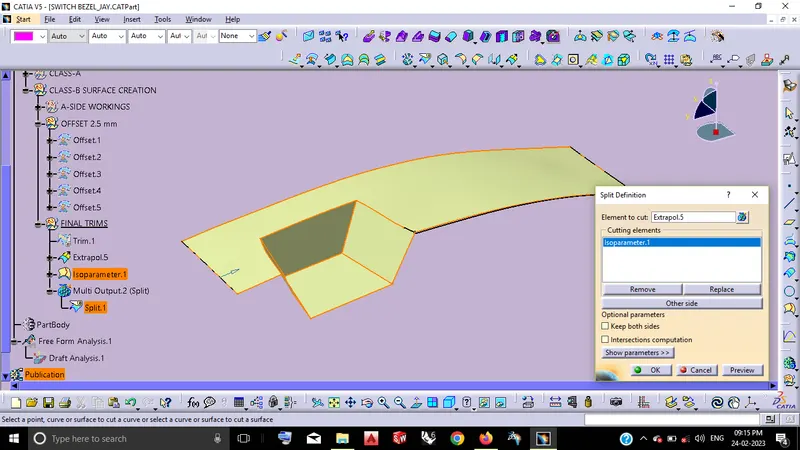
By using of Split definition.
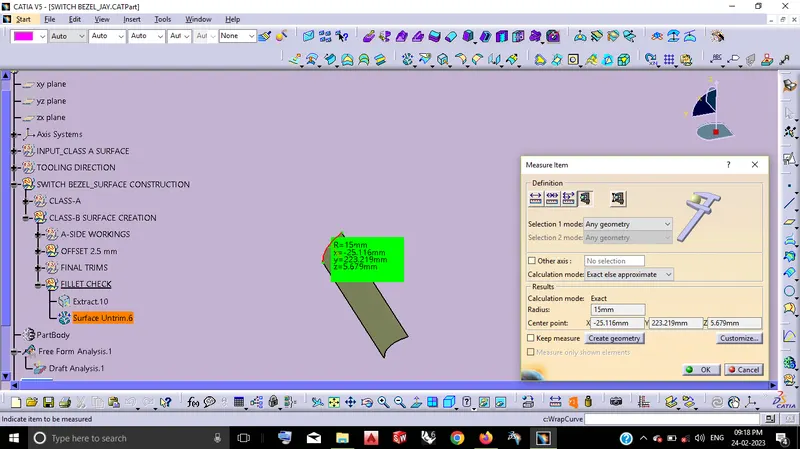
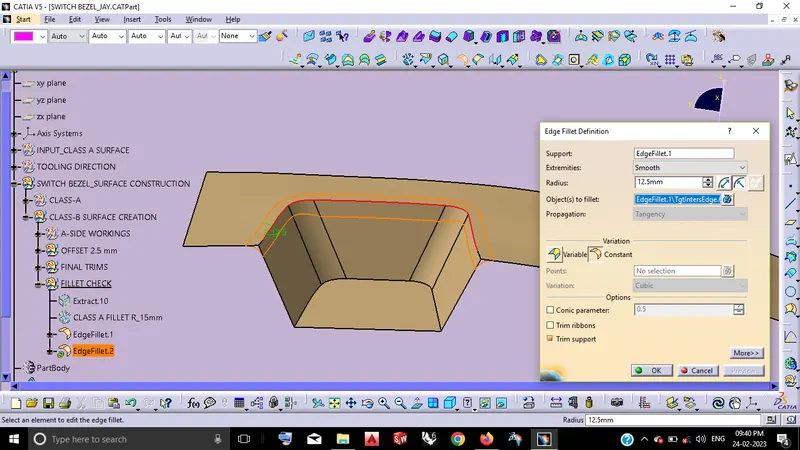
From the Class_A fillet value to be messured as following as,
By using of Edge Fillet definiton.
STEP_2: CLASS C SURFACE CREATION
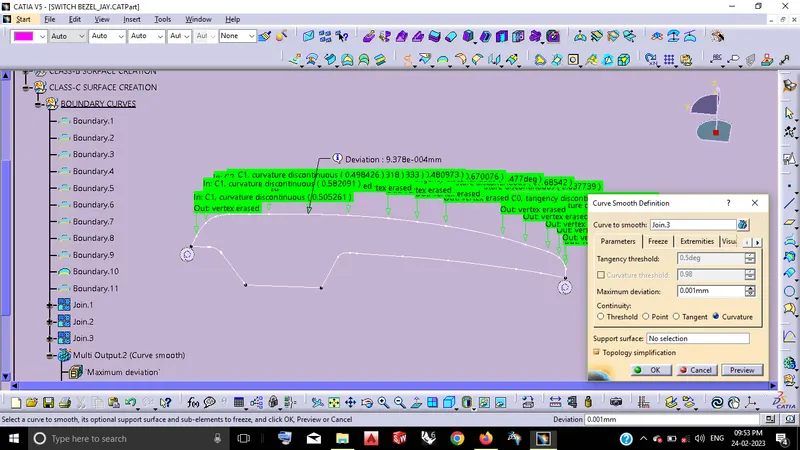
In this Class-C has obtained by the following are, getting the boundary curves along with tangent from the Class-A surface. Then it will gets Smoothen by using Curve smooth definition. From the following curve used to obtain the Class-C surface.
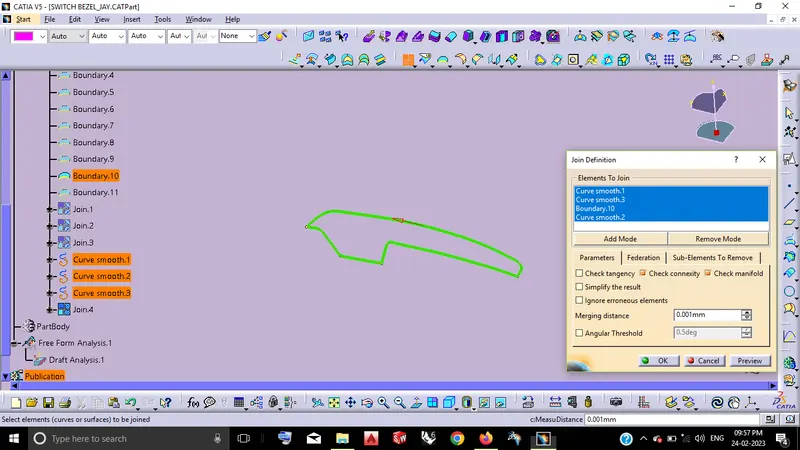
By using of Join definition.
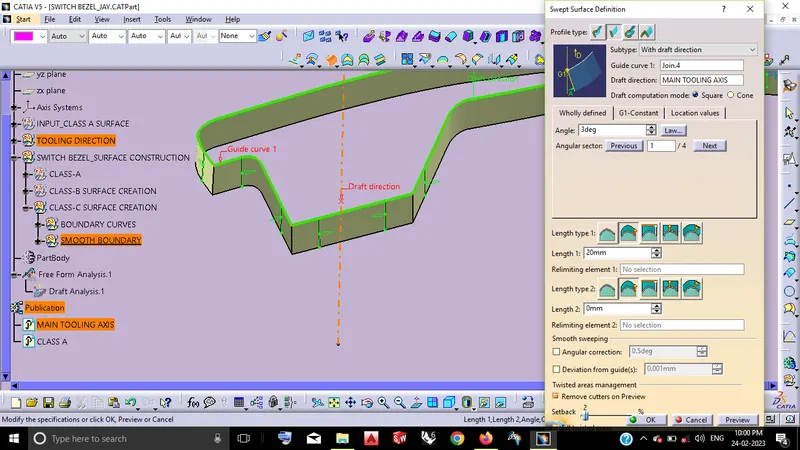
By using of Swept Surface definition along with the Boundary curve and the Main tooling axis with the draft angle of 3 deg which will be obtained as following as,
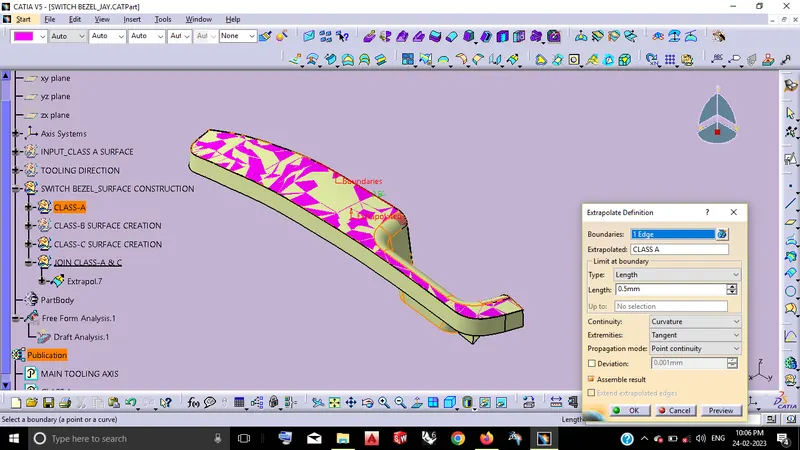
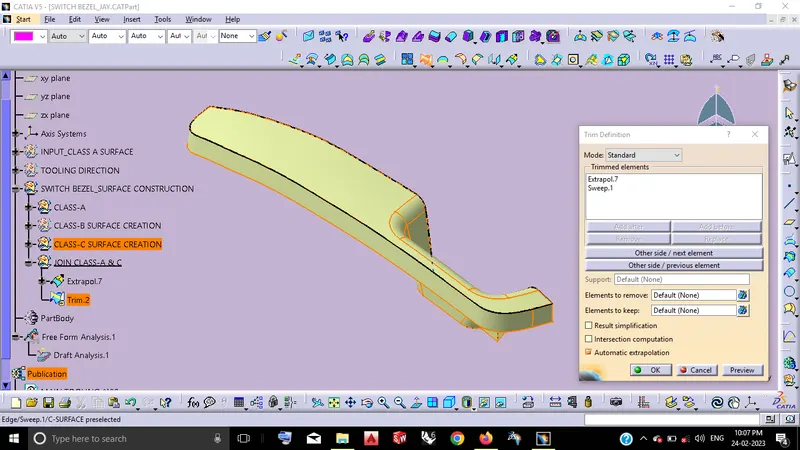
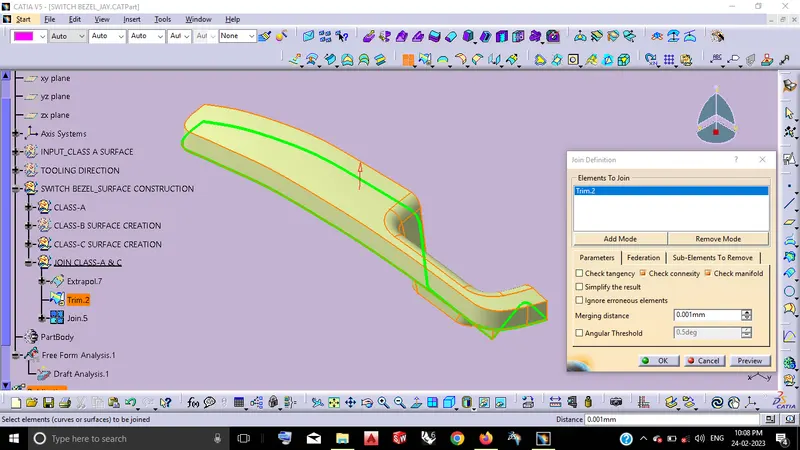
STEP_3: JOIN CLASS A & C
By defining to Join A & C surfaces initially have some tollerancing errors due to the above Curve smooth for the boundary. By the following steps are used to resolve that and the sketch solvings are,
By using of Extrapolate definition.
By using of Trim definition.
By using of Join definition.
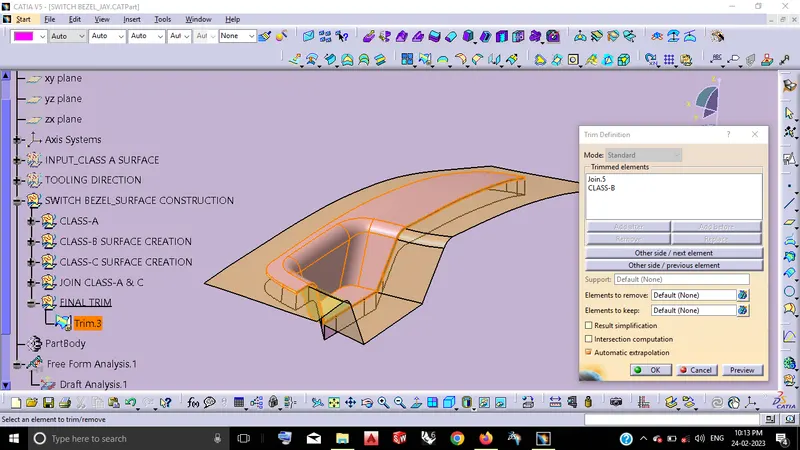
STEP_4: FINAL TRIMS OF SWITCH BEZEL
By using of Trim definition.
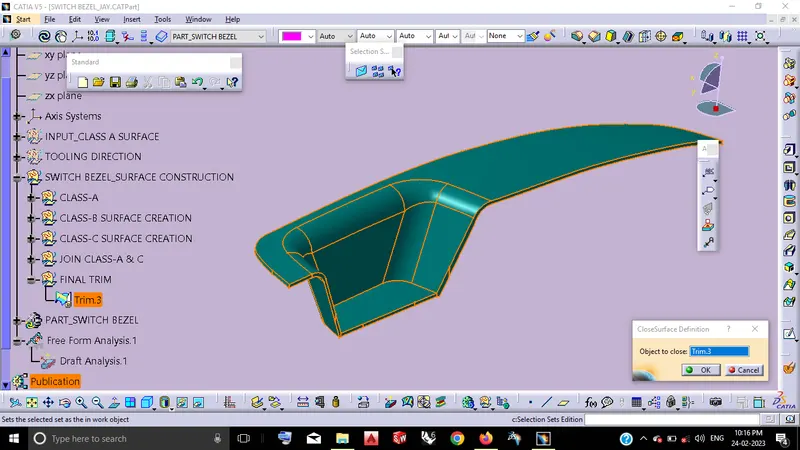
STEP_5: CLOSE SURFACE
By defining the final surface of the above has converted becomes solid part by using Close surface definition.
STEP_6: DRAFT ANALYSIS OF SWITCH BEZEL
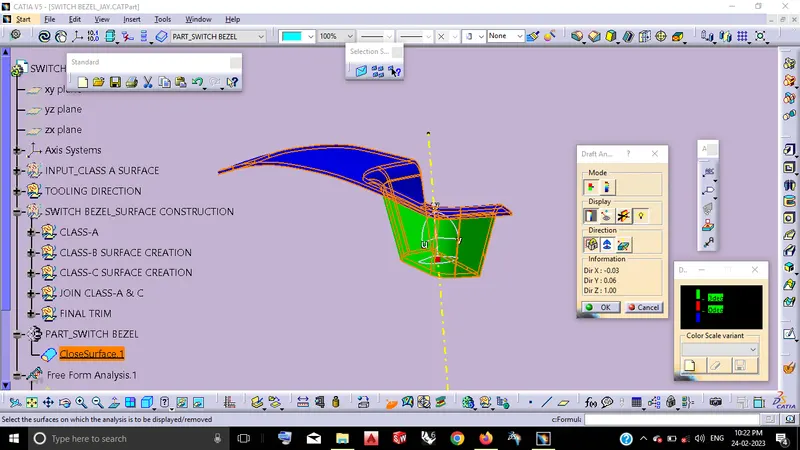
From the following this Draft Analysis with the Draft angle of 3Deg,
Blue-which is Class-A surface becomes Cavity and
Green-which is B-side surface becomes Core.
Because thus the parting line of this component in B-side which will not affects (like Flashes) the Class-A surface.
VIEW ORIENTATIONS:
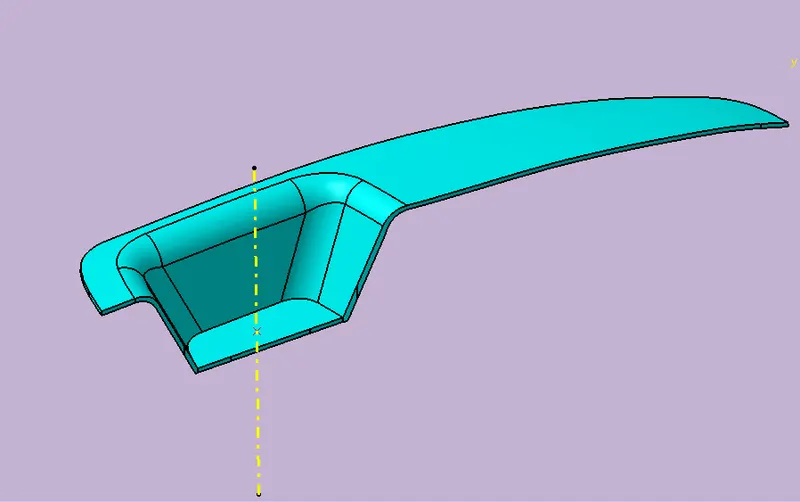
ISO VIEW
TOP VIEW
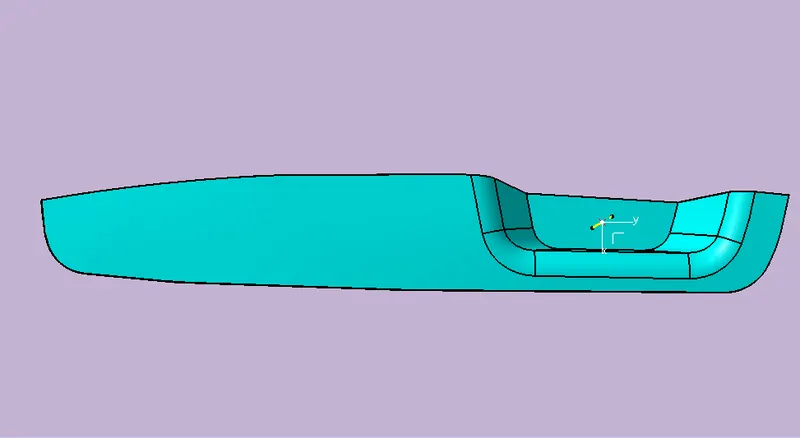
SECTION VIEW
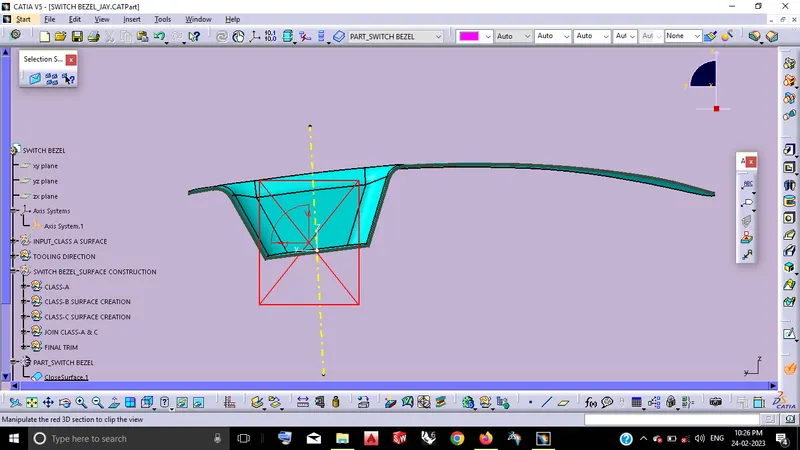
TREE STRUCTURE:
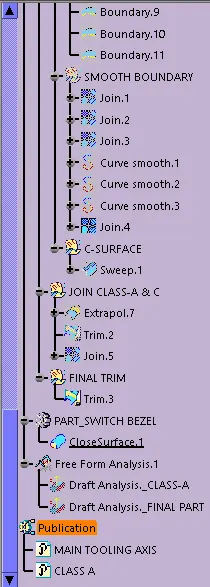
CONCLUSION:
Thus the Switch Bezel Plastic component through the given Class-A surface to be done by using CATIA V5.
Tooling axis for the given Class-A Surface to be created.
Surface CATPart model to be done with the thickness of 2.5mm. and
The Draft analysis on the Class-A & model to be completed.