Week 8 - Challenge 2 - Base Bracket Design
Aim:-
To create the Base Bracket Plastic component through the given Class-A surface. To begin with, the tooling axis for the given Class-A Surface should be created meeting the requirements of the draft angle and at the end perform the Draft analysis on the model.
Introduction:-
1. Class A surface : A surface that is given to the plastic modeler which is of aesthetic and outermost surface. The surface made by the designer is known as a Class A surface.
2. Class B surface : A surface that is below the Class A surface,at a certain thickness,which contains engineering aspects on it is known as Class B surface.
3. Class C surface: A surface that joins the Class A and Class B surface is known as a Class C surface.
Objectives:-
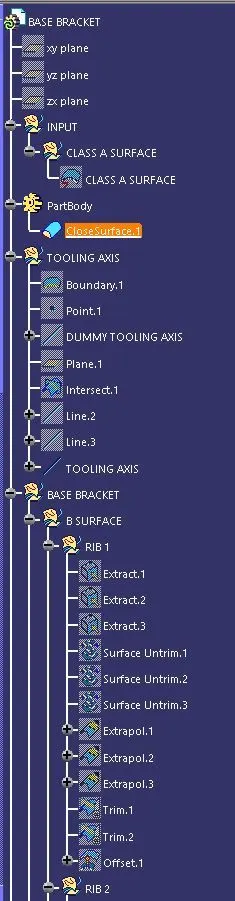
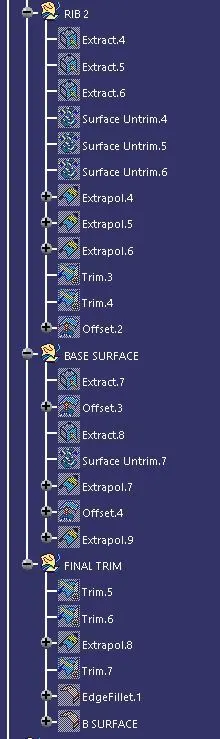
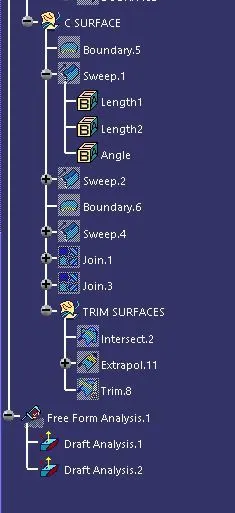
- To ensure proper tree structure is followed
- Geometrical sets should have a proper name based on the sketches present inside of it.
- All the sketches should be created under the geometrical set.
- Use of the close surface feature to make a solid body from the surface
- To publish the tooling axis class A,B and C surface.
Procedure:-
First important the Class A surface of base bracket model in CATIA V5
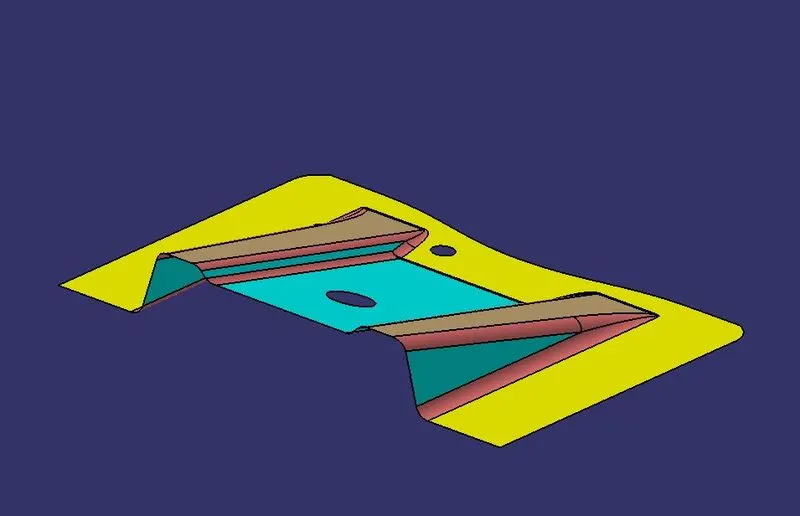
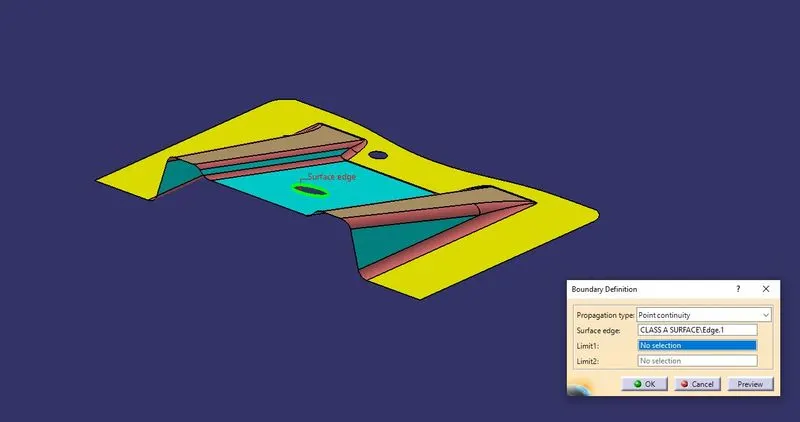
Check the connectivity of Class A surface using boundary option.Ensure that there is no gap between the two sufaces.
Tooling axis:-
Now we need to create the tooling axis for the base bracket model.Visually check which direction is better for creating tooling axis.First create a dummy tooling axis in Z direction.
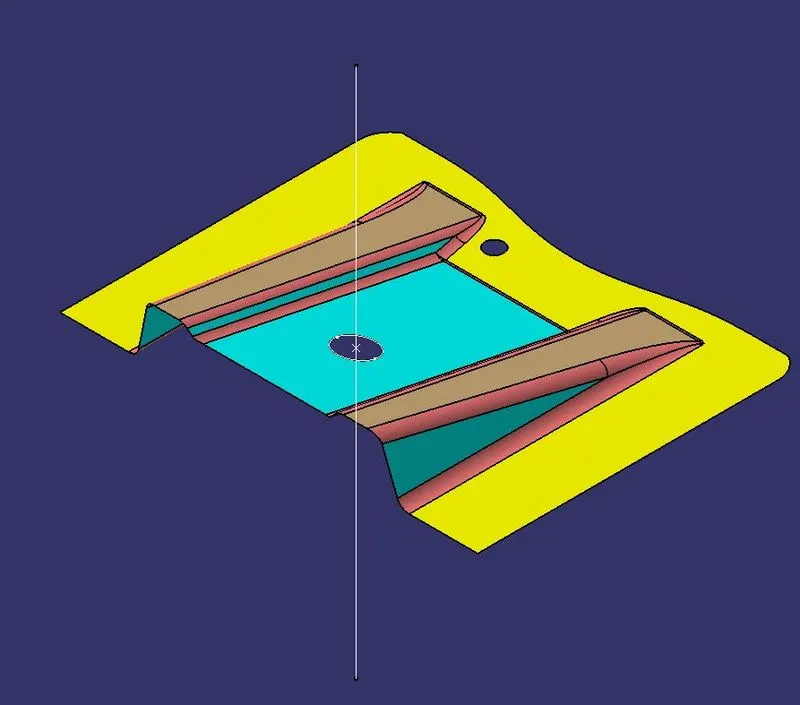
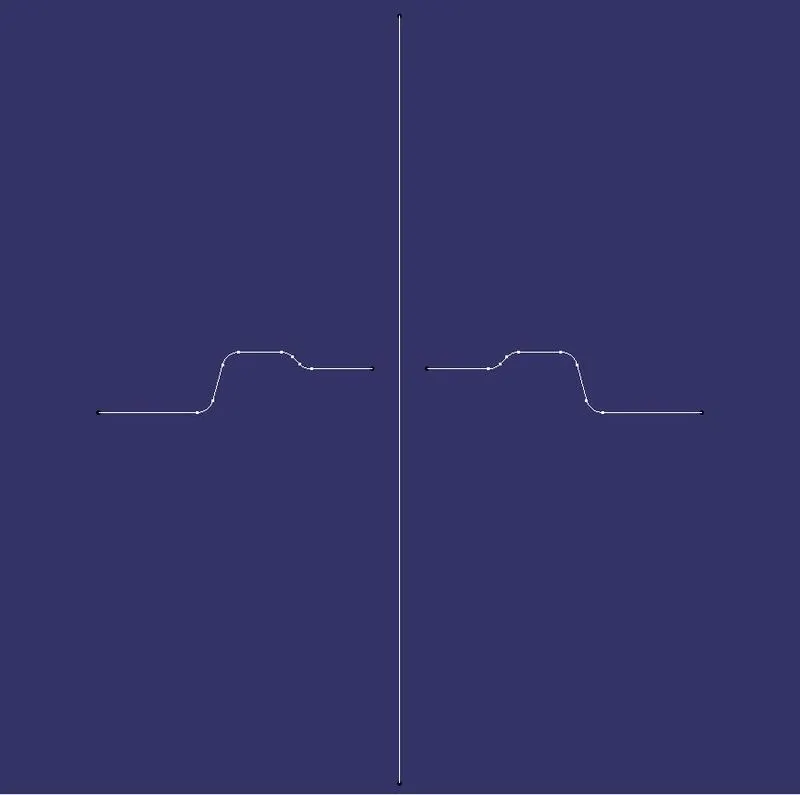
Now using the intersect option,select the YZ plane as first element and base bracket(Class A surface) as second element.This will give a 2D sketch of base bracket viewing from Y-direction.
Now create line through the walls of a base bracket using point to direction option with the help of intesect 1 where you
think the tooling might create problem.
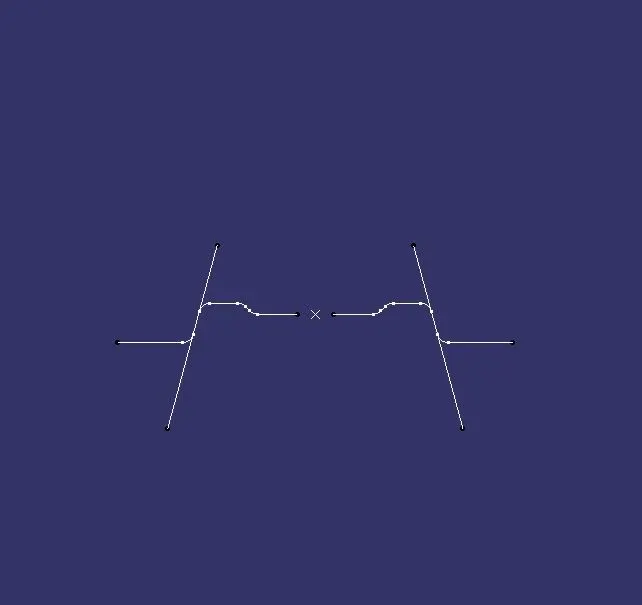
Now using these 2 lines create a bisecting line from reference point in Z direction.This will form a main tooling axis in Z-direction.
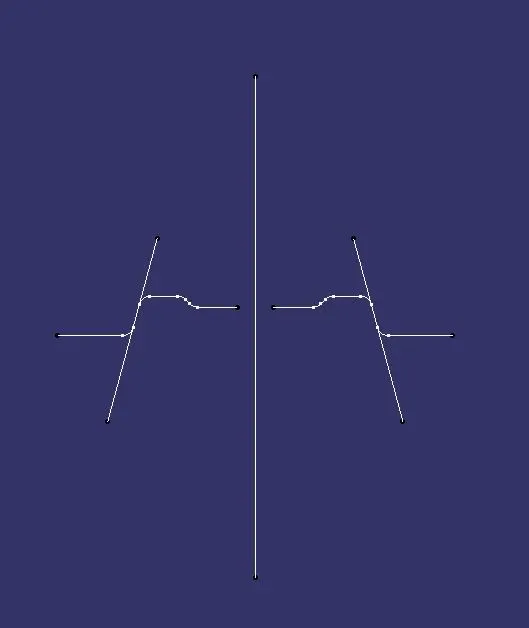
This will be the Tooling axis.
Class B surface:
Consider the thickness of the component as 2.5mm.Now we need to create a B surface which will be similar to the A surface at an offset value of 2.5mm
First we are creating the ribs in this operation.To create the ribs,first extract the surfaces of it from Class-A surface.
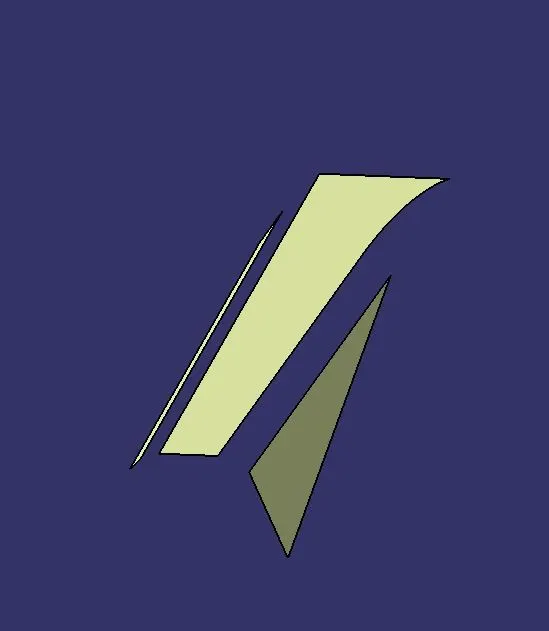
Once the surfaces are extracted, Un trim it and then extrapolate it by 10mm by using point propagation.Now trim these surfaces and offset it to 2.5mm.
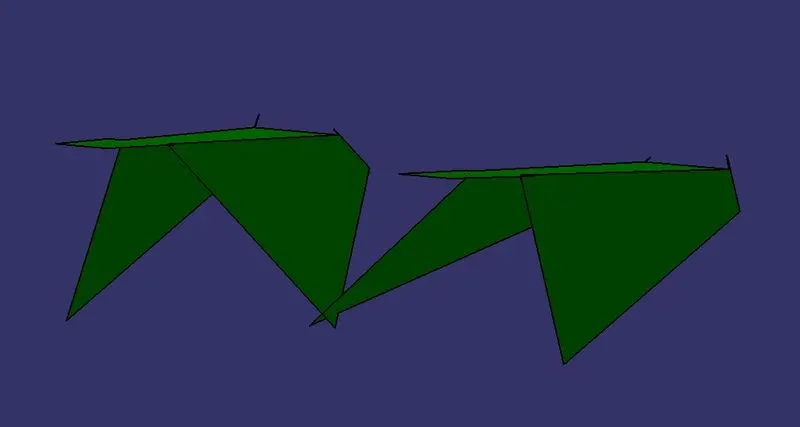
After creating both the ribs,create the base of the base bracket as mentioned above.
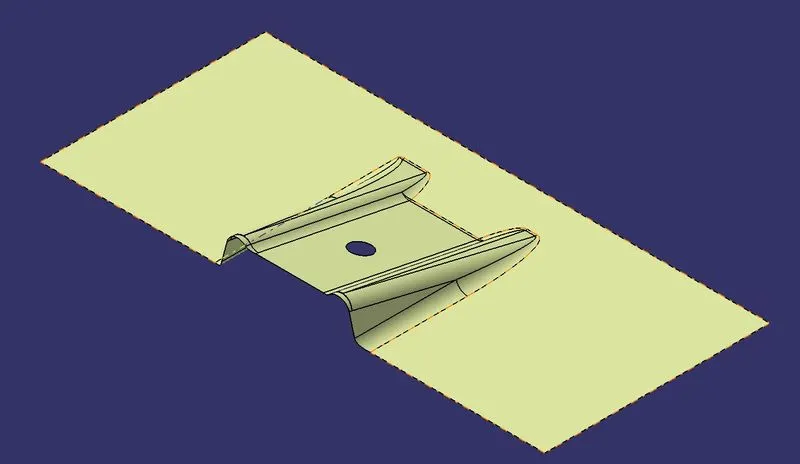
Once all the surfaces are created, trim these surfaces to form a Class B surface.Give the appropriate fillets to form Class B surface.
Class C surface :
To create Class C surface,First extract the boundaries of the Class A surface.
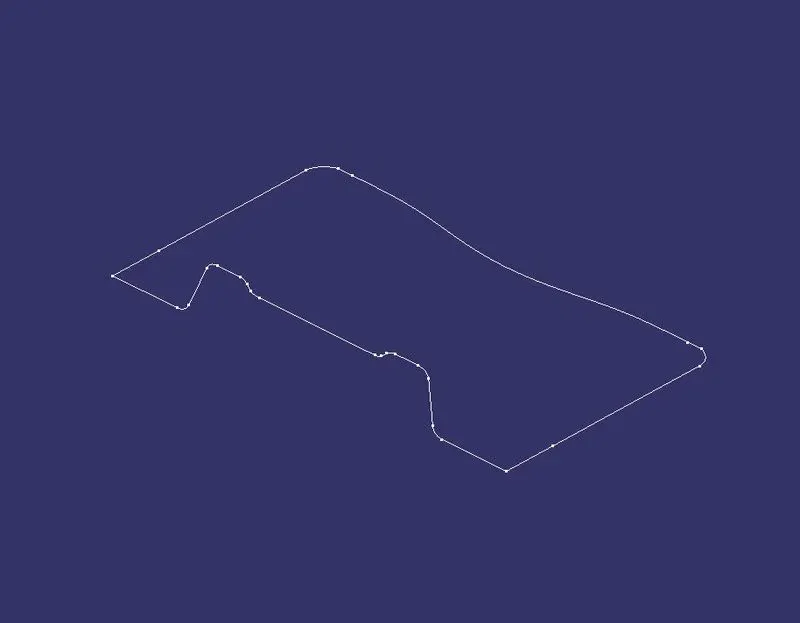
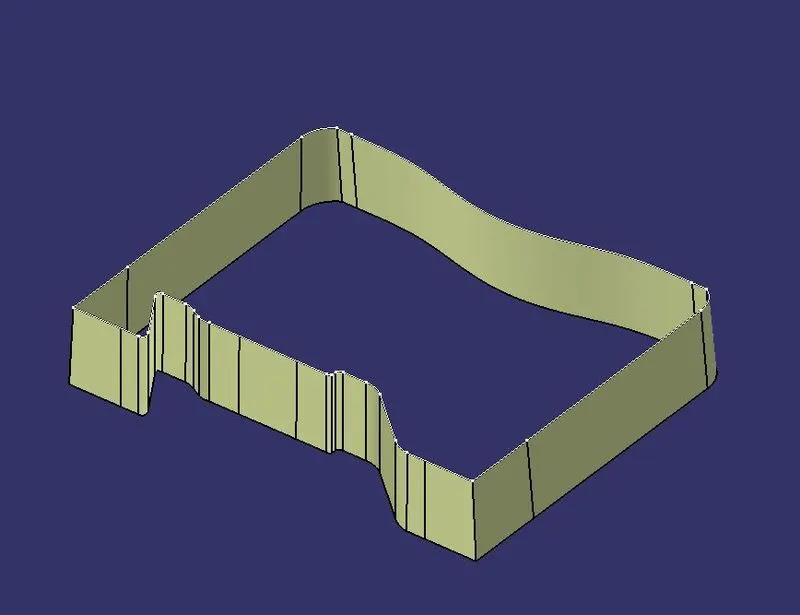
Now using the sweep option create the surface.To perform this operation,Go to the toolbar>Sweep>Profile type>Line>Subtype>With draft direction >Guide curve 1-(Select the extracted boundaries)>Draft direction -(Select the tooling axis) > angle and length as 3 degree and 20 mm respectively and click ok.
For holes extract the boundaries and use the sweep operation to form a surface.
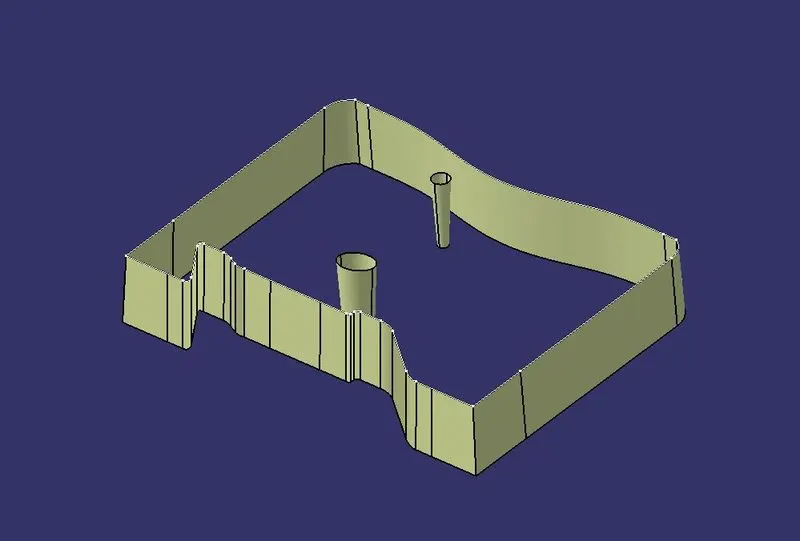
Join the surfaces which are formed by using sweep command to form a Class C surface.
Trim surfaces:
After creation of Class A,Class B and Class C surfaces, we need to join Class A and Class C surface to Form a new surface.Then trim the joined surface with Class B surface to form the final required surface.
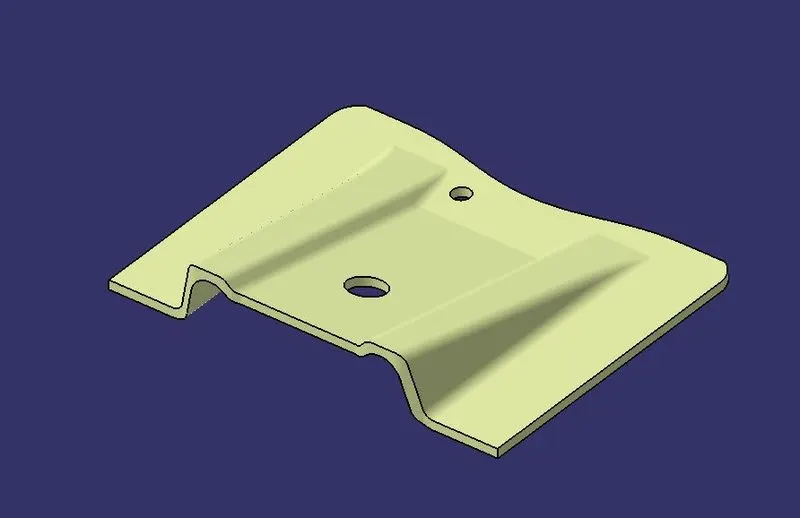
Now using the close surface option from a solid body from surface body
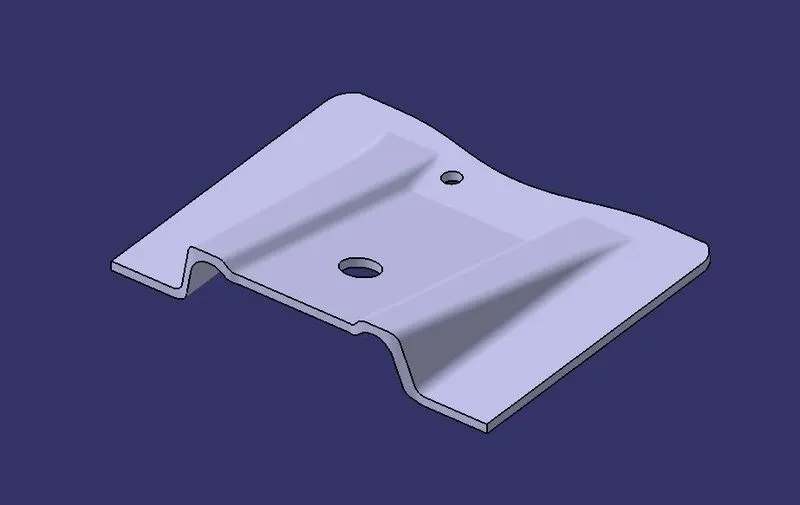
Draft Analysis :
To perform drfat analysis on the base bracket model,first set the view parameters to material mode.
Then Go to menu bar > select insert >Analysis >Feature Draft Analysis.
To give the draft direction,use the compass and align Z- axis of it with the final tooling axis for the base bracket model.Once it is properly aligned ,lock the draft direction.select the base bracket and it will show us the current draft angle of the model,set the draft value to 3 degree under the colour scale variant and press ok.
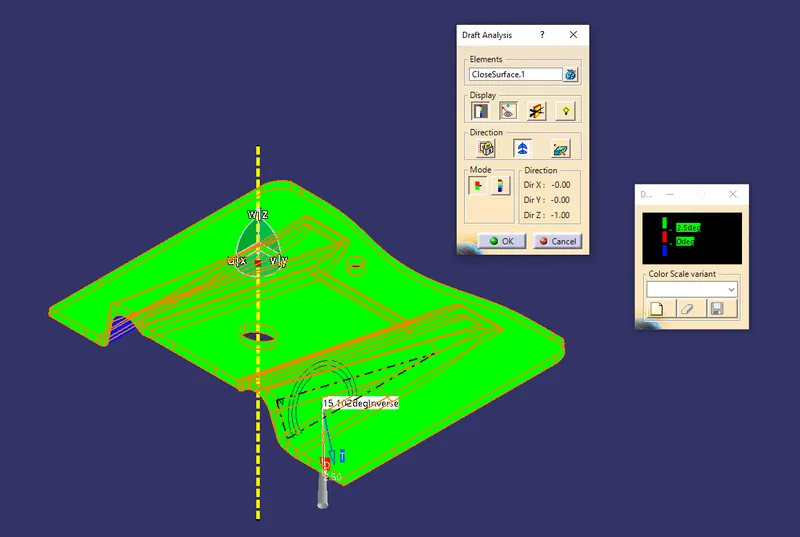
Using the analysis option we can perform the draft analysis on Class A surface and final part of base bracket.
To publish the tooling axis and Class A,Class B and Class c surfaces which will be available in the tree structure.
Tree structure :