Week 8 - Challenge 2 - Base Bracket Design
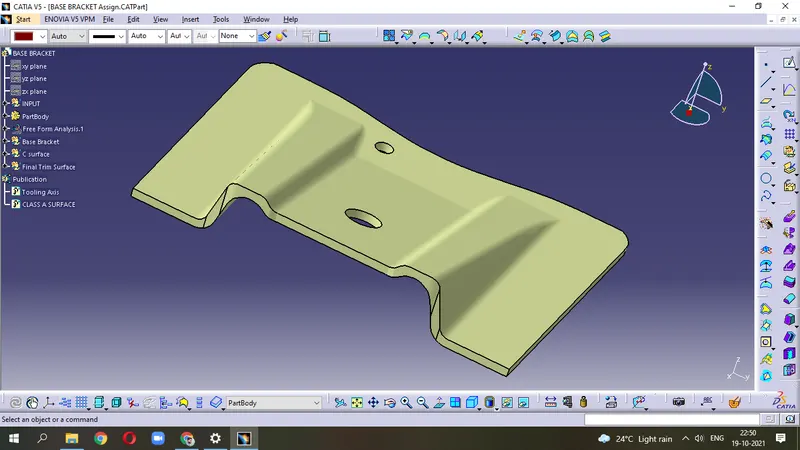
REPORT - Create the Base Bracket Plastic component through a given Class-A surface :
Given Class-A surface
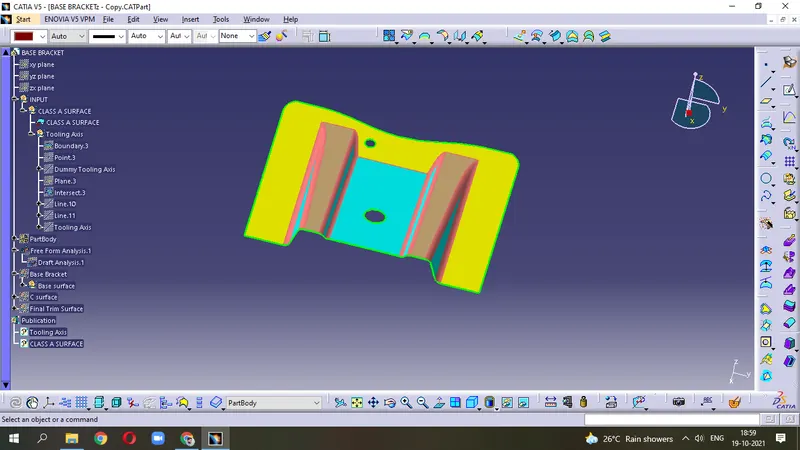
(A) Create Tooling Axis :-
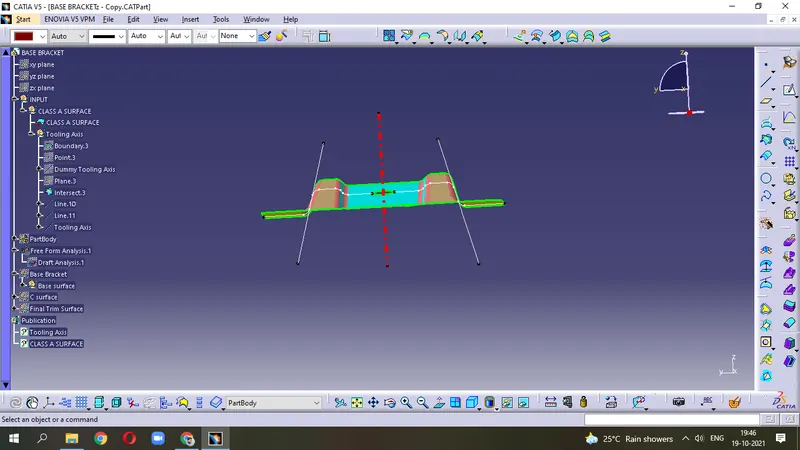
It is the axis through which Core & Cavity - Open/Close takes place. In Class-A surface, we can identify to which side part is Core or Cavity - Above = Cavity Below = Core
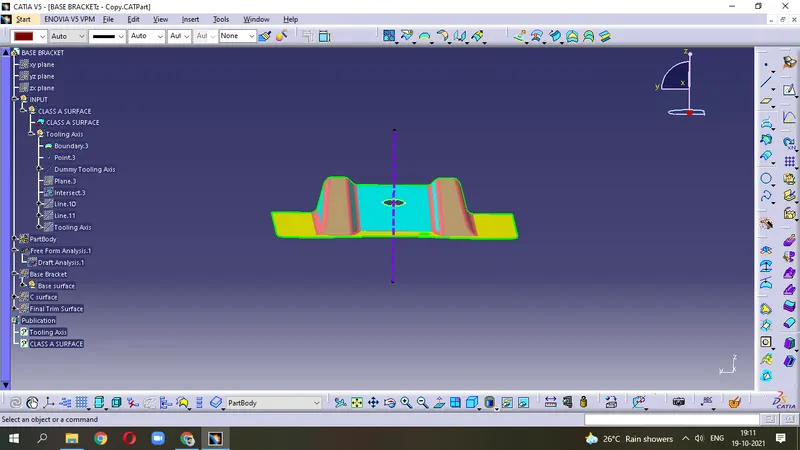
- from above Class-A surface, There is no need to do anything in X-direction because of the large flat surface. But in Y-direction, more faces are present which we have to clear. Use the Boundary tool to create the point within the circular part and through this, make a dummy axis in YZ plane . The dummy axis is in blue colour.
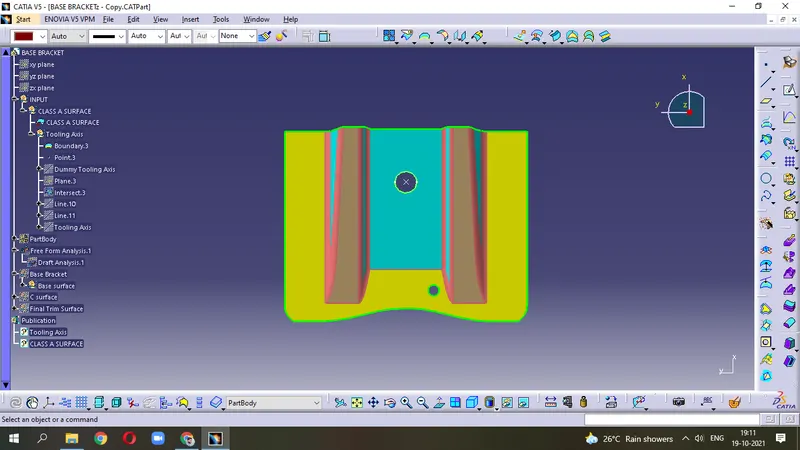
- Create the YZ-plane in the point and make a Intersection command within the surface.
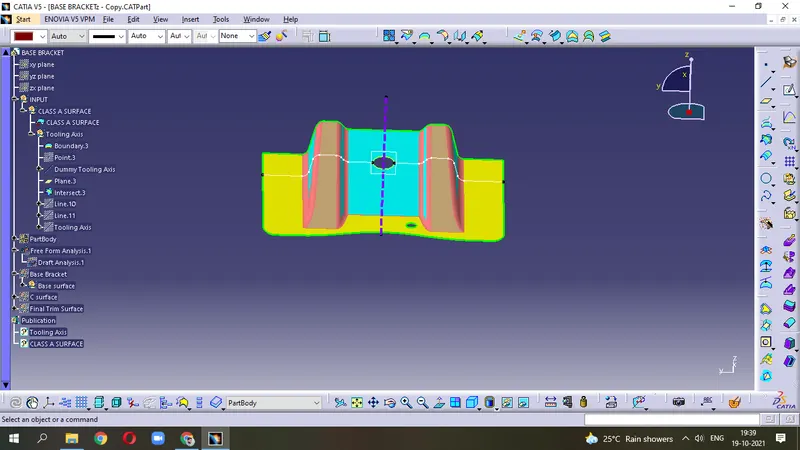
- Make two lines in the intersection by Point to Point command. Now, use Bisect comand to bisect these two line for getting our Tooling Axis . It is in red colour.
(B) Draft Analysis of Class-A surface :-
- Insert the Draft Analysis feature and by using Compass define the draft direction and make it allign with the Tooling Axis by dragging the axis. It appers in green colour.
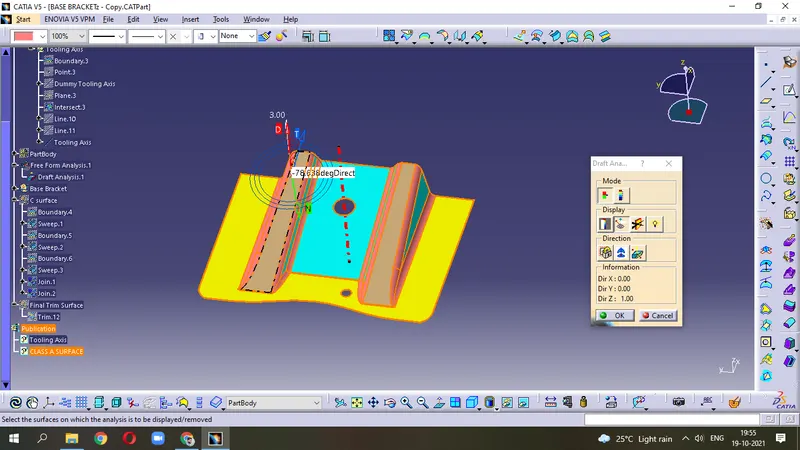
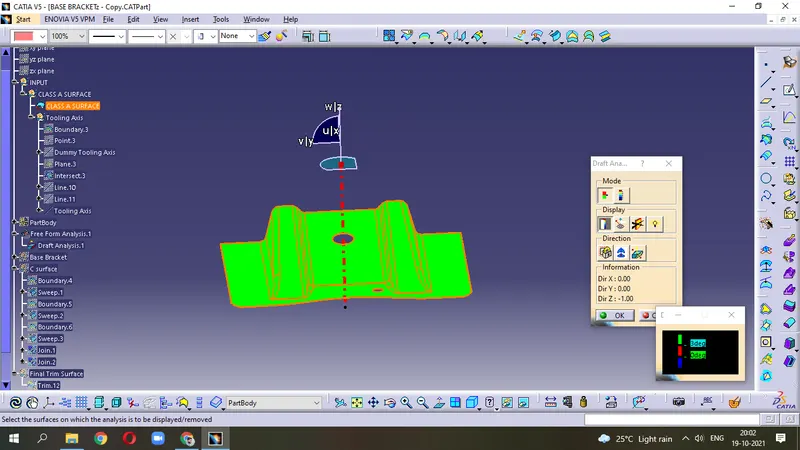
- Make the minimum Draft angle = 3degree
Creation of Class-B surface :-
The Class-B is a surface which gives you thickness from Class-A surface. All the Engineering features like- screw gauge, ribs & other surfaces; only found in Class-B surface. In other words : Class-A = Aesthetic surface Class-B = Engineering surface; because all engineering surface attached into it.
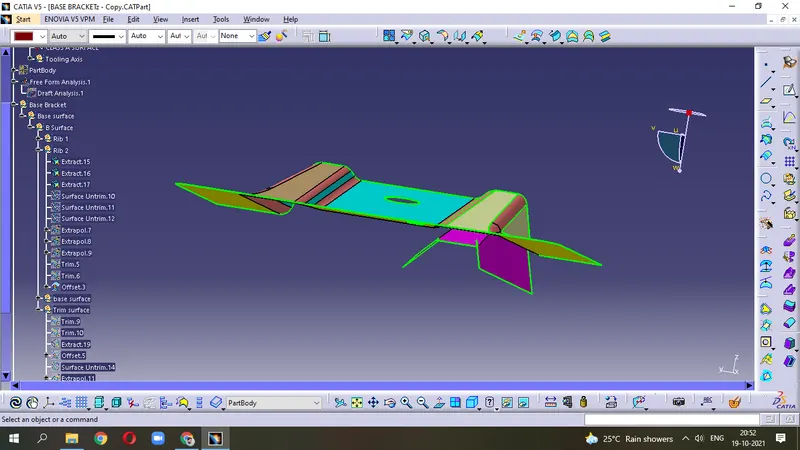
- Create Rib1 and Rib2 :
from Class-A surface, use Extract tool to extract below mentioned (left) part.
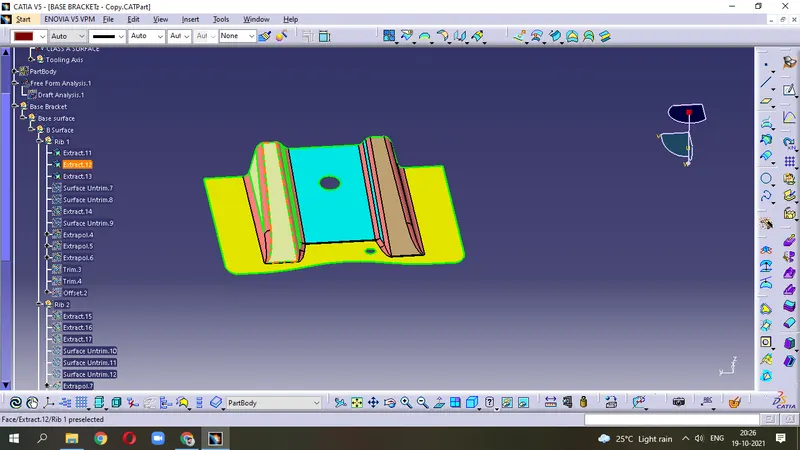
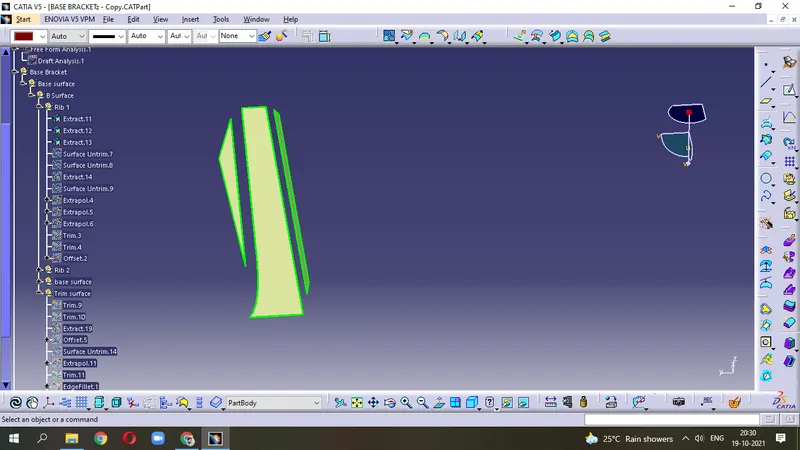
- Untrim all the surfaces one by one
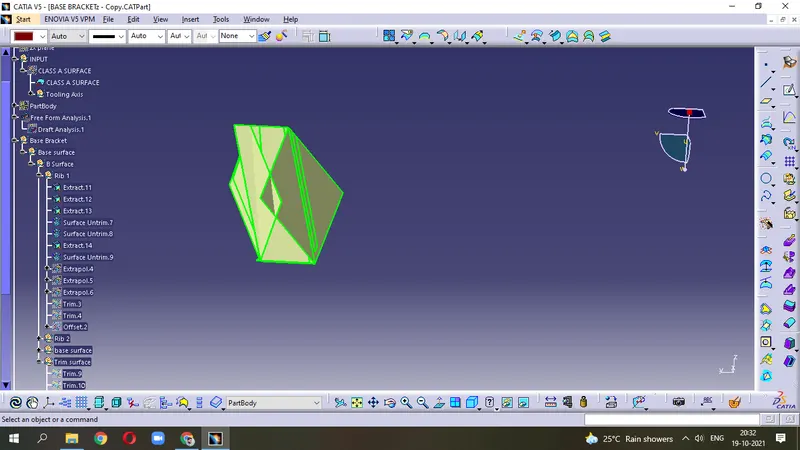
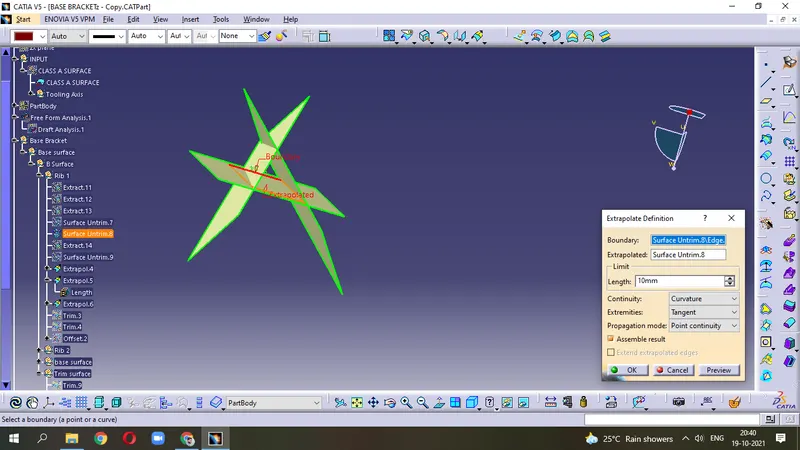
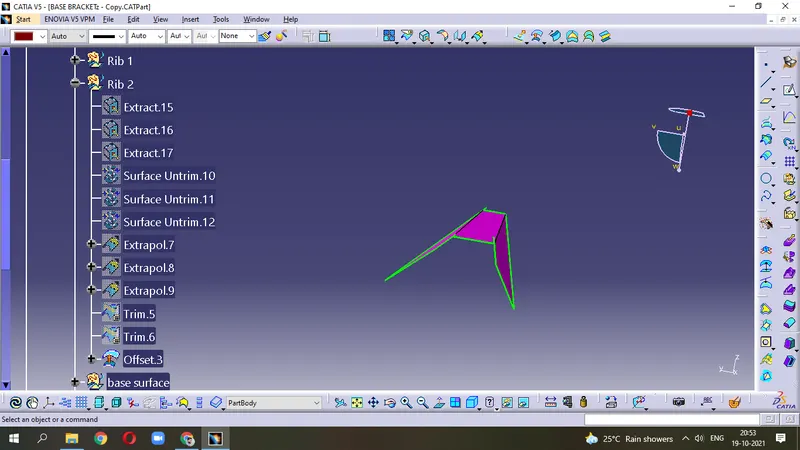
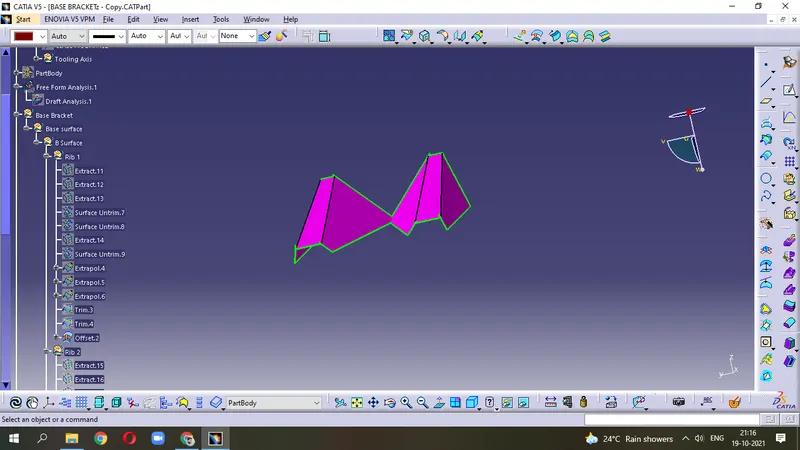
- Use Extrapolate tool; (boundary, Extrapolated surface, length, continuity= Tangent/curvature, Extremities=Tangent). It provides the extra material part for the class-B surface.
- Trim these extrapolate surface to get the required surface. after this, use Offset at 2.5 mm .
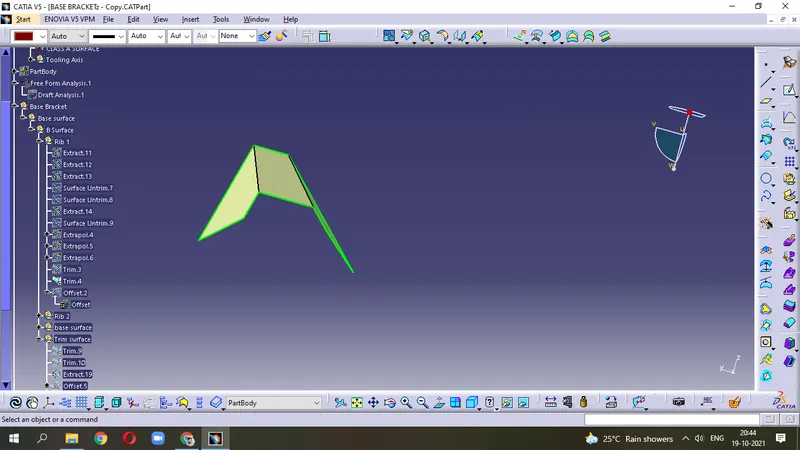
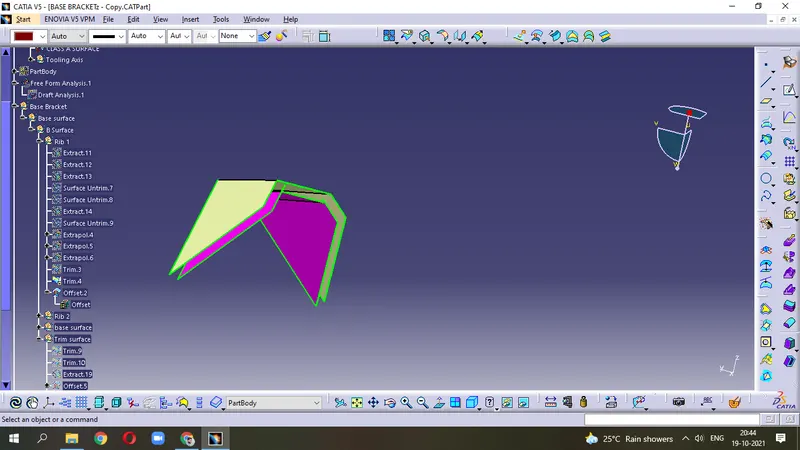
(Extract - Untrim - Extrapolate - Trim - Offset)
Rib1 - Tree structure
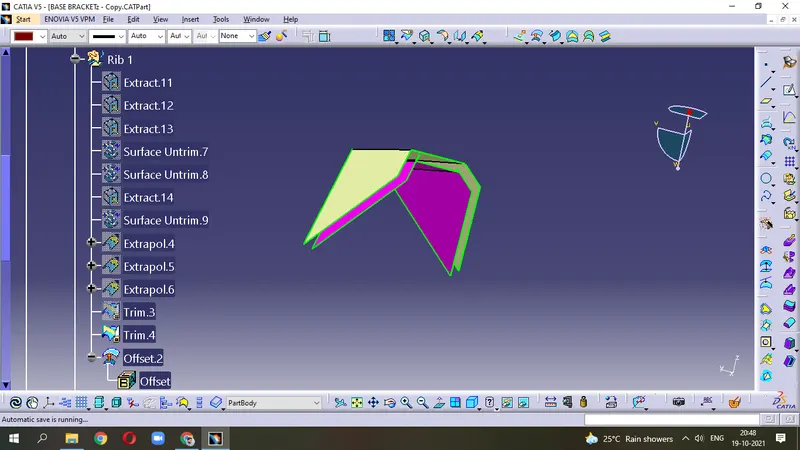
Similarly,
Rib2
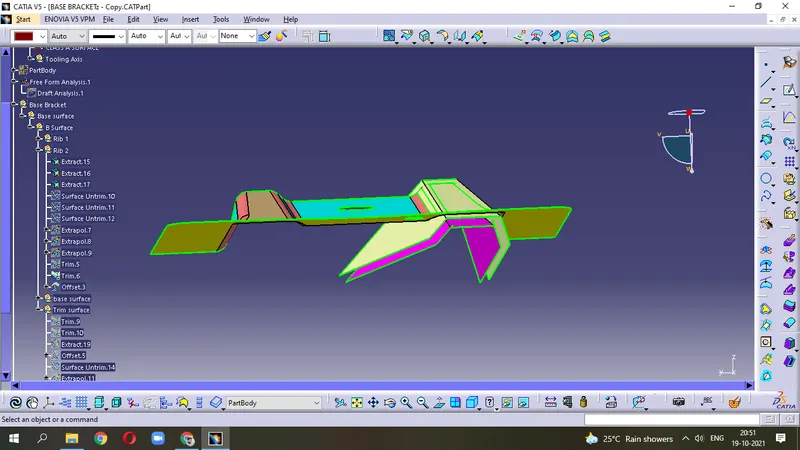
Do same procedure for Middle Base surface part
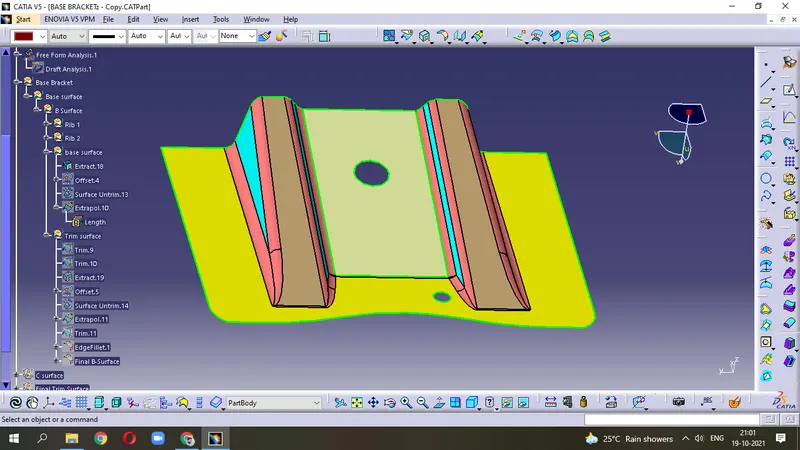
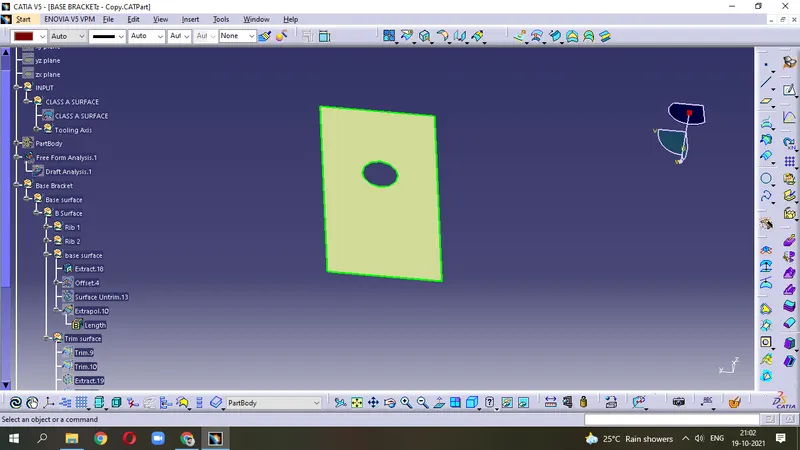
- after trimming, we get
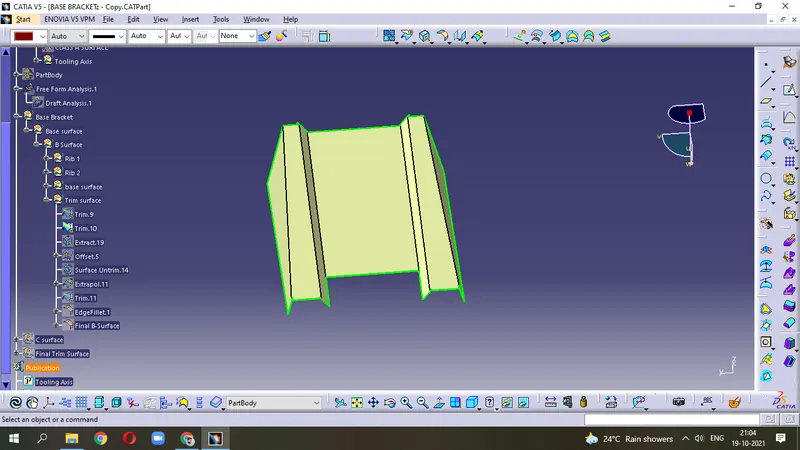
- Remaining corner parts
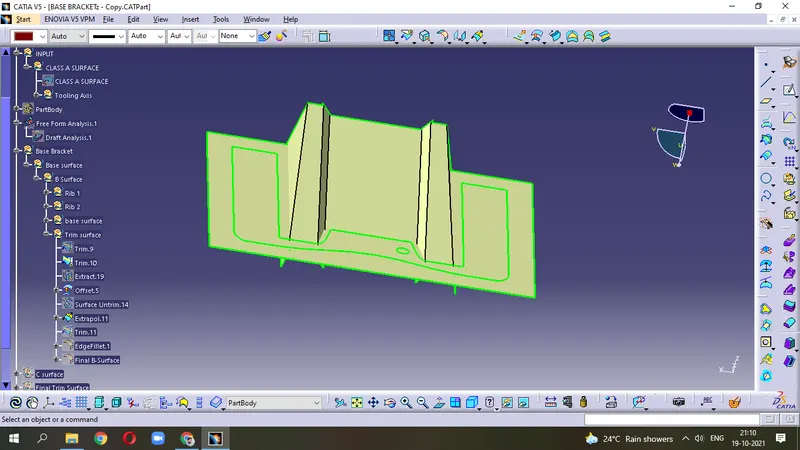
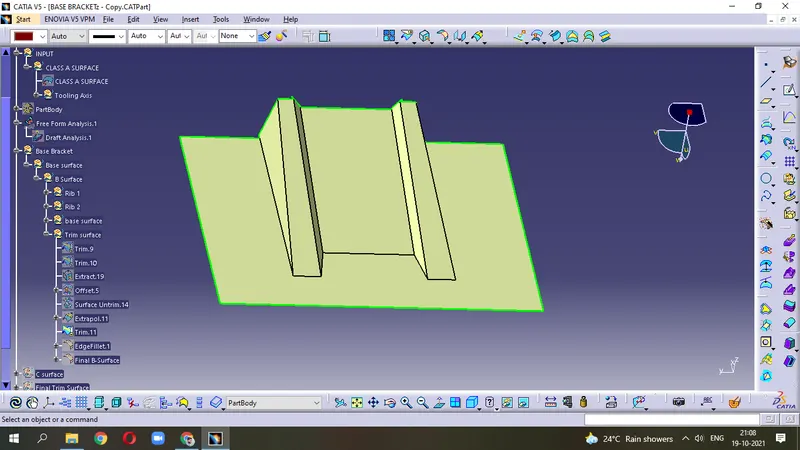
- By trimming we get our B surface . But we have to do fillet for the edges as Class-A surface
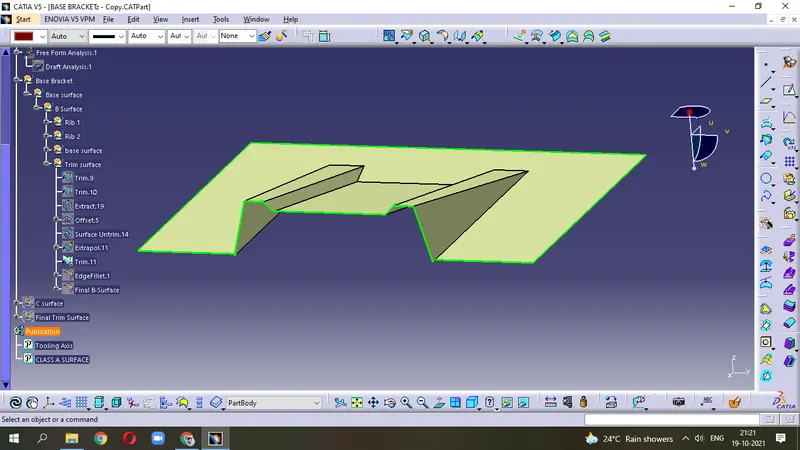
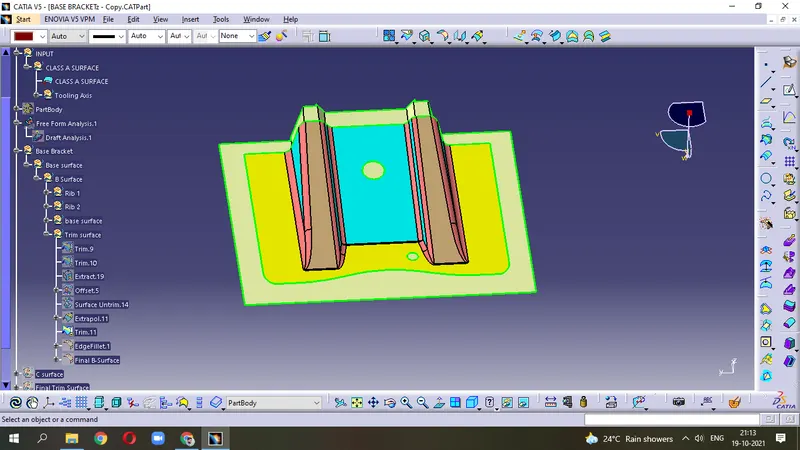
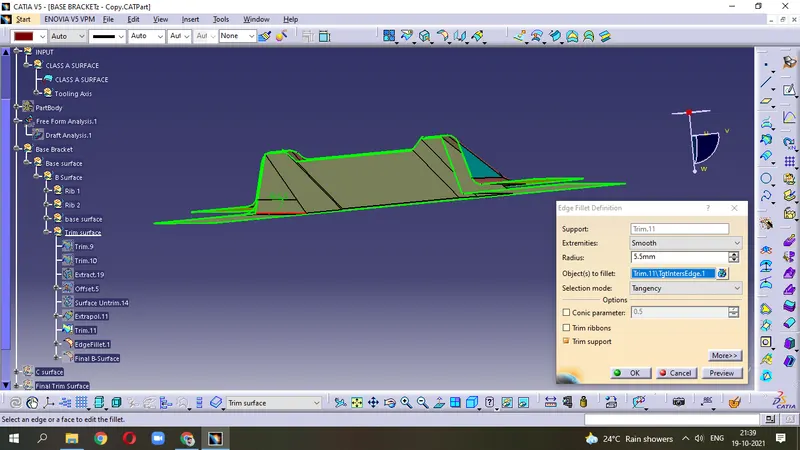
- In Class-B, angle are not even. we have to put the fillet so that the component should have equal wall thickness to form properly. Now, Apply all the Fillets on the edges as required according to Class-A surface. The value will be (Inside thickness + Fillet value)
eg- Edge radius value = 3 + 2.5 = 5.5 mm
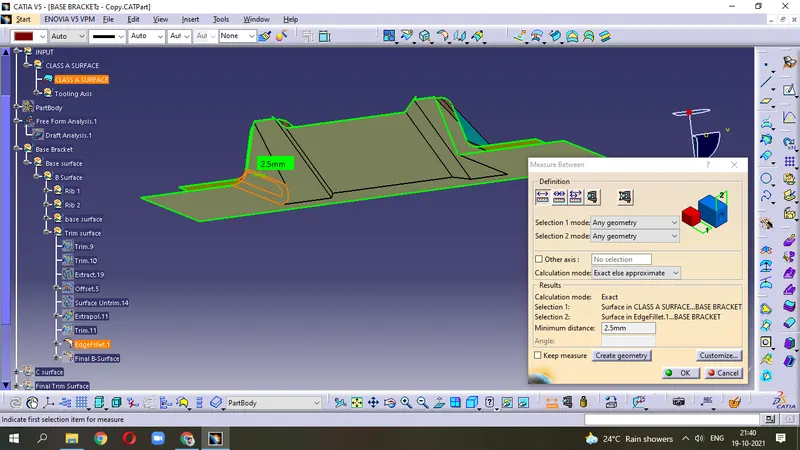
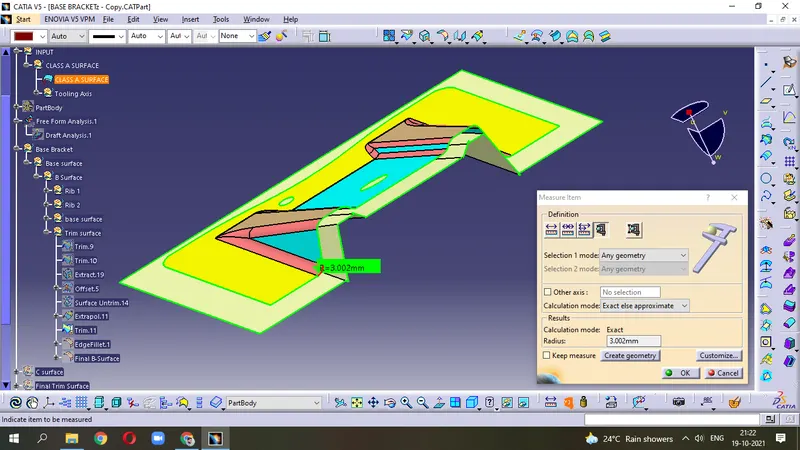
- Measure the distance/gap between the Class-A and Class-B. It should be even.
make sure that Class-B surface always extended more than 5 mm beyond Class-A surface.
- Apply the Radius in all edges and it will give our final Class-B surface . It is in green colour.
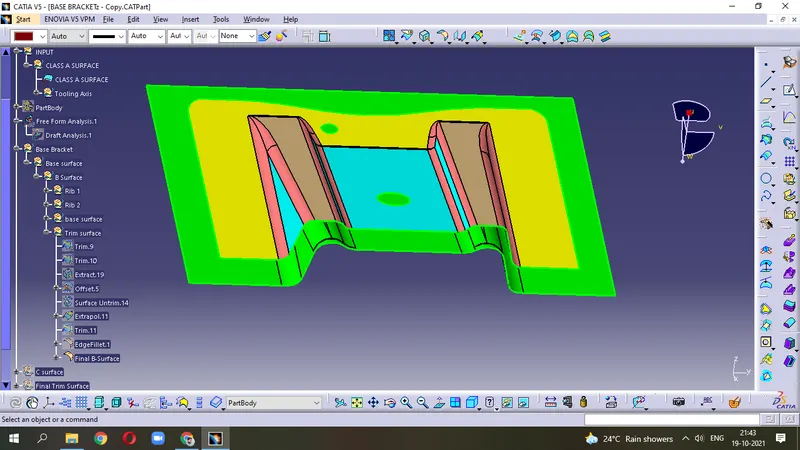
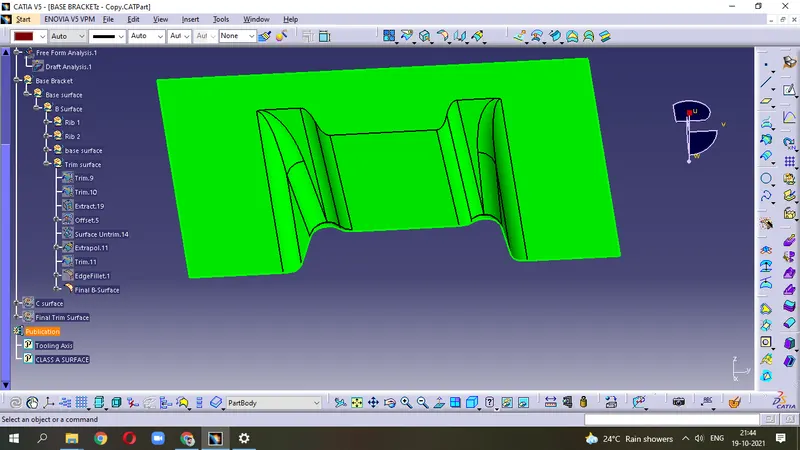
Class-C surface :-
It is the surface which connects Class-A & B surfaces along the Tooling Axis direction.
Create Class-C surface -
- create outer Boundary on Class-A surface
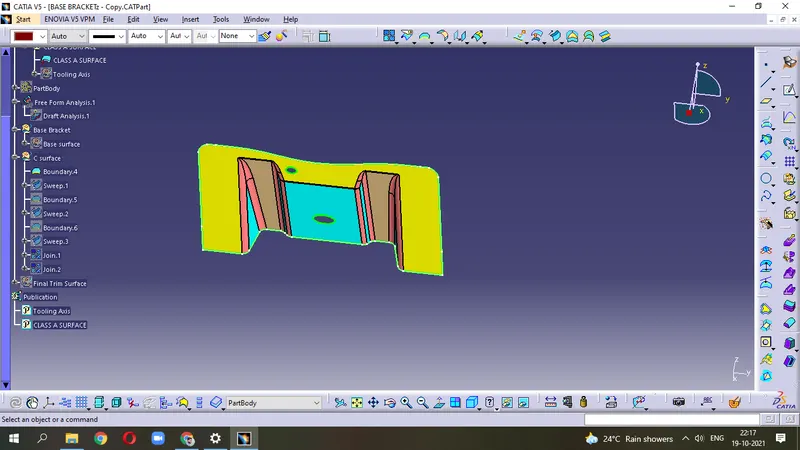
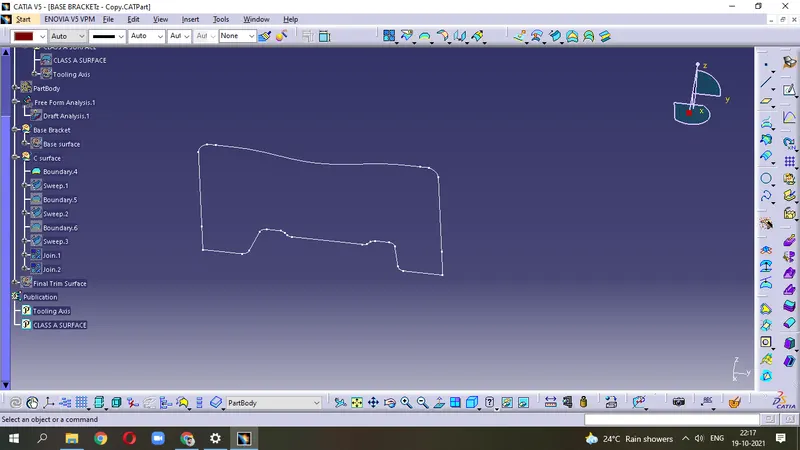
- use Sweep command on the boundary surfaces we have created.
- Select the Draft direction and the apply the minimum draft angle = 3 degree .
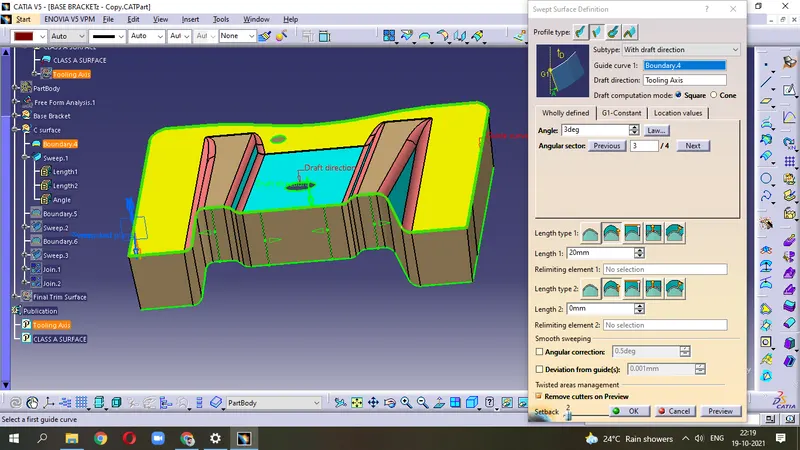
- Repeat same procedure for the both holes and make the draft angle 3 degree.
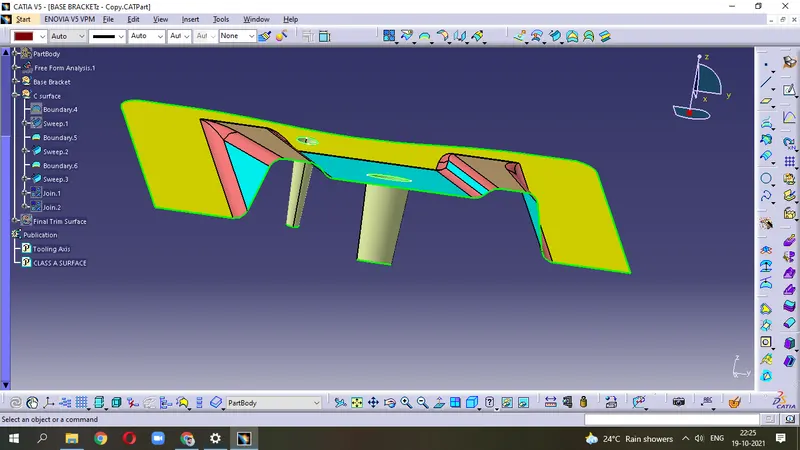
- Now, Join the first sweep surface with the Class-A surface.
- Again Join this output suface with the both sweep (Hole) surface.
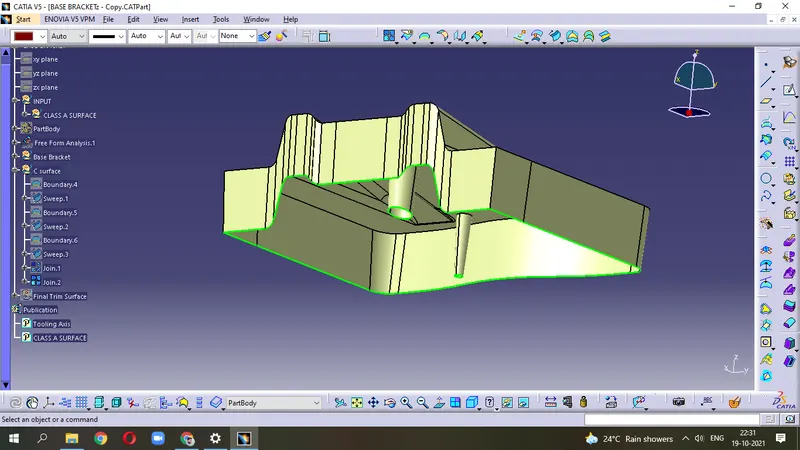
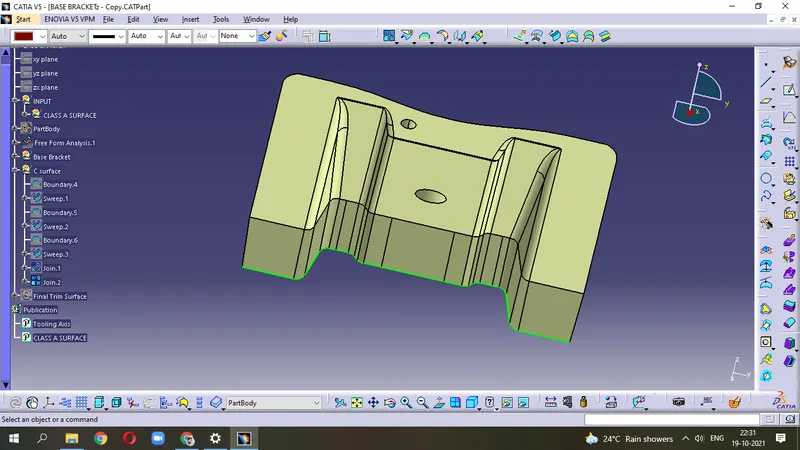
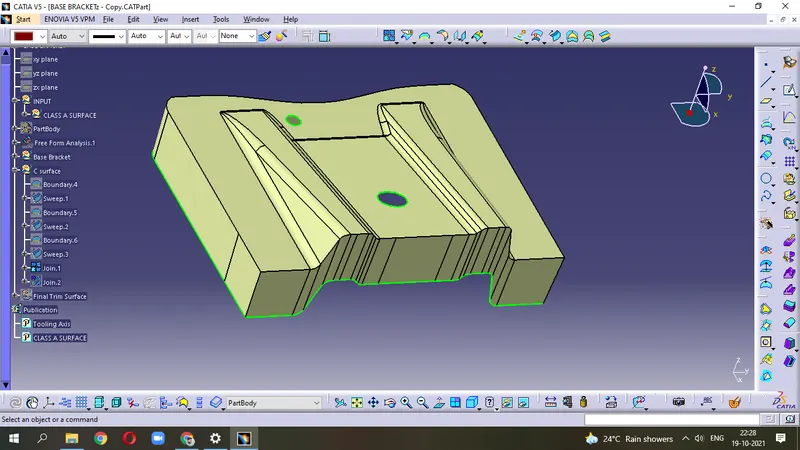
- Trim this final joined surface with the Class-B surface. we get
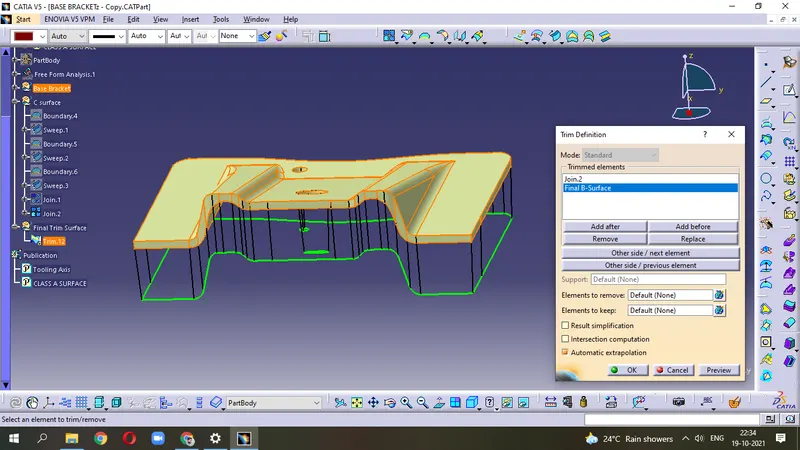
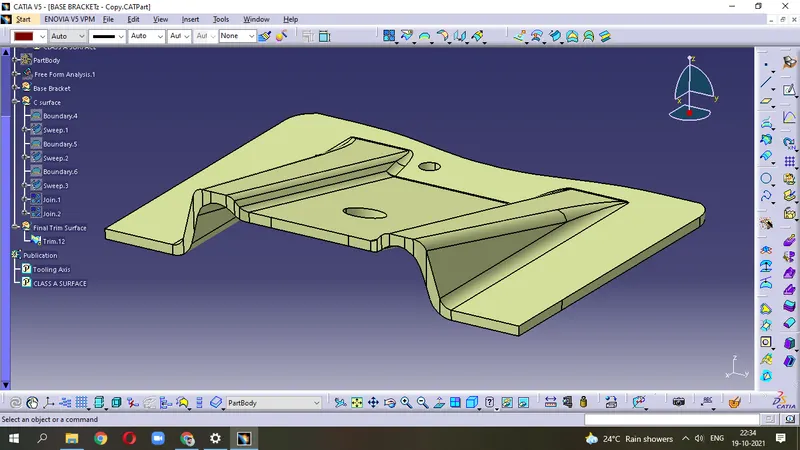
This one is the Final Trim Surface
- Last step is to make surface solid. for that,
go to Mechanical Design - Part Design - apply Close surface
- also apply command Shading with edges without smooth edges to make the smooth surface.
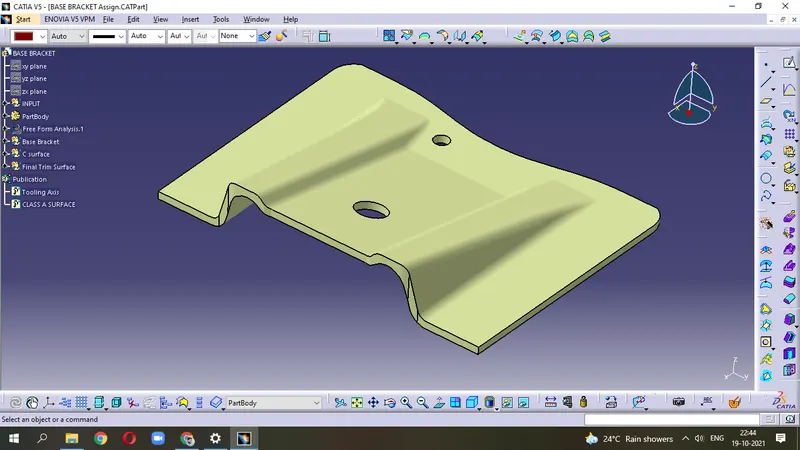
Different views
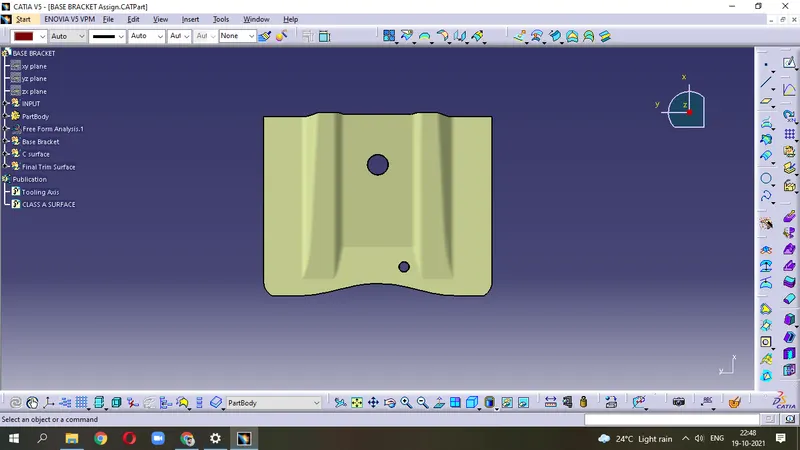
Top view
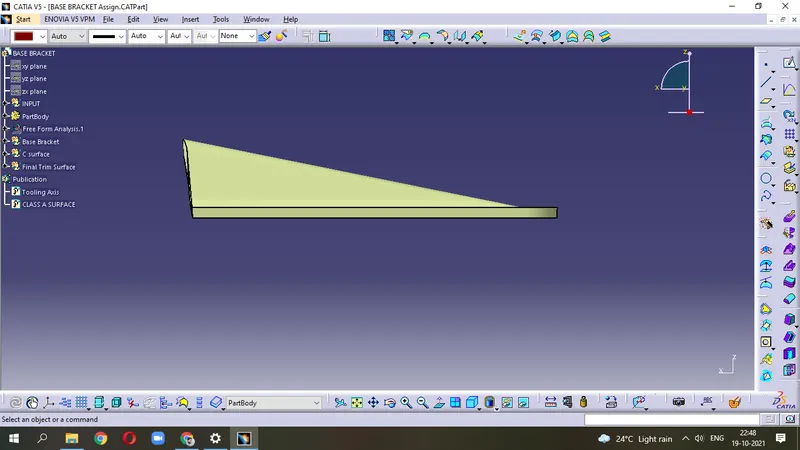
Side view
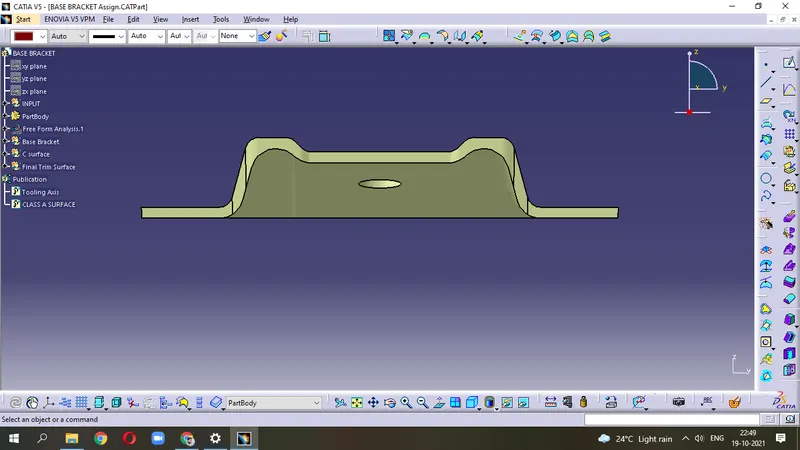
Front view
Isometric view