Week 8-Challenge
Objective:
To Create 3D Mesh for the given three components in hypermesh using the following quality criteria Elements sizes: Min- 2mm, Target- 5mm, Max- 7mm Tet collapse: 0.15 for the housing model and a target element length of 6mm for crank housing and chassis model.
Procedure:
1.Housing model:
Case setup & Execution:
1. The given housing model is imported into hypermesh, once the model is imported the solid present in the model is deleted by
F2 `rarr` Solids `rarr`Displayed `rarr` delete entities.
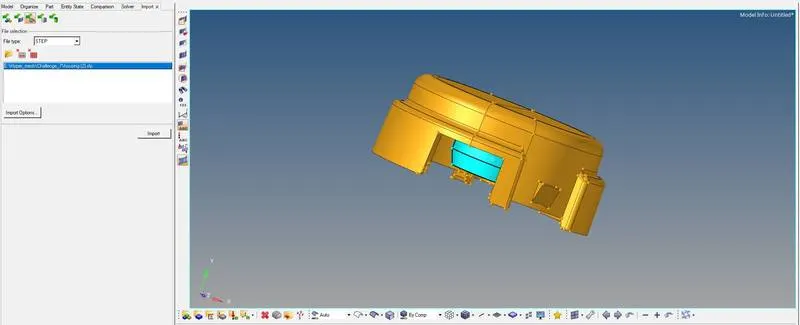
2. Then the components is checked for geometrical errors, If there is no error present in the model we can proceed to surface mesh ( 2D ) the component. then the component which is to be meshed is set to current component and the other component is hidden.
3. 2D Mesh for the given component can be done by selecting the auto mesh option available in the 2D panel
2D `rarr`Automesh `rarr`Surface (Displayed) `rarr`Element size (5mm) `rarr`Mesh Type (Trias) `rarr` Mesh
4. Now 2D MESH is generated on the surface, we need to check for element quality of min length of 2mm and maximum length of 7mm in order to avoid tet collapse in the 3D MESH to be generated.
5. To generate 3D mesh using the surface mesh produced the following can be done:
3D `rarr`tetramesh `rarr`tetramesh parameter ( min/max length & tet collapse = 2,7,0.15 respectively) `rarr`tetramesh `rarr`Elements `rarr`mesh
similar process is carried over for the other componet to generate 3D mesh
We can check the solid mesh created by using the mask elements (F5 Keyboard shortcut )
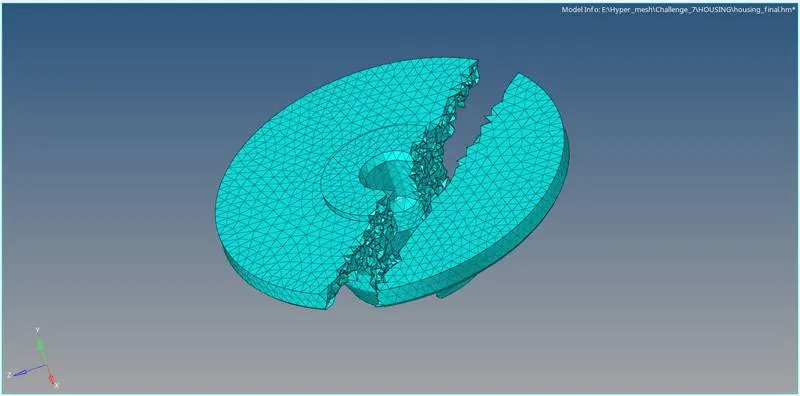
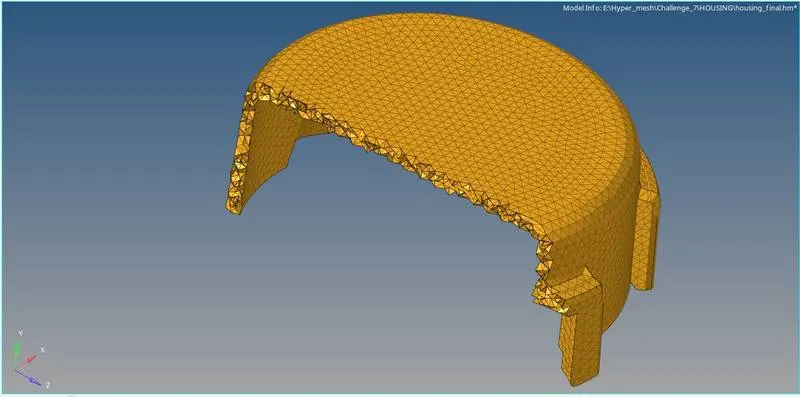
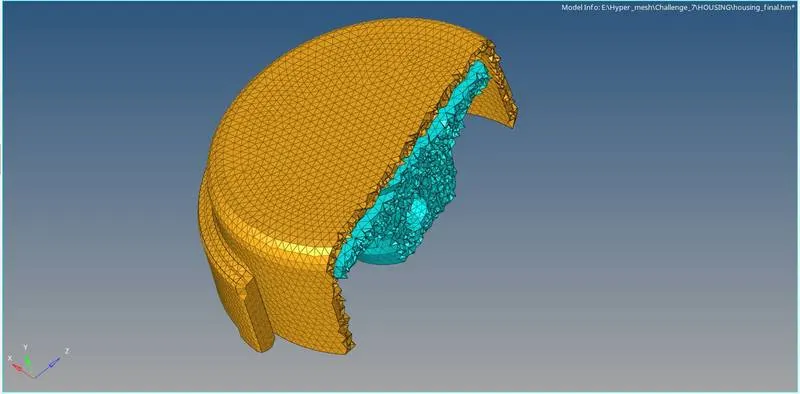
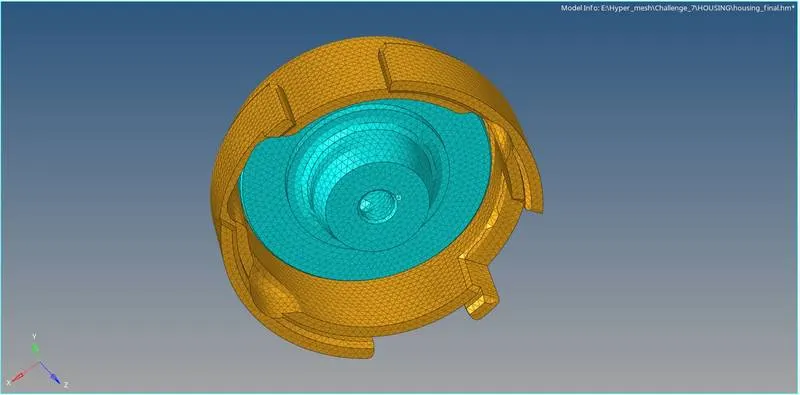
6. To chcek the quality of the mesh generated check elements option in tools panel is used (F10 - keyboard shortcut ) is used , under the check elements panel 3D option in selected in which tetcollapse = 0.15 is entered. if any of the elements is failed for quality then it should be cleared by either translating or remeshing the elements.

here "0 of 281005 (0.0%) failed". with the min tetra collapse of 0.1520240.
2. CRANK HOUSING:
Case setup & Execution:
1. The given housing model is opened in hypermesh, once the model is imported the solid present in the model is deleted by
F2 `rarr` Solids `rarr`Displayed `rarr` delete entities.
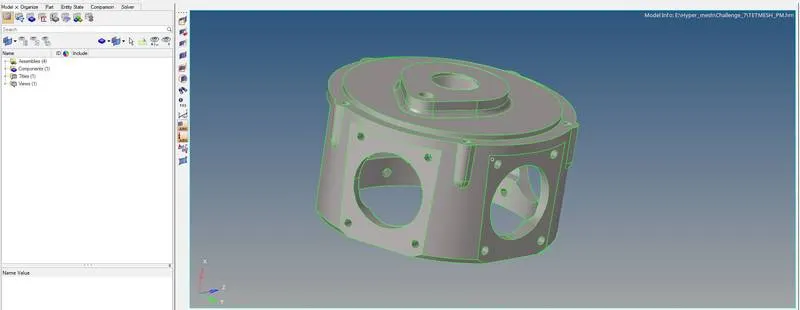
2. For this component 3D mesh is deployed directly by using a quick tetra mesh method as follows:
View `rarr`browsers `rarr`Hypermesh `rarr`Utility `rarr`Geo/Mesh `rarr`Quick tetramesh `rarr`Components `rarr`Mesh size `rarr`Mesh type (trias only) `rarr`Mesh
We can check the solid mesh created by using the mask elements (F5 Keyboard shortcut )
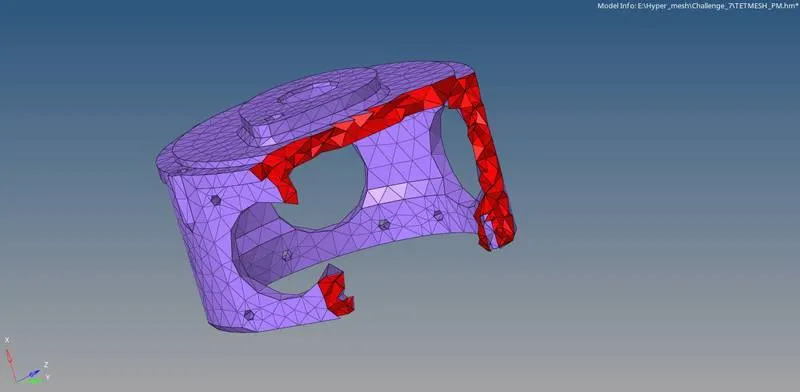
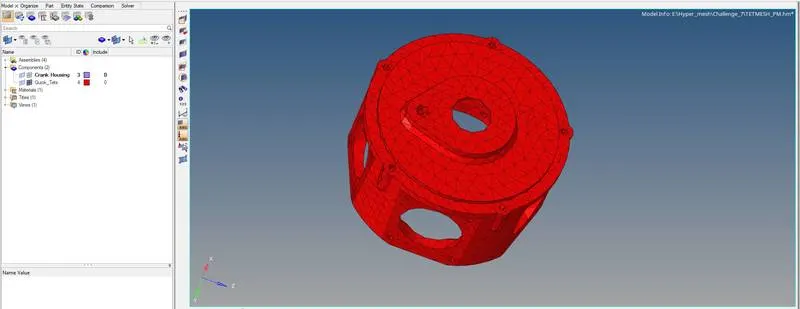
the 3D mesh created by quick tetramesh is shown in red colour, which can be changed by organizing the elements formed into original components by using the organize option available in the tools panel.
Meshed 3D elements after organizing:
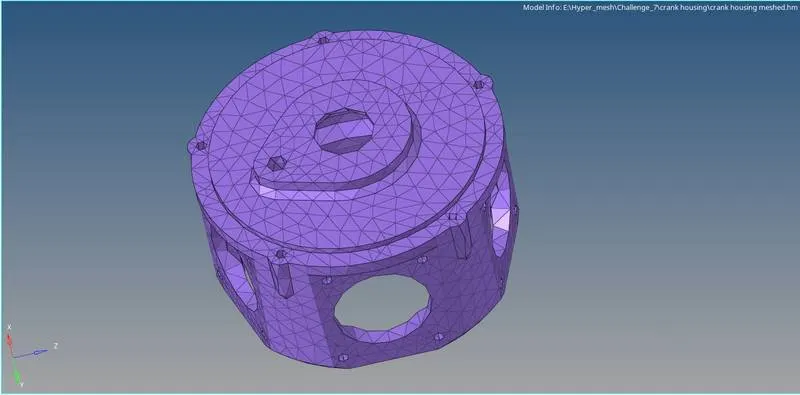
3. To chcek the quality of the mesh generated check elements option in tools panel is used (F10 - keyboard shortcut ) is used , under the check elements panel 3D option in selected in which tetcollapse = 0.15 is entered. if any of the elements is failed for quality then it should be cleared by either translating or remeshing the elements.
here over 153 elements are failing the tet collapse hense it is tedious process to translate each of them manually hence tetra remesh option is used with the parameters given as tetcollapse = 0.15, then it is remeshed again. all the elements cleared the given quality criteria.

here "0 of 15475 (0.0%) failed". with the min tetra collapse of 0.15147.
3. CHASSIS ASSEMBLY:
Case setup & Execution:
1. The given housing model is imported into hypermesh, once the model is imported the solid present in the model is deleted by
F2 `rarr` Solids `rarr`Displayed `rarr` delete entities.
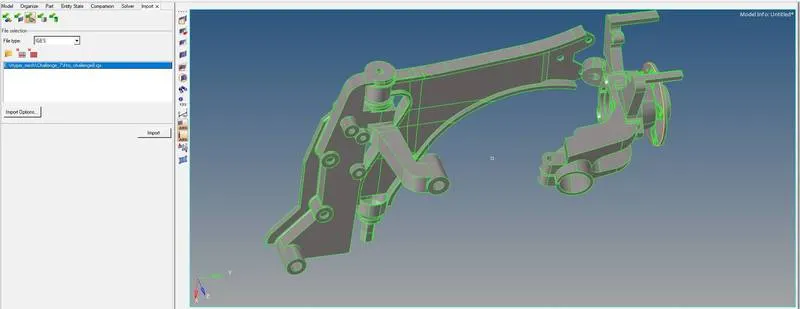
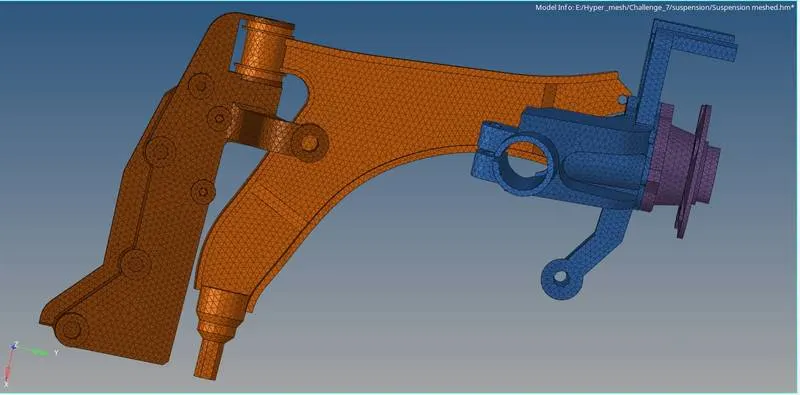
2. Then the components is checked for geometrical errors, If there is no error present in the model we can proceed to surface mesh ( 2D ) the component. Here there is four components so the component which is to be meshed is set to current component and the other component is hidden.
Cleaned geometry:
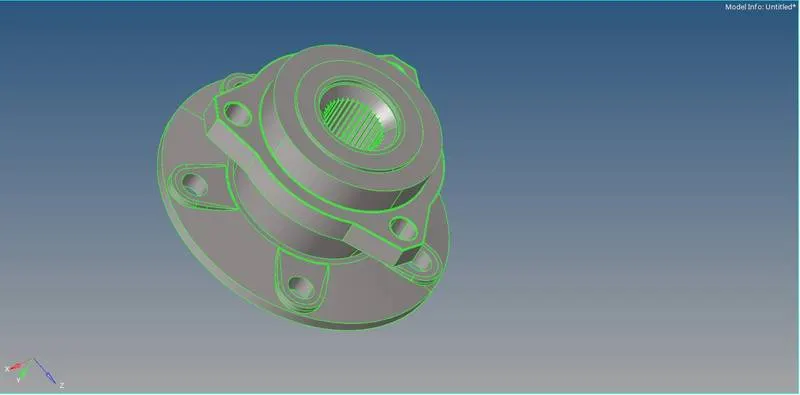
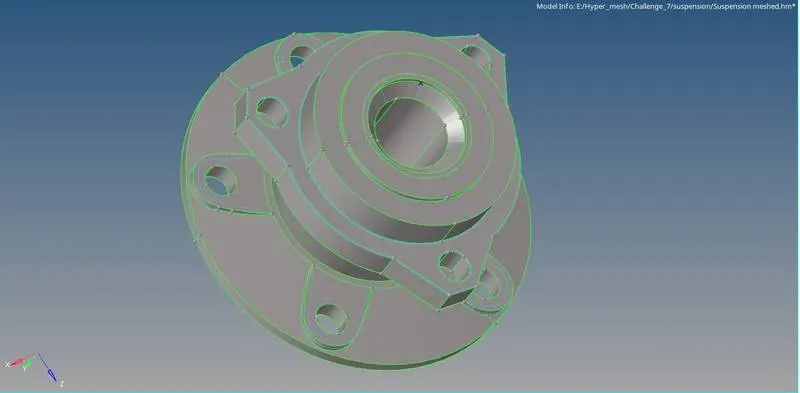
Before After
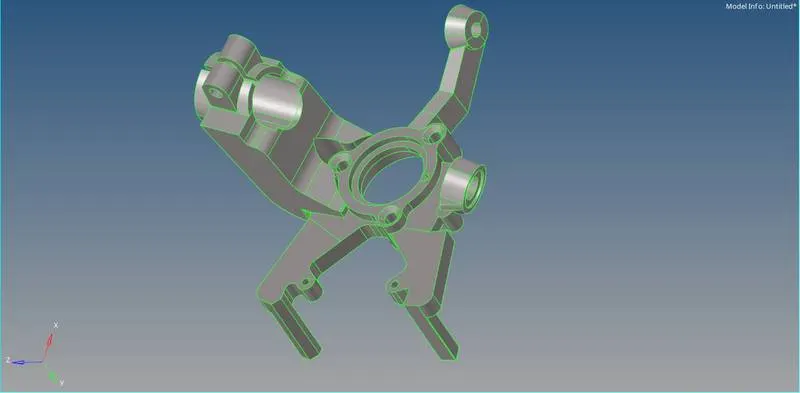
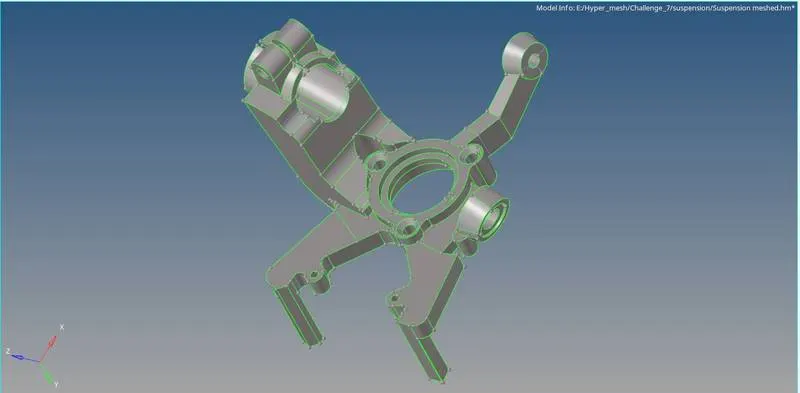
Before After
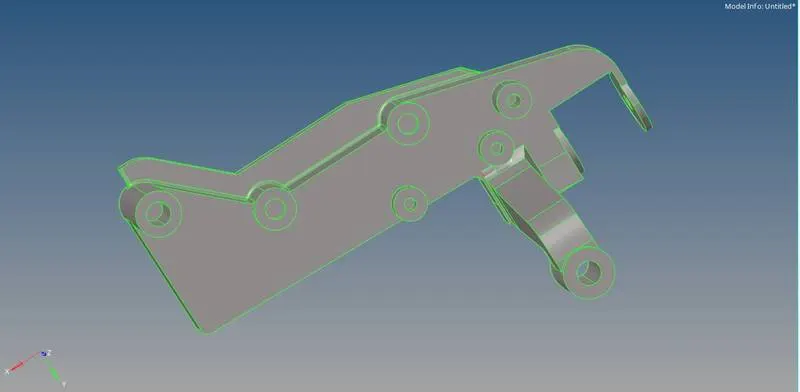
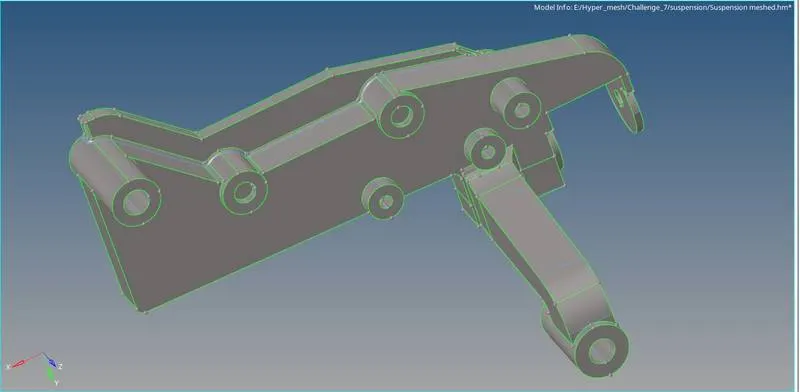
Before After
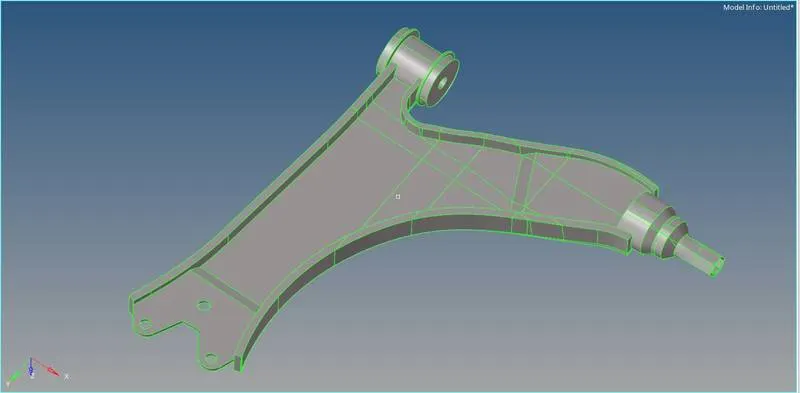
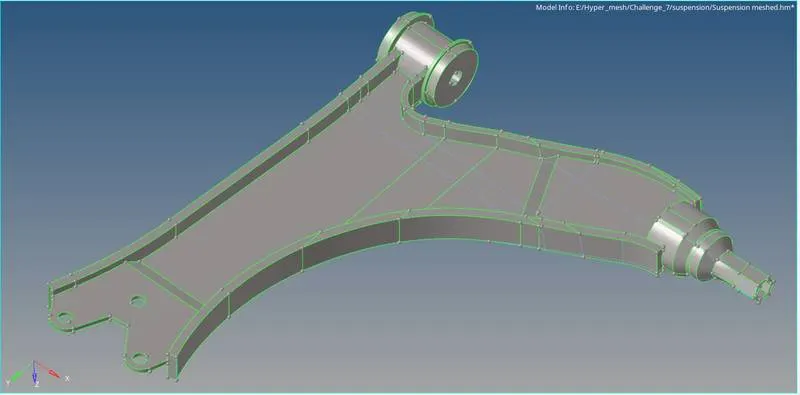
Before After
3. 2D Mesh for the given component can be done by selecting the auto mesh option available in the 2D panel
2D `rarr`Automesh `rarr`Surface (Displayed) `rarr`Element size (6mm) `rarr`Mesh Type (Trias) `rarr` Mesh
4. Now 2D MESH is generated on the surface, we need to check for element quality of min length of 2mm and maximum length of 7mm in order to avoid tet collapse in the 3D MESH to be generated.
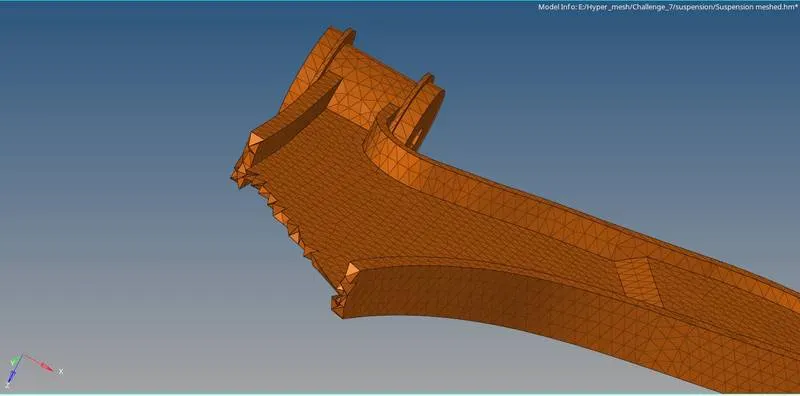
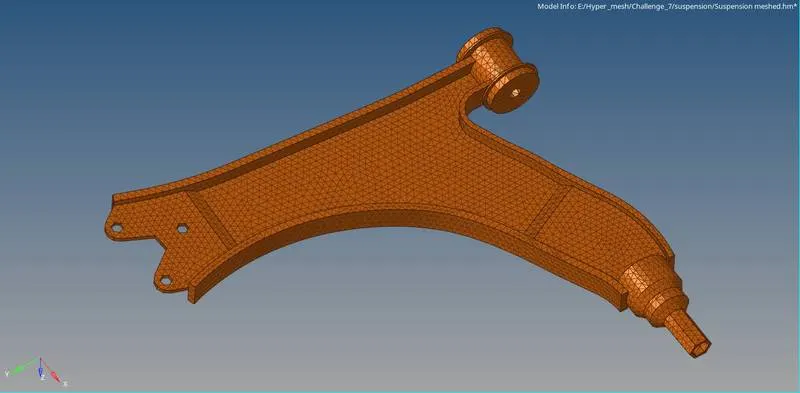
5. To generate 3D mesh using the surface mesh produced the following can be done:
3D `rarr`tetramesh `rarr`tetramesh parameter ( min/max length & tet collapse = 2,7,0.15 respectively) `rarr`tetramesh `rarr`Elements `rarr`mesh
similar process is carried over for each of the componet to generate 3D mesh
We can check the solid mesh created by using the mask elements (F5 Keyboard shortcut )
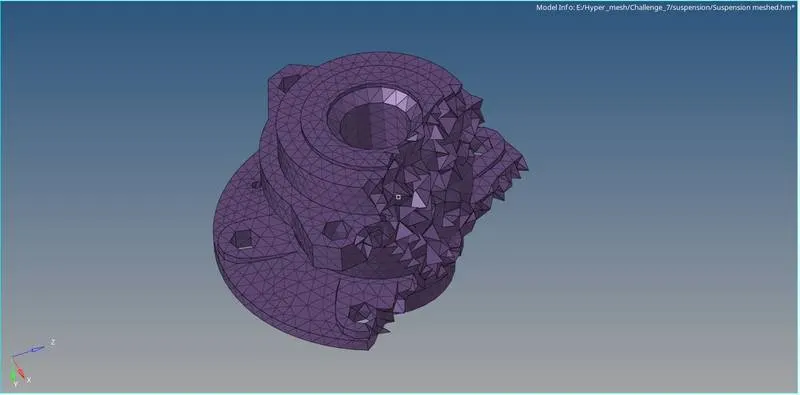
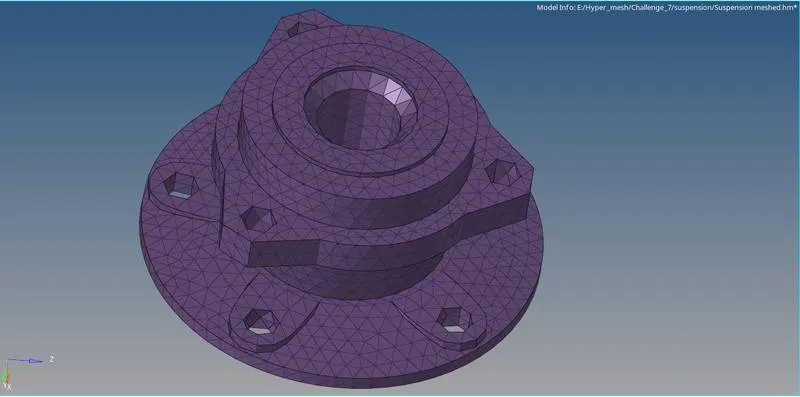
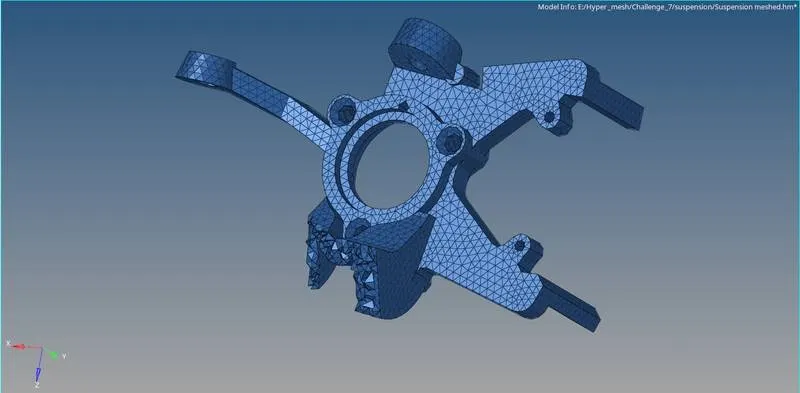
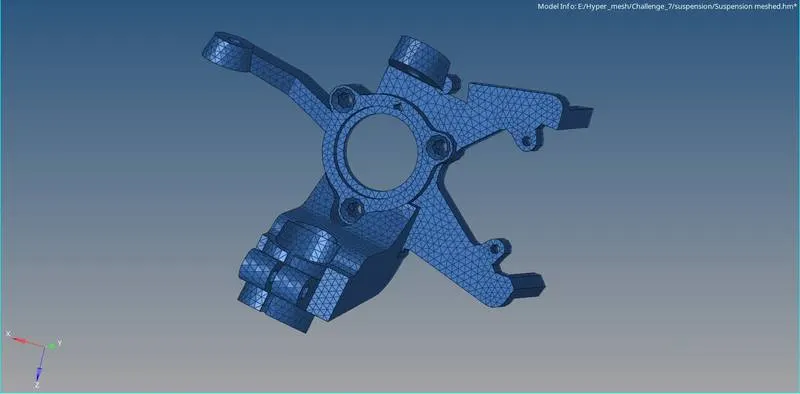
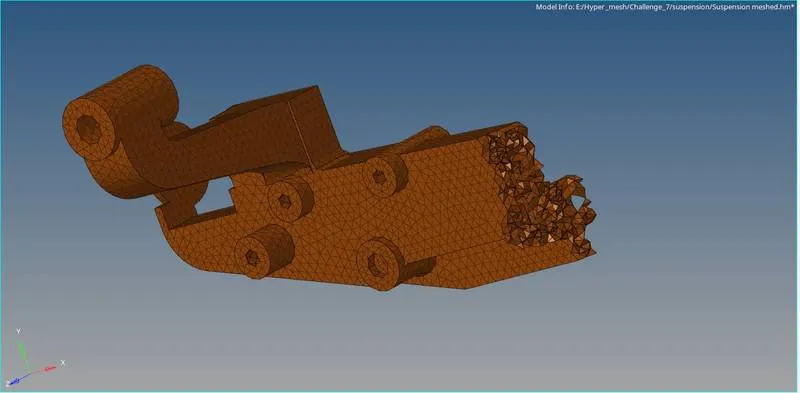
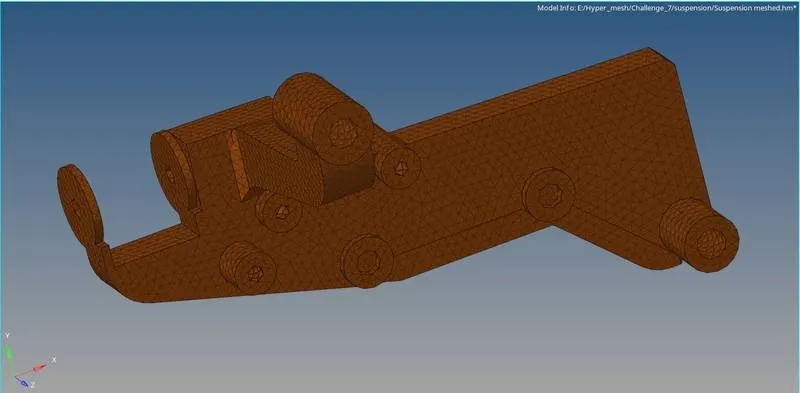
Full Geometry:
6. To chcek the quality of the mesh generated check elements option in tools panel is used (F10 - keyboard shortcut ) is used , under the check elements panel 3D option in selected in which tetcollapse = 0.15 is entered. if any of the elements is failed for quality then it should be cleared by either translating or remeshing the elements.

here "0 of 216448 (0.0%) failed". with the min tetra collapse of 0.150171.
Conclusion:
The given three components are cleaned geometrically and 3D mesh is deployed with all elements clearing the quality criteria. also understood the different methods to create the 3D mesh and different possible ways to clear tet collapse.