Week 8-Challenge
Objective: How to create 3D mesh using different options, understand the concept of tet collapse and meshods to clear it.
3D Meshing: There are teo typs of 3D mesh 1) 3D tetra mesh 2) 3D hexa mesh
We generaly preffer 3D tetra mesh as it can mesh complex goemetry easily.
3D element is shown in fig.below

Tetra Penta/Wedge Hex/Brick Pyramid
In 3D meshing we use tetra as the 3D element as it can give us good mesh quality and also can mesh complex geometry easily.
Tetra is a solid element which has four triangular faces with four nodes which join that four faces.
There are two meshods to create 3D tetra mesh
1) Creating 3D tetra mesh directly using tetramesh panel
2) creating 2D mesh and converting it in to 3D mesh
Lets Look into it one by one
1) Creating 3D mesh using 2D Mesh;
In this method we create 2D mesh First and then Convert this into 3D mesh.
CAD Model: Housing
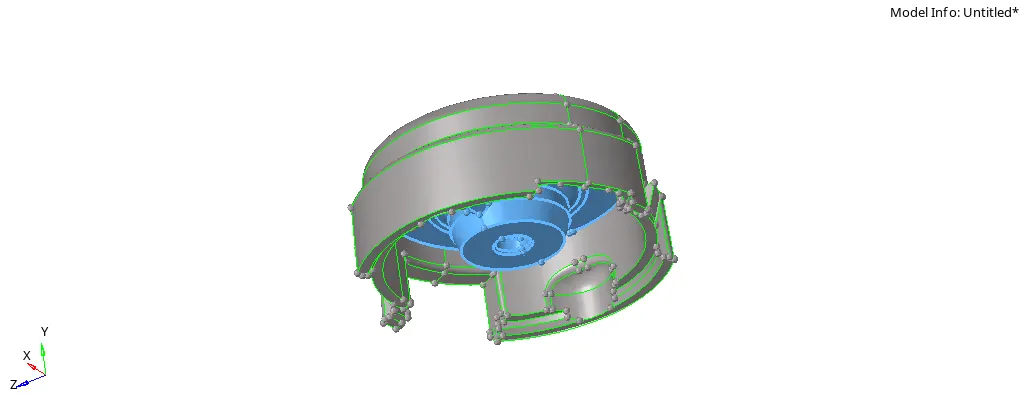
Here we have Housing Model which has two components
1) Hub 2) Housing Body
Consider a Hub First, check whether it is solid or surface, if solid then delete the solid as we need surface for the 2D meshing.
Do proper geometry cleanup so that element should not fail in tet collapse ( Concept of tet collapse explain later).
As we can see the imported model is solid so delete it first.
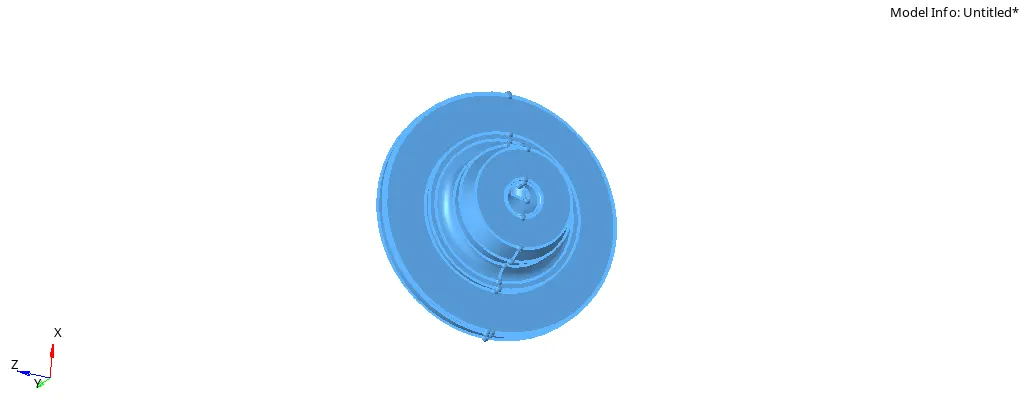
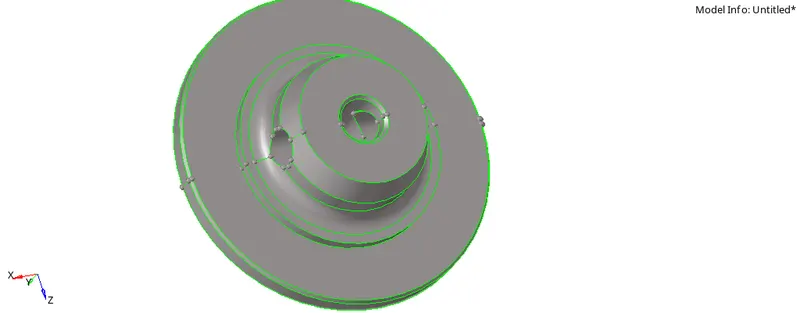
Fig. Solid body Fig. Suface
Now deploy 2D mesh on this surface using "2D > Automesh", keep target lenght=5mm, min. lenght=2mm and max.lenght=7mm.
Element type should be 'trias'
Fig. shows the 2D mesh on the hub.
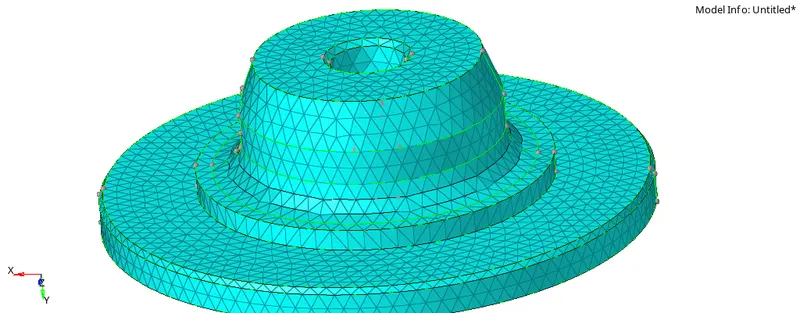
Now,To crate the 3D tetra mesh Directly go to "3D> Tetramesh"

Select tetra mesh > dropdown thefixed trias/quad to tetra mesh and select component ( as we are creating 3D mesh directly and there are no elements)
keep simple pyramid as is and hit on mesh,
Fig.beow shows the 3D meshed hub,
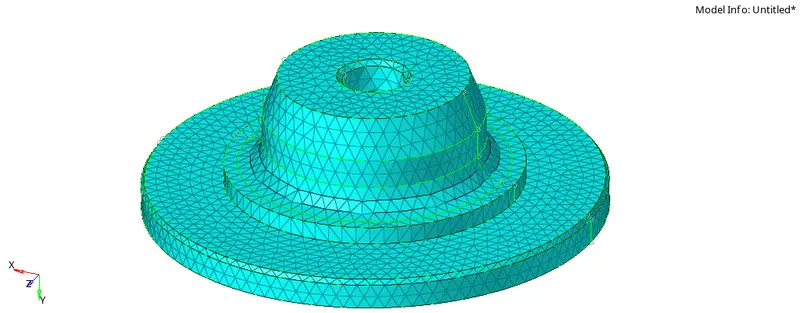
Now in order to check the 3D mesh deployed correctly or not mask some of the elements, reffer fig.below
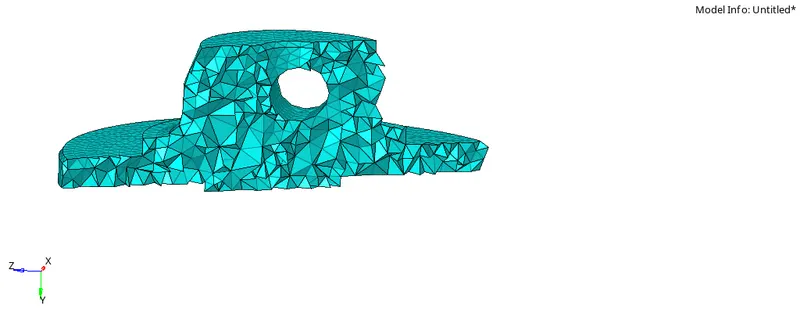
In this view we can see that the 3D mesh is deployed successfully,
Now once we created the 3D mesh now we will see the quality parameter for it.
For 3D mesh the important quality parameter is "tet collapse" and it is defined as, hight of each node from its opposite face devided by root of area of opposite face, then minimum of this four values is devided by 1.24 and we get the value of tet collapse.
if the value of tet collapse is beyond the given limiting value then element fails and we try to bring that value in required limit by,
1) changing the distance between the node
2) by suing translate tool and translating the nodes
3) by remaishing tetra elements
Note: If the tet collapse is large like beyond 100, then we will go for remeshing as this saves our time and if it is less loke 20 or 30, we remove them manualy by translate tool.
Now to check the tet collapse go to, "Tools >Check ellements >3D> tet collapse"

We can see that 84 elements are failed i.e 84 tet collapse are there.
Now if we use translate tool it will take lots of time as we have to address each element one by one, so we will go for other option i.e tetra remesh
Go to "3D > tetramsh > tetra remesh,
Keep in mind do not remesh only failed elements.either remesh all elements or at least mask some adjecent elements around failed elemets and remesh them.

Select the 3D elements and remesh them, keep in mind alway set the tetramesh parameters.

We can see all the tet collapse are clear.
Final hub Model,
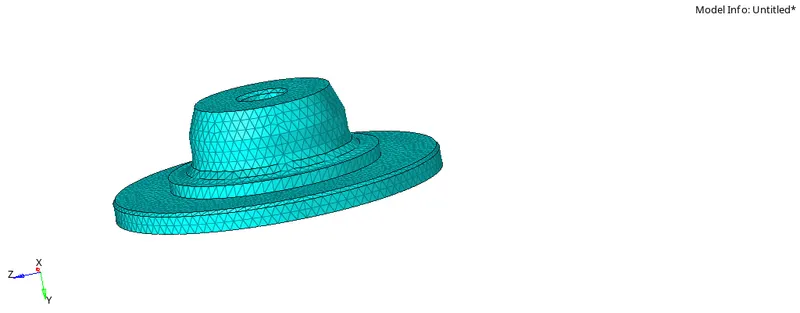
Now consider Housing Body,
We will consider the housing Body.
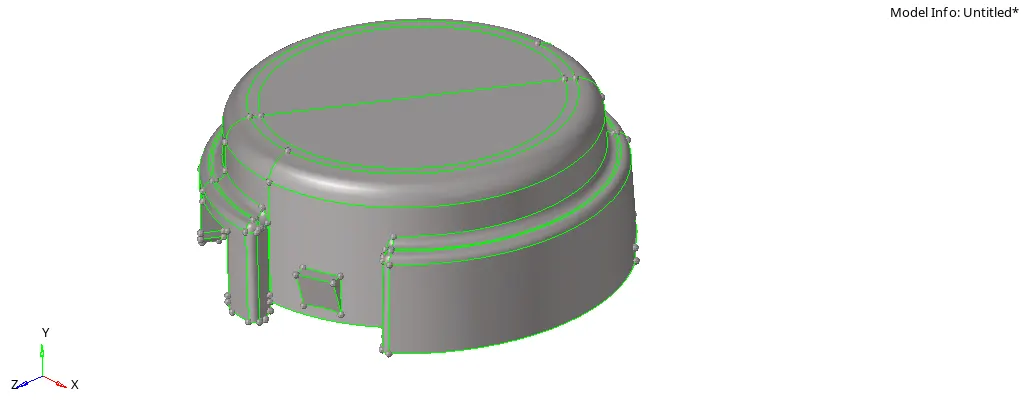
Check the geometry and mesh the component using"2D>Automesh" option, While meshing choose elements as trias.
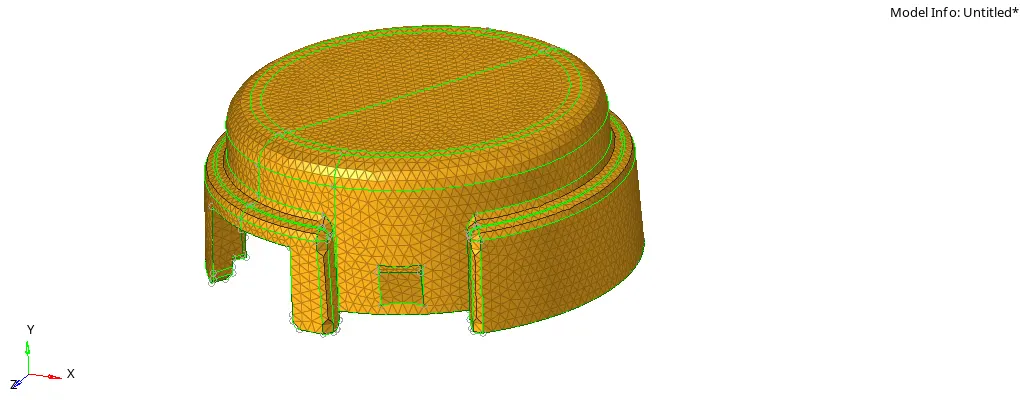
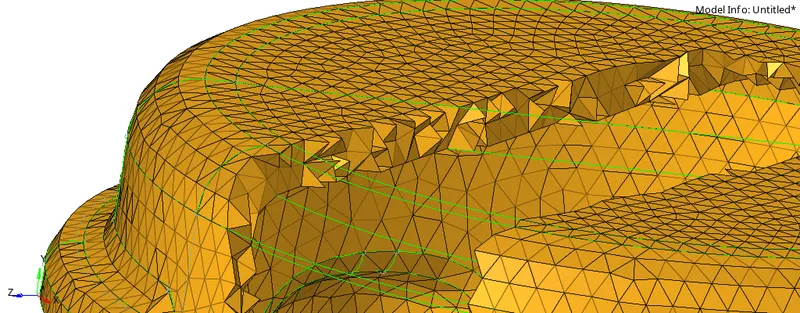
Fig. 2D mesh Fig. 3D mesh
Now to convert this 2D mesh into 3D tetra, Go to "3D > Tetramesh > Tetra Mesh" select the elements and Hit mesh.
We can see the 3D mesh is generated. Now check for the tet collapse,
GO to "Check Elements > 3d > tet collapse"

We can see zero elements fails, so our compenent is properly meshed.
Final meshed Model
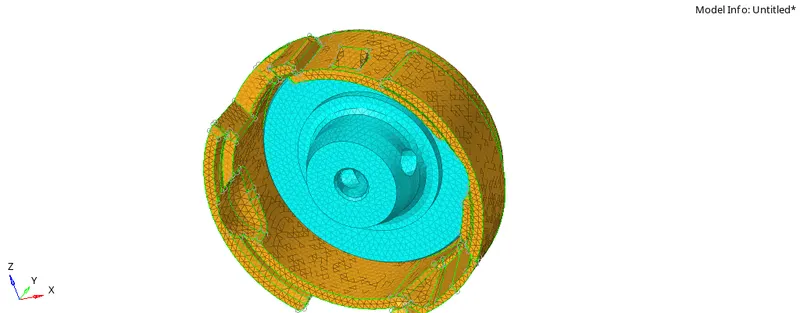
Now We will go for another method for tetra meshing, i.e Creating 3D tetra mesh directly using tetramesh panel
Consider Crank Housing
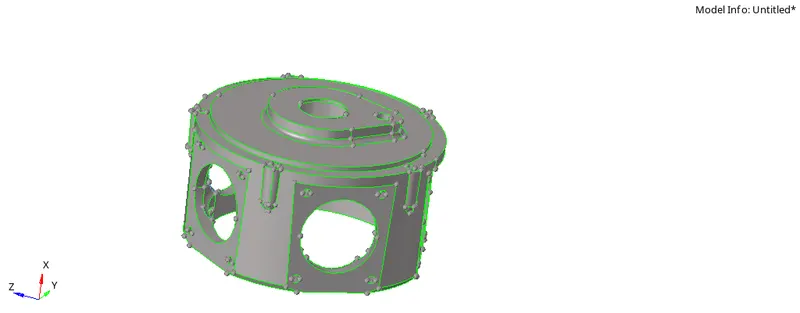
Do the proper Geometry Cleanup,
Go to " View > Browser >Hypermesh > Utility"
We will get Utility dialog box,
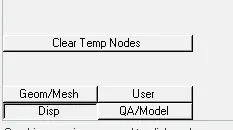
Select Geom/Mesh option,
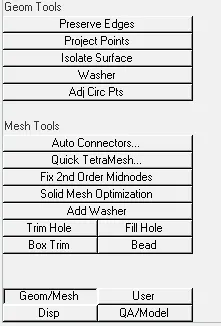
Select "Quick Tetramesh" option, quick tetra dialog box is opened,
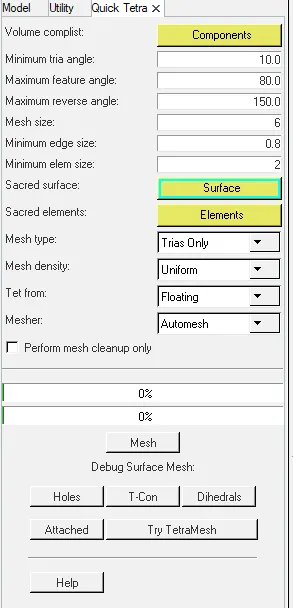
Input Parameters , Mesh Size=6mm, Surface to be meshed, mesh type, then click on mesh,
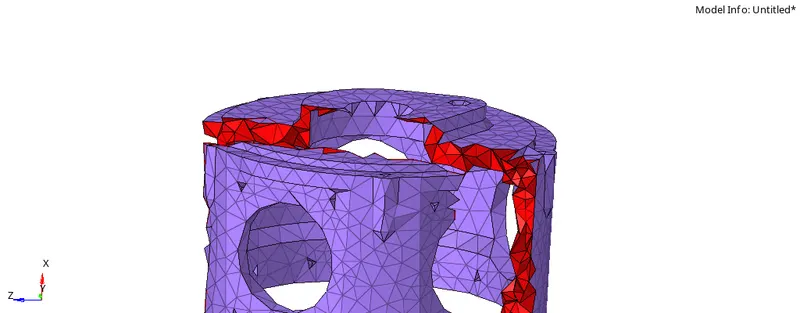
Fig. shows tetra mesh. Now check for tet collapse,

To clear this tet collapse, We will use tetra remesh option,

All tet collapse are clear hence our tetramesh is successfully applied.
Final Model.
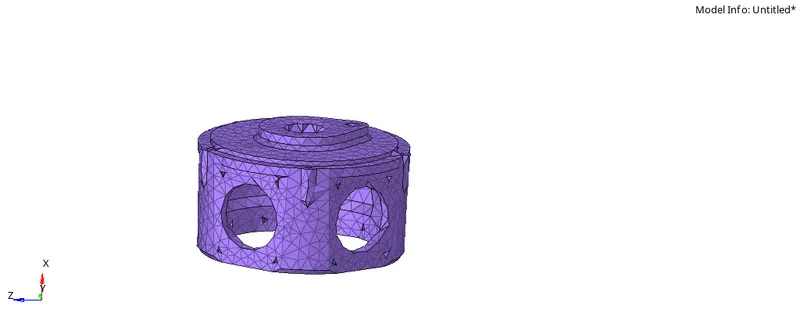
symillarly repeat this procedure for all the elements till we get zero tet collapse.
Now we will consider 3rd model
CAD MODEL
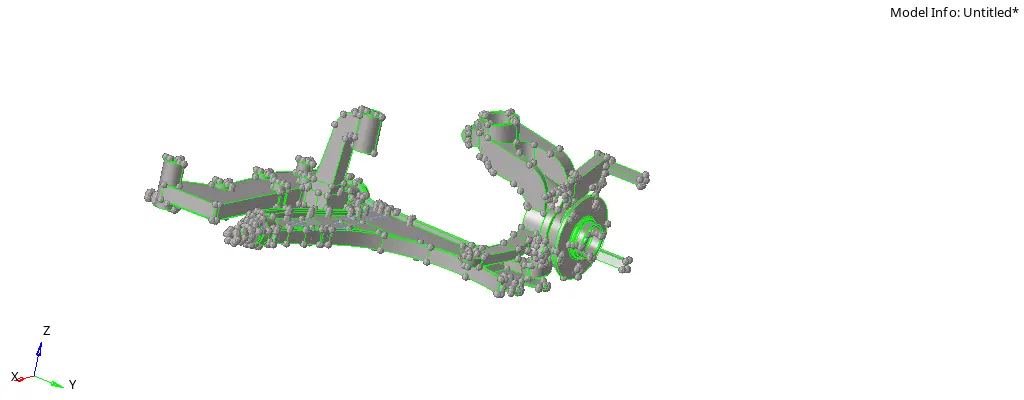
Now take each component separately,
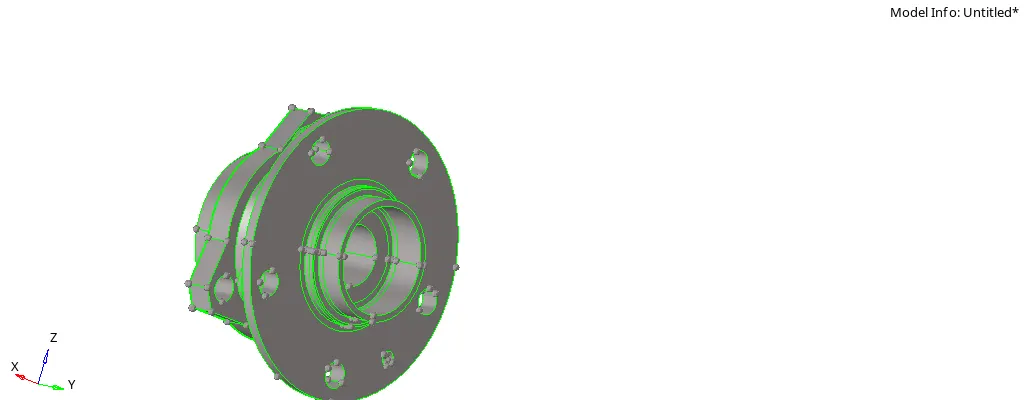
Clean up th geometry properly, check for min. length failure as this can cause problems in tet collapse.
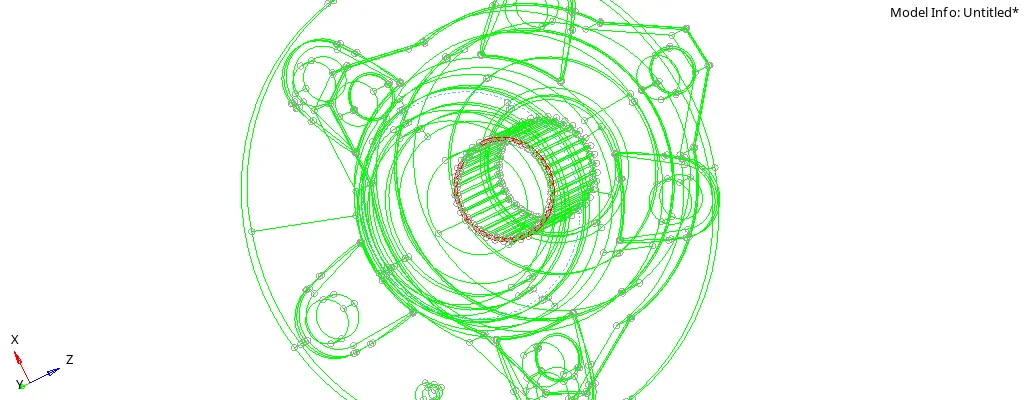
As we can see free edges in it. first try to clear them. Refer the fig. below
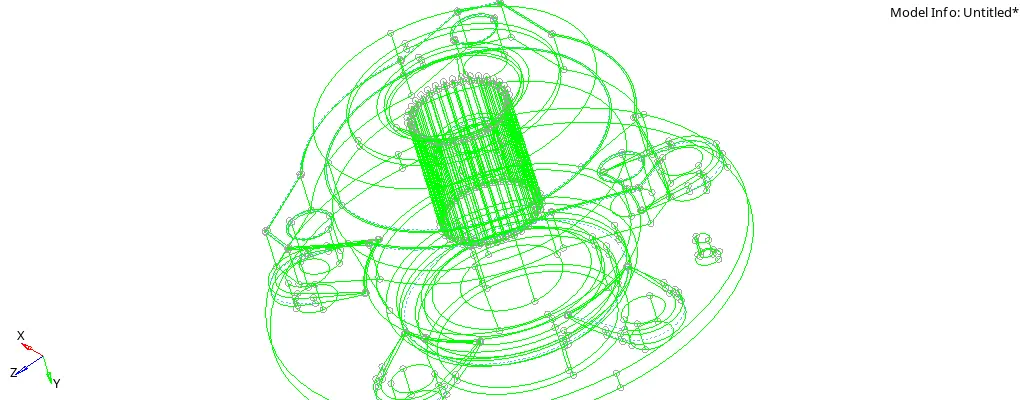
Now diploy a 2D mesh on component.
Go to "2D > Automesh" with element size equal '6 mm', and element type as 'trias', diploy 2D mesh
See the fig. below
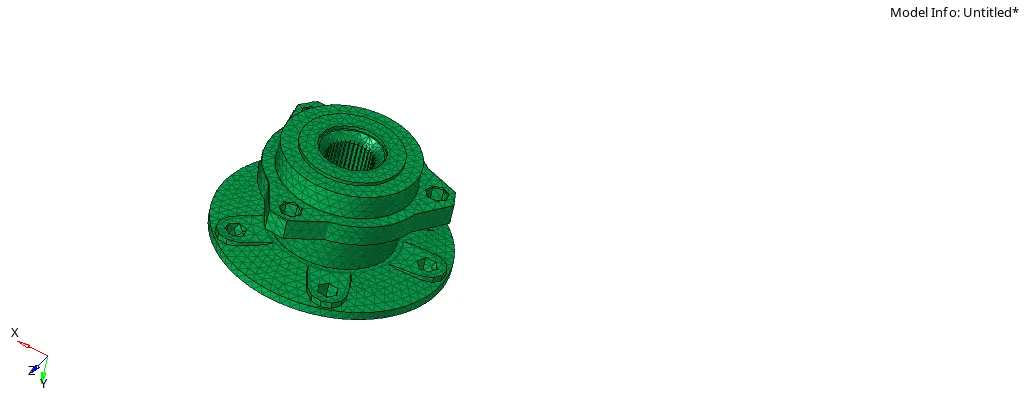
Convert this 2D mesh in 3D by using " 3D > tetramesh > tetra mesh"
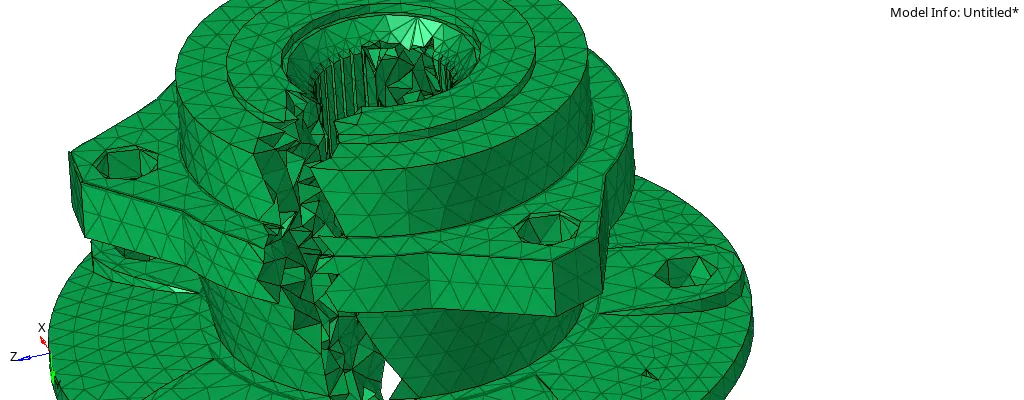
Now check the tet collapse,

13 tet collpase found, now eleminate this with translate tool'
Save these faild elements, and mask them, as shown in fig. below
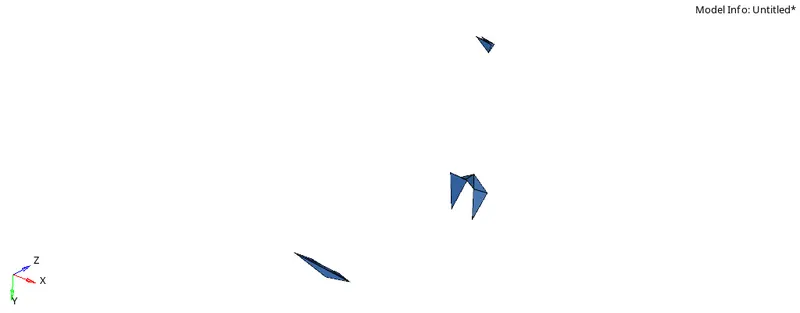
Now Go to "Tools > Translate" and select each elements and translate the nodes by any distance ( it should depend upon us to select the translate distance)
while selecting the distance,keep in mind the defintion of "tet collapse"
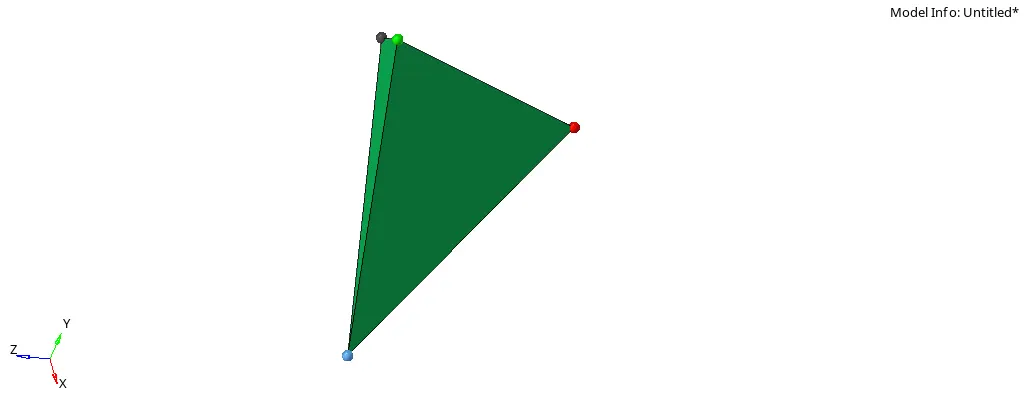
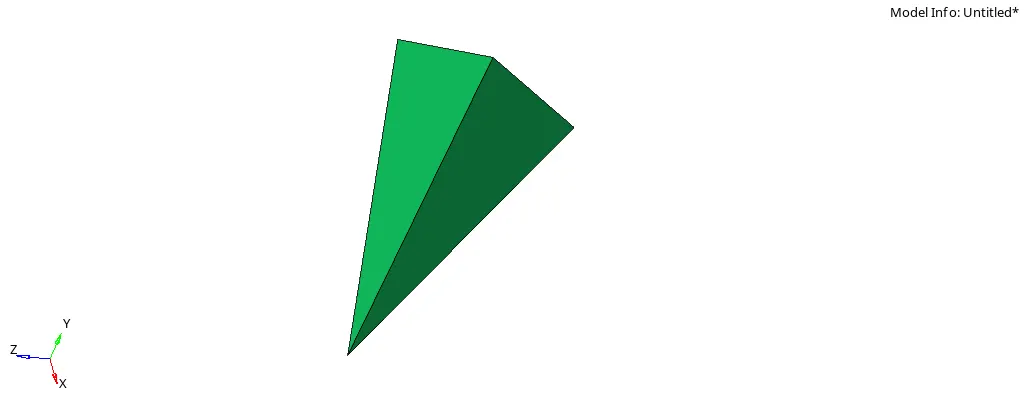
Fig. failed element Fig. Element after using translate tool
symillarly repeat this procedure for all the elements till we get zero tet collapse.
Final Model:
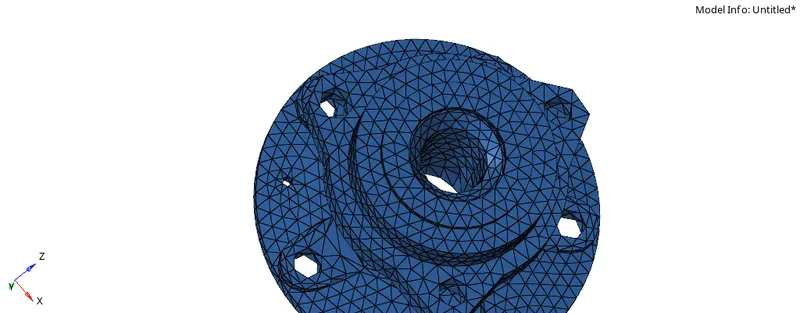
Now We Will consider 2nd Component:
CAD Model:
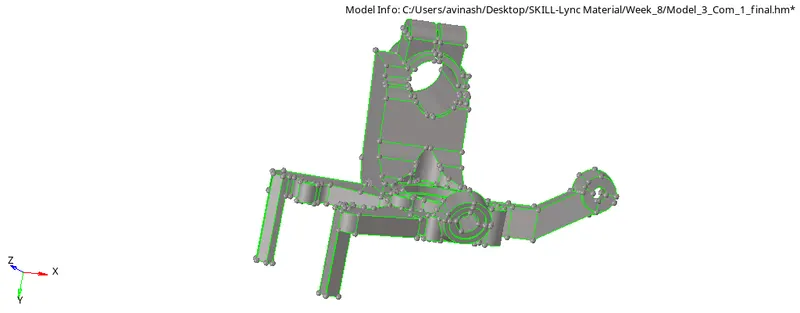
Cleanup the goemetry properly so that elements shoild not fail for min. element lenght.
Choose any method for meshing. am using 2D to 3D,
Meshed Model
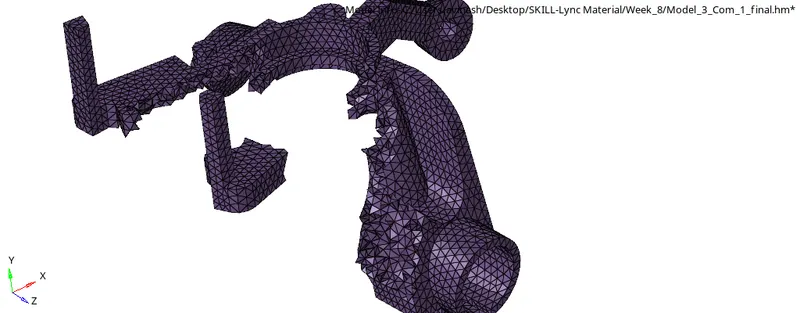
Check for the tet collpase and clear them using either 'remesh' or 'teanslate' tool

We can see zero tet collapse are there, hence 3D tetramesh is successfully deployed.
Final Model.
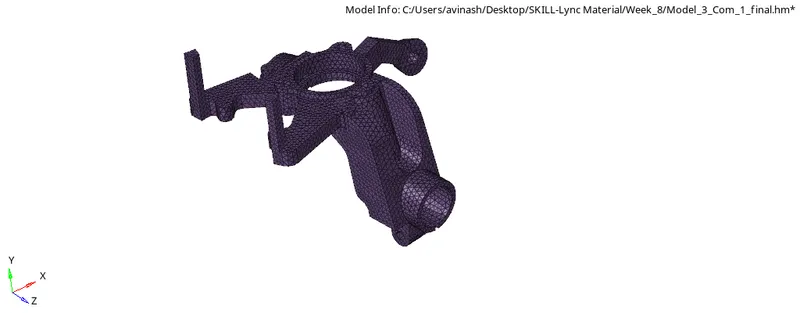
Now We Will Consider 3rd Component,
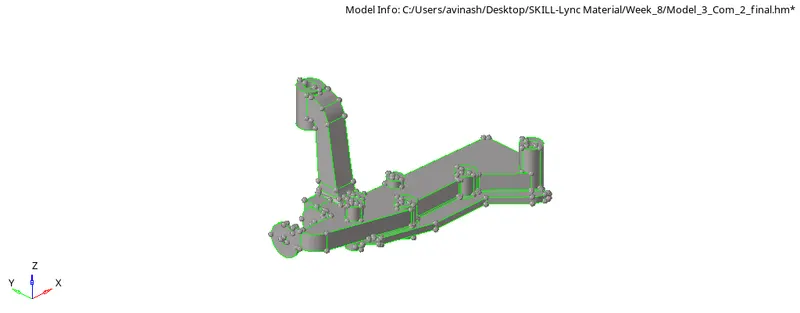
Cleanup the goemetry properly so that elements shoild not fail for min. element lenght.
Choose any method for meshing. am using 2D to 3D,
Meshed Model
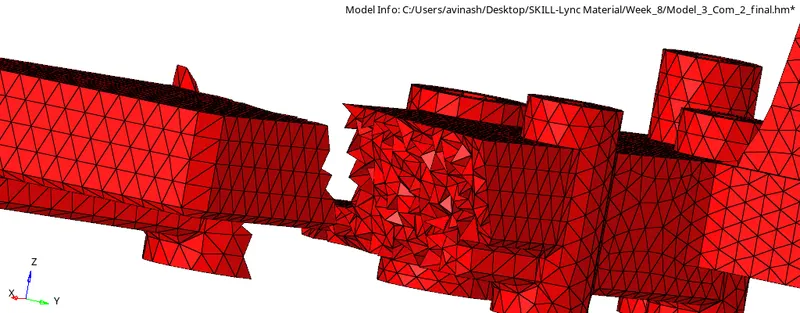
Now Check For the tet collapse,

Here only 3 tet collapse are found, solve them by using translate tool,

Hence all the tet collapse are clear, our 3D tetra mesh is successfully deployed.
Final Model:
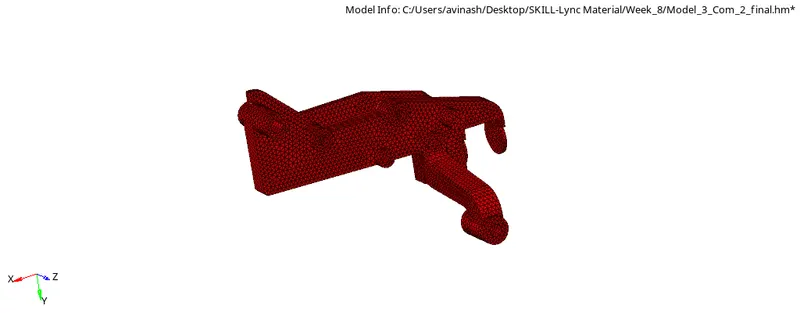
Now We will Consider 4th component,
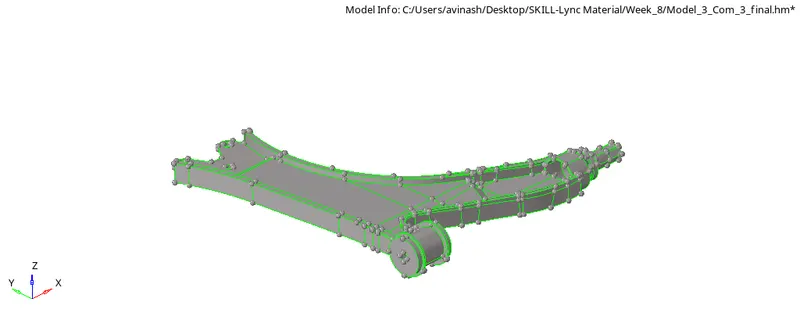
Cleanup the goemetry properly so that elements shoild not fail for min. element lenght.
Choose any method for meshing. am using 2D to 3D
Meshed Model
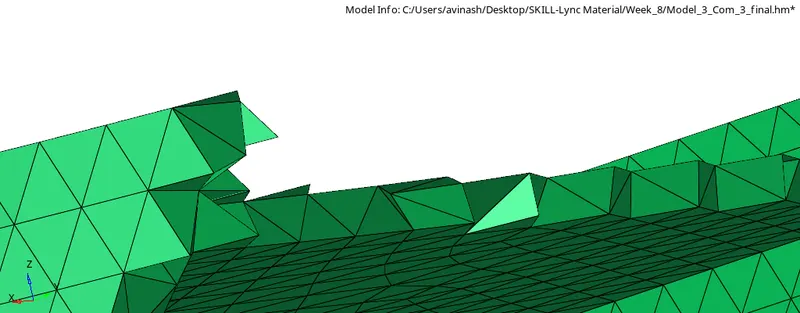
Now Check for the tet collapse,

Here only two tet collapse were found, eliminate them using translate tool,

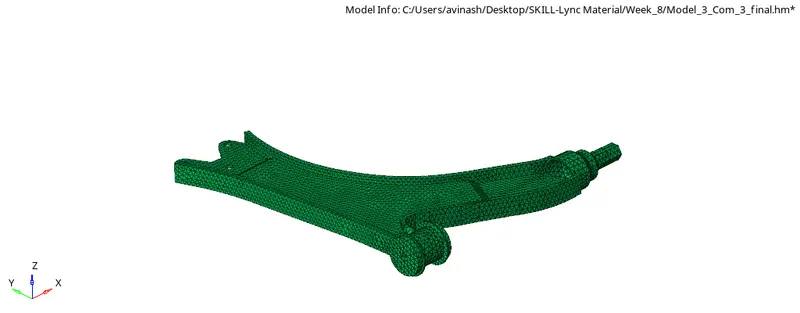
We have cleared all the tet collapse, our 3D mesh is successfully deployed.
Final Model:
CONCLUSION
In this Challenge We have understand
1) what is 3D tetra meshing
2) What are the ways to deploy 3D tetra Mesh
3) Concept of "tet collapse"
4) How to clear the tet collapse