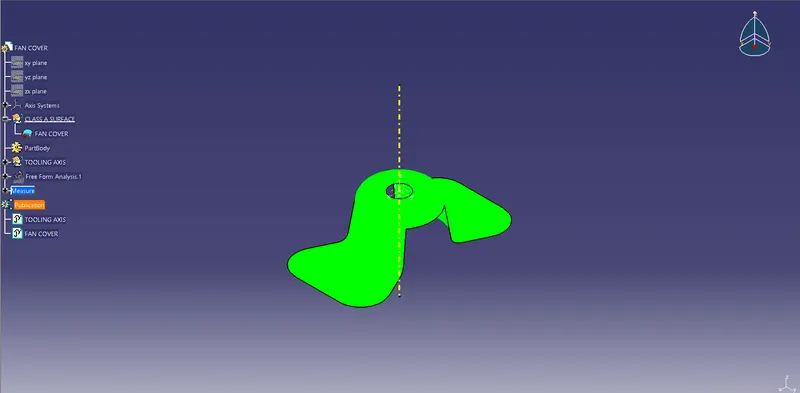
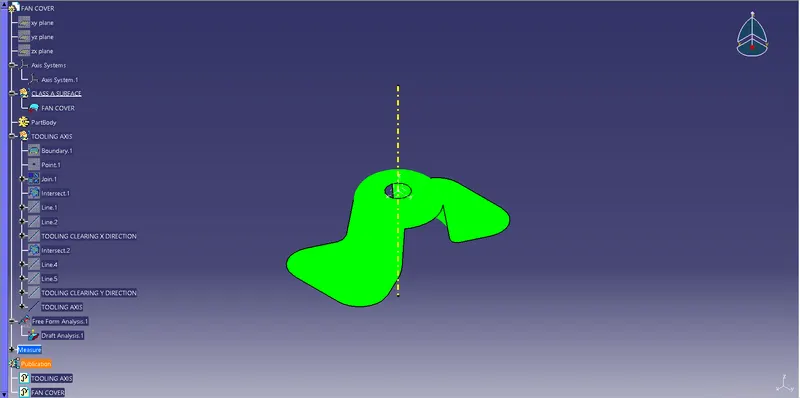
Draft Analysis on a Fan Cover
AIM : Create the tooling axis for the given Fan cover model meeting the requirements of the draft angle and perform the Draft analysis on the model.
NOTE :
- Tree Structure
- Ensure Proper Tree Structure
- Geometrical sets should have a proper name based on the sketches present inside of it
- All the sketches should be created under the Geometrical set
- Publications: Use the publication option and publish the below
- Tooling Axis
- Class A surface
- Report
- A detailed report should be done explaining the draft analysis and the tooling axis creation.
- An explanation should be given on the way of creating the tooling axis particularly the Bisecting method.
DRAFT ANALYSIS OF FAN COVER
Detailed report :
Change the view mode of Customize View Parameter and select Material option from Mesh to see the analysis results.
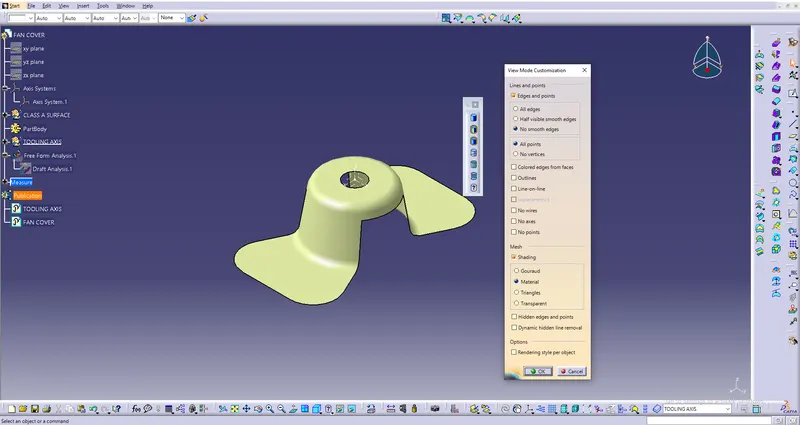
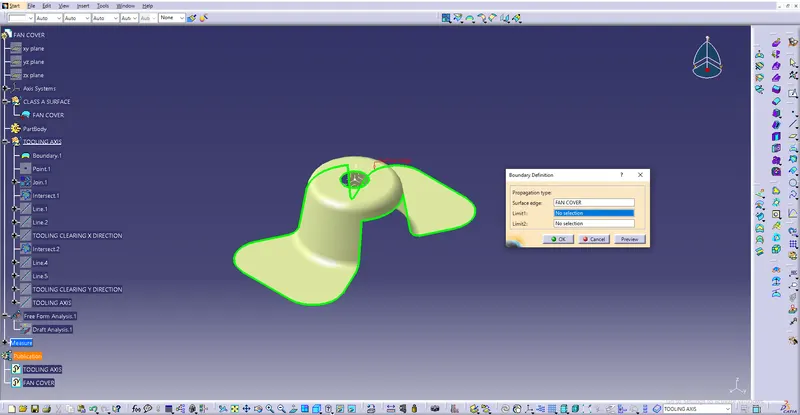
- Checking continuity of a given class A surface :
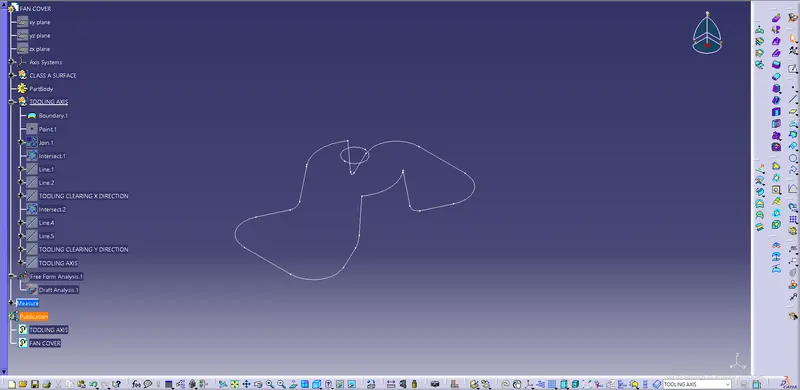
First of all we have to check continuity of Class A surface to ensure Class A surface is properly joined or no discontinuity present. This can be done using Join or Boundary command. By looking below the image shows we can see that the surface has a continuous connected boundary as highlighted by Green light.
Direction of the tooling axis :
- The tooling axis is created in the direction in which the core and cavity opens. For this we can analyze visually
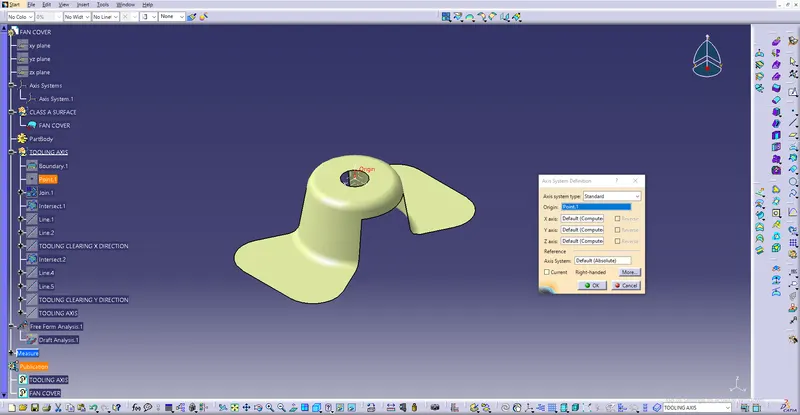
- Here we see an Isometric view of the fan cover and can clearly see the hole on the Top.
- We can use an Axis system or Point to direction Line command. So here we use the axis system to project the tooling axis as shown in the below image.
3. Bisecting method of line :
Bisecting method is used to find the real tooling axis.
- Take the intersection from the axis system of the ZX plane then we will get two curves.
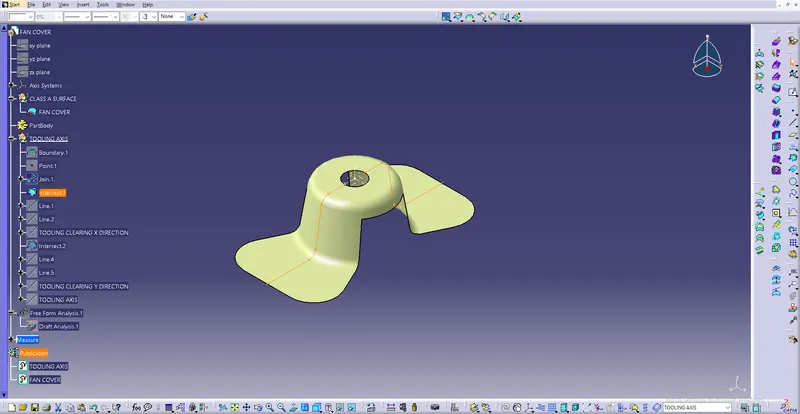
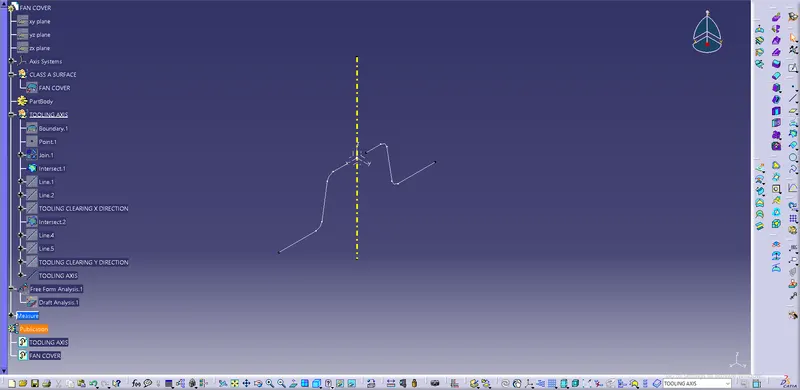
Now we have to see which surface will create problems or will be difficult to make the tooling axis. Because the surface which 90 Degrees to the tooling axis will be cleared. So we have to check surfaces which lie parallel to the tooling axis direction. Make a line along the parallel surface using point to point direction. Here we get the two lines, now we will bisect the two lines and vertical direction. This will be our tooling axis for X direction.
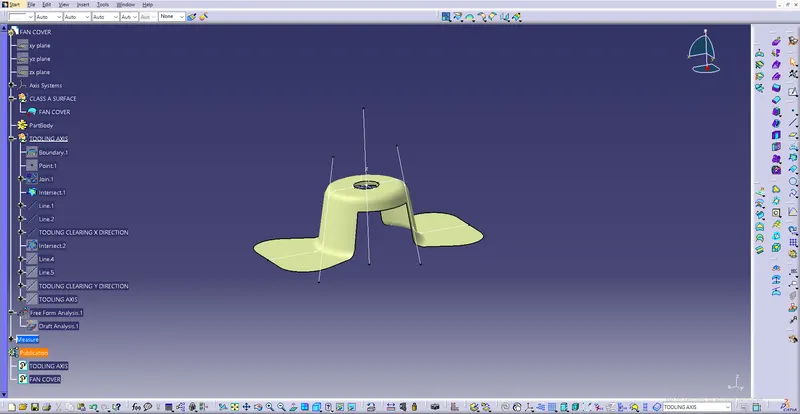
- Similarly we Intersect the YZ plane of the axis system with a Class A surface & repeat the same procedure again.
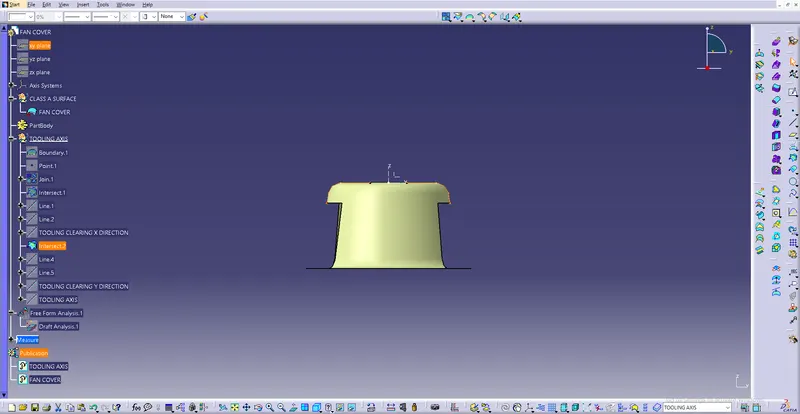
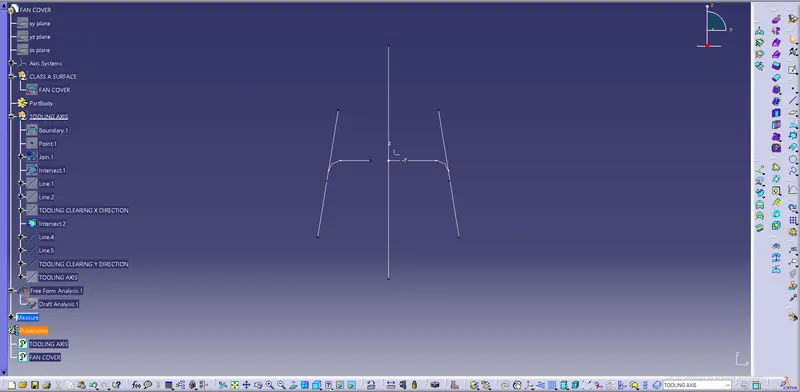
- Now we have two axis i.e. Tooling clearly X direction & tooling clearly Y direction. We will bisect these two tooling axis and get the final tooling axis.
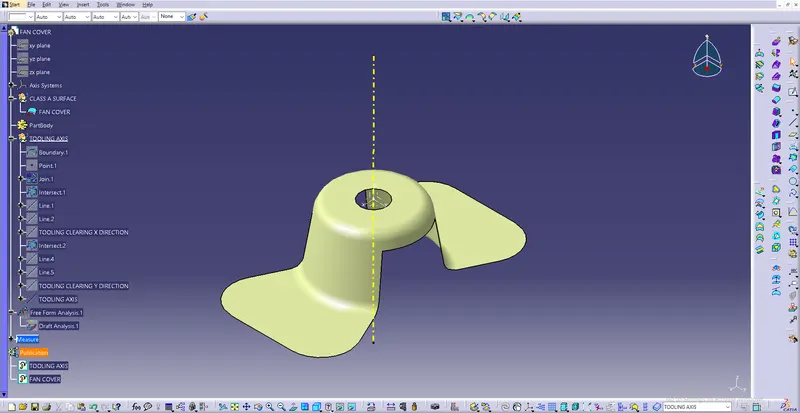
4. Draft Analysis :
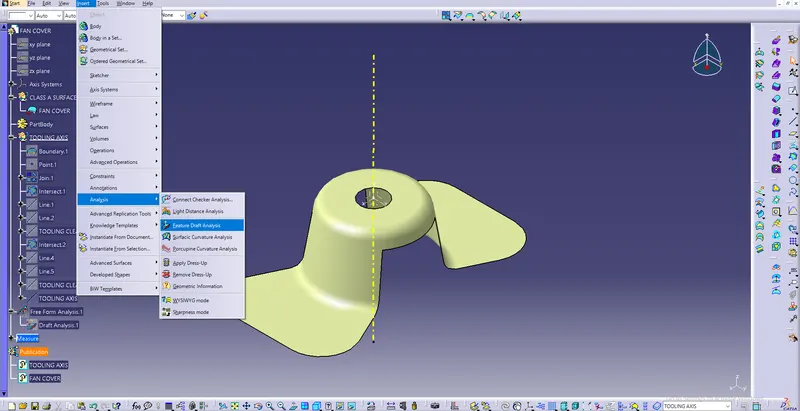
1. To perform Draft Analysis, go to Insert > Analysis> Feature draft analysis.
2. Click on the compass icon and align it with the tooling axis and click on the surface, we will get the our results
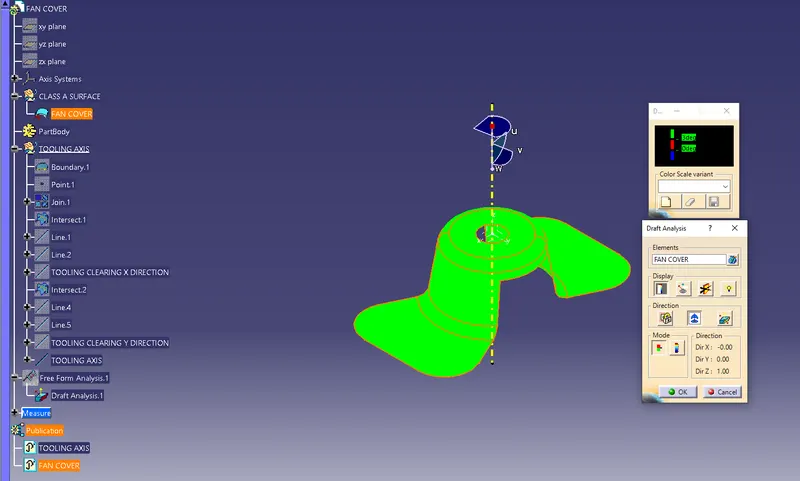
- From the above image it is seen that the surface in green colour has more than 3 Degrees angle which is more required for tooling feasibility.
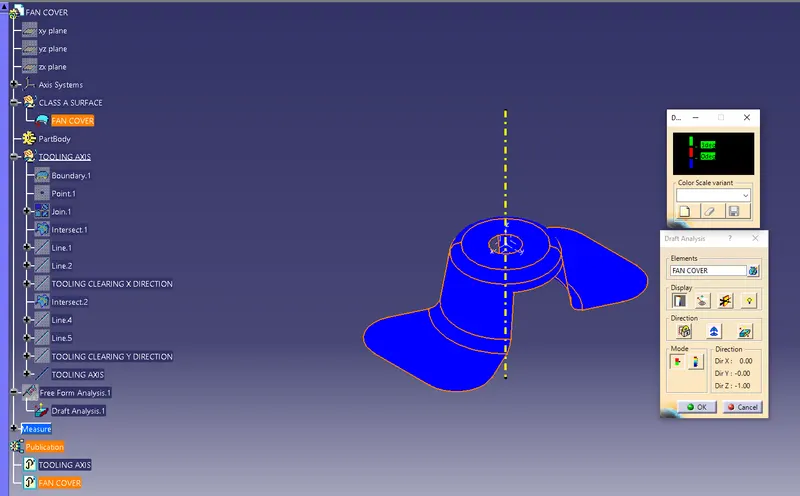
- By inverting the draft angle we get the below image.
- Below image shows full draft analysis.
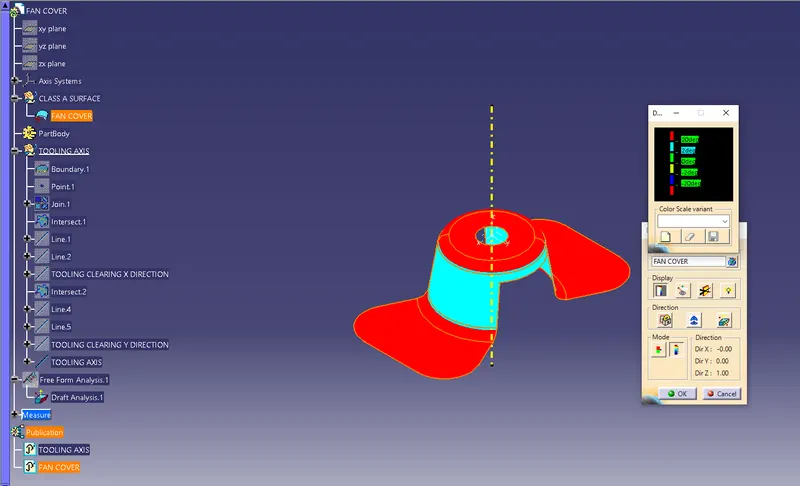
- We also checked the draft angle of the running point on the surface.
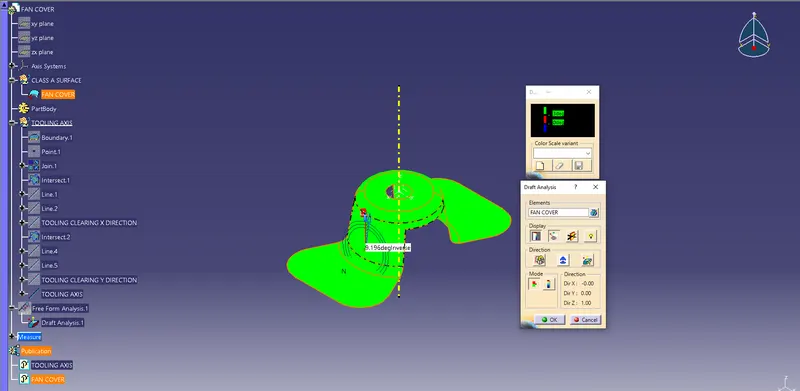
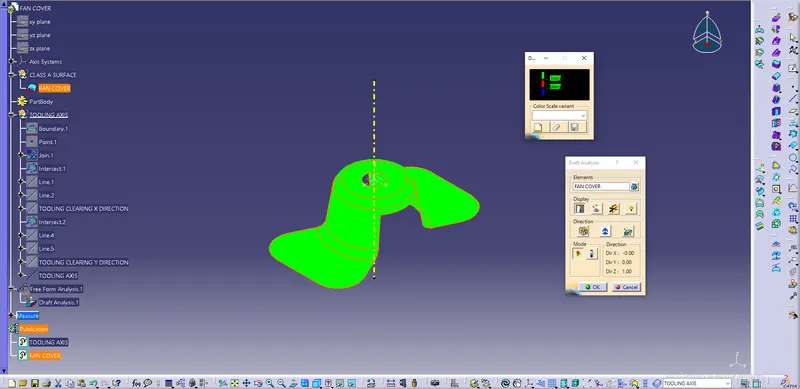
- Image of the model with the proper colour code of the draft angle in various orientations (Isometric, Front, Side, Top view ).
ISOMETRIC VIEW :
FRONT VIEW :
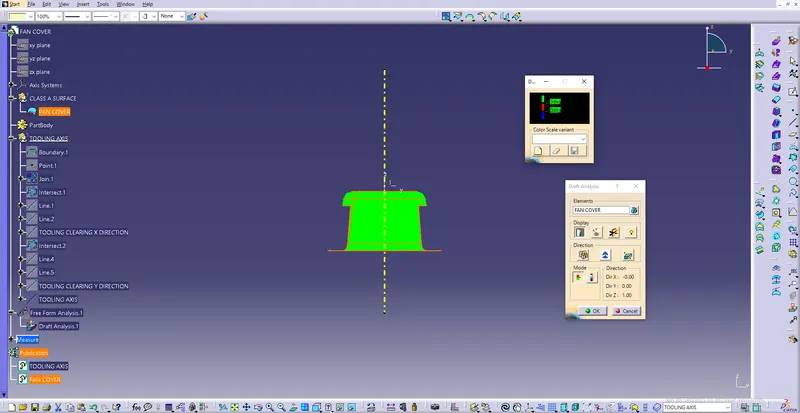
LEFT SIDE VIEW :
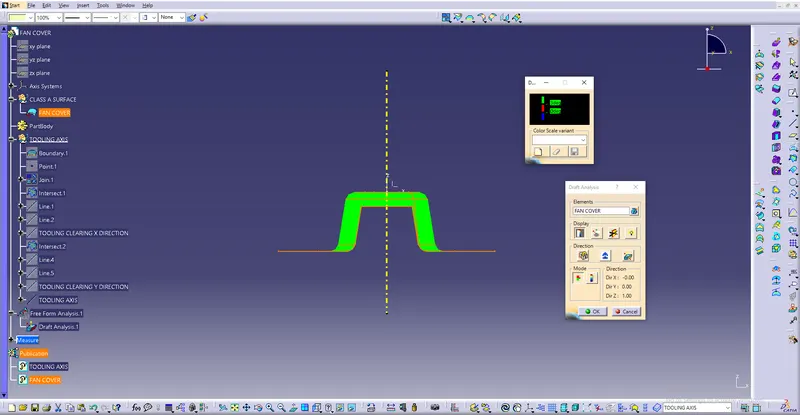
RIGHT SIDE VIEW :
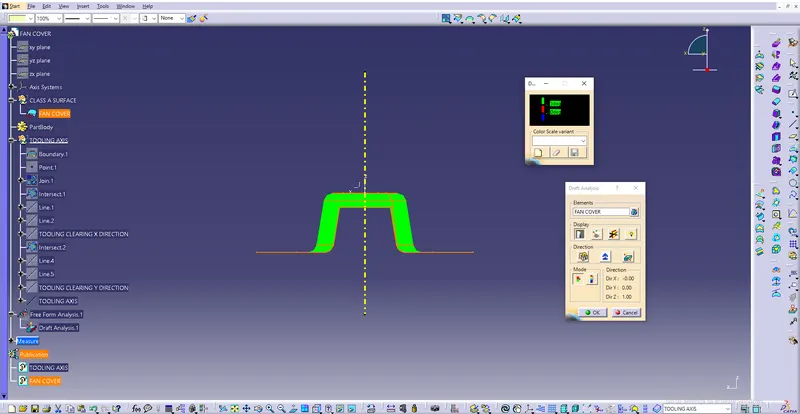
TOP VIEW :
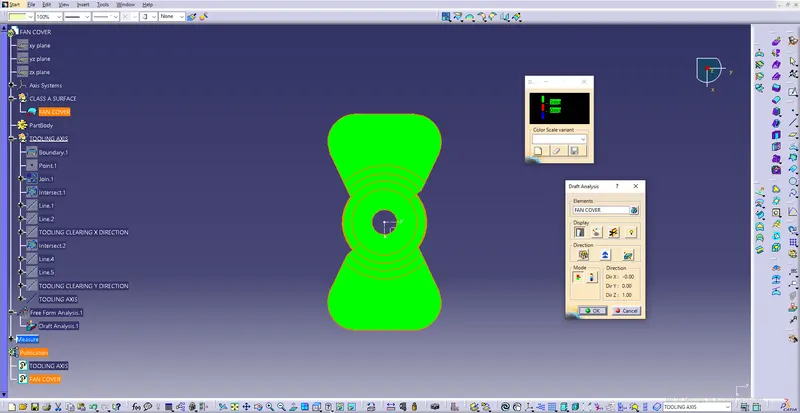
- Image of the Tree structure, Geometrical set of tooling axis & publication.