Week 8 - Challenge 1 - Draft Analysis on a Fan Cover
Qn.) DRAFT ANALYSIS ON FAN COVER
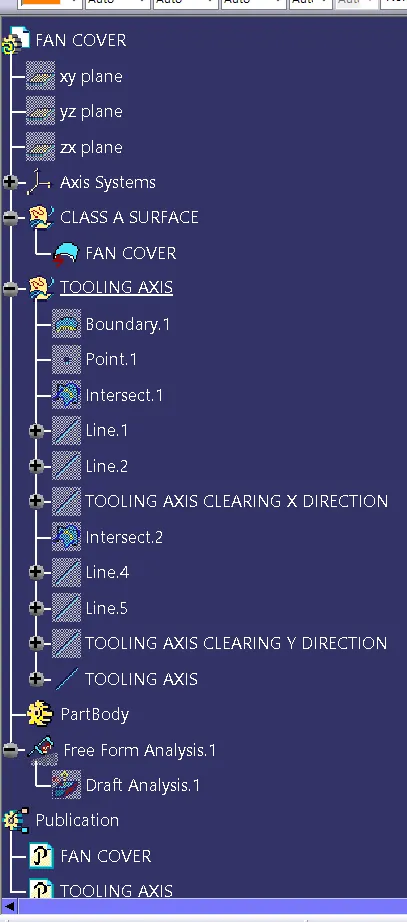
1) Checking For Connectivity
*) Check whether the given component is have discontinuities either using join or boundery commands
2) Defining Tooling Axis
*) Choose the tooling axis such that it clears all the lines/profiles of the component which are created using interaction in all the directions.
*) Finalize the tooling axis and draw a dummy tooling axis using point, line and axis system for reference.
*) Final tooling axis is along Z-Direction. checking for tool clearing in other directions.
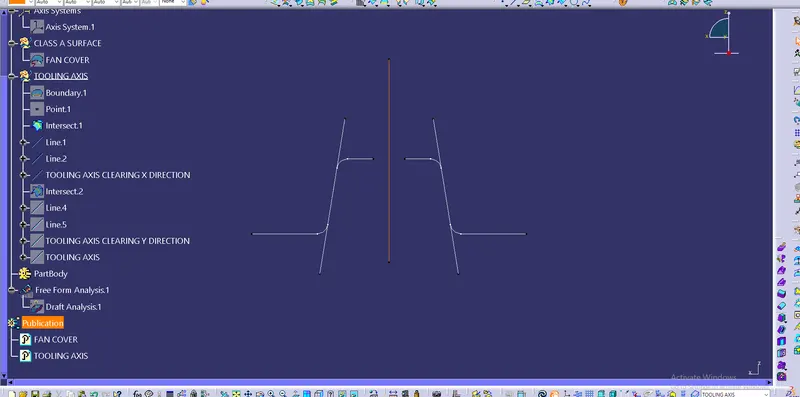
i) Tooling Axis Clearing in X-Direction
*) Create an interaction profile in X-direction. make sure tooling axis clear all the lines
*) Check with by creating bisecting line between two parallel lines of the curve.
*) Below image shows the tooling axis clearing X-Direction
ii) Tooling Axis Clearing in Y-Direction
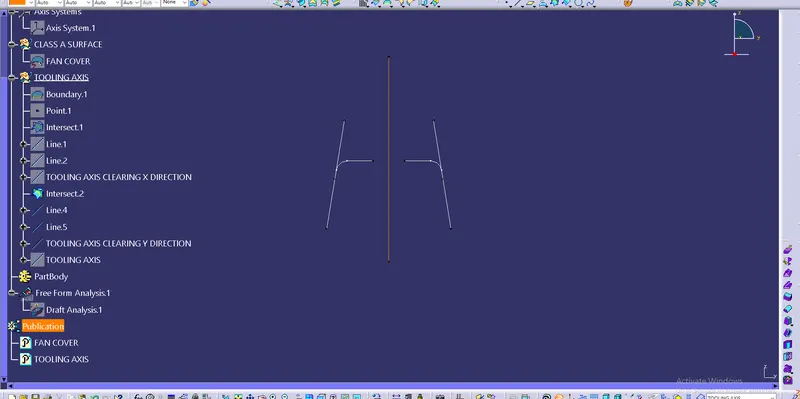
*) Similarly Create an interaction profile in Y-Direction, and make sure tooling axis clear all the lines.
*) Below Image shows the tooling axis clearing in Y-Direction.
iii) Finale tooling axis
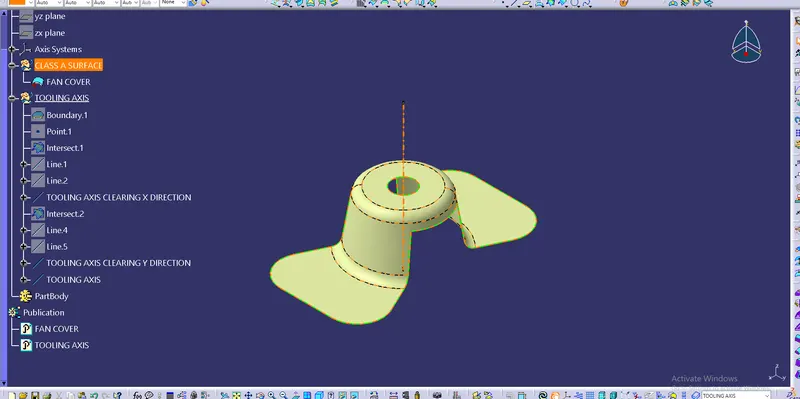
*) Finally craete the tooling axis using both X & Y clearing axis, with the help of bisecting line.
*) Below image shows the final tooling axis in Z-Direction.
3) Publication
*) Use publication to publish Tooling Axis and Fan Cover.
4) Drafty Anlysis
*) Before going for the draft analysis goto view customization and set shading mode to MATERIAL.
*) Goto insert --> Analysis --> Feature draft analysis, to get draft analysis tool bar.
*) Set minimum draft angle using color scale varient and select the profile to check.
*) Pick on compass tool bar to keep compass on tooling axis to define the current drafting direction.
*) Make compass coincide with the tooling axis and lock.
*) Below image shows the draft analysis of fan cover .
*) Minimum draft angle set is 3° using green color in color scale varient.
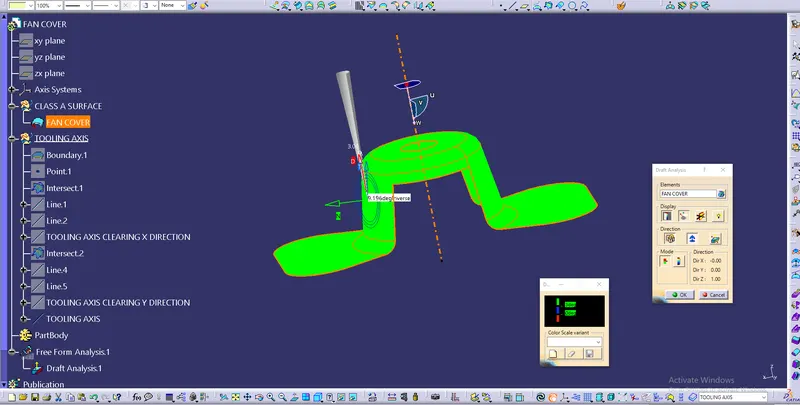
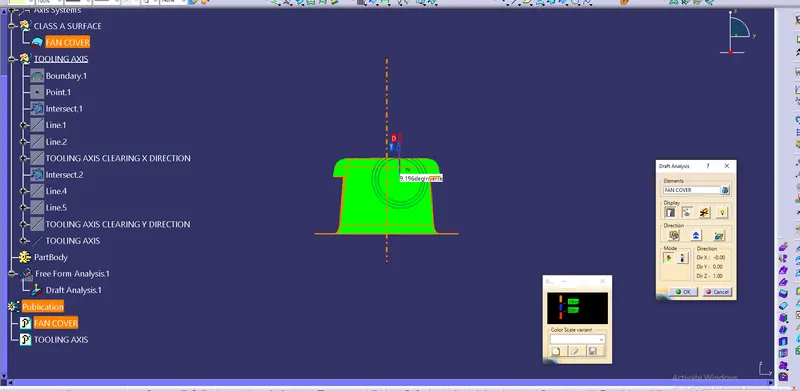
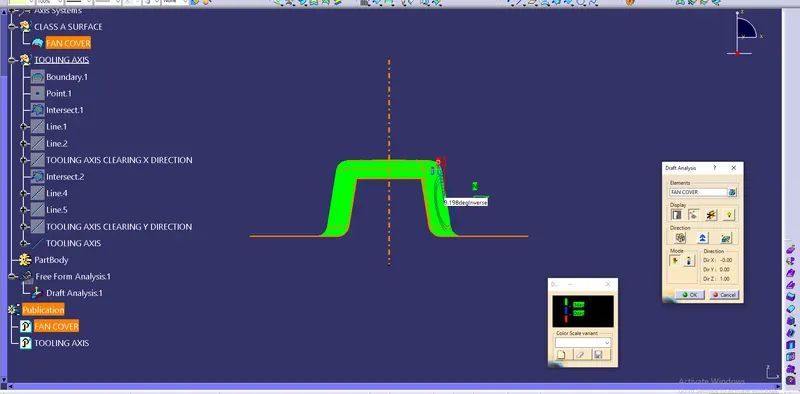
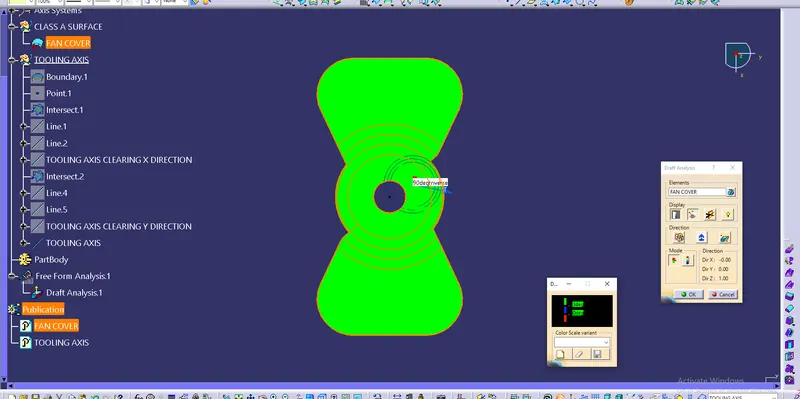
*) Below are the images of draft analysis in different view modes.
*) Tree Structure